How to Clean Buildup inside a Toilet Tank
The best way to clean buildup inside a toilet tank is to shut off the water supply, drain the tank, and scrub the walls and components with a mild acidic cleaner like white vinegar or a light abrasive pad rather than harsh chemicals. Mineral scale, rust stains, and pinkish or grayish grime respond well to soaking and gentle scrubbing, but bleach and abrasive powders can damage rubber gaskets, the flush valve, and the fill valve over time.
If your tank has heavy rust staining, a flapper that looks brittle, or metal fittings showing corrosion, the cleaning approach matters even more, since the wrong product can shorten the life of parts that are already stressed.
⚡ The TidyFormula™ Quick Decision
Best approach: Turn off the water supply, drain the tank, and clean with white vinegar and a soft brush or non-scratch pad, focusing on the waterline ring, walls, and visible metal parts.
Use caution with: Bleach, ammonia-based cleaners, and abrasive scouring powders, which can degrade rubber gaskets, the flapper, and painted or coated tank surfaces.
Stop and reassess if: The flapper feels brittle or cracked, fittings show heavy rust or pitting, or the tank continues refilling improperly after cleaning, since this points to a parts issue rather than a cleaning issue.
What I Use For This Job
Using the right tools saves time and protects your belongings. Here are my exact recommendations:
*As an Amazon Associate, TidyFormula earns from qualifying purchases.
What Causes Buildup Inside a Toilet Tank
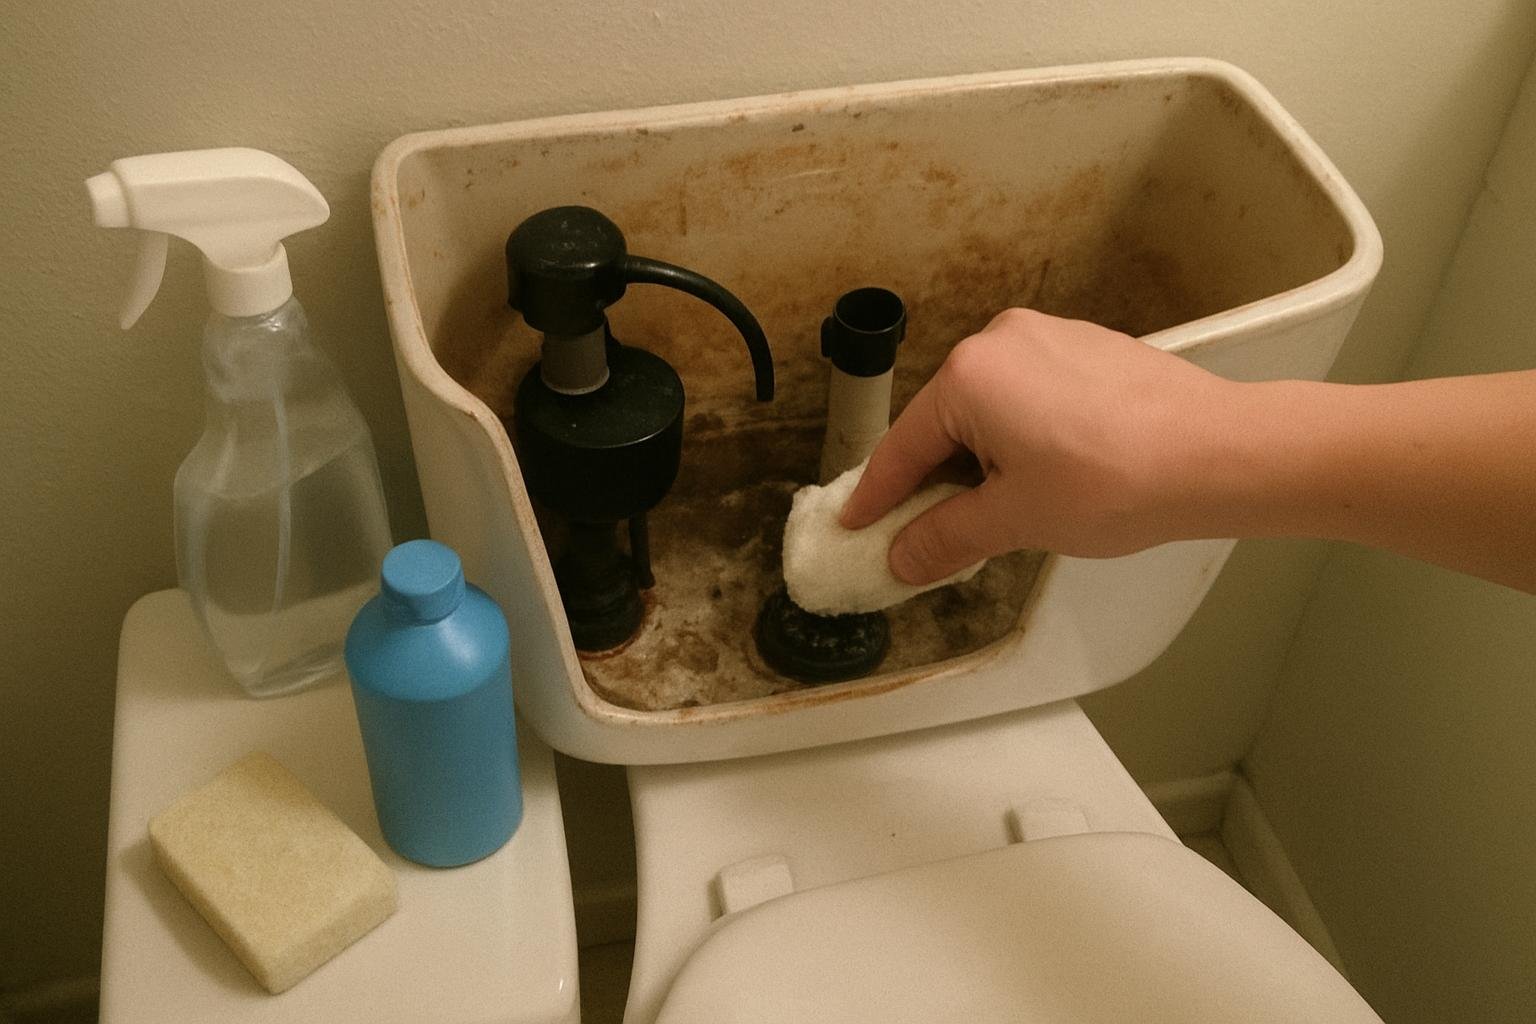
Most tank buildup falls into a few categories: hard-water mineral scale (often white, gray, or chalky), rust from corroding metal fittings or an aging fill valve, and dark or pink-tinted grime that can form in tanks that sit humid and undisturbed. The type of residue you see affects how aggressively you can clean, so take a moment to look before you start scrubbing.
Mineral scale usually responds to mild acidic cleaning. Rust often needs more patience and gentle mechanical scrubbing rather than stronger chemicals, since rust removers can be harsh on internal parts. If you notice slimy or discolored residue that keeps returning quickly after cleaning, that may point to a humidity or ventilation issue in the bathroom rather than something the tank cleaning itself will fully resolve.
Before You Start: Shut Off the Water and Drain the Tank
- Locate the shutoff valve behind or below the toilet and turn it clockwise until it stops. This prevents the tank from refilling while you work.
- Flush the toilet to empty most of the water, then hold the flush lever down briefly to drain as much remaining water as possible.
- Use a sponge or old towel to soak up the last inch or two of water at the bottom of the tank. Working in a fully drained tank makes it much easier to see and reach buildup.
Do not attempt to clean the tank with the water supply still connected and running, since refilling water during cleaning makes it harder to control cleaning solution contact time and can wash your cleaner away before it works.
Step-by-Step: Cleaning Buildup Inside the Tank
- Apply a mild acidic cleaner. Plain white vinegar is a reasonable starting point for mineral scale. Pour enough into the empty tank to cover the stained areas, or apply it directly with a cloth or brush for spot treatment.
- Let it sit. Give the vinegar time to loosen mineral deposits before scrubbing. If you’re unsure how long is appropriate for your level of buildup, start conservatively and check progress rather than leaving it unattended for an extended period.
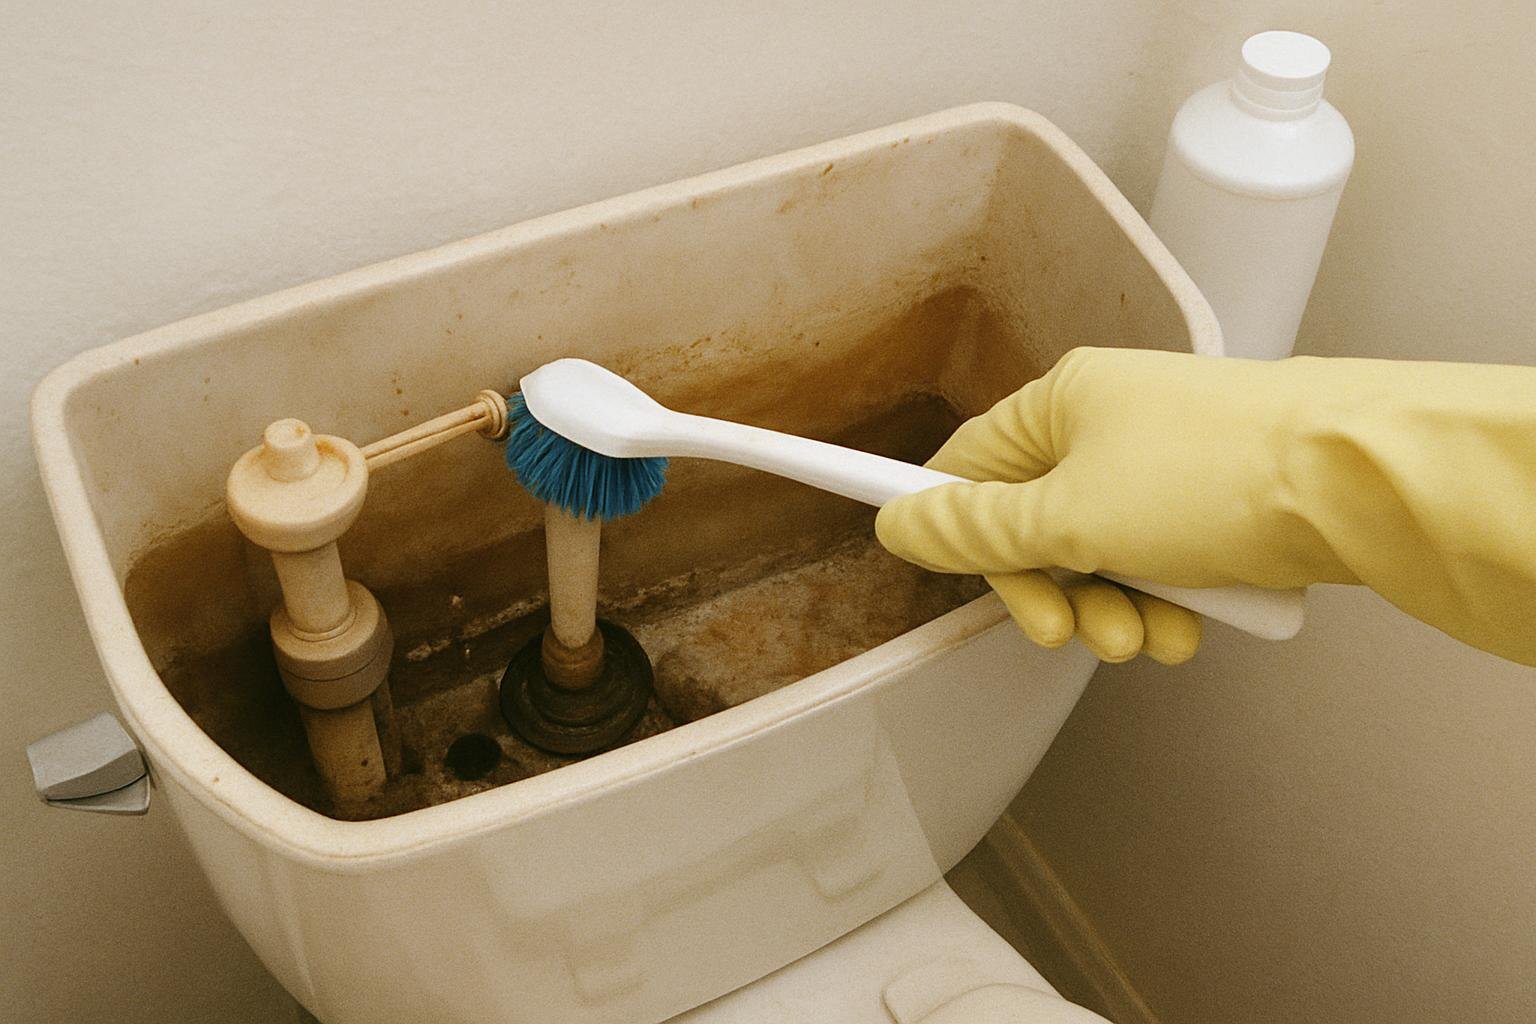
- Scrub gently. Use a soft-bristle brush, an old toothbrush for tight spots around the fill valve and overflow tube, or a non-scratch pad for the walls. Avoid steel wool or heavy abrasive pads, which can scratch coated or painted tank interiors.
- Rinse thoroughly. Once loosened buildup is scrubbed away, rinse by carefully pouring clean water around the tank walls, then wipe out any remaining residue with a clean cloth.
- Inspect the flapper, fill valve, and overflow tube. These parts are usually rubber or plastic. Wipe them by hand rather than scrubbing aggressively, since scrubbing can wear down the seal on the flapper and cause leaks later.
- Turn the water supply back on and let the tank refill. Check that the flapper seats properly and the fill valve shuts off at the correct water level before considering the job finished.
Cleaning Mistakes That Cause Damage
The most common mistake is reaching for bleach or a strong commercial toilet-bowl cleaner and using it inside the tank the same way you would use it in the bowl. Tank components are not built the same way as bowl porcelain, and repeated exposure to bleach or harsh chemicals can dry out or degrade rubber gaskets and the flapper seal faster than normal wear would.
Another frequent issue is scrubbing too aggressively with abrasive pads or powders, which can scratch the tank’s interior coating and actually give future mineral deposits more surface texture to grip onto. A third mistake is skipping the water shutoff step, which makes it nearly impossible to keep cleaner in contact with the stained areas long enough to work.
If the tank interior has a stubborn ring at the waterline that vinegar alone won’t fully lift, avoid the temptation to combine cleaning products to make a stronger solution. Never mix bleach with vinegar, ammonia, or other cleaners, since combining household chemicals can create hazardous fumes. Instead, repeat the vinegar soak, extend the sitting time slightly, or switch to mechanical scrubbing with a non-scratch pad.
How Often You Should Clean Tank Buildup
How often you need to clean depends heavily on your water hardness and the age of your tank fittings. Homes with hard water may see noticeable mineral scale within a few months, while homes with softer water may go a year or more between deep cleanings. A quick visual check every few months, lifting the tank lid and looking for scale, rust, or discoloration, will tell you more accurately than any fixed schedule.
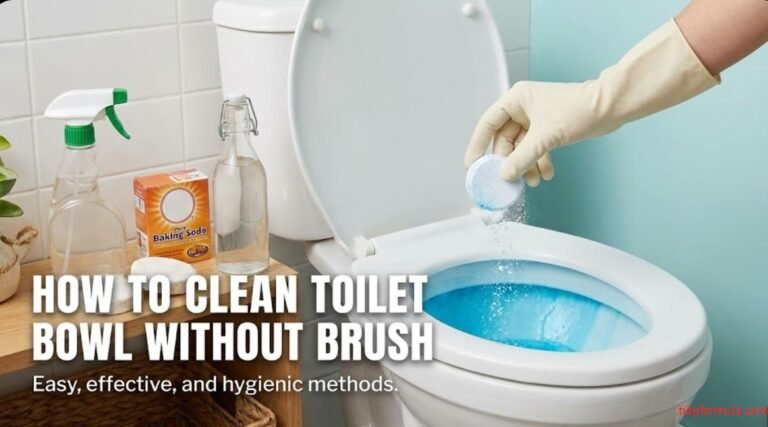
If you’re already keeping the bowl itself clean between deep tank cleanings, a related method is covered in how to clean a toilet bowl without a brush, which can help you manage day-to-day bowl maintenance while tank buildup accumulates more slowly.
When Cleaning Isn’t Enough
If you’ve cleaned the tank thoroughly and still notice a fill valve that runs constantly, a flapper that won’t seal, or rust that keeps reappearing within days rather than months, the issue is likely a worn or failing part rather than residue. Fill valves and flappers are generally inexpensive and designed to be replaceable, but checking your toilet model’s specific instructions or consulting a plumber is the safer next step if you’re not comfortable replacing internal components yourself.
Persistent rust that appears to be coming from the water supply line itself, rather than from tank hardware, may point to a plumbing issue beyond what tank cleaning can address, and that’s a reasonable point to bring in a professional.
Everything Mentioned Above
Before you leave, grab the tools you need to get the job done right the first time:
*As an Amazon Associate, TidyFormula earns from qualifying purchases.