How to Clean Bathroom Exhaust Fan without Removing It
You can clean most of the buildup on a bathroom exhaust fan without taking it off the ceiling by vacuuming the grille cover, wiping it down, and cleaning the visible fan blades through the grille opening. The main limitation is dust and grease packed deep around the motor housing, which usually stays out of reach unless you remove the cover.
If your fan has not been cleaned in a year or more, expect a layer of gray, felt-like dust clinging to the grille slats. That buildup is normal and it is exactly what this method targets first.
⚡ The TidyFormula™ Quick Decision
Best approach: Turn off the fan, vacuum the grille cover with a brush attachment, then wipe the slats and visible blades with a damp microfiber cloth.
Use caution with: Spray cleaners near the motor, wet cloths near any exposed wiring, and pressing hard on plastic grilles, which can crack with age.
Stop and reassess if: The fan makes new noise after cleaning, the grille won’t stay seated properly, or you see scorch marks, exposed wires, or heavy grease that a quick wipe won’t touch.
What I Use For This Job
Using the right tools saves time and protects your belongings. Here are my exact recommendations:
*As an Amazon Associate, TidyFormula earns from qualifying purchases.
What This Method Can and Cannot Reach
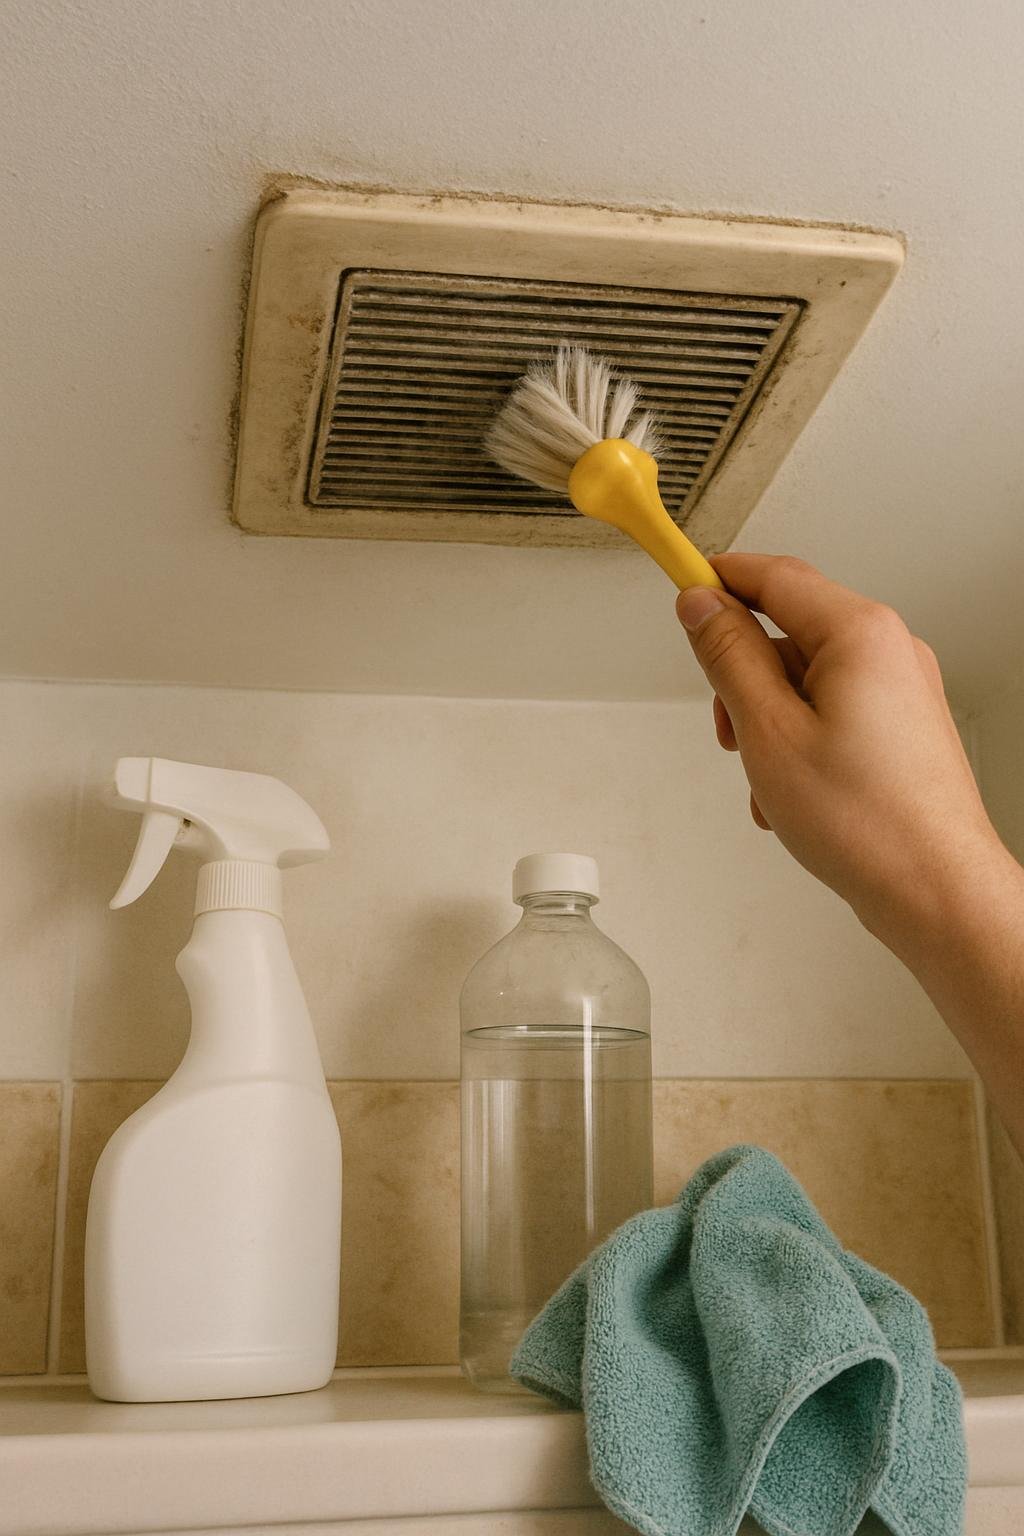
A bathroom exhaust fan is really two parts: the grille cover you see from the bathroom, and the fan housing sitting above the ceiling with the motor and blades inside. Cleaning without removing anything mainly means cleaning the grille and whatever blade surface you can reach through the opening.
That covers the dust that reduces airflow and makes the fan look dingy. It does not reach grease film on the motor casing or dust packed behind the blades where they meet the housing. If your fan is pulling weak airflow even after a surface cleaning, that is often a sign the buildup goes deeper than this method can address, and full removal or a professional inspection becomes the more realistic option.
Before You Start
- Turn off the fan at the wall switch before you touch it. If your fan runs on the same switch as the bathroom light, flip the breaker instead so you are not working around a live circuit.
- Let the fan sit for a few minutes if it was just running, since the motor housing can be warm.
- Have a step stool that lets you work at a comfortable height. Reaching overhead with your arms fully extended makes it easy to drop tools or lose your balance.
Step-by-Step: Cleaning Through the Grille
- Vacuum the grille cover first. Use a brush attachment on low suction and work along each slat. This pulls off loose dust before it gets pushed further into the fan with a wet cloth.
- Check whether the cover pulls down on hinges or clips. Many bathroom fan grilles are designed to hinge open or unclip without full removal, giving you direct access to the blades while the housing stays mounted. Check your fan’s manual or look for small metal spring clips at the edges before assuming the cover is fixed in place.
- Wipe visible blades with a slightly damp microfiber cloth. If the cover opens, you can reach in and wipe the blade surfaces you can see and touch without forcing your hand deeper into the housing. Use light pressure, since fan blades on many models are lightweight plastic.
- Clean the grille slats individually. A damp cloth wrapped around a butter knife or a cotton swab works well for the narrow gaps between slats where dust collects heaviest.
- Dry everything before reattaching or turning the fan back on. Moisture near the motor housing is the one thing you want to avoid completely, so give the grille and blades several minutes to air dry.
- Reseat the grille cover fully if it hinges or clips, making sure it sits flush and any clips click back into place. A cover that hangs loose can vibrate or rattle once the fan runs again.
Choosing a Safe Cleaner
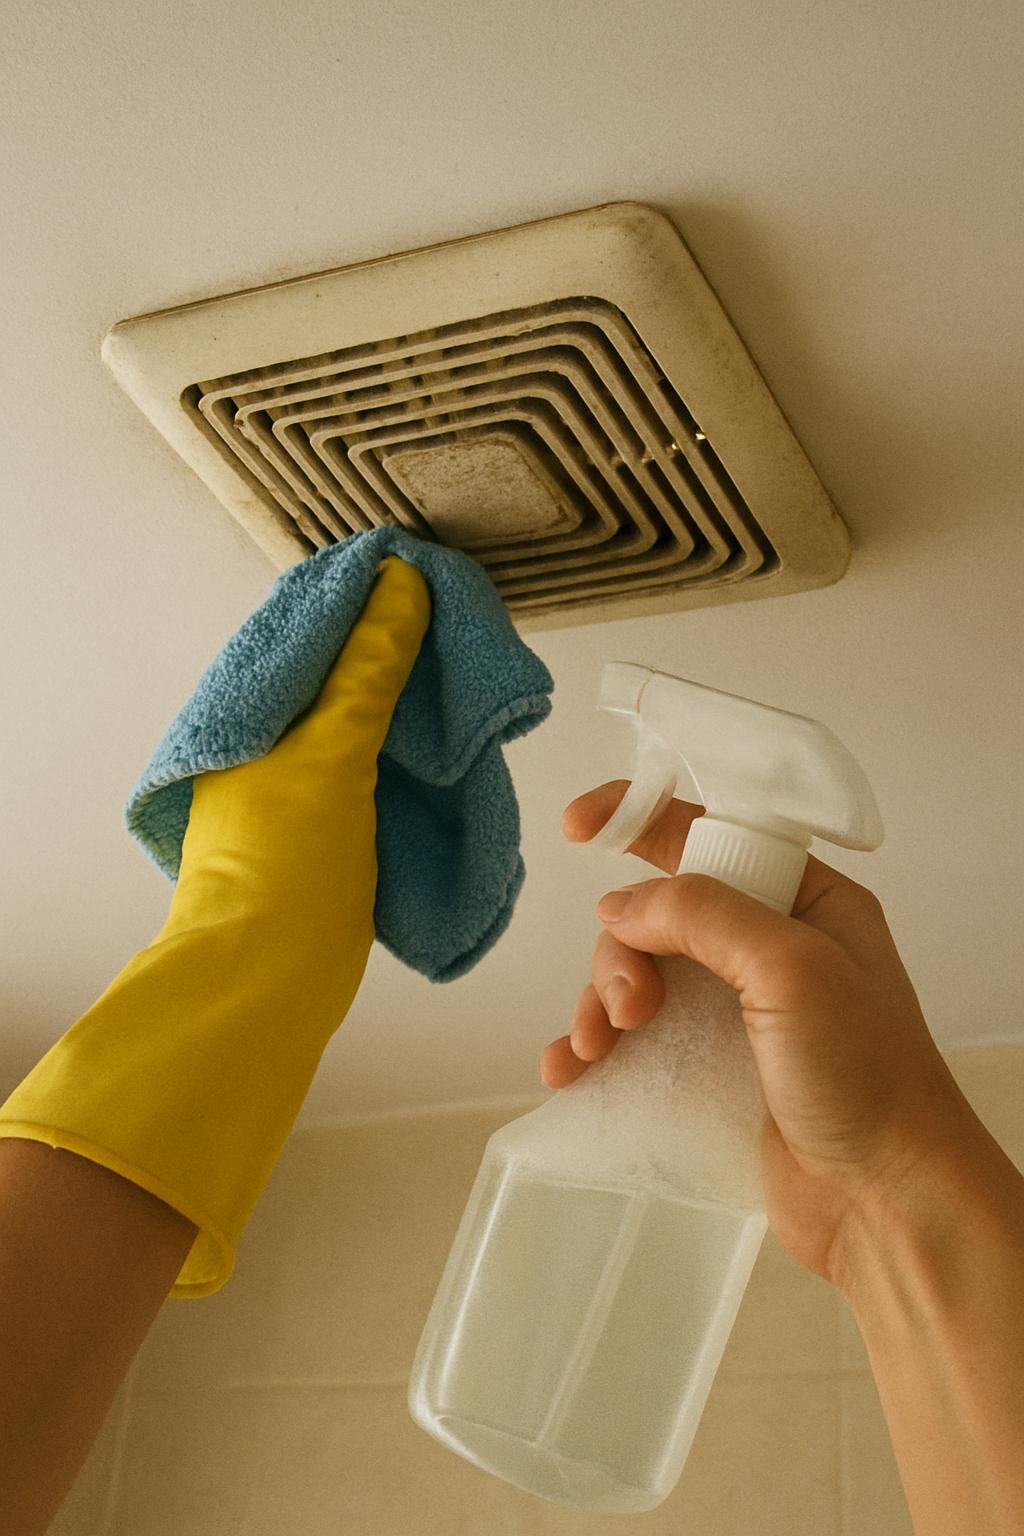
Plain water on a microfiber cloth handles most dust buildup without introducing any risk near electrical components. If you’re dealing with a thin layer of grease, a cloth dampened with a small amount of mild dish soap diluted in water is a reasonable step up, wrung out well so it is damp rather than wet.
Avoid spraying any cleaner directly onto the grille or into the fan opening. Spray settles into gaps you can’t see and can reach the motor housing or wiring. Apply cleaner to the cloth instead, never straight onto the fan.
Skip aerosol degreasers, ammonia-based glass cleaners, and anything labeled for heavy-duty appliance grease. These are formulated for surfaces you can rinse or wipe clean immediately, not for a fixture with an electric motor a few inches away.
Common Mistakes That Cause Damage
- Forcing a cover that doesn’t hinge. Not every grille is designed to open. Pulling or prying on a fixed cover can crack the plastic mounting tabs, which then means the cover won’t sit flush anymore.
- Using a wet cloth instead of a damp one. Water dripping upward into the housing is a real risk with overhead fixtures. Wring cloths out thoroughly before use.
- Cleaning with the fan still wired to a live switch. Even if the fan is off, a stray hand movement against the switch mid-cleaning is avoidable by cutting power at the breaker.
- Ignoring reduced airflow after cleaning. If the fan still sounds strained or clears steam slowly after you’ve cleaned the visible parts, the buildup is likely deeper in the housing than this method reaches.
How Often to Clean It
A light vacuum of the grille every one to two months keeps dust from building into a visible layer, especially in bathrooms used daily for showers. A more thorough wipe-down, following the steps above, works well every three to four months for most households. Bathrooms with heavy shower use, pets that shed, or nearby construction dust may need attention more often.
When to Go Further Than the Grille
If the fan is noticeably louder than usual, moves less air than it used to, or the grille cover has grease so thick a damp cloth won’t touch it, a surface cleaning isn’t going to solve the problem. At that point, removing the cover fully, or having someone qualified check the motor and housing, is the more effective path. Check your fan’s manual for the manufacturer’s guidance on accessing the motor housing safely, since mounting hardware and clip designs vary by brand and model.
Other bathroom fixtures benefit from a similar low-disassembly approach. If you’re also dealing with grime around the tub, cleaning the bathtub and grout without heavy scrubbing follows some of the same logic of working with what’s accessible before reaching for stronger methods. And if a window air conditioner in another room is showing similar dust buildup, the reasoning behind cleaning a window AC unit without removing it applies in much the same way.
Everything Mentioned Above
Before you leave, grab the tools you need to get the job done right the first time:
*As an Amazon Associate, TidyFormula earns from qualifying purchases.