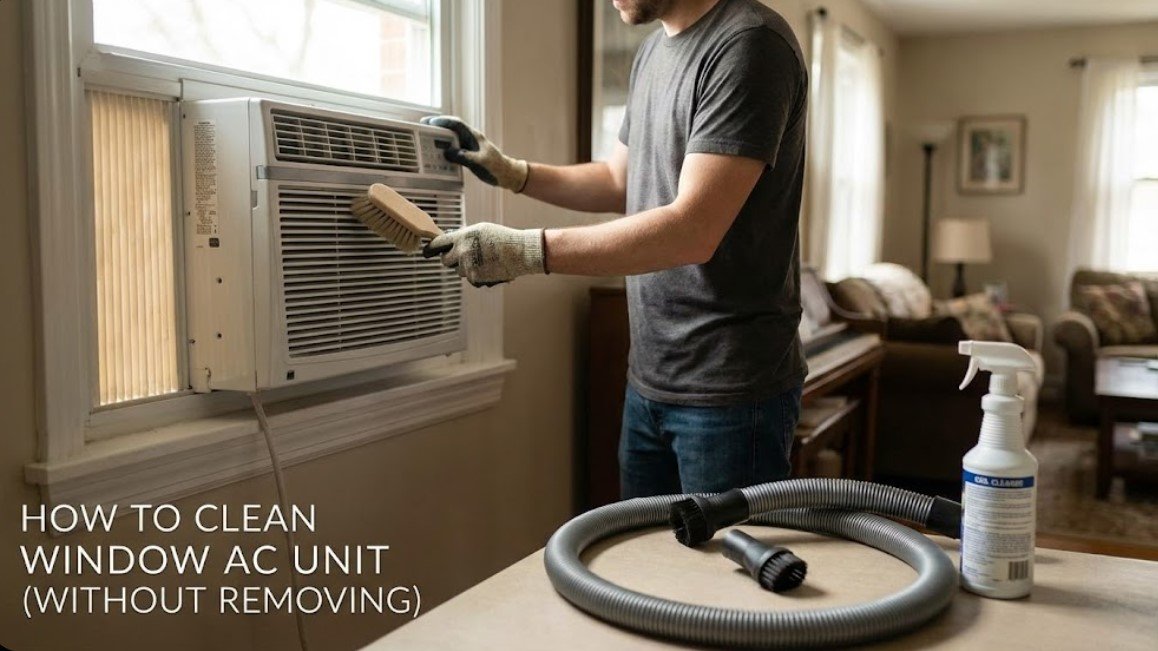
How to Clean Window AC Unit Without Removing It (The Safe Way)
Yes, you can clean a window AC without removing it. Unplug the unit, wash the filter and grille, gently vacuum the indoor coil, and apply a manufacturer-approved no-rinse evaporator coil cleaner while catching runoff. Keep liquid away from the controls and motor, avoid water pressure, and stop if heavy contamination is beyond reach.
⚡ The TidyFormula™ Quick Answer
The Verdict: Build a “catch bag” funnel, remove loose dust, and use a no-rinse foaming cleaner labeled for indoor evaporator coils. Do not use pressurized water.
- Supplies: No-rinse evaporator coil cleaner, soft-brush vacuum attachment, spray bottle, trash bag, tape, and bucket.
- Time: About 30–45 minutes of cleaning, plus drying time.
- Effectiveness: Best for a dusty filter, dirty indoor coil, minor drain-pan buildup, reduced airflow, and musty odors. It cannot fully clean a heavily soiled rear condenser or internal blower wheel.
What You Can—and Cannot—Clean in Place
From inside the room, you can usually reach the filter, front grille, louvers, indoor evaporator coil, and part of the drain pan. Cleaning these areas often improves airflow and removes the damp dust that contributes to musty odors.
This method does not provide full access to the rear condenser coil, fan blades, motor, or enclosed drain channels. It also is not a substitute for repair if the unit leaks because it is installed incorrectly, has damaged components, or is freezing during operation.
What I Use For This Job
Using the right tools saves time and protects your belongings. Here are my exact recommendations:
*As an Amazon Associate, TidyFormula earns from qualifying purchases.
Before starting, check the care section of your model’s manual. Some faceplates, filters, coatings, and electronic controls require model-specific handling.
The Gear (Keep It Simple)
You don’t need a pressure washer. In fact, that could bend the fins and send water into your wall or electrical components. You need:
- Foaming Coil Cleaner: Get a no-rinse product specifically labeled for indoor evaporator coils and compatible with aluminum and copper.
- A Vacuum: With a clean, soft brush attachment.
- A Heavy-Duty Trash Bag & Duct Tape: This is your catchment system for dirty drips. Painter’s tape is safer on delicate painted surfaces.
- A Bucket and Old Towels: Place these below the unit as a second layer of protection.
- A Spray Bottle: Filled with plain water. Use it only if the coil-cleaner label permits or requires a light rinse.
- Warm Water and Dish Soap: For a washable filter and removable plastic grille.
- Gloves and Eye Protection: Wear what the cleaner label specifies, and ventilate the room while using an aerosol product.
Do not use bleach, drain cleaner, oven cleaner, household degreaser, scented disinfectant, or an unlabeled homemade mixture on the coil. These products may corrode metal, damage coatings, leave irritating residue, or react with another cleaner. Never combine cleaning products.
Prepare the Unit and Room
- Choose a dry time to work. Keep children and pets away from the area, open a nearby window if practical, and follow the cleaner’s ventilation directions.
- Turn the AC off and unplug it. Do not rely on the control panel or remote. If the plug, cord, or outlet looks scorched, cracked, wet, or loose, stop and have the electrical problem addressed.
- Confirm that the unit is secure. Cleaning should not require pushing, lifting, or changing the AC’s position. Stop if the unit shifts in the window or its support feels unstable.
- Protect the surroundings. Move curtains, furniture, and electronics away. Put towels and a bucket beneath the front edge.
- Locate the controls. The electronic control board is commonly behind one side of the front panel. Cover that area loosely with plastic without forcing material into the cabinet.
Managing Water Runoff Indoors (The “Trash Bag Funnel”)
You are applying liquid to a machine mounted above a wall and floor. Even a no-rinse cleaner can liquefy dirt and create drips, so build a catchment system before treating the coil.
The Setup:
- Get a large, heavy-duty trash bag.
- Open or cut the bag so it forms a wide sheet or shallow funnel beneath the indoor side of the AC.
- Tape the upper edge below the front opening. Do not cover ventilation slots, push tape into the cabinet, or block the unit’s outdoor drainage path.
- Tape the sides high enough to guide front runoff toward the center.
- Gather the bottom of the bag and direct one corner into a bucket. If you snip a drainage hole, make it only after the corner is securely positioned over the bucket.
- Place towels beneath the bucket and along the windowsill in case the tape releases.
This is a drip-management system, not permission to soak the AC. Apply the minimum liquid needed and pause immediately if water appears near the wall, outlet, power cord, or controls.
Cleaning the Filter and Front Grille in Place
Step 1: Power Down
Unplug the unit completely. Keep the plug where you can see it so nobody reconnects the AC while you are working.
Step 2: Remove the Faceplate
Follow the model’s instructions to release the front plastic cover. It may snap off or have screws near the bottom or behind the filter. Do not pry hard against brittle plastic.
Take out the filter. Use a soft brush or slightly damp microfiber cloth on the front grille and louvers. Avoid letting liquid run through the louvers and into the fan or control area.
Step 3: Clean the Filter Correctly
First determine whether the filter is washable. Most reusable mesh filters can be rinsed, but disposable, charcoal, or specialty filters may need replacement instead.
For a washable filter:
- Vacuum loose dust from the dirty side without pressing hard.
- Rinse with lukewarm water. If needed, use a small amount of mild dish soap.
- Rinse away soap residue and shake off excess water.
- Lay the filter flat or stand it upright to air-dry completely. Do not use a hair dryer, clothes dryer, or high heat.
Step 4: Vacuum the Indoor Coil
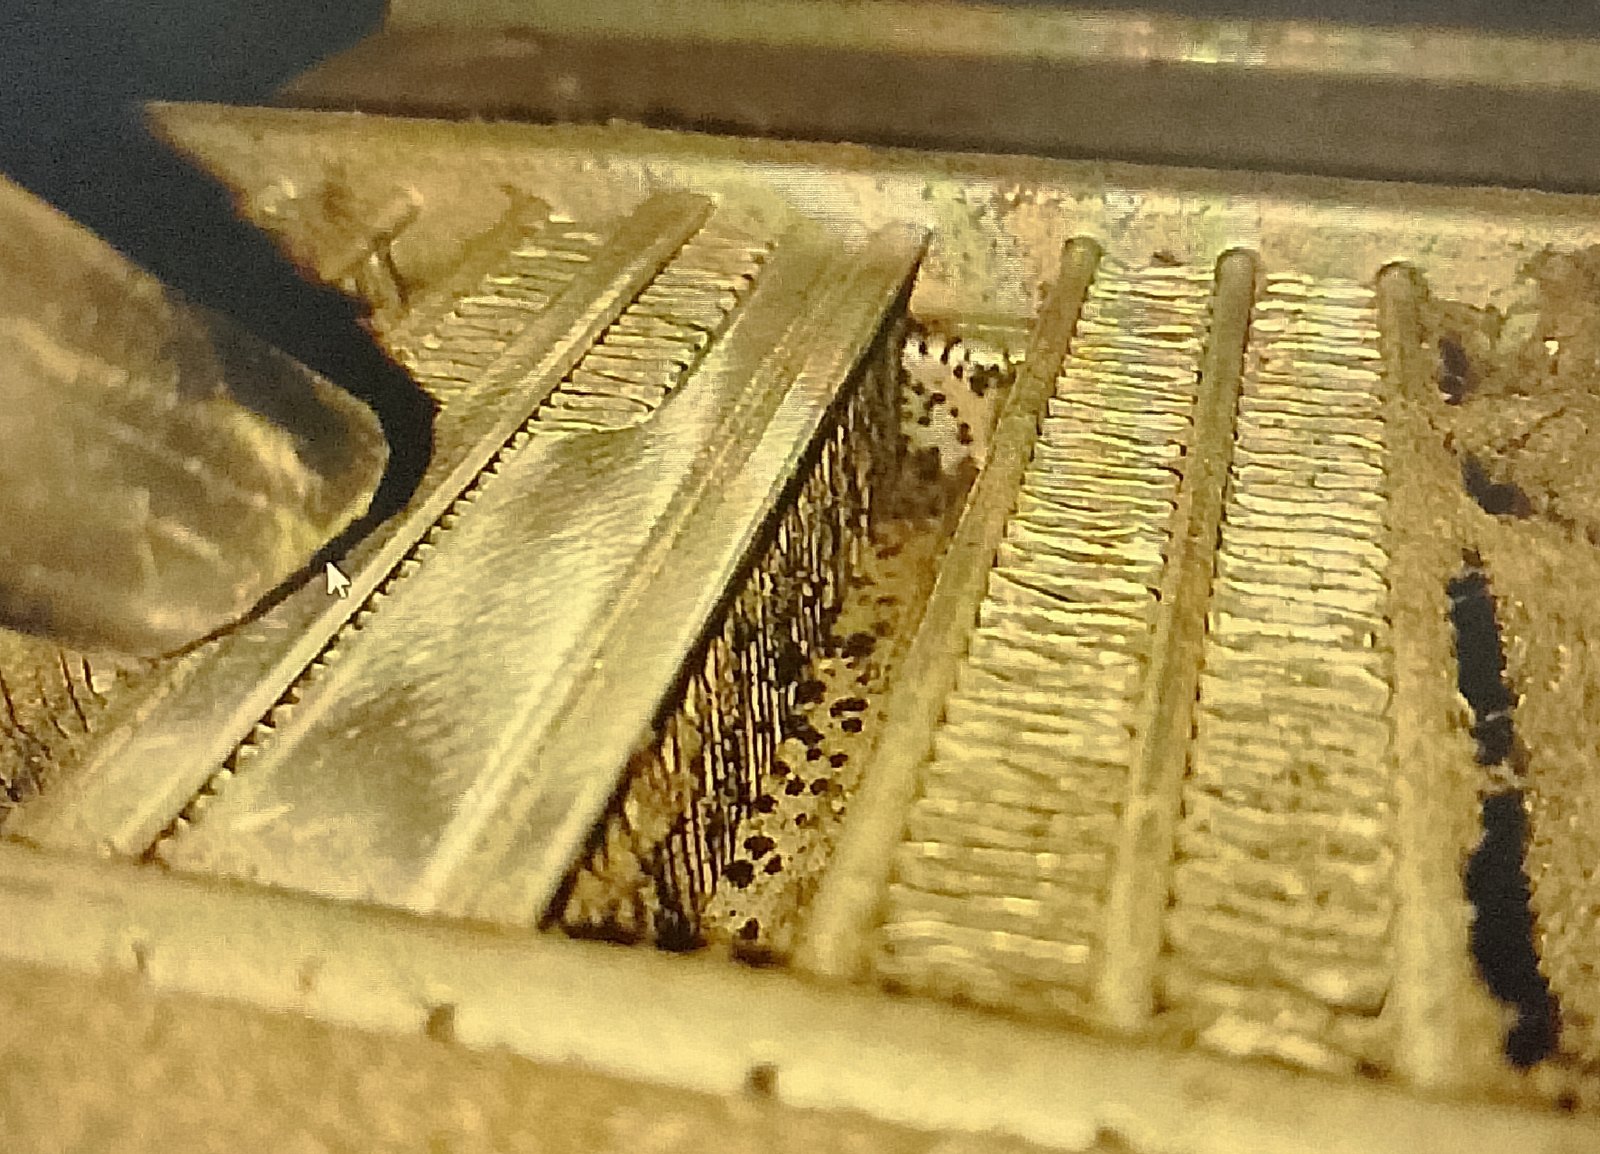
The thin aluminum fins behind the filter form the evaporator coil. Use the vacuum’s soft brush at low suction if your vacuum has a power setting.
Move in the direction of the fins, which is usually up and down. Keep the brush nearly parallel to the surface, and lift away dust rather than pushing it farther between the fins.
Do not use a stiff scrub brush, compressed air, metal tool, or vacuum nozzle without a soft attachment. A fin comb can correct minor bending, but it must match the fin spacing and should not be forced into the coil.
Cleaning Coil Buildup and Musty Odors Without Full Disassembly
A dirty, damp coil and drain pan can hold dust and organic buildup that produce a stale or musty smell. Cleaning accessible surfaces may help, but a persistent odor can also come from a hidden blower wheel, blocked drainage, outdoor debris, pests, or building moisture.
The Process:
- Read the entire product label. Confirm that the cleaner is intended for indoor evaporator coils and does not require a hose rinse.
- Protect electrical parts. Keep the spray away from the control panel, display, wiring, capacitor, plug, outlet, and motor area.
- Shake the can if directed. Hold it at the distance specified on the label.
- Apply an even coat. Cover the accessible coil face without flooding it or spraying through the coil with force.
- Allow the labeled dwell time. Do not assume that longer is better, and do not let a product dry on the coil unless its instructions say that is acceptable.
- Rinse only as directed. A true no-rinse evaporator cleaner is generally designed to drain away or be carried off by normal condensation. If the label permits a water rinse, use a gentle mist—not a jet—and collect the runoff.
Why Foaming Cleaner Helps
A coil has narrow spaces that are difficult to reach with a cloth. A cleaner formulated for evaporator coils can loosen oily dust and residue between the fins so the material can move toward the drain pan. It still will not remove objects, thick debris, or contamination hidden behind the blower housing.
Do not follow the coil cleaner with hydrogen peroxide, vinegar, bleach, or another product. Even when products are applied separately, residue may remain and create an unwanted chemical interaction. If one labeled treatment does not resolve the buildup, rinse only as instructed and arrange for deeper cleaning.
Clean the Accessible Drain Pan
Use a flashlight to inspect the shallow pan below the coil. If you can reach it without touching wiring or sharp metal, wipe loose sludge from the accessible front portion with a damp disposable cloth.
Do not drill a drain hole or assume that every window AC should drip outdoors. Some models use a slinger ring to move collected condensate over the rear coil. Do not insert metal wire deep into a drain opening because it may puncture a pan, contact the fan, or damage internal parts.
Drying, Reassembly, and the First Test
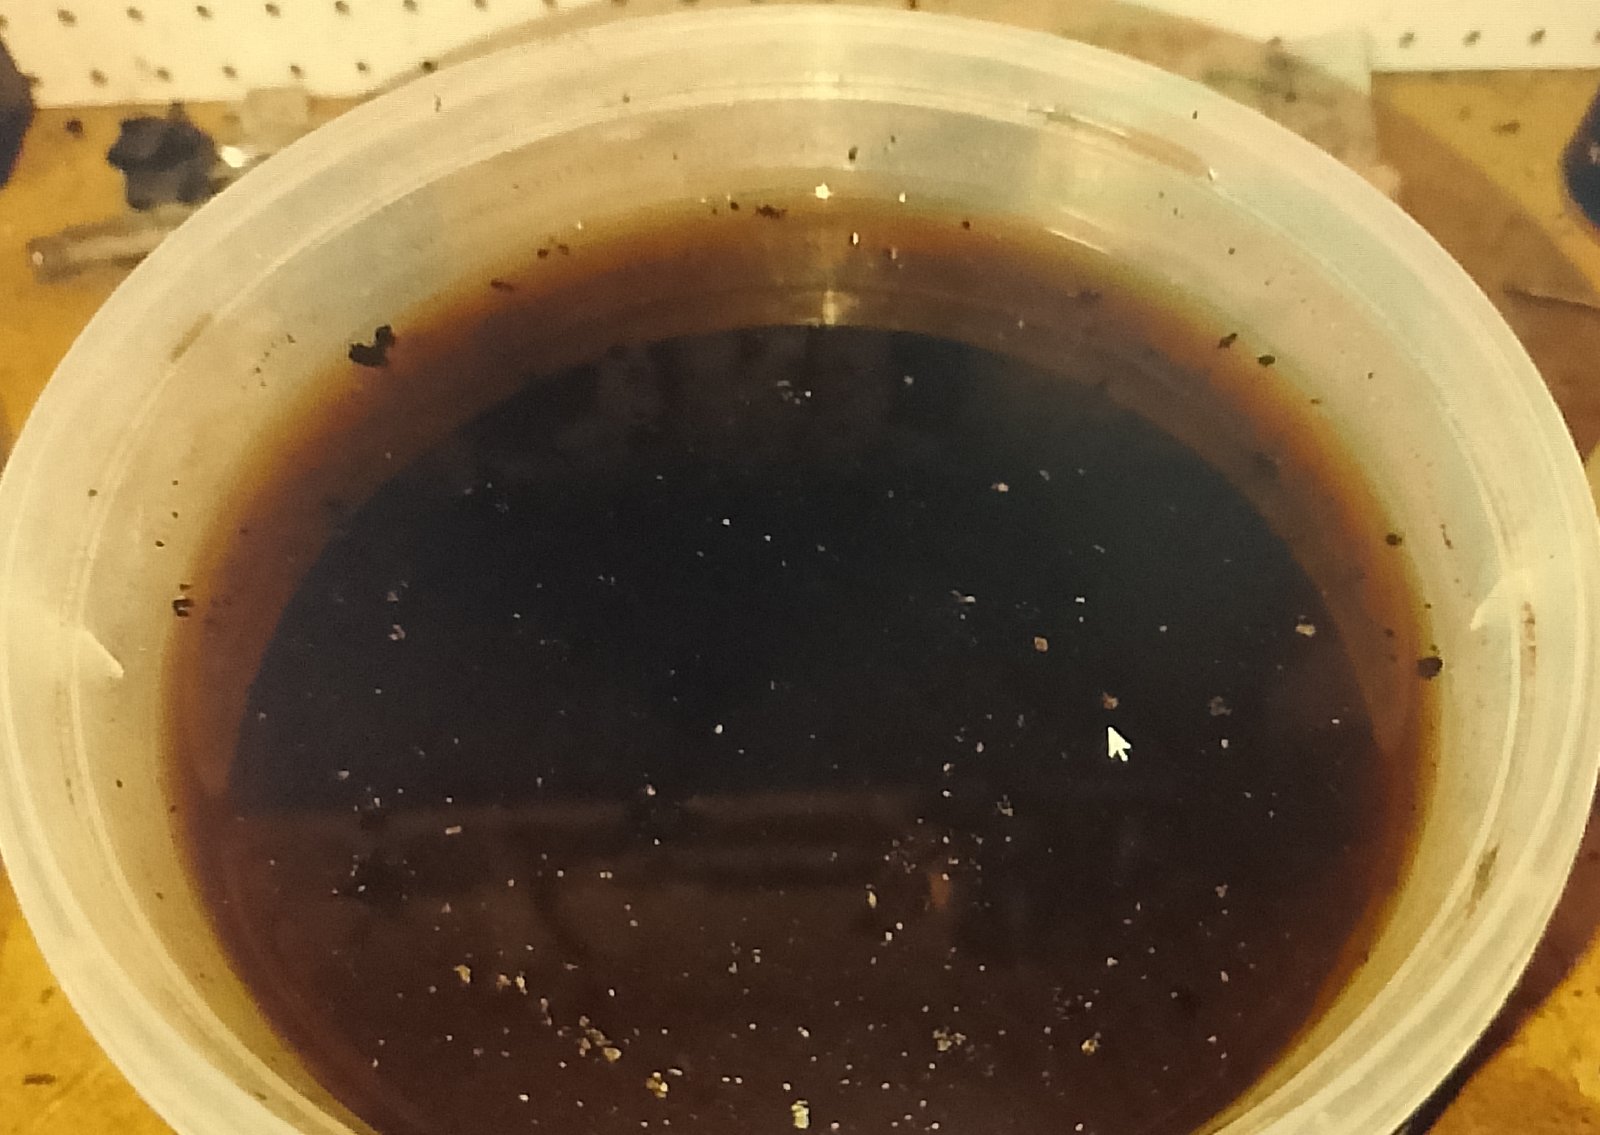
- Remove standing runoff. Let the catch bag drain into the bucket, then detach it carefully so dirty liquid does not spill against the wall.
- Wipe the cabinet. Dry the windowsill, cord, plug area, and accessible plastic surfaces. Do not reach into the fan compartment.
- Let the unit air-dry. The filter, grille, controls, plug, and any accidentally damp electrical areas must be completely dry before power is restored. Follow any drying time stated on the cleaner label or in the AC manual.
- Reinstall the dry filter. Confirm that it is seated in the correct direction and does not rub against the coil.
- Reattach the faceplate. Engage all tabs and reinstall the original screws without overtightening them.
- Test the unit. Plug it directly into its approved outlet, start it according to the manual, and watch for leaks, unusual noises, electrical odors, ice, or water blowing from the vents.
A mild cleaner odor may be noticeable initially if the product label indicates this is normal. Turn the unit off and ventilate the room if the odor is strong, irritating, burning, or does not diminish.
Troubleshooting After Cleaning
The AC Still Smells Musty
Check that the filter is fully dry and that no dirty water remains in the accessible pan. If the odor returns quickly, the blower wheel, rear section, insulation, or hidden drainage channels may need cleaning that cannot be completed safely from the room side.
A sewage, burning, fishy, chemical, or dead-animal odor is not a routine dirty-coil smell. Turn the unit off and investigate the source rather than adding fragrance or more cleaner.
Airflow Is Still Weak
Make sure the filter is clean, dry, and installed correctly. Look for bent fins, ice, closed louvers, or curtains blocking the intake. If ice forms, turn off cooling and let the unit thaw without chipping at it. Recurring ice can indicate an airflow, temperature-control, fan, or refrigerant problem that cleaning alone will not correct.
Water Leaks Into the Room
Turn the AC off and check for a displaced front panel, overflowing catchment material, blocked accessible drainage, or a unit that has shifted in the window. Do not attempt to tilt or reposition a heavy installed AC by yourself.
The correct installation angle varies by model. Consult the installation instructions rather than creating a steep outward slope, drilling a hole, or removing a drain plug that the manufacturer intends to remain installed.
The Unit Rattles or Grinds
Stop using it. A panel may be loose, or debris may be contacting the fan. Grinding, scraping, or persistent rattling can also indicate a damaged blower, fan blade, or motor bearing.
The Reality Check: When This Method Fails
Cleaning in place is limited to what you can safely reach. Stop and arrange for removal, deeper service, or replacement if you find:
- Heavy Hidden Buildup: Thick sludge, matted debris, or extensive mold-like growth on the blower wheel, rear coil, insulation, or enclosed surfaces.
- Persistent Odor: A smell that returns soon after the filter and accessible coil are cleaned and dried.
- Electrical Damage: Burn marks, melted plastic, damaged wiring, repeated breaker trips, or a hot plug or outlet.
- Mechanical Noise: Grinding, scraping, severe vibration, or a fan that starts slowly.
- Pests: A nest, droppings, insects inside the cabinet, or a suspected dead animal.
- Recurring Ice or Leaks: Ice or indoor leakage that returns after the filter is clean and the unit is installed according to its manual.
- Unsafe Access: Any task that would require leaning out of an upper-floor window, reaching around the outdoor side, or loosening the installed unit.
In these situations, do not keep adding cleaner. The cabinet may need to be opened after the unit is safely removed and supported.
Prevent the AC From Getting Dirty Again
- Check the filter regularly: Inspect it every few weeks during heavy use and clean or replace it according to the manual.
- Keep the intake clear: Move curtains, bedding, furniture, and dust-producing items away from the front grille.
- Control indoor moisture: Persistent room humidity can contribute to damp odors and condensation problems.
- Inspect the installation: Make sure the side panels and window seals remain secure without blocking required drainage or ventilation.
- Dry before seasonal storage: If the unit will be removed, let it drain and dry before covering or storing it upright in a clean, dry place.
- Do not operate under a cover: Remove any seasonal cover before turning the AC on, and use only covers permitted by the manufacturer.
FAQ (Honest Answers Only)
1. Can I use a steam cleaner?
It is not the safest choice for an installed window unit. Steam can carry moisture into electronics, loosen adhesives, and bend fins if the nozzle is too close or forceful. Use a product and method approved for the unit instead.
2. Why does my AC spit water after cleaning?
There may be excess liquid in the pan, loosened debris near the blower, an installation problem, or a drainage issue. Turn the unit off and let excess moisture drain. If water continues to come through the vents, unplug it and inspect the accessible pan. Do not reach into a moving fan or probe deeply with wire.
3. Can I use bleach?
No. Bleach can corrode aluminum and copper, damage nearby materials, and leave strong residue. Do not use vinegar, peroxide, or another household chemical on top of coil cleaner either. Use one cleaner labeled for evaporator coils and follow its instructions.
4. How long until I can turn it on?
There is no universal waiting time. Reconnect power only after the filter, grille, plug, controls, and any accidentally damp electrical areas are completely dry and the cleaner’s label permits operation.
5. Will cleaning make the AC colder?
It may restore cooling performance if dust on the filter or coil was restricting airflow and heat transfer. Cleaning will not fix low refrigerant, a failing compressor, a damaged fan, an undersized unit, or an installation problem.
Everything Mentioned Above
Before you leave, grab the tools you need to get the job done right the first time:
*As an Amazon Associate, TidyFormula earns from qualifying purchases.