How to Clean a Patio Without a Pressure Washer (The “Bleach & Brush” Guide)
You can clean a patio without a pressure washer by sweeping it, applying a surface-safe patio cleaner, allowing the cleaner to dwell without drying, scrubbing with a stiff synthetic brush, and rinsing thoroughly. Oxygen bleach is a practical starting point for many masonry patios. Use chlorine bleach only when the product label and patio manufacturer permit it, and never mix cleaners.
⚡ The TidyFormula™ Quick Answer
The safest approach: Match the cleaner to the patio material, test a hidden area, and let the cleaner loosen the grime before scrubbing.
- For many unsealed concrete patios: Use oxygen bleach or an outdoor cleaner labeled for concrete, mixed exactly as directed.
- For stubborn green growth: A chlorine-bleach outdoor cleaner may help if the surface and product labels permit it.
- Working time: Allow about 30–60 minutes for preparation, dwell time, scrubbing, and rinsing.
- Important: Never combine bleach with dish soap, vinegar, ammonia, acids, or another cleaner.
Check the Patio Material Before You Clean
A cleaner that is suitable for plain concrete may discolor a sealer, damage nearby metal, or etch natural stone. If you do not know what the patio is made from, begin with warm water and a pH-neutral cleaner labeled for outdoor masonry.
| Patio surface | Good starting method | What to avoid or verify |
|---|---|---|
| Unsealed concrete or concrete pavers | Oxygen bleach or a cleaner labeled for concrete, followed by brushing and rinsing | Test colored concrete and joints first; do not use acids casually |
| Sealed, stamped, or colored concrete | A pH-neutral cleaner approved by the sealer or surface manufacturer | Strong bleach, solvents, and abrasive scrubbing can dull or discolor the finish |
| Limestone, travertine, marble, or other acid-sensitive stone | A pH-neutral natural-stone cleaner and a medium-stiffness nylon brush | Avoid vinegar and acidic patio cleaners; confirm bleach compatibility before use |
| Brick or clay pavers | A masonry-safe cleaner tested in an inconspicuous area | Aggressive acids may change the color or worsen visible salt deposits |
| Porcelain or ceramic tile | A tile-safe cleaner and nylon brush, with special attention to grout joints | Avoid metal brushes and cleaners not approved for the grout or tile finish |
| Wood or composite decking | Follow the decking manufacturer’s cleaning instructions | Do not automatically use the masonry method below; stiff brushes and strong bleach can damage the surface |
The “Bleach & Brush” Method
This method is intended primarily for compatible concrete, concrete pavers, and masonry. The cleaner loosens organic staining and surface grime so the brush can remove it without high-pressure equipment.
What You Need
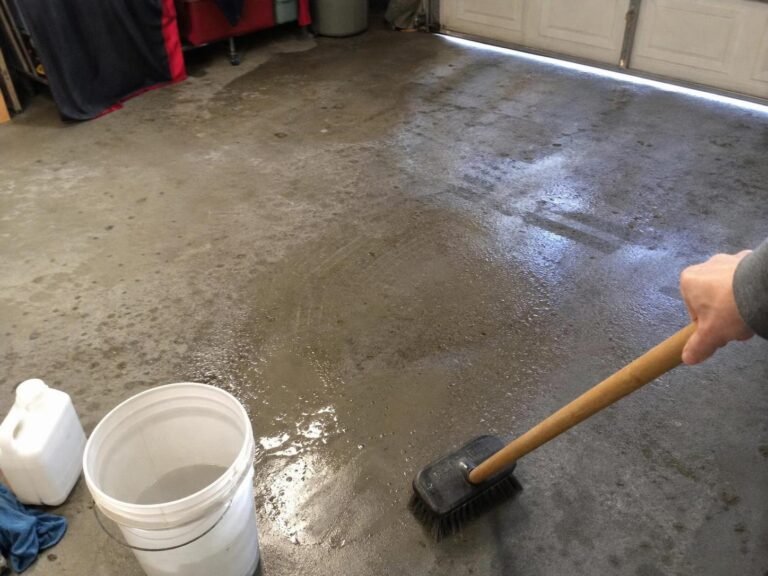
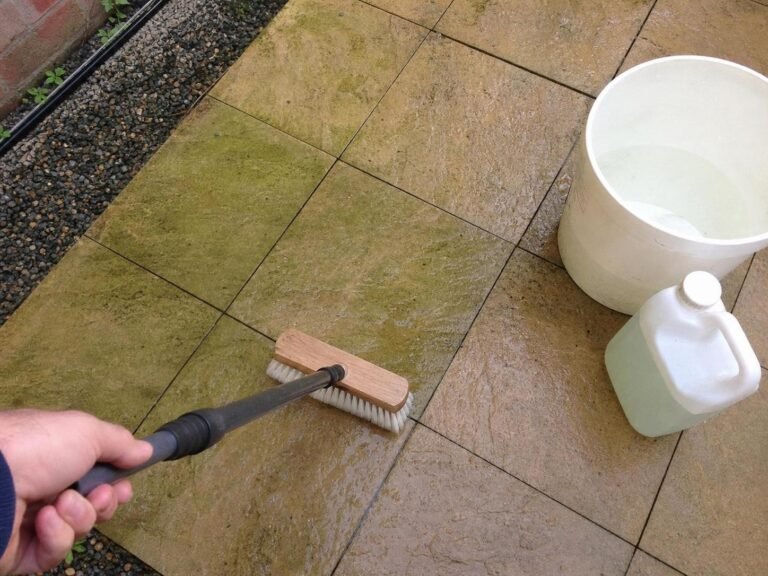
- A deck brush: Choose stiff synthetic bristles for rough concrete. Use a less aggressive nylon brush on smoother or more delicate surfaces.
- One compatible cleaner: Use oxygen bleach, a labeled outdoor patio cleaner, or chlorine bleach only if the product and patio manufacturer allow it. Do not combine products.
- A plastic bucket or applicator: Use only if the cleaner’s directions allow bucket application.
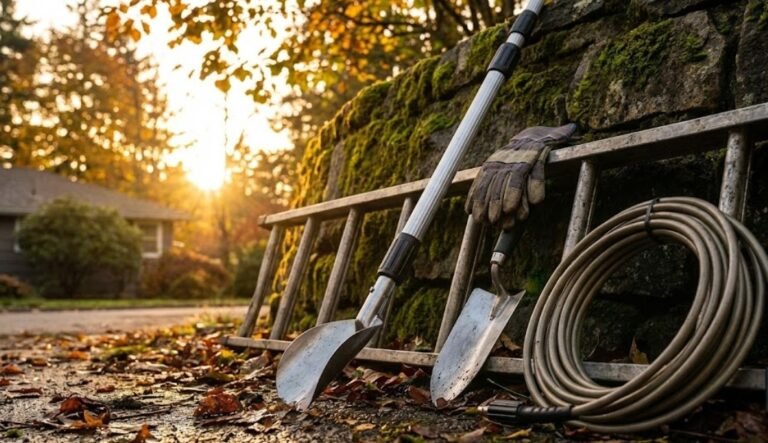
- A garden hose: Fit it with an ordinary spray nozzle rather than a high-pressure attachment.
- Protection: Wear chemical-resistant gloves, eye protection, long clothing, and closed shoes. Bleach can permanently discolor fabric.
Prepare the Area
- Choose suitable weather: Work on a cool, calm day without imminent rain. Direct sun can make the cleaner dry too quickly, while wind can carry spray onto plants, furniture, or your skin.
- Clear the patio: Remove furniture, grills, rugs, pots, toys, and anything else that could be splashed. Move metal items away because bleach can promote corrosion or discolor some finishes.
- Sweep thoroughly: Remove leaves, soil, loose moss, and grit. Cleaning solution works more evenly when it can reach the patio instead of soaking into debris.
- Check drainage: Keep chemical runoff out of ponds and storm drains. Follow the cleaner label and local disposal requirements. Use as little solution as necessary.
- Protect nearby plants: Hose down any nearby plants or grass with plain water before cleaning. Cover sensitive plants if practical, but do not leave them covered long enough to overheat.
- Test a small area: Apply the chosen cleaner in an inconspicuous spot. Rinse it, let the area dry, and check for lightening, darkening, etching, sealer damage, or joint-sand loss before continuing.
Clean the Patio Step by Step
- Read the product label: Confirm that the cleaner is intended for your surface. Follow its dilution, protective-equipment, application, dwell-time, and rinsing instructions. Product concentrations vary, so a universal bleach ratio is not appropriate.
- Prepare only one cleaner: Mix the product with water only when the label directs you to do so. Never add dish soap, vinegar, ammonia, acids, oxygen bleach, or another cleaner to chlorine bleach.
- Work in small sections: Treat an area you can scrub and rinse before it dries. Start at the point farthest from your exit so you do not need to walk over the slippery surface.
- Apply evenly: Use a watering can, low-pressure sprayer, or brush as permitted by the label. Avoid creating a fine mist and keep the cleaner off doors, painted trim, metal fixtures, and untreated wood.
- Allow the cleaner to dwell: Leave it for the label-specified time. The surface should remain damp, but do not exceed the instructed dwell time.
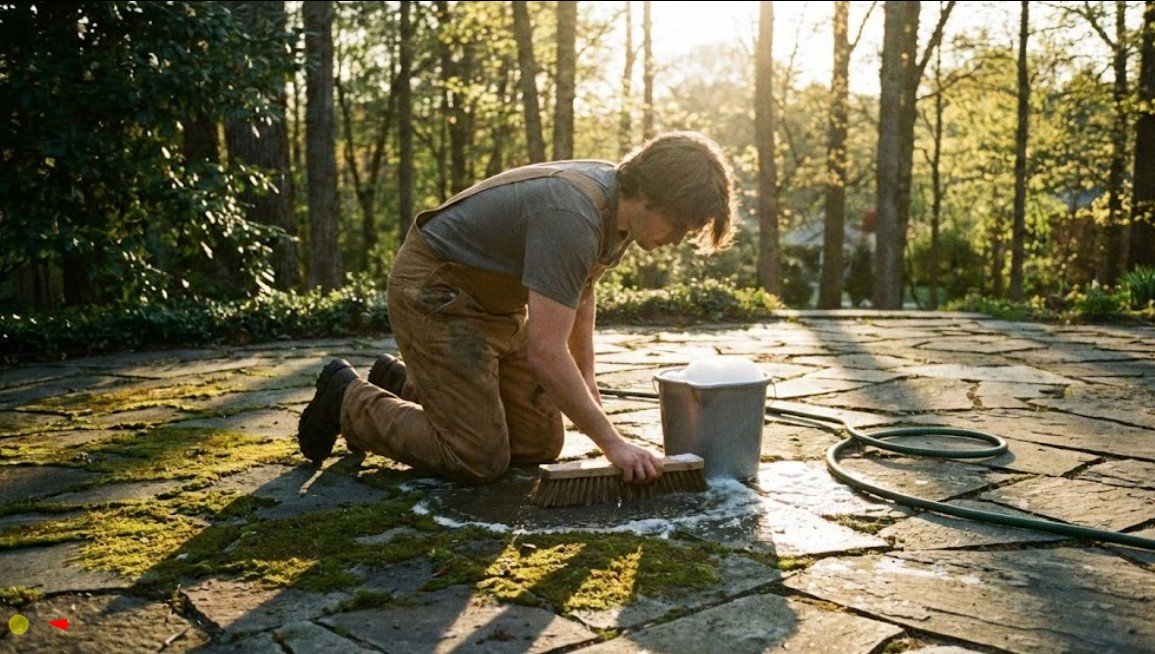
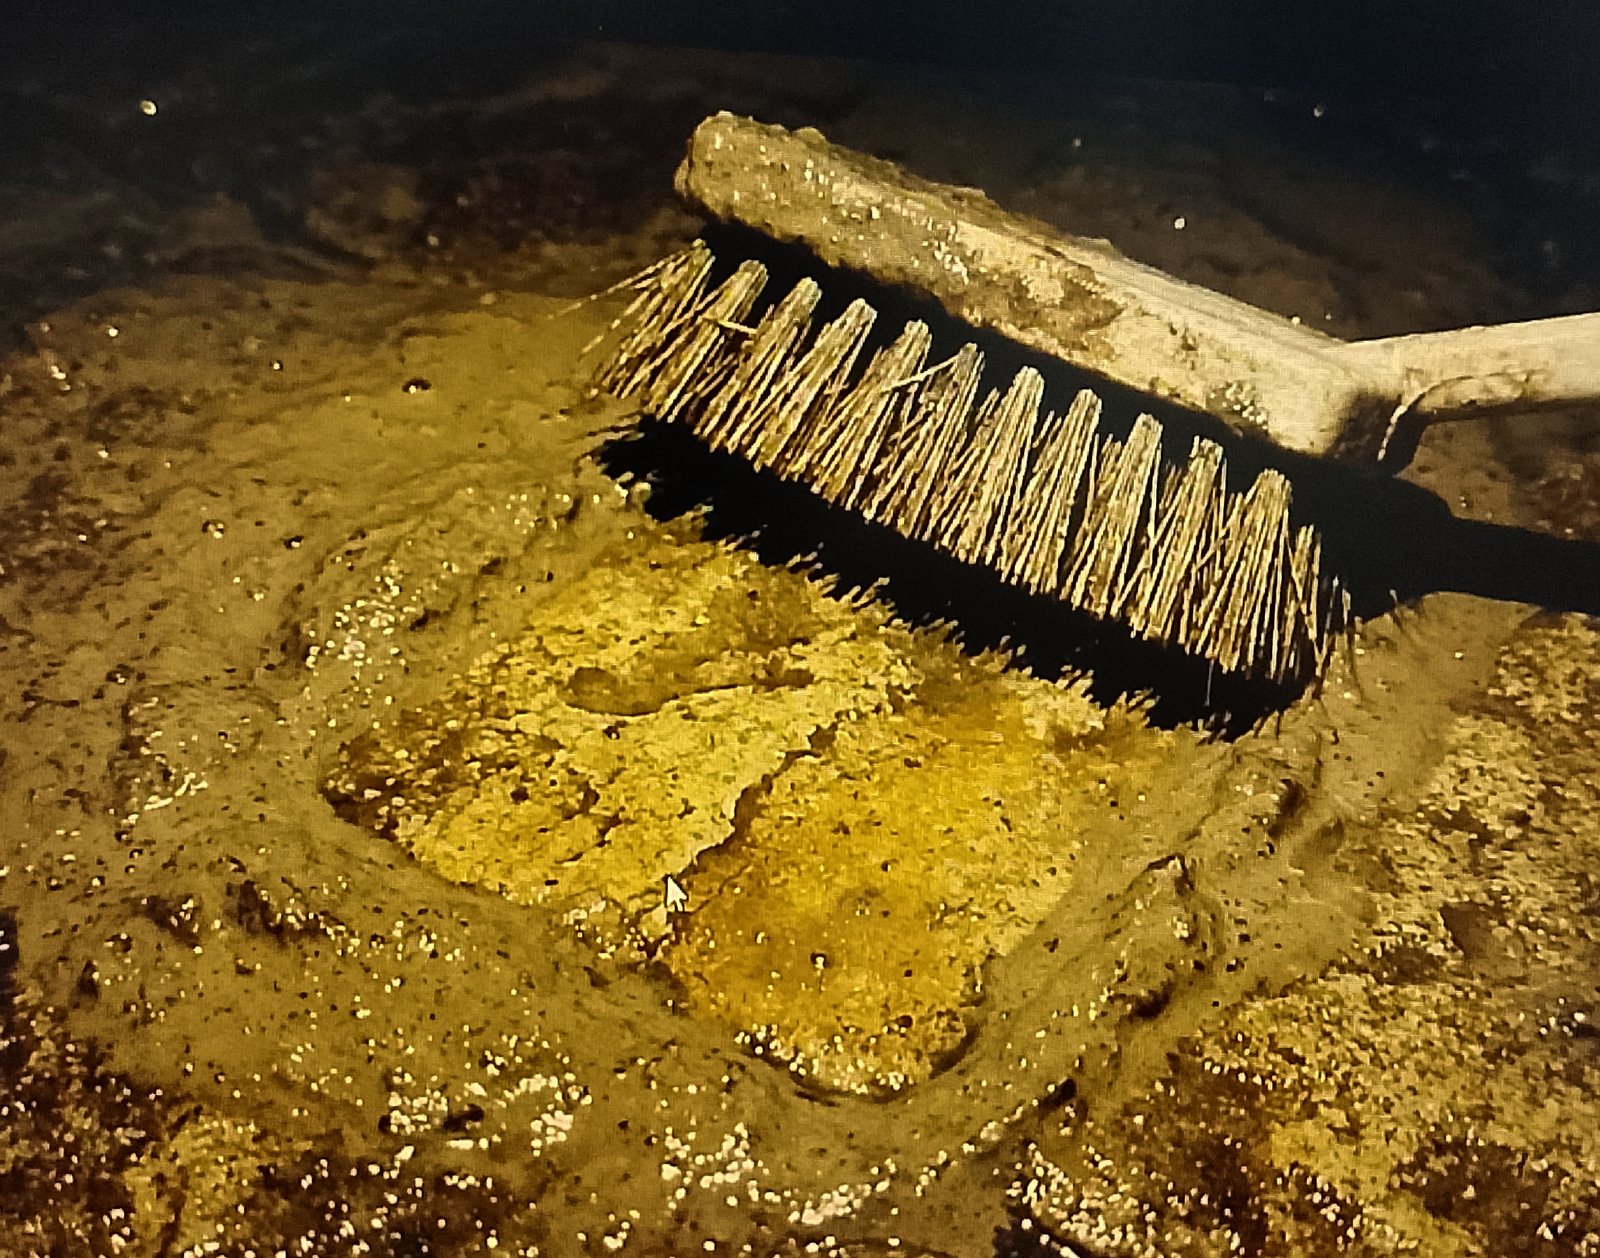
- Scrub methodically: Use overlapping passes in two directions. Give joints, shaded edges, and textured areas extra attention, but avoid gouging soft mortar or sweeping joint sand out of pavers.
What I Use For This Job
Using the right tools saves time and protects your belongings. Here are my exact recommendations:
*As an Amazon Associate, TidyFormula earns from qualifying purchases.
- Rinse thoroughly: Use plenty of clean water at ordinary hose pressure. Direct water away from the house, planting beds, ponds, and storm drains. Rinse nearby plants again if they may have been splashed.
- Inspect after drying: Wet masonry often hides stains. Let the patio dry before deciding whether it needs another treatment. Repeat only if the label allows it.
🧪 Why Dwell Time and Brushing Matter
Patio grime collects in pores, textured surfaces, and joints. A compatible cleaner softens or loosens the buildup, while brushing supplies the friction needed to lift it. Allowing the product to dwell as directed is more effective than applying it and rinsing immediately. The cleaner still must be rinsed before it dries.
Troubleshooting Common Patio Problems
Green Areas Remain After Scrubbing
Let the patio dry first because wet concrete can make staining difficult to judge. If growth remains, repeat the same compatible cleaner according to its label rather than making the mixture stronger. Persistent regrowth may indicate constant shade, poor drainage, leaking gutters, or sprinklers that keep the surface damp.
White Residue Appears
A chalky film may be dried cleaner, mineral residue from hard water, or efflorescence coming through masonry. Rinse dried cleaner with plain water and brush gently. Do not automatically apply vinegar or an acid, especially to concrete, mortar, limestone, travertine, or marble.
The Patio Looks Patchy
Patchiness can occur when cleaner is applied unevenly, one section dries, or a sealed surface reacts to the product. Stop applying more cleaner. Rinse the entire area, let it dry completely, and consult the surface or sealer manufacturer if the color remains uneven.
Paver Sand Is Washing Out
Reduce the hose flow and direct water across the surface rather than straight into the joints. After the patio is fully dry, replace missing joint material with the type recommended for the pavers. Do not allow loose sand to enter a storm drain.
The Surface Is Flaking or the Sealer Feels Sticky
Stop immediately and rinse with clean water. Flaking, softening, unusual color transfer, or a sticky finish can indicate an incompatible cleaner or a failing coating. Further scrubbing may make the damage worse.
Drying and Aftercare
Keep people and pets off the patio until it has been thoroughly rinsed and is no longer slippery. Allow the surface to dry before returning furniture, rugs, and planters. Trapped moisture beneath outdoor rugs and pots can encourage stains and recurring growth.
If you plan to apply sealer or replenish polymeric joint sand, wait until the patio has dried for the period required by that product. Do not seal over remaining stains, damp joints, or cleaning residue.
To slow future buildup:
- Sweep leaves and soil from the patio regularly.
- Move planters occasionally so moisture can evaporate beneath them.
- Clean clogged drains and correct areas where water pools.
- Redirect sprinklers that repeatedly wet the paving.
- Trim vegetation where practical to improve light and airflow.
- Address gutter overflows or downspouts that discharge onto the patio.
How to Clean a Driveway Without a Pressure Washer
Driveways are usually rougher than patios and may have oil, tire marks, and automotive residue. Treat stains individually instead of covering the entire driveway with an unnecessarily strong chemical.
Treating Oil Spots
- Absorb fresh spills first: Cover the spill with an absorbent intended for oil, allow it to work, and collect it for disposal according to local requirements.
- Use the correct degreaser: Choose a product labeled for concrete or asphalt, depending on the driveway. Asphalt can be damaged by products that are acceptable on concrete.
- Keep runoff contained: Oil and degreaser should not be rinsed into the street or a storm drain. Follow the product label for collection and disposal.
Scrubbing a Concrete Driveway
For larger dirty areas, use a stiff push broom rather than a small hand brush.
- Sweep away loose debris.
- Apply one driveway cleaner labeled for the surface.
- Let it dwell for the specified time without drying.
- Scrub with the push broom, concentrating on visible marks.
- Rinse or collect the residue as directed on the product label.
Avoid improvised mixtures and do not combine detergent, degreaser, bleach, or another cleaner. Tire marks and old oil stains may require several label-directed applications rather than one highly concentrated treatment.
Cleaning House Siding Without a Pressure Washer
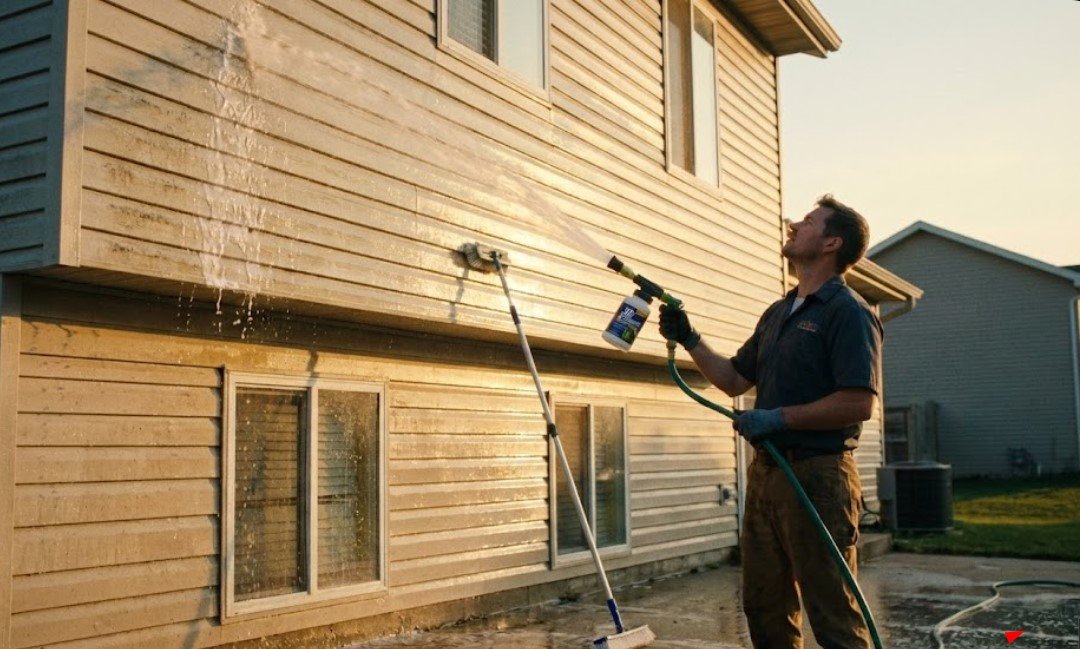
Pressure directed upward can force water behind vinyl siding, around windows, and into wall openings. A hose-end siding cleaner can be a better choice when it is approved for the siding material.
The best tool for cleaning house siding without pressure washer is often a garden hose attachment sprayer, such as Windex Outdoor or 30 Seconds Cleaner, provided its label permits use on your siding.
- How it works: Attach the bottle to the hose and use the labeled wash and rinse settings.
- Protect the building: Close windows and doors, cover or avoid exterior electrical fixtures, and do not spray directly into vents.
- Work from a stable position: Avoid leaning from a ladder while holding a hose. Use an extension brush for reachable areas if the siding manufacturer permits light scrubbing.
- Rinse downward: Keep the stream angled down the siding rather than up beneath the panels.
- Follow the label: Some hose-end cleaners contain bleach or other active ingredients. Do not add another cleaner or pretreat with a different chemical.
When to Use a Different Method
Stop and choose a material-specific cleaner or professional service if:
- You cannot identify the patio material or existing sealer.
- The test patch changes color, loses its sheen, becomes sticky, or begins to flake.
- The paving is loose, crumbling, or surrounded by failing mortar.
- Runoff cannot be kept away from a pond, stream, storm drain, or sensitive landscaping.
- The stain appears to be rust, paint, mortar, efflorescence, or deeply absorbed oil rather than ordinary dirt or green growth.
- The patio remains dangerously slippery or uneven after cleaning.
A pressure washer is not essential for routine patio cleaning. The best result comes from using a cleaner approved for the exact surface, allowing the proper dwell time, supplying controlled brush agitation, and rinsing away all residue.
FAQ
Can I use vinegar to clean my patio?
Vinegar is not a universal patio cleaner. Its acidity can etch concrete, weaken cement-based joints, and damage limestone, travertine, marble, and other acid-sensitive stone. Use it only when the surface manufacturer specifically permits it.
Will bleach kill my grass?
Bleach can injure grass and other plants, especially when applied directly or allowed to collect in the soil. Pre-wet nearby vegetation, prevent concentrated runoff, rinse accidental splashes promptly, and follow the product label. Use a different cleaning method if runoff cannot be controlled.
Is oxygen bleach better than chlorine bleach?
Oxygen bleach is often a useful starting option for compatible masonry because it is generally less likely to remove color from nearby fabrics and surfaces. Chlorine bleach may work faster on some organic staining, but it presents greater risks to plants, clothing, metals, coatings, and incompatible materials. Surface compatibility and label directions should determine the choice.
Can I clean a patio with dish soap alone?
A small amount of mild soap used by itself may remove light dirt from a compatible surface, but it can leave slippery residue if it is not rinsed thoroughly. Do not add dish soap to bleach or another patio cleaner.
How often should I clean my patio?
Clean it when dirt or slippery growth becomes visible rather than following a rigid schedule. Many patios need attention after a damp season. Better drainage, regular sweeping, more airflow, and removing wet leaves promptly can reduce how often deep cleaning is necessary.
Everything Mentioned Above
Before you leave, grab the tools you need to get the job done right the first time:
*As an Amazon Associate, TidyFormula earns from qualifying purchases.