How to Clean an Ice Maker Safely
To clean an ice maker safely, empty it, turn it off, wash removable parts with mild dish soap, and run the manufacturer’s recommended cleaning cycle with an approved ice-maker cleaner if your model calls for one. The main rule is simple: don’t pour cleaner into the machine or remove panels unless your manual specifically permits it.
Ice makers can hold old ice, mineral film, dust, and water residue in places that are easy to miss. A careful clean is usually more useful than aggressive scrubbing, especially on coated metal, plastic water channels, sensors, and built-in refrigerator ice systems.
⚡ The TidyFormula™ Quick Decision
Best approach: Use mild dish soap for removable bins and scoops, then follow your ice maker’s manual for its cleaning cycle and approved cleaner.
Use caution with: Vinegar, bleach, abrasive pads, strong descalers, and excess water around electrical parts, sensors, vents, and water connections.
Replace instead of cleaning if: The ice bin is cracked, a removable food-contact part has deep damage that cannot be cleaned thoroughly, or the machine leaks after proper reassembly.
What I Use For This Job
Using the right tools saves time and protects your belongings. Here are my exact recommendations:
*As an Amazon Associate, TidyFormula earns from qualifying purchases.
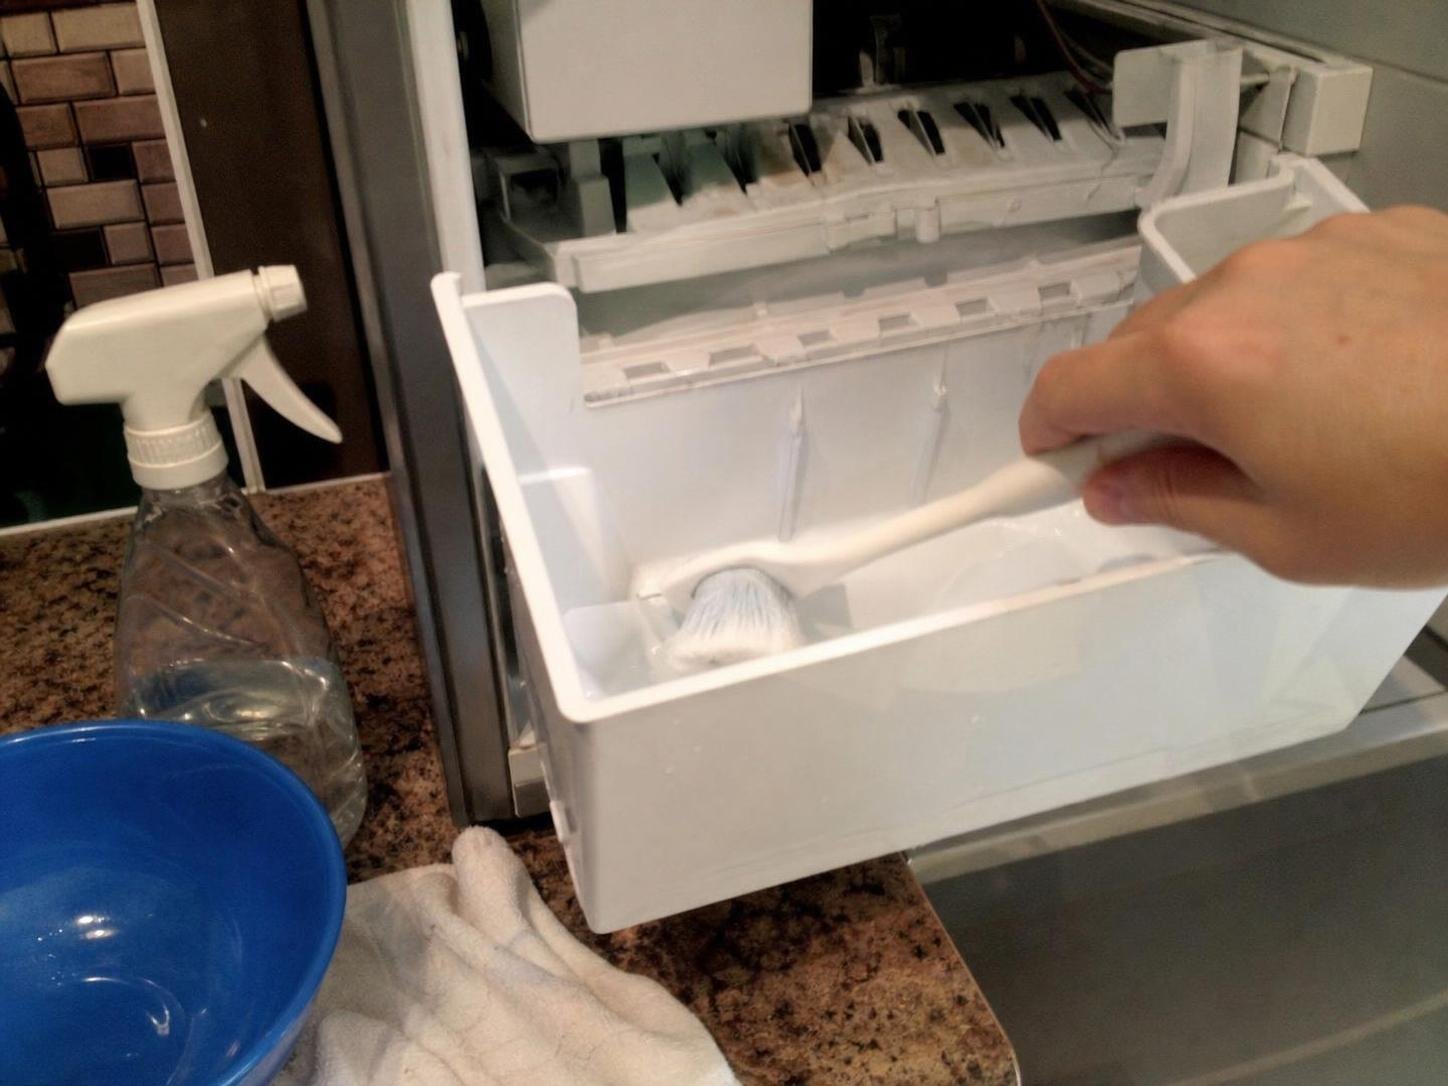
Check your ice maker type before you start
The safest method depends on whether you have a countertop ice maker, a refrigerator ice maker, or a plumbed-in undercounter unit. Start with the current manufacturer instructions, because access panels, filters, drain plugs, and cleaning-cycle requirements vary.
- Countertop ice maker: Usually has a removable basket, scoop, water reservoir, and drain plug. Unplug it before washing accessible interior parts or draining water.
- Refrigerator ice maker: Usually needs the ice maker switched off and the bin removed. Avoid spraying cleaner into the freezer compartment or near the ice maker assembly.
- Plumbed-in or built-in model: May require a specific cleaning product, filter procedure, or water shutoff step. Follow the manual rather than guessing.
Stop before cleaning if you find loose wires, a damaged power cord, a cracked water line, corrosion around electrical connections, or an unexplained leak. Cleaning won’t correct a mechanical problem, and adding moisture can make diagnosis harder.
What you’ll need
Keep the supplies simple. Most routine cleaning involves wiping, washing removable parts, and flushing the system according to the appliance instructions.
- A clean soft cloth or nonabrasive sponge
- Warm water
- Mild dish soap for removable bins, scoops, and washable covers
- A soft bottle brush or small soft brush for accessible corners, if the manual permits it
- A dry towel
- The manufacturer-approved ice maker cleaner, if your model has a cleaning or descaling cycle
Avoid steel wool, scouring powder, abrasive scrub pads, and sharp tools. They can scratch plastic bins, wear through coatings, or damage small parts inside the ice maker. Also avoid putting any removable part in the dishwasher unless the manufacturer specifically says it is dishwasher-safe.
Clean the ice maker in the safest order
Start with removable parts and visible residue, then use the appliance’s approved cleaning process for internal water paths. This approach reduces the chance of leaving soap behind or forcing moisture into areas that should stay dry.
- Turn off the ice maker and remove the ice. Switch off the appliance, unplug a countertop model, or use the refrigerator’s ice maker control as directed in its manual. Discard the existing ice rather than saving it during cleaning.
- Empty standing water if your model allows it. For countertop units, use the drain plug or drain procedure described in the manual. Do not tip the appliance aggressively unless the manufacturer directs you to do so; trapped water can reach electrical areas.
- Remove washable parts. Take out the ice basket, scoop, and other removable components that the manual identifies as washable. Wash them in warm water with a small amount of mild dish soap, using a soft sponge or cloth.
- Rinse removable parts thoroughly. Soap residue can affect the taste and appearance of future ice. Rinse until the parts no longer feel slippery, then dry them with a clean towel or allow them to air-dry completely.
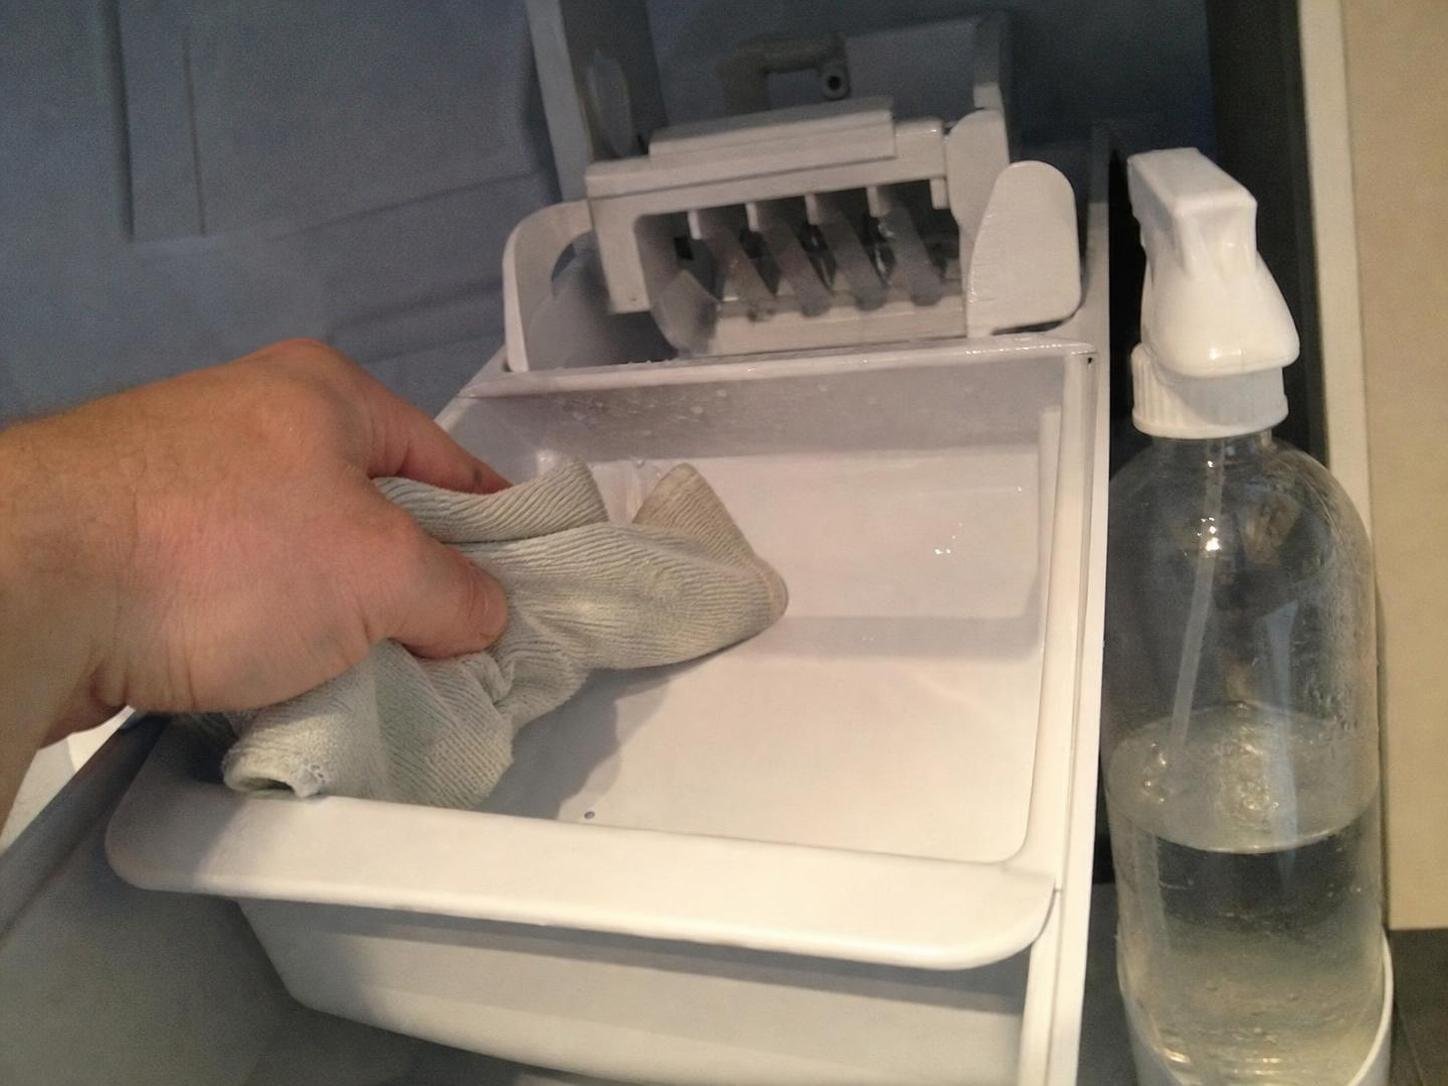
- Wipe the accessible interior. Dampen, rather than soak, a soft cloth with clean water and a little mild dish soap. Wipe the ice bin area, lid underside, and other accessible surfaces. Keep liquid away from vents, switches, electrical connections, sensors, and control panels.
- Remove soap with a second damp cloth. Wipe the same surfaces with a separate cloth dampened only with clean water. Repeat as needed until no visible soap film remains.
- Run the approved cleaning cycle if your model has one. Use only the cleaner and procedure specified by the manufacturer. Do not substitute vinegar, bleach, a coffee-maker cleaner, or another household product unless your appliance instructions specifically approve it.
- Flush and make fresh ice as directed. Complete every rinse or flush step in the manual. Afterward, discard the initial batches of ice if the manufacturer directs you to do so, especially after using a cleaning product.
- Reassemble only after the parts are dry. Return the basket, scoop, drain cap, filter, or other components to their correct positions. Check that the drain plug is seated properly and that no cloth fibers or packaging pieces are left inside.
🧪 Why This Works
Routine washing removes loose debris and residue from the parts that touch ice directly. The appliance’s designated cleaning cycle, when provided, is designed to move cleaner and rinse water through the internal areas that a cloth cannot reach. Keeping soap and excess water out of electrical areas helps prevent avoidable problems during reassembly.
Should you use vinegar or bleach?
Choose the cleaner named in your ice maker manual whenever one is specified. That is the most dependable way to avoid using a product that may leave an unwanted taste, affect internal materials, or conflict with the appliance’s cleaning-cycle instructions.
| Cleaning need | Preferred choice | What to avoid |
|---|---|---|
| Ice bin, scoop, removable washable parts | Warm water and mild dish soap, followed by thorough rinsing | Abrasive pads, harsh powders, and strong fragranced cleaners |
| Accessible interior surfaces | A lightly damp cloth with mild dish soap, then a clean-water wipe | Spraying cleaner directly into vents, controls, or electrical areas |
| Internal cleaning or mineral buildup | The manufacturer-approved cleaner and cleaning-cycle directions | Improvised cleaners unless the manual specifically permits them |
| Visible damage, leaks, or loose parts | Stop cleaning and consult the manufacturer’s service guidance | Trying to scrub, seal, or force damaged components back into place |
Vinegar is commonly suggested for household appliances, but it is not automatically suitable for every ice maker. Some manufacturers permit it, while others specify a different cleaner. Check your manual before using it, and never mix vinegar with bleach or any other cleaning product.
Bleach is not a default ice-maker cleaner. Do not add it to a reservoir or cleaning cycle unless your appliance manufacturer explicitly directs you to use a specific product and procedure. If a product label is involved, follow its current directions exactly and provide ventilation or protective equipment if the label requires it.
Common ice maker cleaning mistakes
Leaving soap residue in the ice bin
Too much dish soap or a rushed rinse can leave a film on the basket, scoop, or interior walls. If parts still feel slippery or have a noticeable fragrance, rinse again with clean water and let them dry before reinstalling them.
Using a soaking-wet cloth inside the machine
A wet cloth can drip into seams, vents, sensors, or controls. Use a cloth that is damp enough to lift residue but not dripping. If water enters an area that should stay dry, leave the appliance off and consult the manufacturer instructions before using it again.
Scrubbing mineral film with an abrasive tool
Hard water residue can look stubborn, but aggressive scrubbing may leave scratches that are harder to keep clean later. Use the approved cleaning cycle first. If residue remains on an accessible removable part, follow the manufacturer’s care instructions rather than increasing pressure or switching to a harsh abrasive.
Restarting before the drain plug or bin is seated correctly
A loose drain cap, crooked basket, or misplaced filter can cause leaks, poor ice production, or an unusual noise. Before turning the machine back on, check that each removable part sits flat and that the drain plug is fully closed.
Trying to clean away a mechanical problem
Cleaning may improve residue or stale water issues, but it will not fix a cracked bin, worn seal, water-line leak, broken scoop holder, or repeated error message. Stop using the appliance if it leaks or operates abnormally after reassembly, then follow the manufacturer’s service guidance.
How often should you clean an ice maker?
Follow the cleaning schedule in your manufacturer instructions first. If your manual does not give a schedule, clean the bin and scoop whenever you notice residue, spilled water, dust, an off odor, or ice that has been sitting unused for an extended period.
It also makes sense to clean the machine before using it again after storage or a long period without making ice. Empty old ice, drain standing water where applicable, and complete the manufacturer-recommended rinse or cleaning procedure before returning it to regular use.
Aftercare that keeps the next cleaning easier
Once the ice maker is dry and reassembled, use fresh water and keep the scoop clean and dry between uses. Avoid storing loose food, packaging, or strongly scented items against the ice bin or inside the appliance area.
For refrigerator models, wipe spills around the bin promptly and keep the freezer compartment organized so the ice bin slides in and out without scraping. If frost is building around the ice maker area, address it carefully rather than chipping at it with a knife or metal tool. For freezer cleanup outside the ice maker itself, see how to clean a freezer without defrosting.
Frequently Asked Questions
Can you wash an ice maker basket in the dishwasher?
Only if the manufacturer identifies that specific basket as dishwasher-safe. Many ice baskets and scoops are plastic, but heat and detergent can affect some parts. If the manual is unavailable, hand-washing with mild dish soap is the lower-risk choice. For separate household ice trays, see whether silicone and plastic ice cube trays can go in the dishwasher.
What should you do if ice tastes or smells odd after cleaning?
Make sure all washable parts were rinsed thoroughly and that every required flush step was completed. Discard ice as directed in the appliance manual, use fresh water, and check whether the water source, filter, or nearby freezer odors may be contributing to the problem.
Can you clean an ice maker while it is making ice?
No. Turn off the ice-making function before removing parts, draining water, or wiping the interior. This reduces the chance of handling moving parts, spilling water, or interrupting a cycle mid-process.
The best way to clean an ice maker safely is to wash removable parts gently, keep moisture away from electrical areas, and use the manufacturer-approved internal cleaning process when your model provides one. Rinse carefully, let parts dry, discard ice as directed after cleaning, and stop using the machine if leaks or damaged parts appear.
Everything Mentioned Above
Before you leave, grab the tools you need to get the job done right the first time:
*As an Amazon Associate, TidyFormula earns from qualifying purchases.