How to Clean a Keyboard Without Compressed Air
To clean a keyboard without compressed air, turn it off and unplug it, shake out loose debris, sweep between the keys with a soft brush, lift stubborn particles with low-tack tape or a sticky note, and wipe the surface with a barely damp microfiber cloth. Keep all moisture away from the gaps.
This method works for cleaning a keyboard without canned air on most desktop, mechanical, membrane, and laptop keyboards, and it is a safe way to remove crumbs from a keyboard without introducing moisture. The key is to remove dry debris before wiping so you do not drag crumbs across the surface or push dirt farther beneath the keys.
Quick Answer
The safest method: Turn the keyboard off, unplug it, hold it upside down to shake out loose crumbs, use a soft brush to sweep dust from between the keys, lift stubborn debris with tape or a sticky note, and wipe the keycaps with a microfiber cloth that is only slightly damp. Keep liquid away from the gaps at every step.
- Tools: Soft brush, tape or a sticky note, microfiber cloth, cotton swabs, 70% isopropyl alcohol (optional)
- Best for: Laptop keyboards, external/desktop keyboards, and light-to-moderate dirt
What You Need
- A soft brush, paintbrush, makeup brush, or soft toothbrush
- A microfiber cloth or another soft lint-free cloth
- Clear tape or a sticky note
- Cotton swabs
- 70% isopropyl alcohol
- A flashlight if you want to check deep gaps
Choose a brush that is clean, dry, and soft enough not to scratch the keycaps. Avoid a brush with shedding bristles, dried paint, makeup residue, or metal parts that could contact the keyboard.
You do not need a special electronics cleaning kit for routine maintenance. A gentle, controlled method is generally safer than aggressive cleaning or forcing tools between the keys.
What I Use For This Job
Using the right tools saves time and protects your belongings. Here are my exact recommendations:
*As an Amazon Associate, TidyFormula earns from qualifying purchases.
Before You Start
Turn the keyboard off first. If it is wired, unplug it. If it is wireless, switch it off and remove the batteries if your model allows it. If you are cleaning a laptop keyboard, shut the laptop down completely and disconnect the charger.
Move the keyboard to a well-lit work area and clear enough space to rotate it safely. Place a towel or tray underneath if you want to catch crumbs. If you plan to remove keycaps from a compatible mechanical keyboard, photograph the entire layout before removing anything.
Check the keyboard manufacturer’s cleaning instructions if the keys have a soft-touch finish, painted legends, decorative coating, integrated touchpad, fingerprint reader, or touch-sensitive controls. Alcohol can affect some finishes, so test it on an inconspicuous area first, or use a cloth that is only barely dampened with water instead.
Dust is annoying, but trapped moisture is what actually damages electronics. Never spray cleaner directly onto a keyboard, and never let liquid drip between the keys.
Step 1: Shake Out Loose Debris
Start with the easiest part. Turn the keyboard upside down over a trash can and tap the back gently. You do not need to hit it hard, just enough to loosen crumbs, dust, and dry debris trapped between the keys.
If you are cleaning a standalone external keyboard, rotate it slightly from side to side while it is upside down. Do not bend it, strike it against the trash can, or repeatedly press the keys while debris is falling out.
If you are cleaning a laptop keyboard, hold the laptop at an angle instead of fully upside down. Support the base securely and avoid putting pressure on the display or hinges. A slight angle helps gravity do the work without stressing the hinges.
If the rest of your desk setup also gets dusty, it makes sense to clean the nearby hardware too. You can follow this guide on how to clean a PC without compressed air so dust from your case and fans does not end up settling back onto the keyboard again.
Step 2: Brush Between the Keys
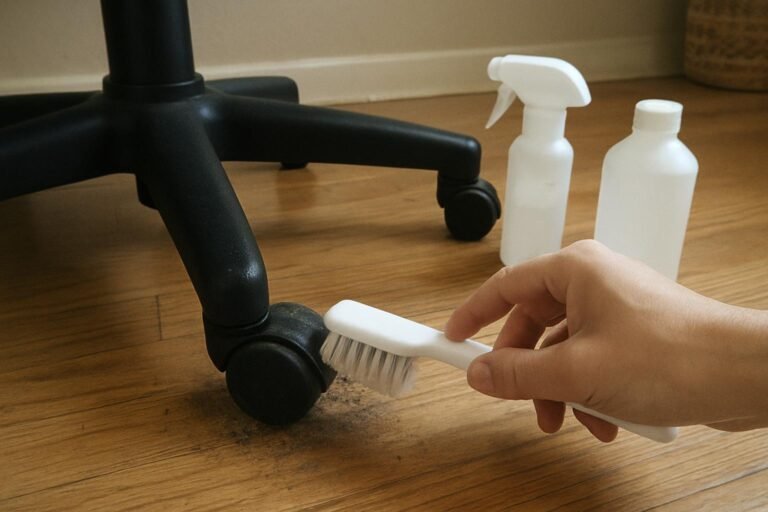
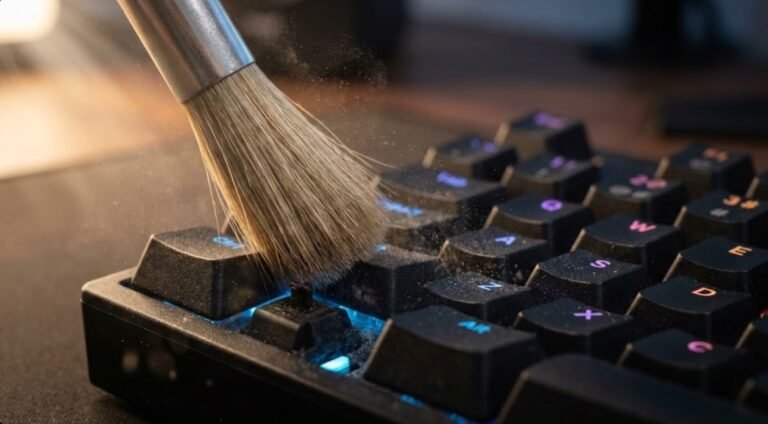
Once the loose debris is gone, use a clean, soft brush to sweep between the keys. Work in rows instead of brushing randomly. That gives you better control and stops you from just moving dirt from one corner of the keyboard to another.
Brush toward an open edge while the keyboard is tilted. Use short, light strokes around wider keys such as the space bar, Enter, Shift, and Backspace, since these keys often have stabilizers underneath. Stop if a bristle catches instead of pulling harder.
A soft paintbrush works well because it can reach the narrow edges around the keycaps without scratching anything. If the keyboard is still very dusty, tilt it slightly while brushing so the dirt falls away instead of sinking deeper.
This same low-pressure approach also works well on other delicate electronics. For example, if you also need to clean small device openings, see how to clean a charging port without compressed air for another careful debris-removal method.
Step 3: Use Tape for Tight Gaps
If tiny crumbs and fine dust are still stuck between the keys, use clear tape or a sticky note. Wrap a small piece of tape around your finger with the sticky side out, or fold a sticky note so the adhesive edge can slide into the gaps.
Press lightly between the keycaps and lift. This works well for fine grime that a brush cannot fully grab, and it is safer than poking around with a knife, pin, or metal tool.
Use ordinary low-tack office tape rather than heavy-duty packing, mounting, or duct tape. Strong adhesives can leave residue or pull at a loose keycap. Do not push tape below the key mechanism, and discard each piece once it becomes dirty.
If you are cleaning a laptop keyboard, go even more gently here. Laptop keys are usually more delicate than standard desktop keycaps, and forcing anything into the cracks can cause more damage than the dirt ever did.
Step 4: Wipe the Keycaps Safely
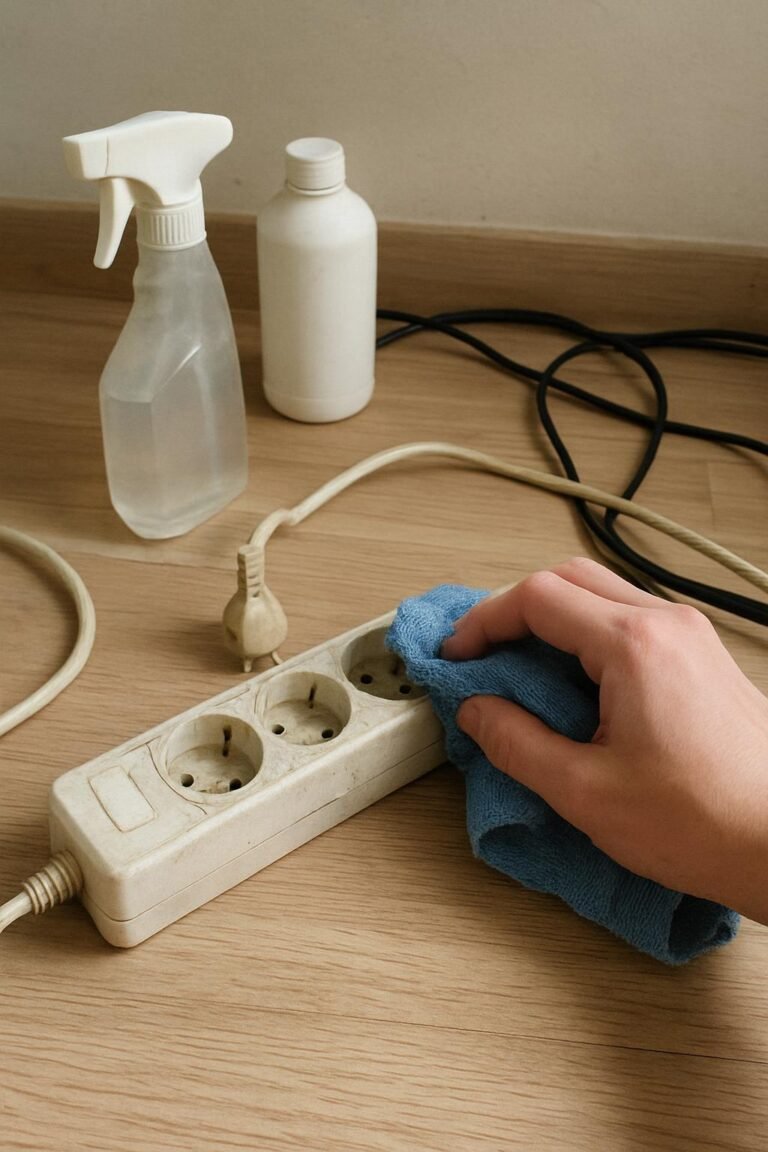
After the debris is gone, clean the tops of the keys. Take a microfiber cloth and lightly dampen one corner. It should feel barely damp, not wet. Wipe across the tops of the keys and the frame around them.
Fold the cloth around one finger to clean the sides of raised desktop keycaps. For narrow edges, dampen a cotton swab and then press or roll it against a dry part of the cloth before using it. The swab should not release liquid when squeezed.
If the keyboard feels greasy or the keycaps look shiny from skin oils, put a small amount of 70% isopropyl alcohol on the cloth or a cotton swab. Wipe gently and let it air-dry. Do not let liquid pool around the edges of the keys.
Use alcohol only when the keyboard’s care instructions permit it. Avoid applying alcohol to an integrated screen, touchpad, Touch Bar, fingerprint reader, or any unknown coated surface. Clean those components according to the device manufacturer’s directions.
Applying moisture directly to a keyboard, rather than to a cloth first, is one of the most common ways liquid ends up under the keys. Always dampen the cloth or swab first, never the keyboard itself.
After you finish the keyboard, you may want to clean the rest of your screen setup too, especially if fingerprints and dust are also building up on your display. This guide on how to clean a monitor without streaks is a natural follow-up.
Step 5: Let the Keyboard Dry and Test It
Leave the keyboard switched off and unplugged until every cleaned surface is completely dry. Check around the edges of the keys with a flashlight. If you see moisture in a gap, do not reconnect the keyboard or turn on the laptop.
Once dry, reconnect the keyboard and test every key in a blank document or keyboard-testing utility. Check larger stabilized keys as well as any function, media, or number-pad keys. If a key feels different, disconnect the keyboard again and inspect the gap for a trapped bristle, tape residue, or loosened debris.
Surface cleaning should not change how a key feels. Stop using the keyboard if a key begins sticking, repeats unexpectedly, fails to register, or shows signs of moisture beneath it.
How to Clean a Laptop Keyboard Without Compressed Air
Laptop keyboards need the same general process as external keyboards, just with a gentler touch. The gaps are smaller, the key mechanisms are more delicate, and there is less room for error.
- Shut the laptop down completely and unplug it.
- Hold it at a slight angle while supporting the base.
- Use a soft dry brush to sweep debris downward and out.
- Lift stubborn dust carefully with tape or a sticky note.
- Wipe the key surfaces with a barely damp microfiber cloth.
- Use a dampened cotton swab around the edges if needed.
- Allow the surface to dry fully before reconnecting power.
Do not press down hard while wiping. Low-profile keys use small clips and mechanisms that can be damaged by sideways force. Brush around a stuck particle rather than forcing a card, tool, or swab underneath the key.
If your laptop has also been running hotter than usual, dust may be building up across the whole machine, not just on the keyboard. In that case, check how to clean a laptop fan without opening so you can clean the rest of the device safely too.
Safety First
Turn the keyboard or laptop off and unplug it before using any cloth, swab, or alcohol. Even fast-drying liquids should never be poured or sprayed directly onto electronics.
How the Method Changes by Keyboard Type
Membrane external keyboards
Clean the exterior with the standard shake, brush, tape, and wipe method. Some membrane keyboard keycaps can be removed, but others are not designed for routine removal. Check the model instructions before pulling them off.
Mechanical keyboards
Routine cleaning does not require switch or keycap removal. If the keycaps are designed to come off, unplug the keyboard, photograph the layout, and use a proper keycap puller. Pull straight up without twisting, and take extra care around stabilized keys.
Keep liquid away from exposed switches and the circuit board. Make sure every keycap is dry and correctly positioned before reassembly.
Can You Use a Vacuum Instead?
Yes, but carefully. A vacuum with a soft brush attachment can help remove loose dust from an external keyboard, especially if you keep the suction low. Do not press the nozzle hard onto the keys, and be extra careful with laptop keyboards.
If the suction is too strong, it can pull at loose keycaps or put stress on delicate switch mechanisms. Keep track of removable pieces, and do not vacuum exposed switches, internal circuit boards, or loose stabilizer parts. For most people, the brush-and-tape method is easier to control.
If dust is a recurring problem around your room or desk, you might also want to read how to clean a fan without taking it apart so the same dust does not keep blowing back onto your setup.
Can You Use a Hair Dryer?
A hair dryer can be used only on a cool-air setting, and only from a reasonable distance. Never use hot air. Heat can damage plastics, soften adhesives, and push dust deeper instead of lifting it out.
If you try this, use short passes combined with brushing. Cool airflow can help move loose dust, but it should not be the whole cleaning method. Stop if the airflow makes keys move, drives debris deeper, or causes the keyboard to shift.
Should You Remove the Keycaps?
Only if you are sure the keyboard is designed for it. Mechanical keyboards often allow keycap removal for deeper cleaning. Many laptop keyboards and membrane keyboards do not.
If you are not sure, do not force anything. Pulling off the wrong key can snap a clip, bend a stabilizer, or turn a simple cleaning job into a repair job.
If you do have a removable-keycap mechanical keyboard, take a quick photo of the layout first, remove the keycaps carefully, clean underneath with a brush, and let everything dry fully before putting the caps back on. Keep the keycaps organized, and check the keyboard’s instructions before removing stabilized keys such as the space bar, Enter, and Shift.
What to Do About Sticky or Unresponsive Keys
First inspect the gap around the affected key with a flashlight. A visible crumb, hair, or compacted dust may be removable with gentle brushing while the keyboard is tilted.
If the top of the key is sticky, wipe the surface with a barely damp cloth and let it dry. If the key remains sticky, slow, or inconsistent, the residue may be beneath the keycap or inside the switch or membrane. Adding more liquid from above can make the problem worse.
Removable-keycap mechanical keyboards may permit deeper access, but laptop and membrane keyboards often require model-specific disassembly. Stop and seek repair guidance if a key is loose, sits crooked, makes a cracking sound, or does not return after being pressed.
What If Liquid Was Spilled on the Keyboard?
A liquid spill is different from routine cleaning. Disconnect power immediately. Unplug an external keyboard, or shut down and unplug a laptop if you can do so safely. Do not keep pressing keys to test whether it still works.
Do not apply more cleaner, use heat, or put the device in rice. If liquid entered the gaps, leave the device off and check the manufacturer’s spill guidance, or arrange professional service. Sugary drinks, milk, and other residue-forming liquids usually cannot be corrected by wiping the key surfaces alone.
What Not to Use
- Do not spray water or cleaner directly onto the keyboard
- Do not soak the keyboard
- Do not use bleach, ammonia, or harsh household cleaners
- Do not use paper towels if they leave lint behind
- Do not use knives, pins, or metal tools between the keys
- Do not use hot air from a hair dryer
- Do not use strong adhesive tape that can leave residue
- Do not put a keyboard or keycaps in a dishwasher unless the manufacturer explicitly says they are dishwasher-safe
- Do not reconnect power while any part of the keyboard is damp
How Often Should You Clean a Keyboard?
For normal home use, a quick clean every 2 to 4 weeks is usually enough. If you work at your desk every day, eat near your keyboard, or have pets, a light weekly dust-out helps prevent buildup.
Deep cleaning is only necessary when the keyboard starts feeling sticky, looks visibly dirty, or certain keys begin to feel gritty or slow.
To reduce buildup, keep drinks away from the keyboard, wash or dry greasy hands before use, and remove crumbs as soon as you notice them. Store an unused keyboard where it will not collect dust for long periods. Avoid placing a cover over a running laptop if it could obstruct cooling or interfere with closing the display.
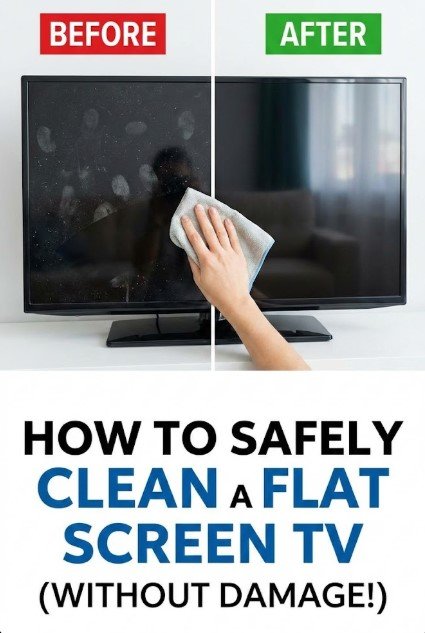
If you are doing a full electronics cleanup day, these are also worth checking next: how to clean a flat screen TV without damaging it and how to clean a TV screen without streaks.
Reality Check
This method works for dust, crumbs, and oily buildup on the surface. It will not fix a keyboard that had a major liquid spill inside the switches or under the membrane.
FAQ
How do I clean a keyboard without compressed air or a vacuum?
Use gravity first, then a soft brush, then tape or a sticky note for the gaps, and finish with a barely damp microfiber cloth on the keycaps.
Can I use alcohol to clean keyboard keys?
Yes, but only in a small amount on a cloth or cotton swab, and only if the keyboard’s care instructions allow it. Never pour or spray it directly onto the keyboard. Avoid alcohol on unknown coatings, touch-sensitive components, and integrated displays.
What is the safest way to clean a laptop keyboard?
Shut the laptop down, unplug it, hold it at an angle, brush the debris out gently, and wipe the key surfaces with a soft lint-free cloth that is only slightly damp. Let it dry completely before reconnecting power.
Can I remove laptop keys to clean under them?
Usually no. Many laptop keys are easy to damage and difficult to reinstall properly. It is safer to use a brush, tape, and careful wiping unless the manufacturer specifically states that the keys are removable.
Why does my keyboard still feel sticky after cleaning?
If the sticky feeling is coming from inside the switch or from an old spill, surface cleaning may not be enough. Do not keep adding liquid from above. The keyboard may need model-specific disassembly, professional service, or replacement.
Final Verdict
You do not need compressed air to clean a keyboard well. For most situations, the safest method is simple: turn it off, shake out debris, brush between the keys, lift stubborn dust with tape, and wipe the keycaps with a barely damp microfiber cloth.
Let the keyboard dry completely before reconnecting it, and stop if a key loosens, remains sticky, or shows signs of liquid underneath. Routine cleaning is inexpensive and safer than spraying cleaner or forcing tools between the keys.
If you want your whole setup to look clean again, continue with how to clean a PC without compressed air, how to clean a monitor without streaks, and how to clean a laptop fan without opening.
Everything Mentioned Above
Before you leave, grab the tools you need to get the job done right the first time:
*As an Amazon Associate, TidyFormula earns from qualifying purchases.