How to Clean a Fan Without Taking It Apart: The “Cyclonic-Solvent” Protocol
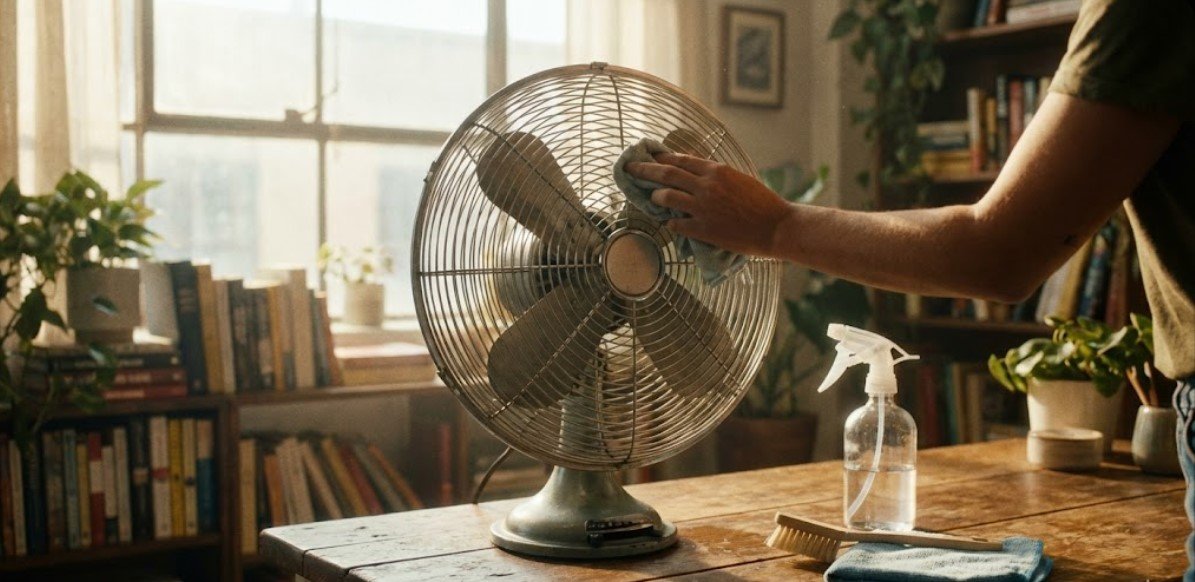
The safest way to clean a fan without taking it apart is to unplug it, vacuum both grilles, loosen trapped dust with a soft brush, and blow the remaining debris out with short bursts of air. Do not spray liquid through the grille or operate a fan inside a trash bag; moisture and restricted airflow can damage the motor or create an electrical hazard.
A no-disassembly cleaning works best for routine dust buildup. Sticky grease, smoke residue, mold-like growth, or debris wrapped around the motor shaft may require access to removable covers or professional servicing.
⚡ The TidyFormula™ Quick Answer
The recommendation: Use a dry extraction sequence: unplug the fan, vacuum the intake and outlet grilles, loosen dust with a soft detailing brush, and use controlled air to push remaining debris toward the vacuum.
- Best for: Box, pedestal, tabletop, and tower fans with ordinary household dust.
- Time: About 10 to 20 minutes, depending on the grille design.
- Avoid: Spraying liquid into an assembled fan, inserting rigid tools near wiring, or running the fan while it is covered.
Before You Start: Check the Fan and Prepare the Area
Unplug the fan from the wall. If it is hardwired, such as a ceiling or bathroom exhaust fan, turn it off at the circuit breaker before cleaning.
Place a portable fan outdoors, in a garage, or on a sheet that can collect loosened dust. Wear a dust mask if the fan is heavily coated or if dust aggravates your allergies. Household dust may contain skin flakes, fibers, pollen, and other indoor particles; the American Lung Association provides additional information about dust mites and indoor air.
What I Use For This Job
Using the right tools saves time and protects your belongings. Here are my exact recommendations:
*As an Amazon Associate, TidyFormula earns from qualifying purchases.
Before cleaning, look for:
- A damaged cord, loose plug, cracked housing, or exposed wiring.
- A burning odor, buzzing, sparking, or repeated overheating.
- Blades that rub against the grille or do not turn freely.
- Oily liquid leaking from the motor area.
- Heavy growth that appears fuzzy, spotted, or mold-like inside the housing.
Do not power the fan if any of these conditions are present. Cleaning cannot repair damaged wiring, worn bearings, or a failing motor.
Tools for a No-Disassembly Cleaning
- A vacuum with a soft brush attachment.
- A clean paintbrush or soft appliance-detailing brush.
- An electric air duster or canned compressed air.
- Microfiber cloths.
- A flexible foam swab or long, soft pipe cleaner for wide grille openings.
- A drop cloth, old sheet, or open trash bag for catching dry debris.
Do not use a metal screwdriver, knife, or wet cloth through the grille. A rigid tool can bend a blade, damage wiring, or become trapped inside the housing.
The Anatomy of the Problem: Why Dust Sticks
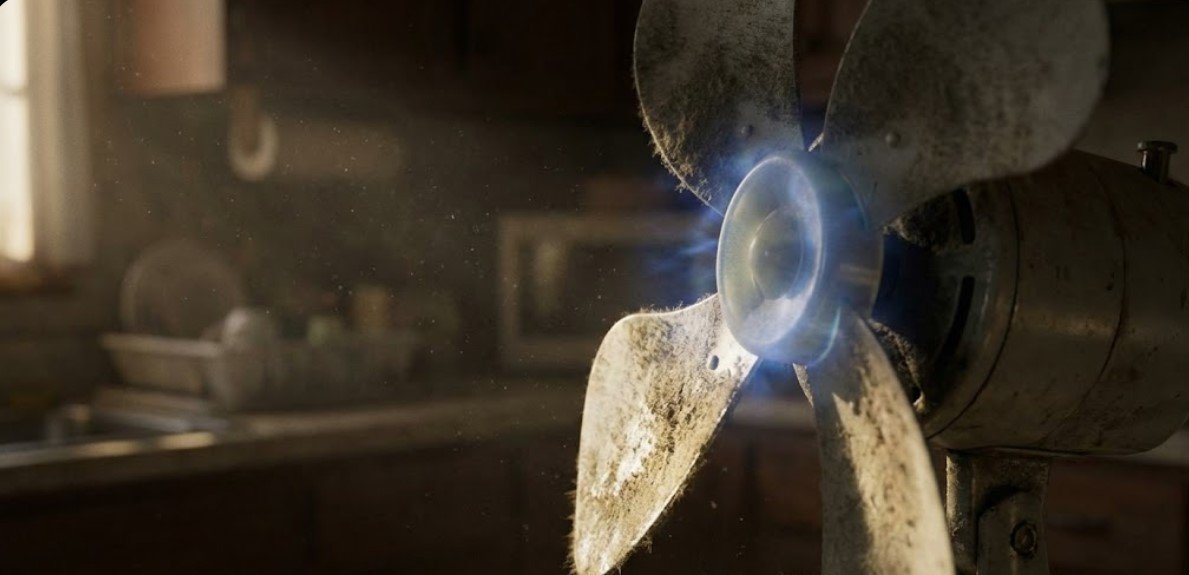
A fan continually pulls airborne particles through its intake. Some particles strike the grille and blades instead of passing through. Static charge on plastic parts can contribute to buildup, while airborne cooking residue and other oils make surfaces tacky.
This explains why loose gray dust usually responds to vacuuming and brushing, but greasy dust does not. Once the buildup feels sticky, a dry no-disassembly method may improve airflow without leaving the blades completely clean.
Method 1: Dry Extraction for Box, Pedestal, and Tabletop Fans
This is the safest general-purpose method when the grille cannot be removed easily. It combines suction, gentle agitation, and controlled airflow without introducing water into the motor housing.
Step 1: Disconnect and Stabilize the Fan
Unplug the fan and place it on a stable surface. If it oscillates, center the fan head before unplugging it so you can reach both sides.
Wait until the blades stop completely. Do not rely on the control switch alone; a fan that remains plugged in can start accidentally.
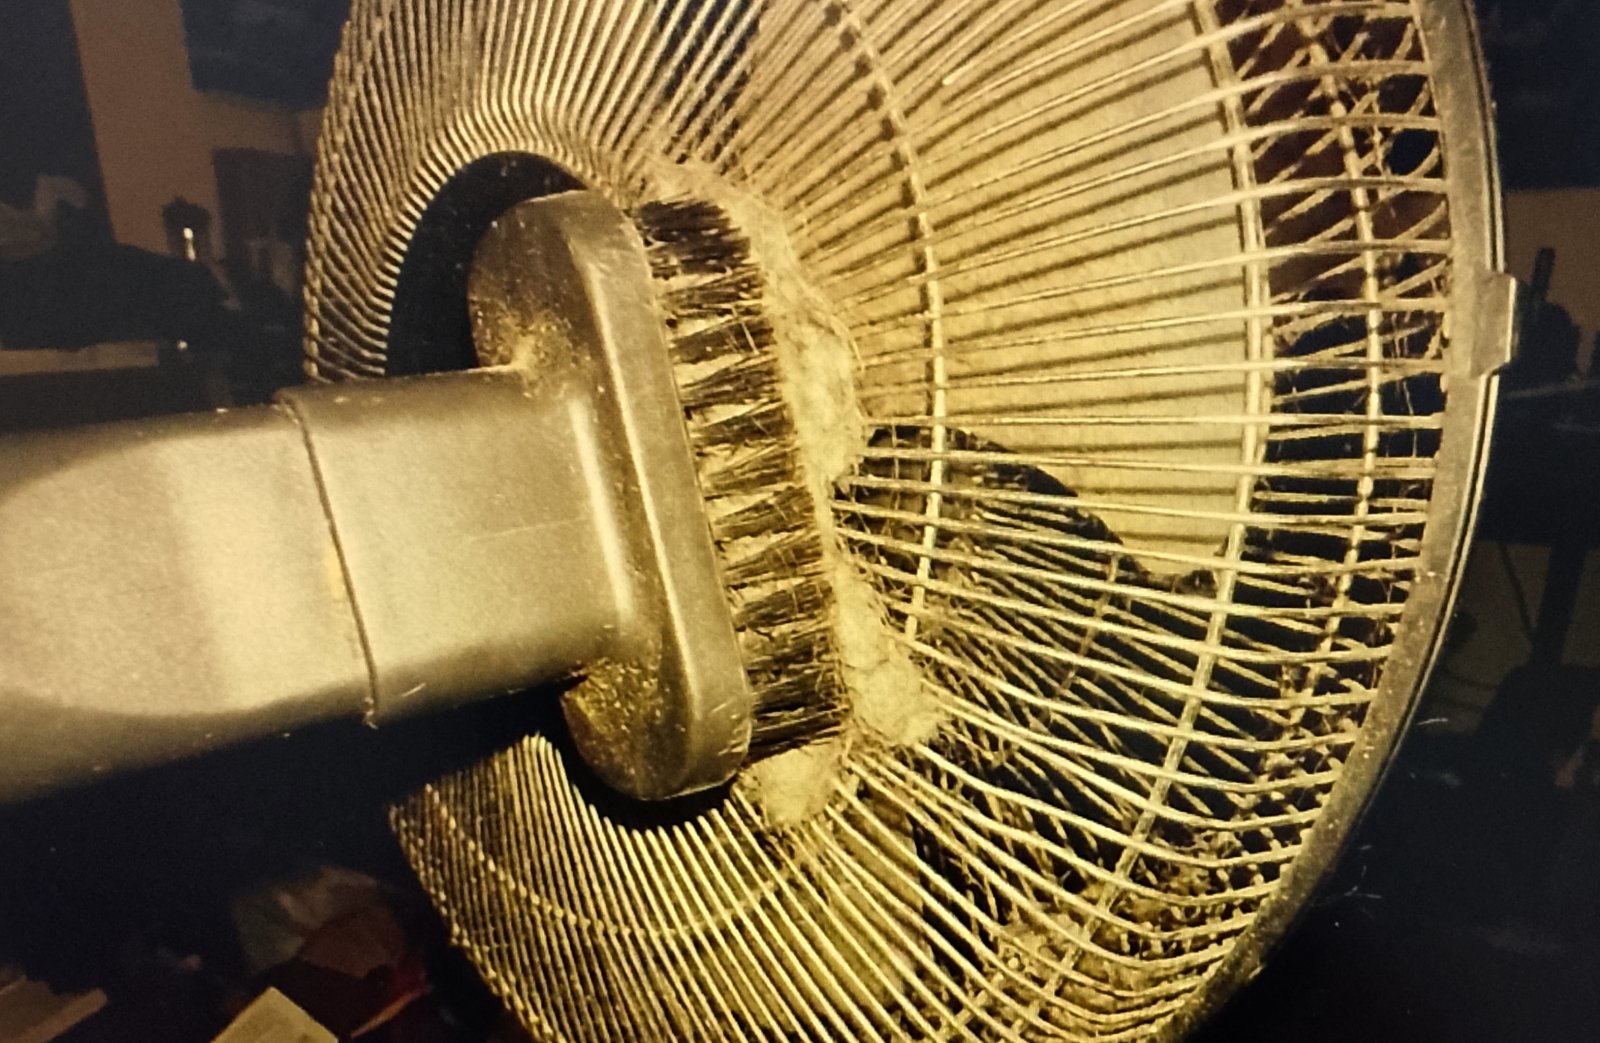
Step 2: Vacuum the Rear Intake Grille
Most portable fans draw air through the back, so the rear grille often holds the heaviest buildup. Use the brush attachment with light pressure and work from the top downward.
Pay particular attention to the motor vents, but do not force the vacuum nozzle against them. The goal is to remove debris at the opening rather than pull internal wires or components toward the grille.
Step 3: Vacuum the Front Grille
Vacuum the front grille from the center outward. Use a clean, soft paintbrush to loosen dust in corners while holding the vacuum nozzle nearby to capture it.
Avoid pressing hard enough to flex the grille into the blades. Stop if the grille deforms or you hear scraping.
Step 4: Loosen Dust on Accessible Blades
If the openings are wide enough, pass a flexible foam swab or soft pipe cleaner through the grille while the fan remains unplugged. Keep your fingers outside the grille and use only enough pressure to lift dust.
Do not force a tool around the motor hub. If you cannot see where the end of the tool is going, skip this step.
Step 5: Use Controlled Air
Take the fan outdoors if possible. Hold the vacuum near the opposite grille, then direct short bursts of air through the dusty areas. Work in sections rather than blasting the motor continuously.
When using canned air:
- Keep the can upright to avoid releasing liquid propellant.
- Follow the can’s distance and ventilation instructions.
- Do not insert the straw deeply into the housing.
- Do not use long, continuous blasts that make the blades spin rapidly.
A strong air duster can overspeed an unpowered fan blade. Use the lowest effective setting and stop if the blades begin spinning quickly.
Step 6: Wipe the Exterior
Wipe the base, controls, cord, and outer grille with a dry microfiber cloth. For grime on the exterior housing, apply a small amount of diluted dish soap to the cloth—not to the fan—and wring it until barely damp.
Keep moisture away from switches, control panels, plugs, motor vents, seams, and cord entry points. Dry the exterior immediately.
Step 7: Inspect Before Use
Look through both grilles for a loose swab, brush fiber, or clump of dust. Confirm that nothing is touching the blades.
If the cleaning was completely dry, the fan can be tested after inspection. If a damp cloth was used near any opening, leave the fan unplugged until all surfaces are fully dry.
Why You Should Not Spray and Spin an Assembled Fan
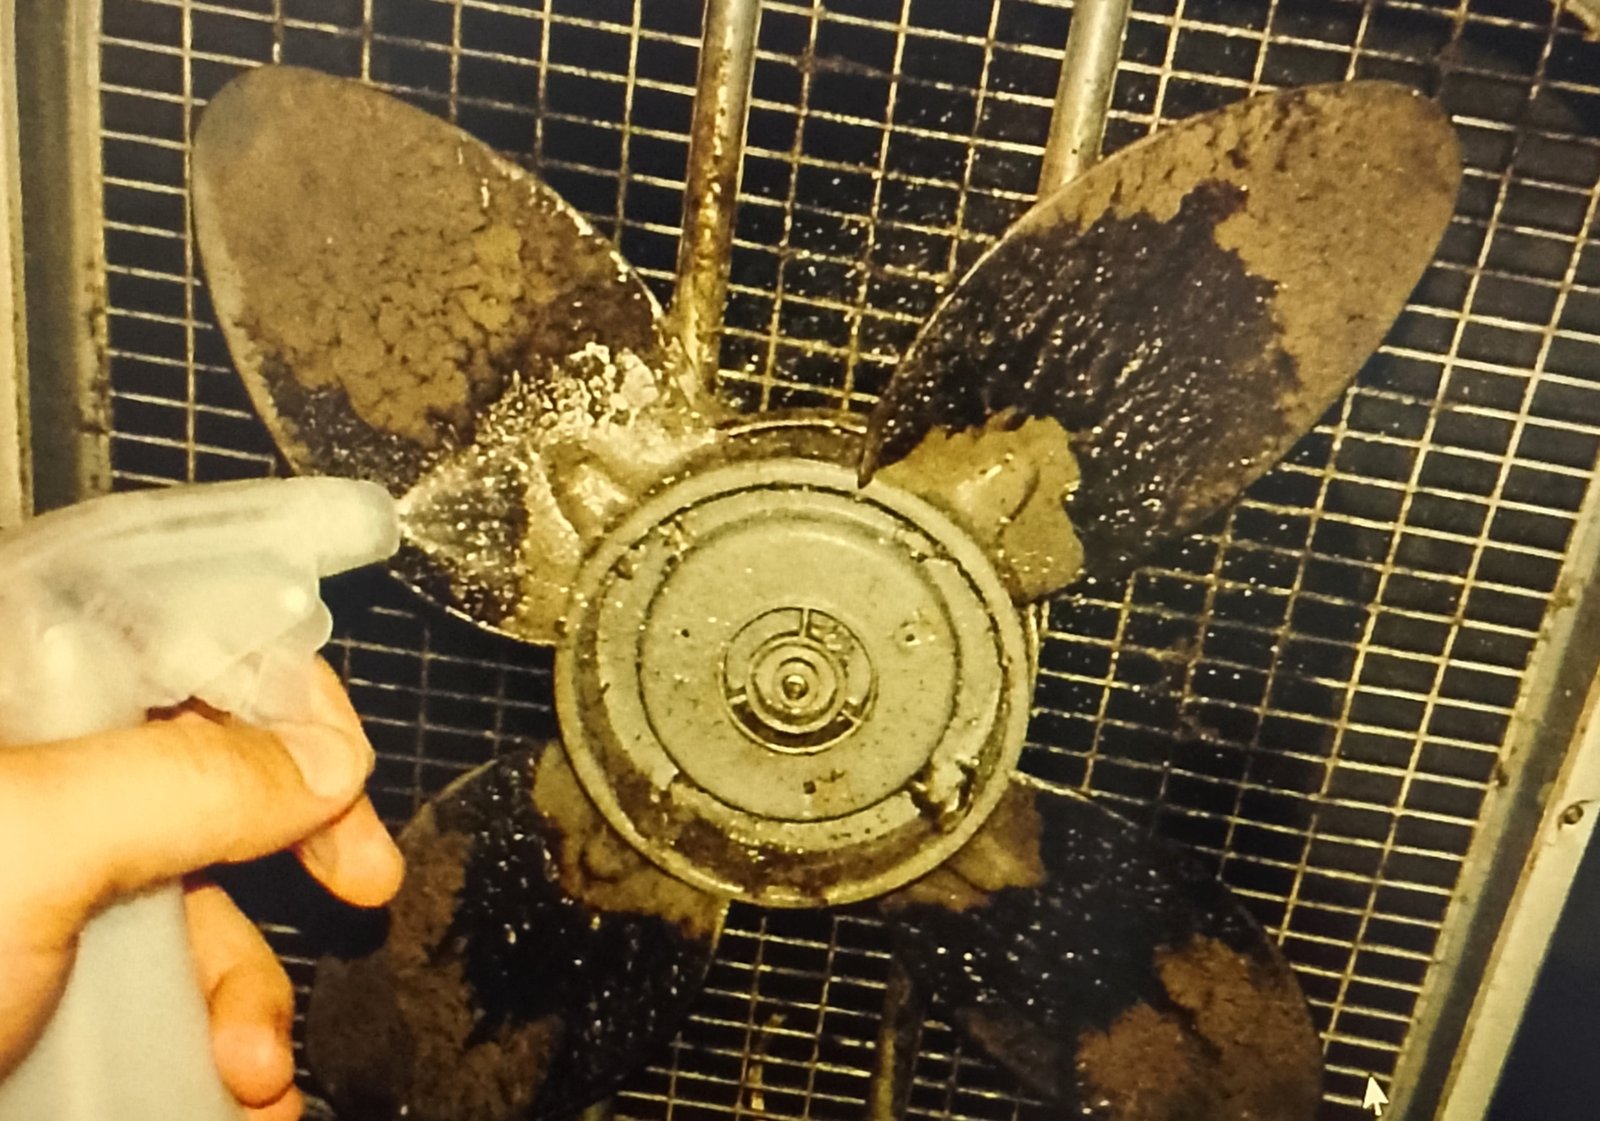
Spraying cleaner through the grille may look like a quick way to dissolve blade grime, but the direction of runoff is difficult to control. Liquid can travel along the blade or grille toward the motor, switches, bearings, wiring, or plug connections.
Running the fan while it is wet does not make it electrically safe. Covering a running fan with a trash bag also restricts airflow and creates a risk that the bag will be pulled into the grille.
A bag can still be useful as a passive dust catcher: place an unplugged fan partly inside an open bag while brushing or vacuuming it. Keep the bag away from the controls and never turn the covered fan on.
How to Clean a Ceiling Fan Without Getting Dust Everywhere
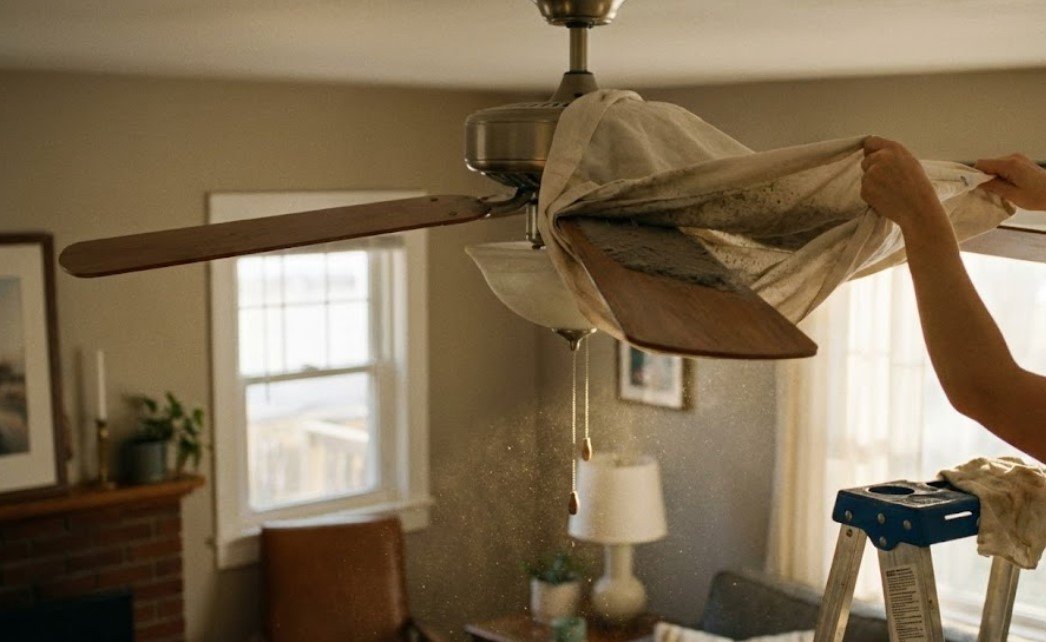
The pillowcase method captures dust instead of pushing it onto the floor, furniture, or bedding. It works best on flat, smooth blades with dry dust.
The Pillowcase Method
- Turn off the fan: Wait until the blades stop. For added protection, switch off the wall control or breaker so another person cannot start it.
- Use a stable ladder: Place it on a level surface and position it so you do not have to lean sideways. Do not stand on a chair or bed.
- Choose an old cotton pillowcase: Avoid silk or delicate fabric. Check that the pillowcase contains no buttons, zippers, or decorations that could scratch the blade.
- Enclose one blade: Slide the pillowcase over the blade without pushing upward on the fan.
- Grip lightly: Place one hand above and one below the blade through the pillowcase.
- Pull toward the blade tip: Use a slow, straight motion. Do not pull sideways or place strain on the blade arm.
- Repeat: Rotate the fan by hand and clean each remaining blade.
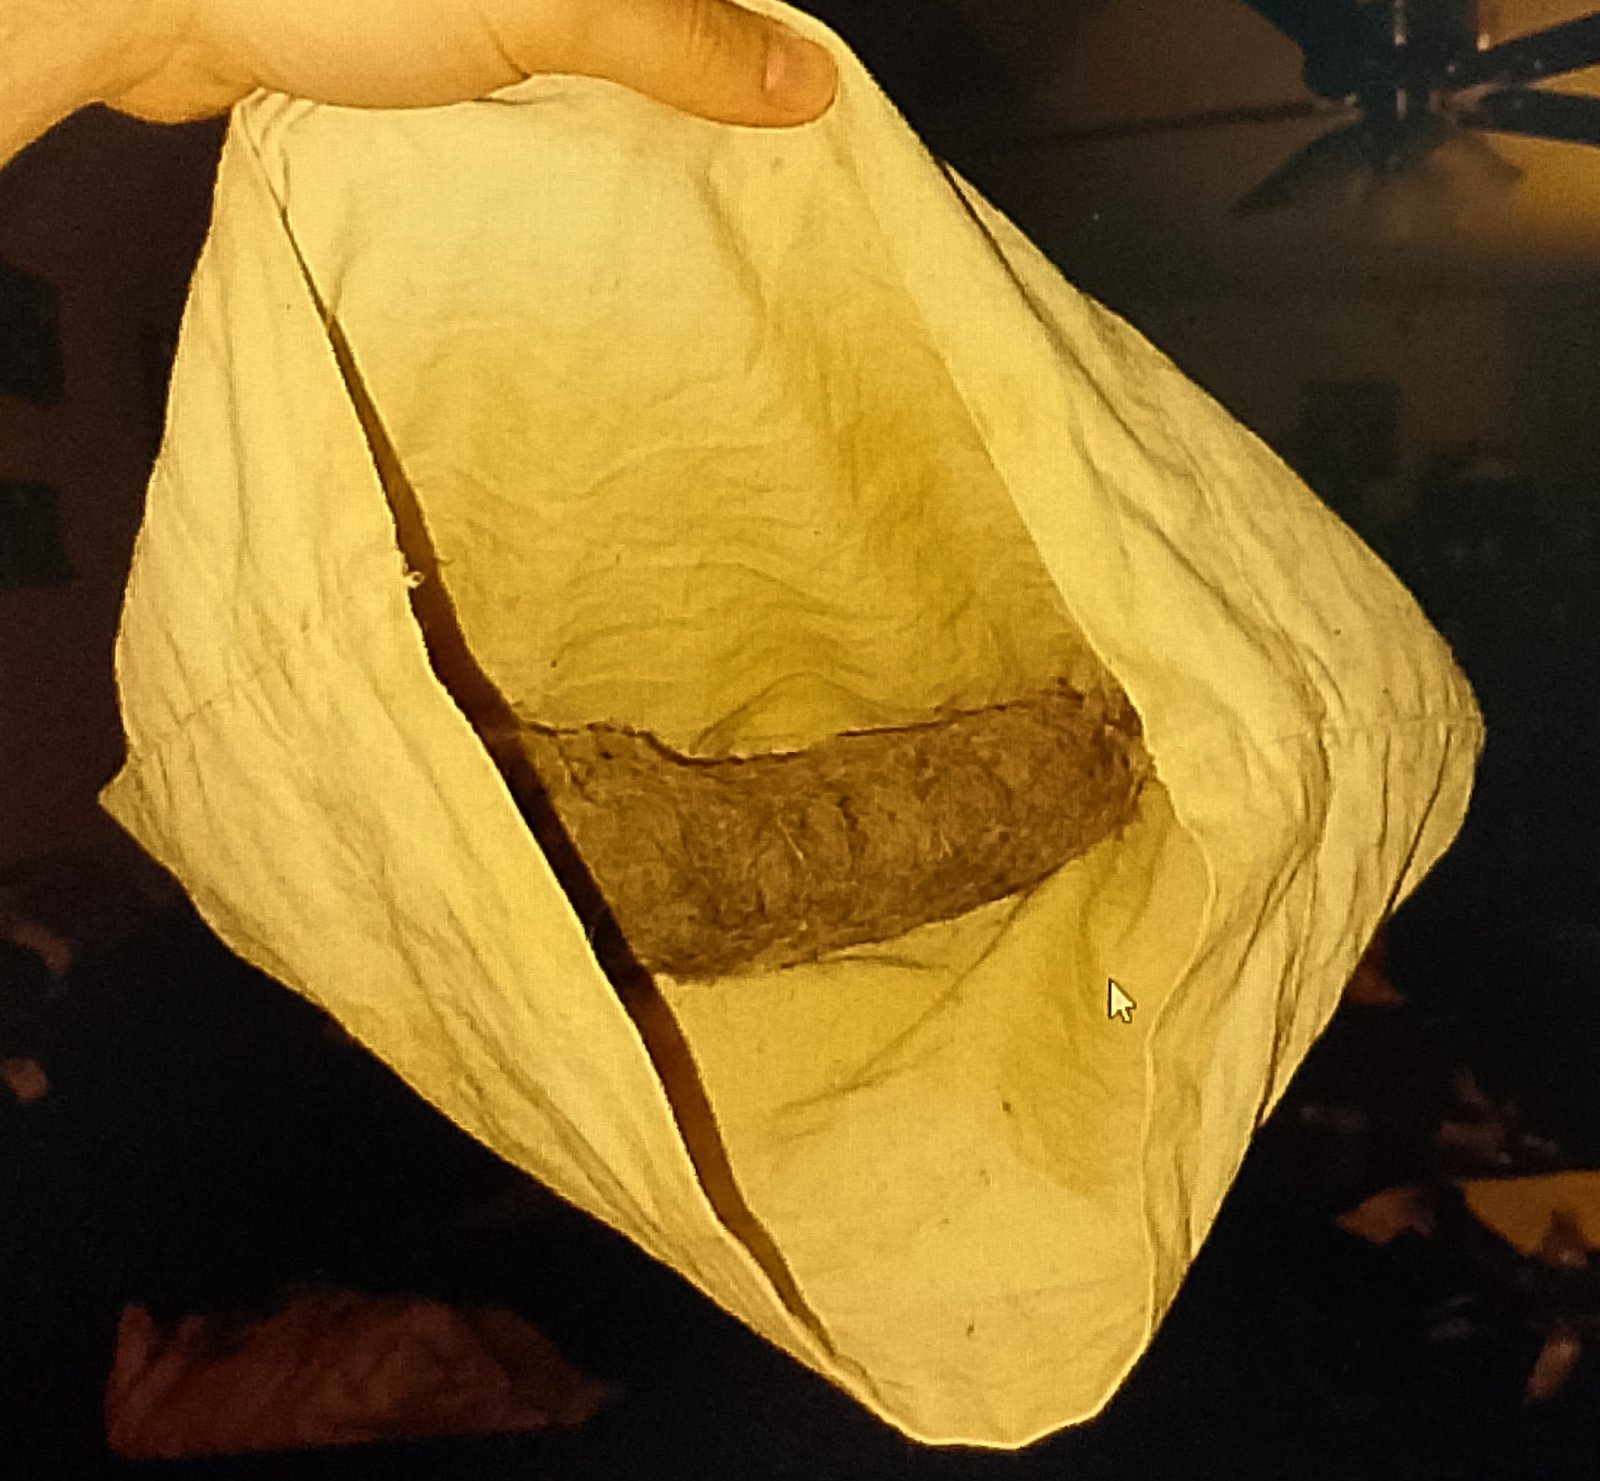
As the pillowcase moves along the blade, the dust remains inside it.
Guidance for Different Ceiling-Fan Blade Materials
- Painted or laminated blades: Start dry. If the manufacturer permits damp cleaning, use a barely damp microfiber cloth and dry immediately.
- Wood or wood-veneer blades: Avoid saturation and all-purpose sprays. Excess moisture can swell the material or damage the finish.
- Metal blades: Remove dust with a dry cloth. If damp cleaning is allowed, dry the edges and screw areas promptly to reduce the chance of corrosion.
- Fabric or cane inserts: Vacuum gently with an upholstery or brush attachment instead of rubbing with a pillowcase.
Do not bend a blade to reach its upper surface. Uneven blade angles can contribute to wobbling.
Why the Dry Methods Work
A vacuum removes loose particles directly, while a soft brush breaks the weak physical bond between dust and the grille. Controlled air can then move debris out of narrow spaces that the vacuum cannot reach. The pillowcase works by wiping both sides of a ceiling-fan blade while containing the loosened material.
Sticky residue is different because the particles are held by an oily film. If it cannot be reached safely with a barely damp cloth, complete cleaning generally requires opening a manufacturer-approved access point.
Cleaning Greasy Dust on Kitchen and Exhaust Fans
Kitchen fans collect airborne cooking residue that can hold dust firmly in place. Compressed air alone may remove loose debris but usually will not remove the oily film.
Before cleaning a range hood, wall exhaust fan, or bathroom exhaust fan, switch off the breaker. Do not spray degreaser through the grille or toward the motor.
For a Removable Filter or Grille
Removing a filter designed for routine cleaning is different from dismantling the fan motor. Consult the appliance manual for the release method and cleaning instructions.
- Metal mesh filters: Many can be cleaned with warm water and dish soap, but confirm the manufacturer’s directions first. Rinse and dry completely before reinstalling.
- Charcoal filters: These are commonly replaced rather than washed. Follow the replacement schedule and instructions for the specific model.
- Painted or plastic grilles: Apply cleaner to a cloth rather than spraying the installed grille. Test an inconspicuous area if the finish is uncertain.
Do not use flammable solvents, penetrating oils, or aerosol degreasers inside an electric fan housing. Never combine a degreaser with another cleaning product.
For Accessible Exterior Grease
- Turn off power at the breaker and verify that the fan cannot start.
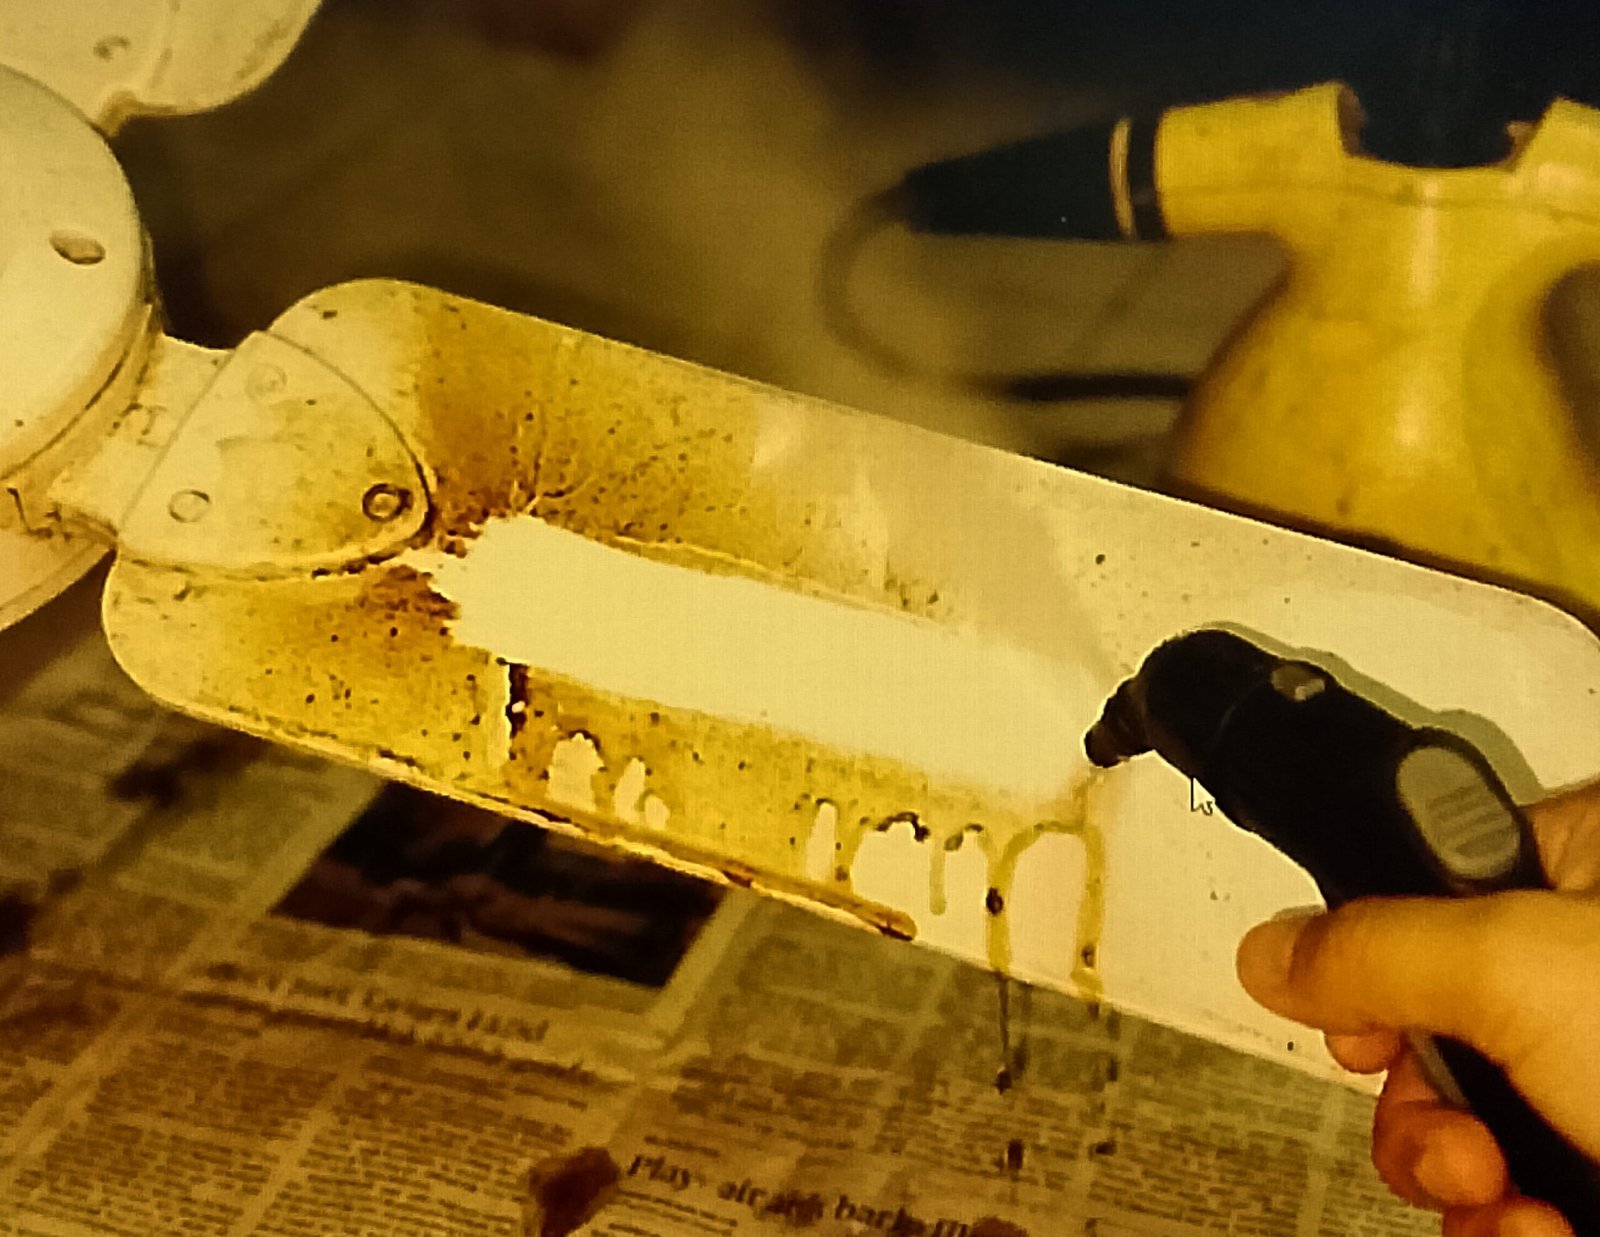
- Lay down newspaper or cardboard to catch drips from the removable part—not from the motor housing.
- Apply diluted dish soap to a microfiber cloth.
- Wipe only the accessible exterior grille or blade surface.
- Use a second barely damp cloth to remove residue, if the material permits.
- Dry the part fully before restoring power.
If grease extends behind the motor cover, onto wiring, or around the shaft, stop. That level of contamination cannot be cleaned safely through the grille.
Method 2: Cleaning a Tower Fan Without Opening It
Tower fans have narrow intake and outlet slats surrounding a long internal blower. Vacuuming the intake is usually the most useful no-disassembly step.
The Vacuum, Brush, and Air Sequence
- Unplug the fan: Move it outdoors or onto a drop cloth.
- Vacuum the rear intake: Work slowly over the full height of the grille with a soft brush attachment.
- Brush the slats: Loosen packed dust with a clean paintbrush while keeping the vacuum nearby.
- Clean the outlet: Vacuum the front slats without pushing the attachment into the opening.
- Use short air pulses: Direct low-pressure air through the openings to move loosened dust toward the vacuum. Do not allow the internal blower to spin rapidly.
- Use a flexible swab if needed: Pass it gently through wide slats only when you can see where it is going. Do not use a chopstick or other rigid object.
- Inspect the oscillating base: Remove dust around the seam with a dry brush. Do not apply liquid near the display, buttons, or base mechanism.
If dust clumps remain deep inside the fan, consult the manual for an approved service panel. Some tower fans cannot be thoroughly cleaned without opening the housing.
Which Cleaning Method Should You Choose?
| Method | Best For | Main Limitation | Safety Notes |
|---|---|---|---|
| Vacuum and Soft Brush | Routine dust on most portable fans | Does not fully remove sticky grease | Unplug first and avoid flexing the grille |
| Controlled Air | Dust behind narrow grilles | Can scatter dust or overspin blades | Use short, low-pressure bursts outdoors |
| Pillowcase Method | Dry dust on ceiling-fan blades | Not suitable for delicate or textured inserts | Use a stable ladder and avoid bending blades |
| Manufacturer-Approved Access | Sticky buildup or deep internal blockage | Requires model-specific instructions | Stop if wiring or the motor becomes exposed |
Drying and Testing the Fan
A fan cleaned only with a vacuum, brush, and dry air does not require a drying period. Inspect it for loose debris before plugging it in.
If you used a damp cloth on the exterior:
- Leave the fan unplugged until every wiped surface and seam is dry.
- Do not use a hair dryer, space heater, oven, or other heat source to accelerate drying.
- If liquid may have entered the motor, controls, or base, do not test the fan merely because the outside feels dry.
- Allow at least 24 hours in a dry, ventilated location and seek service if a significant amount of liquid entered the housing.
When testing, start the fan at its lowest setting. Turn it off immediately if you hear rubbing, clicking, buzzing, or an uneven vibration. Also stop if there is a burning odor, smoke, sparking, or unusual heat.
How to Keep a Fan Cleaner for Longer
- Vacuum the intake regularly: A quick pass before the grille becomes visibly coated is easier than removing compacted buildup later.
- Keep the fan away from cooking vapor: Oil makes ordinary dust difficult to remove.
- Do not use furniture polish or fabric softener: These products can leave residue on the grille and should not be sprayed into an electric appliance.
- Store it covered and dry: Unplug the fan, clean it, let it dry, loosely cover it, and store it where condensation cannot form.
- Keep air space around the motor: Do not drape fabric over an operating fan or block its intake.
A furnace filter should not be taped to a box fan unless the fan manufacturer specifically permits that setup. Added resistance can reduce airflow and increase motor temperature.
Frequently Asked Questions
Can I use a garden hose or shower to clean a fan?
No. A hose or shower delivers too much uncontrolled water and can wet the motor, switches, bearings, wiring, and plug. Clean an assembled fan with dry methods. Wash only removable parts that the manufacturer identifies as washable.
What should I do if the fan smells like it is burning?
Turn it off and unplug it immediately. Vacuuming blocked exterior vents may help only when ordinary dust is the cause, but a burning smell can also indicate damaged wiring, a stalled motor, or worn bearings. Do not continue using the fan if the odor returns.
Why is the fan clicking after cleaning?
Unplug it and inspect both grilles. A grille may have been pushed inward, or a brush fiber, swab, or dust clump may be touching the blade. Do not reach through the grille or run the fan in the hope that the noise will clear itself.
Can I use a vacuum to make the blades spin while cleaning?
No. Rapidly spinning the blades with suction or compressed air can strain the motor and bearings. Use gentle suction and short air bursts, and stop if the blades or internal blower begin rotating quickly.
When is no-disassembly cleaning not enough?
Stop and consult the manual or a qualified repair service when sticky grime covers inaccessible blades, debris is wrapped around the shaft, liquid has entered the housing, or the fan continues to overheat, wobble, rub, or smell after the exterior vents are cleaned.
Everything Mentioned Above
Before you leave, grab the tools you need to get the job done right the first time:
*As an Amazon Associate, TidyFormula earns from qualifying purchases.