Pantry Cleaning and Organization Checklist
The fastest way to clean and organize a pantry is to empty it completely, wipe every shelf, sort items by expiration and frequency of use, then return them in labeled zones using bins or clear containers. Doing it in that order prevents you from reorganizing around expired food or crumbs you missed.
If your pantry hasn’t been fully emptied in a while, you may find sticky shelf liner, stale flour dust in the corners, or a few mystery cans with no visible expiration date. That’s normal, and it’s exactly why starting empty matters more than starting fast.
⚡ The TidyFormula™ Quick Decision
Best approach: Empty the entire pantry, wipe shelves and walls with a mild all-purpose cleaner on a damp cloth, let everything dry fully, then sort items into keep, toss, and donate before restocking by category.
Use caution with: Unfinished or painted wood shelving, which can warp or stain if left damp, and wire shelving, where crumbs and spills tend to collect underneath rather than on top.
Stop and reassess if: You notice a musty odor that doesn’t go away after cleaning and drying, active pests, or shelf material that’s swelling, flaking, or soft to the touch. Those signs point beyond a standard cleaning job.
What I Use For This Job
Using the right tools saves time and protects your belongings. Here are my exact recommendations:
*As an Amazon Associate, TidyFormula earns from qualifying purchases.
What to Check Before You Start
Before pulling everything off the shelves, take a quick look at what you’re dealing with. Note whether your shelves are sealed wood, laminate, wire, or metal, since that affects how much moisture you can safely use. Check for any obvious pest activity, like small holes in packaging or debris in corners, because that changes your cleaning priority from organizing to addressing the source first.
Glance at your food inventory as a whole. If you can already tell there are several expired items or duplicates, plan extra time for sorting rather than trying to rush straight to the organizing step.
Step-by-Step Pantry Cleaning and Organization Checklist
- Remove everything. Take every item off every shelf, including the floor of the pantry. Set items on a counter or table in roughly the groups they came from, so you’re not starting from a total jumble.
- Sort as you go. Check dates and condition. Toss anything expired, opened and stale, or showing signs of pests. Set aside near-expiration items to use soon, and box up unopened items you don’t want for donation.
- Vacuum or sweep the shelves and floor. Crumbs, spilled rice, and flour dust build up in corners and along the back wall. A handheld vacuum with a crevice tool works well for tight shelf edges.
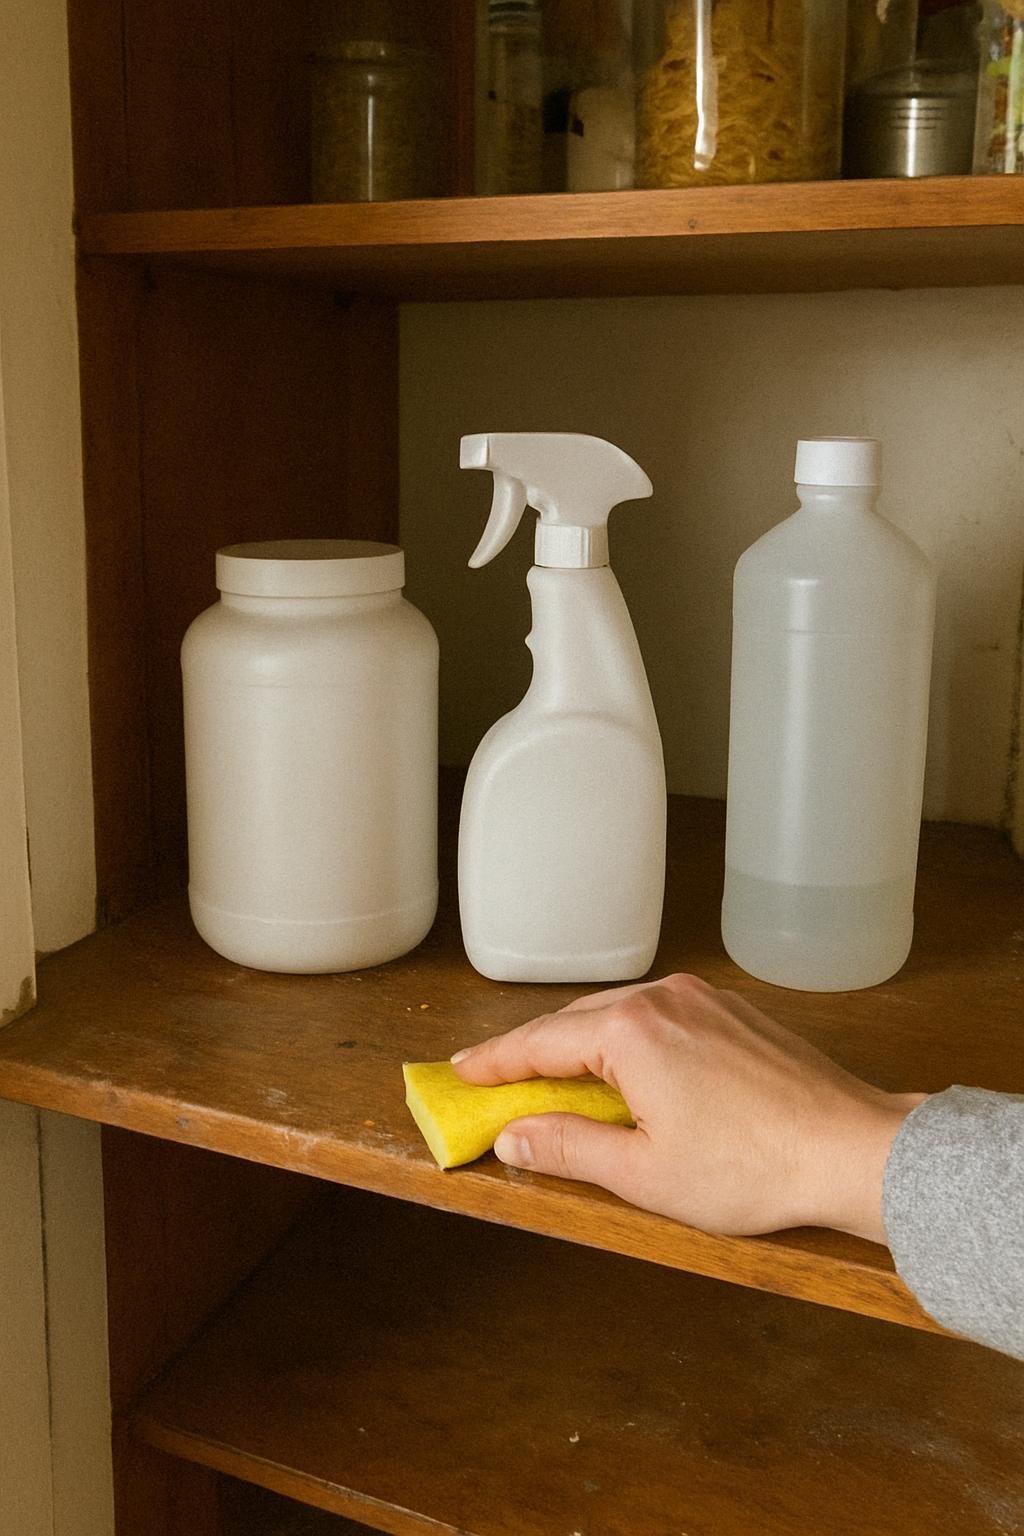
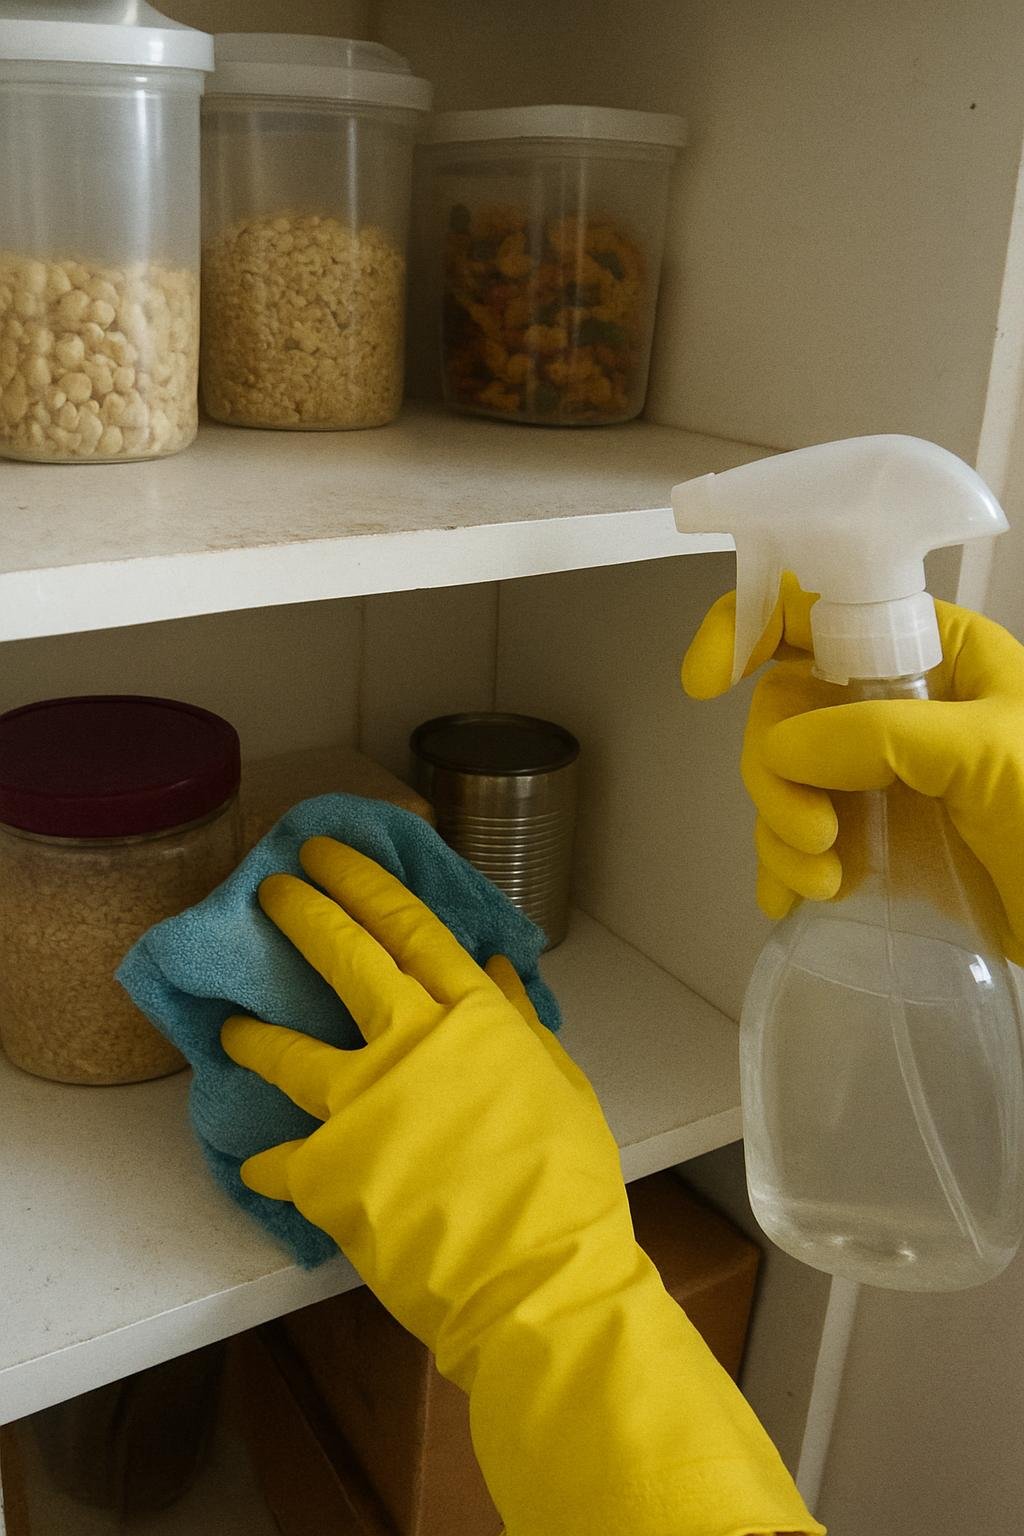
- Wipe down all surfaces. Use a mild all-purpose cleaner or a general-purpose spray on a damp cloth. Wipe shelves, walls, the door, and any trim. Avoid soaking wood shelving, and check the care label or manufacturer guidance if your shelving has a specific finish.
- Let everything dry completely. This step is easy to skip, but returning food to a damp shelf invites moisture problems and can warp certain shelving materials. Give it at least 20 to 30 minutes, longer in a humid kitchen.
- Group items by category. Baking supplies, canned goods, snacks, grains, spices, and so on. This is the step that actually determines whether the pantry stays organized later.
- Use containers and labels where they help. Clear bins for loose packets, airtight containers for opened bags of flour, sugar, or cereal, and labels on anything that isn’t obvious at a glance.
- Place frequently used items at eye level or within easy reach. Put rarely used items, bulk backups, or seasonal items higher up or toward the back.
- Return everything to its zone. Keep similar categories together rather than filling gaps randomly, so future you can find things without hunting.
Best Way to Organize a Small Pantry
Small pantries and narrow closet-style pantries lose usable space quickly to awkward gaps and deep shelves where items get lost in the back. Vertical space matters more than floor space here. Stackable bins, door-mounted racks, and slim turntables for spices or condiments can recover space that would otherwise sit empty or become a junk zone.
If your pantry shelves are deep, avoid lining up single rows of cans or jars from front to back with nothing labeled. Use bins you can pull forward as a unit instead, so you’re not reaching blindly into the dark for something at the rear.
Common Mistakes to Avoid
- Organizing before cleaning. Sorting food into pretty containers on a dirty shelf just relocates the mess instead of solving it.
- Skipping the dry time. Returning food to damp shelves, especially unsealed wood, can lead to staining, warping, or a musty smell over time.
- Buying containers before measuring. Bins that don’t fit your shelf depth or height waste money and space. Measure first.
- Ignoring expiration dates during the rush. If you’re moving fast, it’s tempting to just restack everything. Take the extra few minutes to actually check dates, since that’s the whole point of doing this properly.
- Overpacking shelves. A fully packed pantry looks efficient but makes it hard to see what you have, which often leads to duplicate purchases and more waste later.
Maintenance Tips to Keep It Organized
A one-time deep clean and organization only lasts if you build in small habits to protect it. A quick five-minute reset every week or two, wiping any new spills right away, and doing a full re-sort every few months keeps the system from sliding back into chaos.
- Wipe up spills as soon as they happen rather than letting them sit until the next deep clean.
- Do a quick expiration check every month, especially for items near the front that get used often.
- Keep a small trash or recycling bag nearby when restocking groceries, so empty boxes and old packaging don’t linger on shelves.
- Reassess your bin and label system every few months. If you keep putting things in the wrong spot, the layout may need adjusting rather than your habits.
If your pantry cleaning routine is part of a bigger household reset, the household cleaning checklist can help you plan the rest of the kitchen and beyond. And if you’re trying to build a repeatable weekly or monthly system, the cleaning chores checklist is a useful place to map out how often each space, including the pantry, actually needs attention.
Everything Mentioned Above
Before you leave, grab the tools you need to get the job done right the first time:
*As an Amazon Associate, TidyFormula earns from qualifying purchases.