Bathroom Cabinet Declutter Checklist
The fastest way to declutter a bathroom cabinet is to pull everything out, sort items into keep, toss, and relocate piles, check expiration dates, and put back only what you use regularly in a layout that matches how you actually reach for things. Working in small batches and checking every label before deciding beats trying to declutter by eye alone.
If your cabinet has been ignored for a while, you may find half-empty bottles, expired medications, and products you forgot you owned crammed into a space that never had a real system to begin with. That’s normal, and it’s exactly what a checklist is meant to fix.
⚡ The TidyFormula™ Quick Decision
Best approach: Empty the entire cabinet, sort items into clear categories, check expiration dates and condition before deciding what stays, then rebuild using bins or trays that match your actual shelf depth.
Use caution with: Medications, prescription bottles, and anything with damaged or unreadable labels. When in doubt about disposal, follow local guidance rather than guessing.
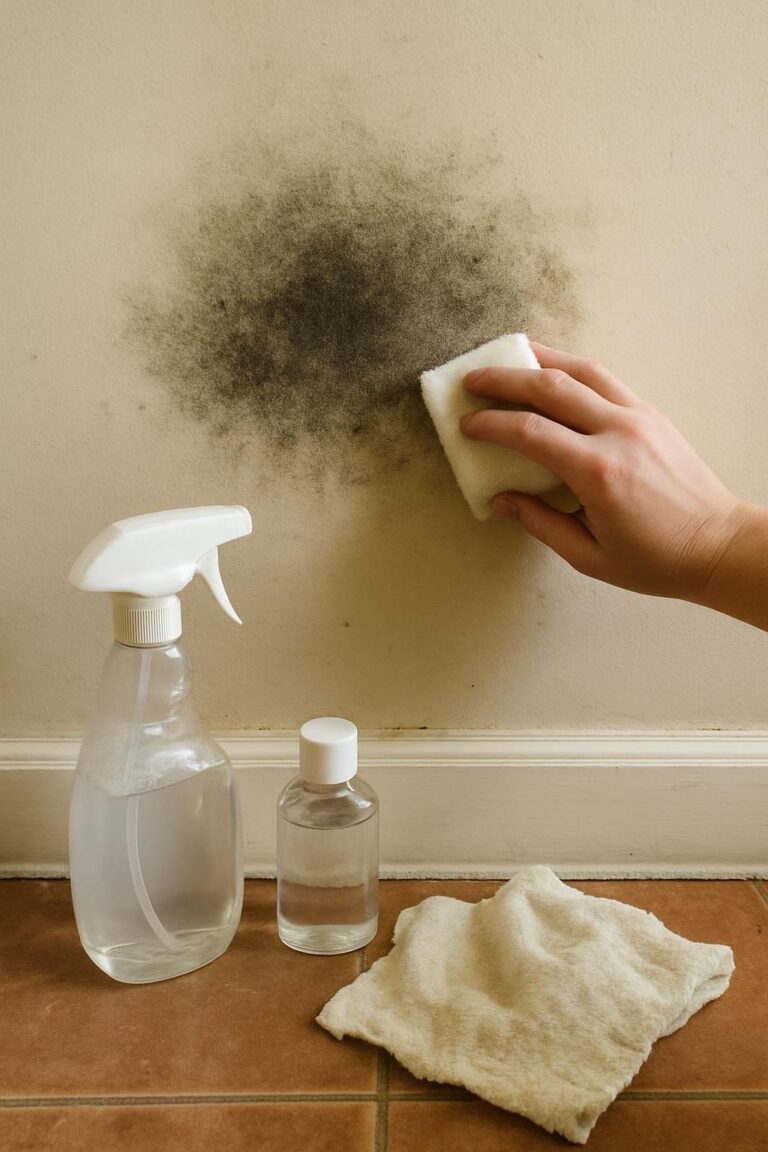
Stop and reassess if: You find mold, water stains, or a musty smell inside the cabinet itself, or discover leaking bottles that have damaged the shelf material, since that may point to a moisture problem beyond simple decluttering.
What I Use For This Job
Using the right tools saves time and protects your belongings. Here are my exact recommendations:
*As an Amazon Associate, TidyFormula earns from qualifying purchases.
What to Check Before You Start
Before you touch a single bottle, look at the cabinet itself. Note whether shelves are fixed or adjustable, whether there’s a mirror-back medicine cabinet with limited depth, or a vanity cabinet with more open floor space. This affects what kind of storage solutions will actually fit later.
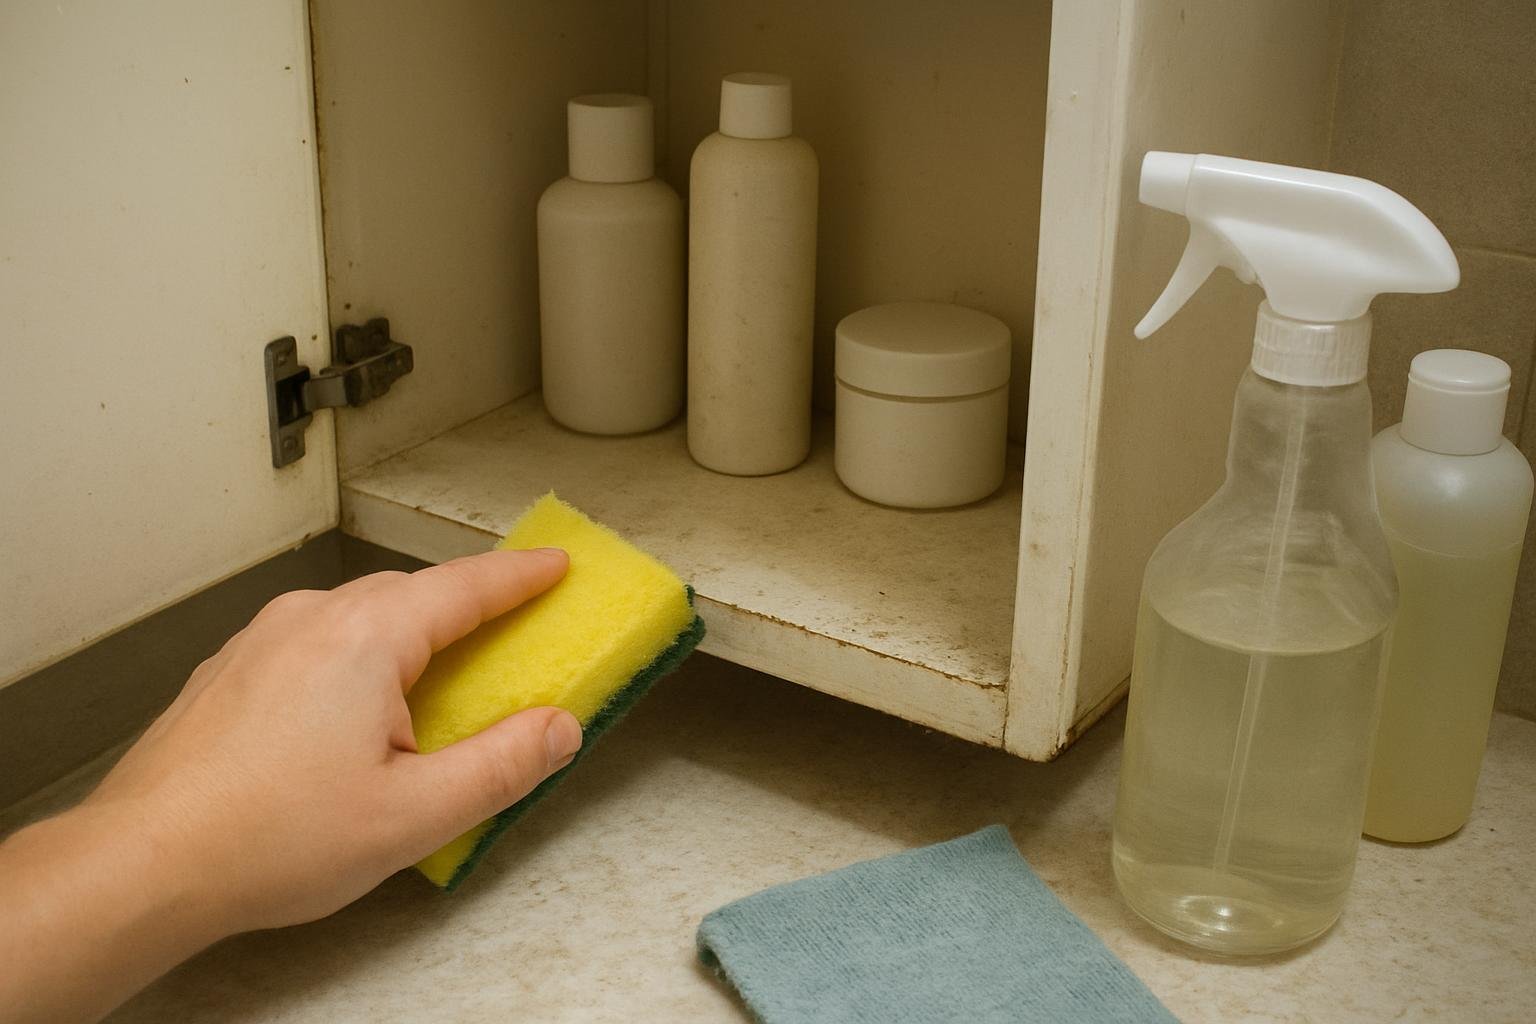
Also check for any moisture damage on the shelves or back wall. Peeling paint, warped particleboard, or a musty smell usually means moisture has been sitting in there, often from steam or a slow leak. If you notice this, it’s worth addressing the moisture source before reorganizing, since new products stored in a damp cabinet will just develop the same problem again.
Step-by-Step Bathroom Cabinet Declutter Checklist
- Empty the entire cabinet onto a towel or table. Working with everything visible at once prevents you from missing items tucked in the back, and lets you see duplicates immediately.
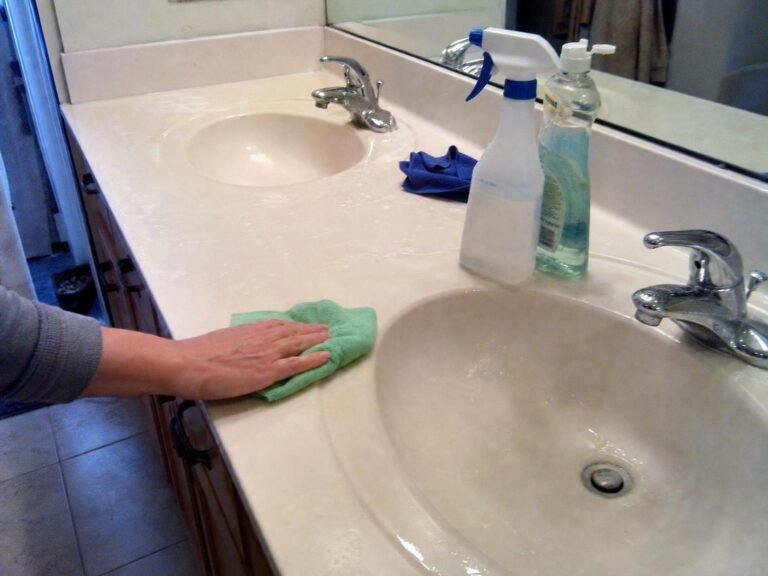
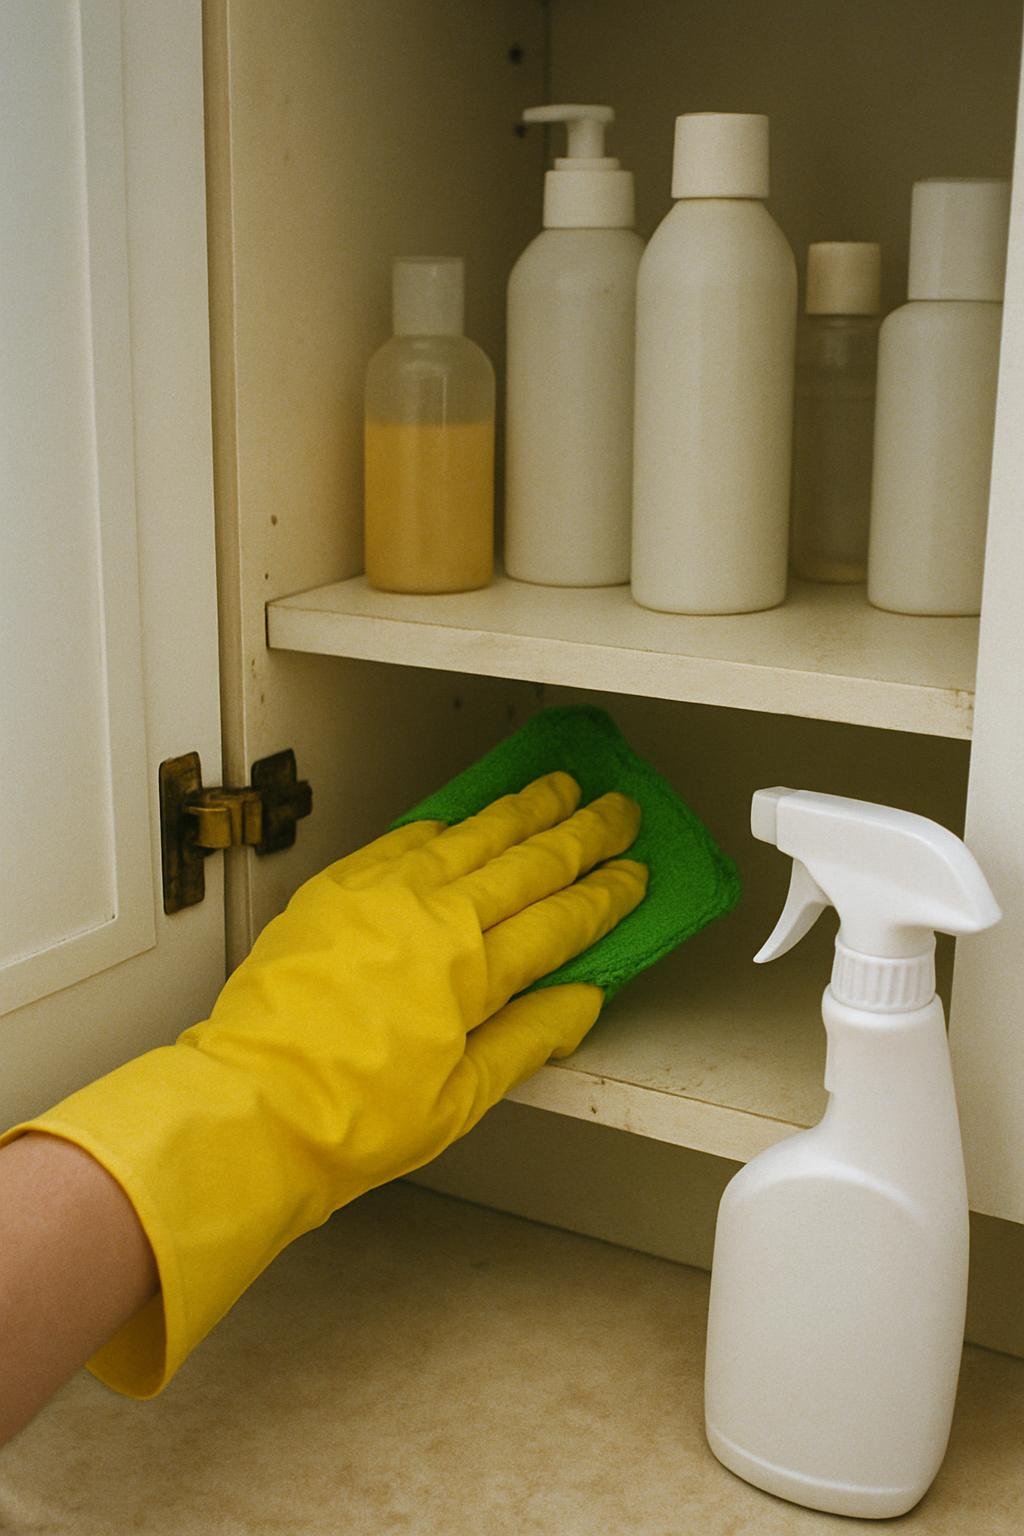
- Wipe down empty shelves. A damp cloth with a mild all-purpose cleaner works for most sealed or painted surfaces. Let shelves dry completely before putting anything back, especially if the cabinet has had moisture issues.
- Sort into four piles: keep, expired or empty, relocate, and unsure. Keeping the unsure pile separate prevents decision fatigue from slowing down the rest of the sort.
- Check expiration dates on every product. Sunscreen, topical creams, and skincare products often have a printed expiration or a small jar symbol showing months after opening. If you can’t find a date and the product smells off or has separated, that’s a reasonable sign to let it go.
- Handle medications separately and carefully. Don’t just toss pills in the trash or flush them without checking guidance, since some medications require specific disposal methods. Many pharmacies offer take-back programs, and that’s often the simplest route for anything you’re unsure about.
- Consolidate duplicates. If you have three half-used bottles of the same lotion, combine them into one container if that’s practical, or commit to finishing one before opening another.
- Group remaining items by category. Oral care, hair care, skincare, first aid, and daily-use items each work well as their own group rather than one mixed pile.
- Return items using the most-used-at-eye-level rule. Daily items go on the shelf you naturally reach first. Backup supplies and rarely used items go higher or lower.
Best Way to Handle a Small Bathroom Cabinet
Small cabinets and shallow medicine cabinets punish clutter fast because there’s no room to push items out of sight. If your space is tight, prioritize vertical storage over horizontal spread. Slim stackable bins, a small tension rod for spray bottles, or an over-the-door organizer on the inside of a vanity door can add usable space without requiring new furniture.
Resist the urge to keep backup stock of everything in a small cabinet. If you only have room for one extra bottle of shampoo, store additional backups elsewhere in the house, like a linen closet, and only bring one forward at a time.
Common Mistakes to Avoid
One frequent mistake is reorganizing without decluttering first, which just results in a neater version of the same overcrowded cabinet. Sorting and removing items has to happen before you invest in bins or dividers, or you’ll end up buying storage for things you didn’t actually need to keep.
Another common issue is guessing at expiration rather than checking labels. Products that have changed color, texture, or smell are reasonable to discard even without a visible date, but don’t assume something is fine simply because the bottle still looks full.
It’s also easy to overlook cabinet material when choosing new organizers. Adhesive-backed bins can pull paint or finish off some cabinet interiors when removed later, so freestanding trays or non-adhesive dividers are usually the safer default unless you know the interior finish can handle adhesive without damage.
Keeping It Decluttered
A five-minute check every couple of months is usually enough to keep a bathroom cabinet from sliding back into clutter. Look for empty bottles ready to toss, anything that’s expired since your last check, and items that have migrated in from other rooms.
If your bathroom routine involves regular cleaning of surrounding surfaces, pairing that habit with a quick cabinet glance keeps both tasks manageable. For a broader view of how this fits into regular home upkeep, the household cleaning checklist and cleaning chores checklist can help you build a maintenance rhythm that includes cabinet check-ins alongside other recurring tasks.
If moisture or grime around the tub and grout is part of what’s making the bathroom feel cluttered and unkempt overall, tackling that separately can make a real difference. The guide on cleaning a bathtub and grout without scrubbing covers a lower-effort approach to that part of the room.
Everything Mentioned Above
Before you leave, grab the tools you need to get the job done right the first time:
*As an Amazon Associate, TidyFormula earns from qualifying purchases.