
household cleaning checklist
Last Saturday, I wiped the kitchen counters, put away the vacuum, and felt reasonably pleased with myself. Ten minutes later, sunlight hit the living room shelves and revealed a thick line of dust, the bathroom bin was still full, and I remembered the sheets were sitting damp in the washer. I had cleaned plenty, but I had not cleaned in a useful order.
That is the problem a household cleaning checklist should solve. It is not meant to turn every Saturday into an exhausting scrub session. A good checklist separates quick maintenance from deeper jobs, gives each room a clear stopping point, and prevents easy-to-miss tasks from piling up.
This routine is the one I use when a home feels generally untidy rather than truly dirty. It covers the jobs that make the biggest visible and practical difference, while leaving room for different schedules, surfaces, pets, and family habits.
⚡ The TidyFormula™ Quick Answer
The Fix: Divide household cleaning into daily resets, weekly room cleaning, monthly detail work, and seasonal deep cleaning, then complete each session from top to bottom and dry to wet.
Tools and Preparation
You do not need a cupboard full of specialty sprays. We get better results from a small, reliable kit that can move from room to room without slowing the routine down.
What I Use For This Job
Using the right tools saves time and protects your belongings. Here are my exact recommendations:
*As an Amazon Associate, TidyFormula earns from qualifying purchases.
- Microfiber cloths in two or three colors
- Vacuum with a crevice attachment
- Broom and dustpan, if needed for hard floors
- Mop suitable for your flooring
- Bucket or cleaning caddy
- Mild dish soap
- All-purpose cleaner approved for your surfaces
- Glass cleaner or a simple glass-safe solution
- Disinfectant for appropriate high-touch areas
- Non-scratch sponge and small detail brush
- Rubber gloves
- Trash bags and a laundry basket
Microfiber cloths are worth choosing carefully. A cloth should pick up dust rather than push it into fuzzy lines. I keep one color for bathrooms and another for kitchens so the cloth used around the toilet never wanders onto a food-preparation surface.
Before starting, open curtains, switch on lights, and provide ventilation when a product label calls for it. Gather supplies in one caddy and place an empty laundry basket nearby for objects that belong in other rooms. Check cleaner labels for required ventilation, surface restrictions, and contact time. Never mix cleaning products, especially bleach with ammonia, acids, vinegar, or other cleaners.
A Step-by-Step Whole-Home Method
Start With a Short Daily Reset
A daily reset should take roughly 10 to 20 minutes. It is maintenance, not deep cleaning. Focus on the messes that become harder tomorrow: food residue, standing water, full bins, scattered belongings, and dishes.
- Make beds or pull bedding back neatly to air before making them.
- Wash dishes or load the dishwasher, then wipe the sink and counters.
- Put obvious rubbish in the bin and remove food packaging.
- Return frequently used items to their normal homes.
- Wipe fresh bathroom splashes and hang damp towels properly.
- Sweep or spot-vacuum visible crumbs in busy areas.
You should observe clear counters, a usable sink, and open walking paths. Do not chase every speck. The purpose is to stop small messes from spreading.
Prepare the Home for Weekly Cleaning
Pick up before applying any cleaner. Cleaning around toys, cables, mail, and clothing wastes time and leaves grubby outlines. Use a reset basket for items that belong elsewhere, but empty it at the end. Otherwise, it becomes a portable clutter drawer (we have all created one of those).
- Collect dishes and cups from every room.
- Start one load of laundry, choosing bedding or towels if they are due.
- Empty small bins into the main trash bag.
- Clear floors, bathroom counters, and main furniture surfaces.
- Put products that need contact time on suitable bathroom or kitchen areas.
Read the label before using a product on natural stone, unsealed wood, painted finishes, specialty metals, electronics, or delicate fabric. If you cannot identify the material, pause and check the care label or manufacturer instructions.
Work Through Each Room in the Right Order
The basic rule is to clean from high to low. Dust from a shelf will fall onto the floor, so vacuuming first creates extra work. I once mopped the kitchen before wiping the cabinet fronts and had to clean sticky drips from the floor twice. Annoying, but memorable.
- Dust ceiling fan edges, vents, high shelves, and the tops of frames using a dry or barely damp cloth.
- Wipe tables, shelves, window ledges, lamps, and reachable furniture.
- Clean mirrors and interior glass where fingerprints are visible.
- Vacuum upholstery crevices and under removable cushions.
- Vacuum or sweep the floor, including edges and under easy-to-move furniture.
- Damp-mop compatible hard floors, working toward the doorway.
Use a two-cloth system: one damp cloth loosens residue, while a clean dry cloth removes moisture and streaks. The surface should look evenly clean, not cloudy or heavily wet.
Clean the Kitchen
- Put food away and remove loose crumbs from counters.
- Wipe cabinet handles, appliance handles, switches, and the outside of frequently used appliances.
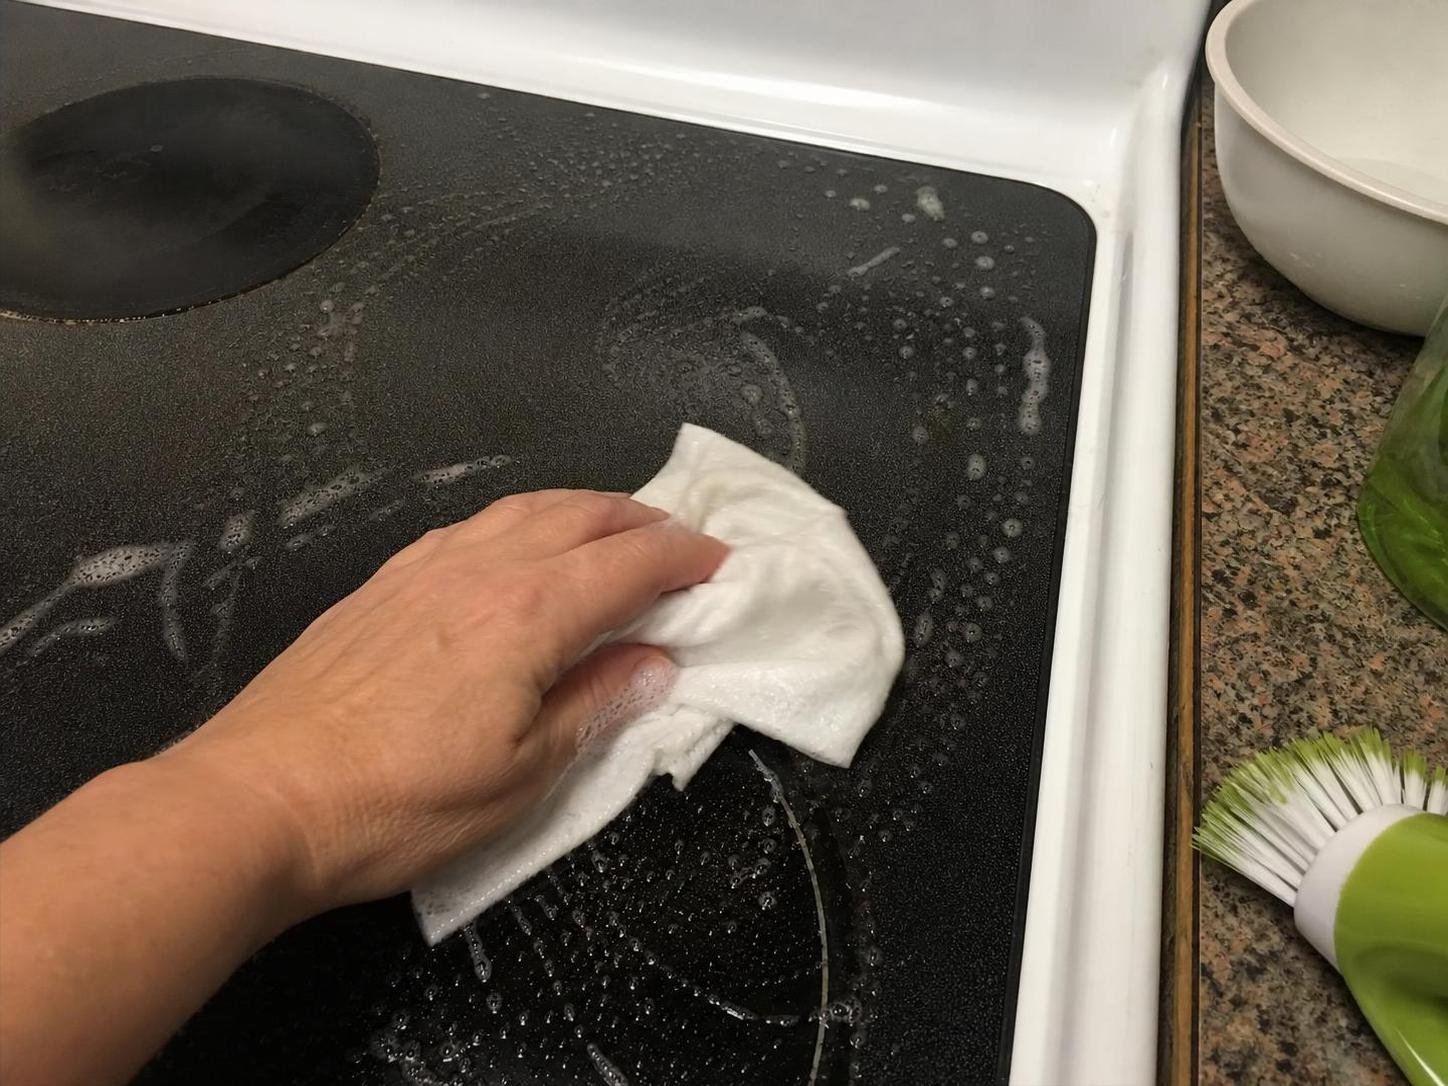
- Clean the stovetop only after it is cool, following its care instructions.
- Wash the sink, rinse it thoroughly, and dry around the faucet.
- Wipe counters from the cleanest section toward the messiest section.
- Vacuum or sweep before mopping the floor.
Give cleaners their stated dwell time. Spraying and immediately wiping may remove crumbs but may not deliver the result described on the label. Keep food and utensils away from treated areas, and rinse food-contact surfaces when the instructions require it.
Clean the Bathroom
- Remove towels, bath mats, toiletries, and loose hair.
- Apply an appropriate cleaner to the shower, tub, sink, and toilet as directed.
- Clean the mirror and upper fixtures while the product sits.
- Scrub and rinse the shower or tub without soaking nearby painted surfaces.
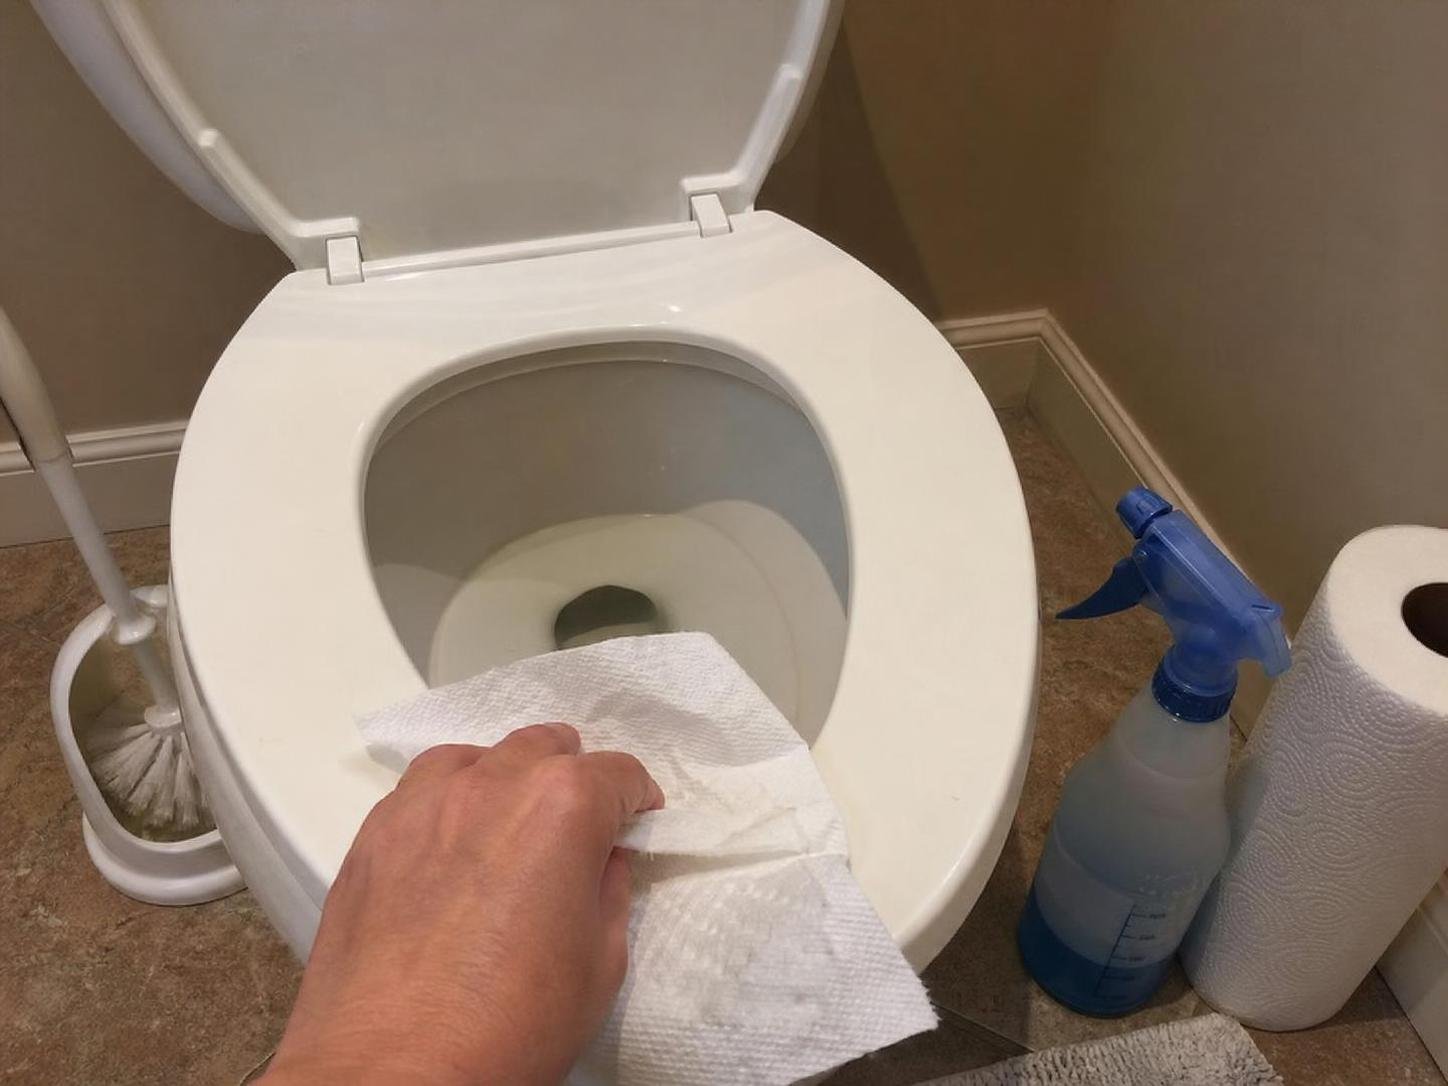
- Clean the sink and faucet, then wipe the toilet from cleaner outer areas toward the bowl.
- Vacuum loose debris and finish with the floor.
Use separate bathroom cloths and wash them after use. If grout, stone, enamel, acrylic, or a coated fixture has special instructions, follow those instead of relying on a general-purpose product.
Schedule Monthly and Seasonal Jobs
Monthly work catches the areas weekly cleaning skips. Choose a few jobs rather than attempting all of them in one day.
- Dust baseboards, blinds, vents, and door frames.
- Vacuum under beds and larger movable furniture.
- Wipe inside the microwave and refrigerator shelves.
- Clean bin interiors and wash reusable vacuum filters if permitted.
- Inspect grout, caulk, drains, and areas under sinks for developing problems.
- Wash throws, cushion covers, or mattress protectors according to their labels.
Seasonally, clean behind appliances only when they can be moved safely, wash accessible windows, rotate mattresses if the manufacturer recommends it, and sort cleaning supplies. Dispose of products according to local instructions rather than combining leftovers.
Reality Check: What Works and What Causes Problems
A consistent 20-minute reset plus one focused weekly session usually works better than waiting for the entire home to become overwhelming. Top-to-bottom cleaning, separate cloths, uncluttered surfaces, and realistic room limits all save time.
What may not work is assigning every possible task to the same day. A rigid list can fail in a home with children, pets, shift work, or limited storage. Adjust frequency according to actual use. A guest bathroom may need light weekly attention, while a busy kitchen floor may need cleaning several times a week.
Common mistakes include overspraying, using one cloth across the whole home, mopping over crumbs, and treating disinfectant like an everyday substitute for ordinary cleaning. Too much liquid can swell laminate seams, mark wood, seep into electronics, or leave residue that attracts more soil.
Abrasive pads may scratch glass, stainless steel, acrylic, nonstick coatings, and polished surfaces. Acidic cleaners can harm some natural stone and grout, while steam can damage certain floors, finishes, adhesives, and fabrics. Stop if you notice color transfer, softening, cloudiness, swelling, or a change in texture. Blot away excess product, allow the area to dry, and check the care label or manufacturer guidance before continuing.
🧪 Why This Works
Cleaning in stages is like clearing a table before setting out dinner: remove obstacles first, loosen and collect dry debris next, then use moisture only where it is helpful. This prevents dirty water from turning dust into paste and keeps falling debris from landing on an already-clean floor.
Choosing a Cleaning Schedule
| Method | Best For | Main Advantage | Avoid When |
|---|---|---|---|
| Short daily resets plus one weekly clean | Busy homes and frequently used rooms | Prevents clutter and grime from building up | Your schedule changes constantly and needs flexible task days |
| One room or task category per day | People who prefer smaller sessions | Keeps each cleaning period manageable | Urgent messes are being postponed simply because they are not scheduled |
| Single weekly whole-home session | Smaller homes with light daily use | Creates a clear start and finish | Long sessions cause fatigue or rushed, careless cleaning |
Make the Routine Easier to Maintain
Keep the checklist visible and specific. “Clean bathroom” is vague; “mirror, sink, toilet, tub, floor, bin” gives you a finish line. Assign tasks by room, note the last completion date for monthly jobs, and remove chores that do not fit your home.
My practical pro tip is to set a 15-minute timer before dinner and have everyone return items to their proper rooms. That small reset leaves the actual cleaning surfaces clear, which can cut a surprising amount of time from the weekly session.
A useful routine should make the home easier to live in, not make you feel permanently behind. Handle fresh spills promptly, maintain the busiest rooms often, and rotate detail work. Clean enough to support daily life, then stop.
Frequently Asked Questions
What household cleaning tasks should be done every day?
Handle dishes, food residue, obvious clutter, fresh spills, damp bathroom surfaces, and visible crumbs. Add pet-related cleanup or high-traffic floor care as your home requires.
How often should I deep-clean my home?
Rotate deeper tasks monthly or seasonally rather than doing everything at once. Homes with pets, allergies, heavy cooking, or many occupants may need some tasks more frequently.
Should I dust or vacuum first?
Dust first, beginning with higher surfaces, then vacuum. This allows fallen particles to be collected from furniture and floors at the end.
How long should weekly cleaning take?
A small, maintained home may take one to two hours, while a larger or busier home can take longer. Split the work by room if quality drops or the session becomes tiring.
Can I use one all-purpose cleaner everywhere?
No. Some products are unsuitable for natural stone, unsealed wood, electronics, specialty coatings, and food-contact surfaces. Check both the product label and the surface manufacturer’s instructions.
Everything Mentioned Above
Before you leave, grab the tools you need to get the job done right the first time:
*As an Amazon Associate, TidyFormula earns from qualifying purchases.
2 Comments