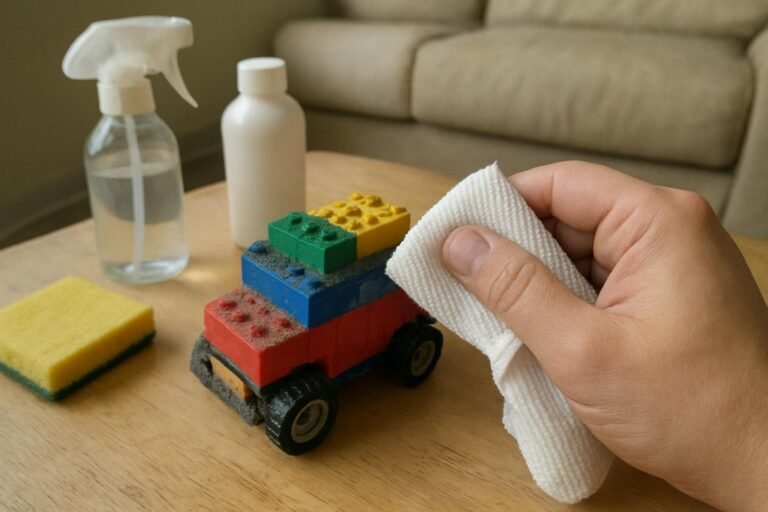
household cleaning checklist
I once spent an entire Saturday “cleaning” while bouncing between laundry, bathroom grout, dusty shelves, and a half-emptied kitchen cabinet. By dinner, every room looked disturbed and almost nothing was finished. That is exactly the problem a practical household cleaning checklist should prevent.
A useful checklist is not a giant inventory of every surface you own. It separates urgent chores from weekly upkeep and occasional deep cleaning, then puts each task in a sensible order.
This guide gives you a realistic system that works for busy homes, including days when you have only 15 minutes and no interest in scrubbing baseboards (which is most Tuesdays).
⚡ The TidyFormula™ Quick Answer
The Fix: Divide household chores into daily, weekly, monthly, and seasonal tasks, then clean one room at a time from high surfaces to low surfaces.
Tools and Supplies to Keep Ready
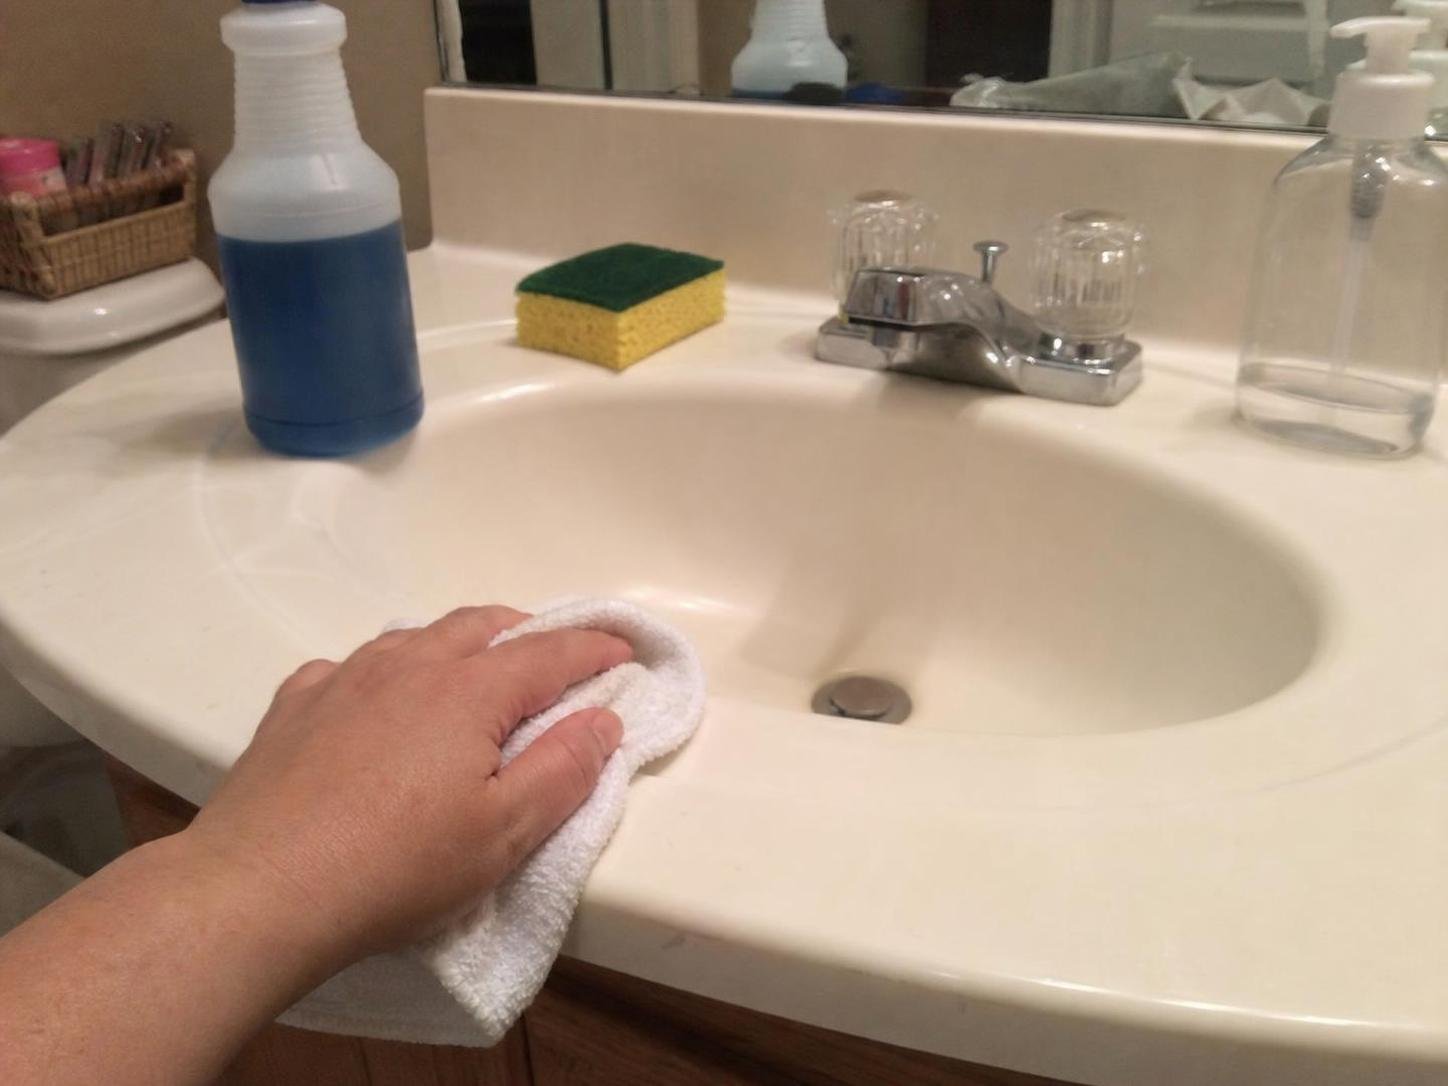
You do not need a separate cleaner for every room. A small, dependable cleaning kit is easier to carry and much easier to restock.
What I Use For This Job
Using the right tools saves time and protects your belongings. Here are my exact recommendations:
*As an Amazon Associate, TidyFormula earns from qualifying purchases.
- A caddy or handled basket
- Several color-coded microfiber cloths
- A vacuum with a crevice attachment
- A broom and dustpan
- A mop suitable for your flooring
- Mild dish soap
- An all-purpose cleaner approved for your surfaces
- Bathroom cleaner or soap-scum remover
- Glass cleaner
- Disinfectant for appropriate high-touch surfaces
- Rubber gloves
- Trash bags
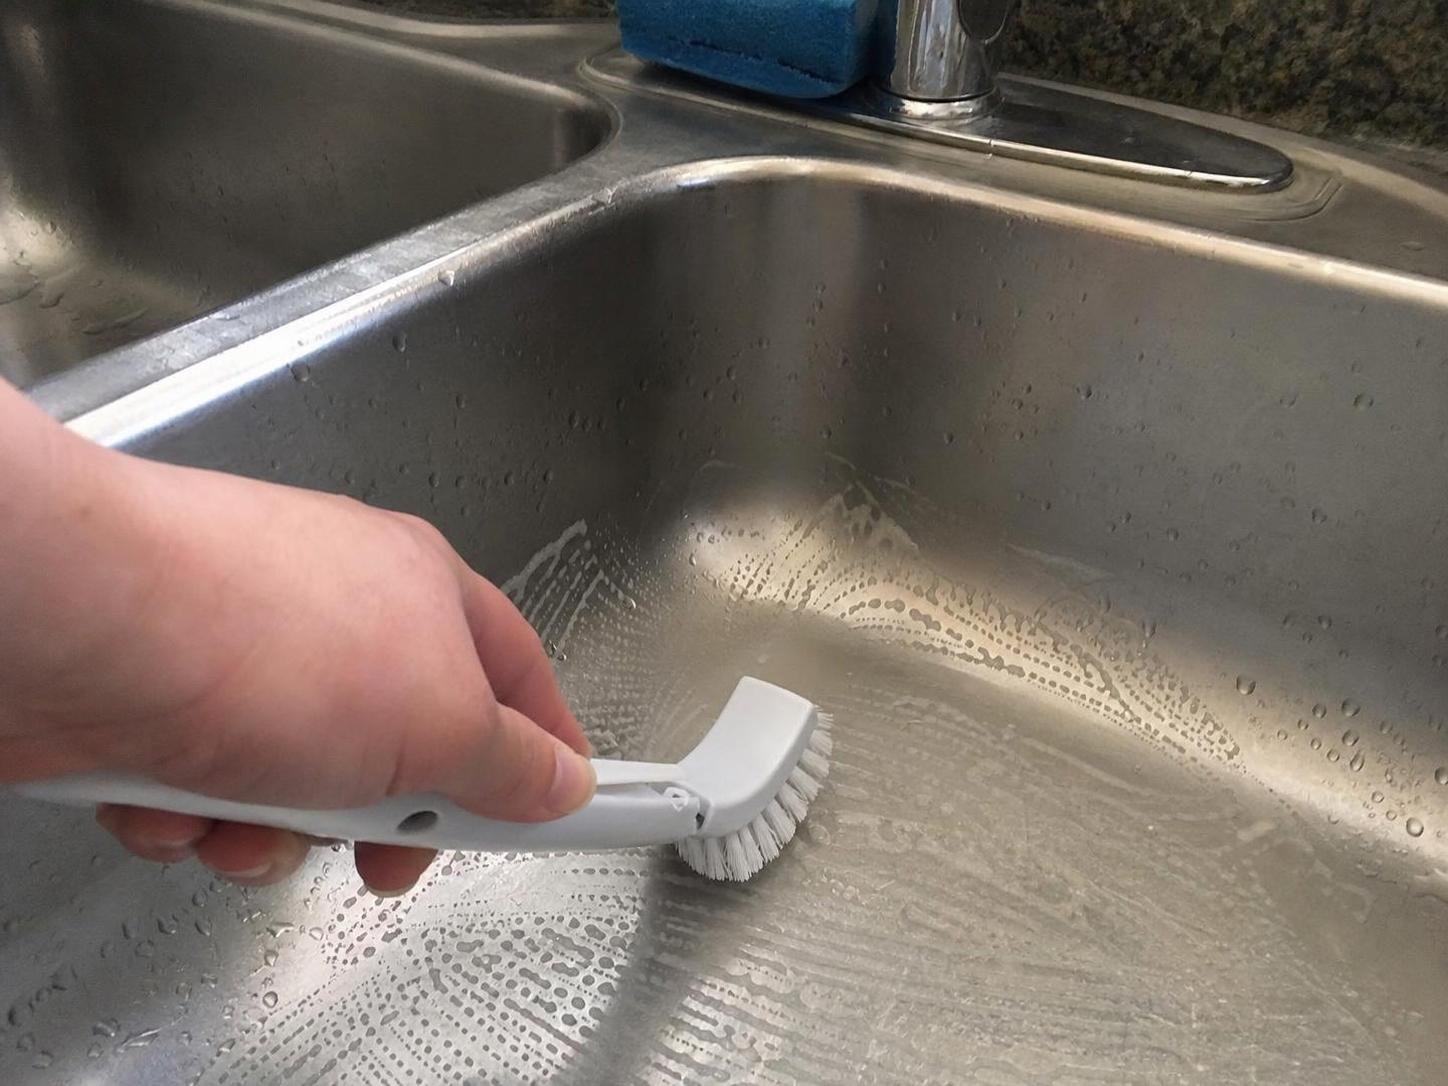
- A small scrub brush or old toothbrush
- A timer
I prefer washable cloths over a roll of paper towels for most routine dusting. Keep separate cloth colors for bathrooms, kitchens, and general surfaces so the toilet cloth never has an accidental second career on the dining table.
Avoid using abrasive scrubbers on glossy appliances, acrylic tubs, coated fixtures, or delicate countertops. They can leave permanent dull patches. Do not combine cleaning chemicals, especially bleach and ammonia. Follow the product label and review the CDC guidance for household cleaning and disinfecting when disinfection is actually needed.
Build a Checklist You Can Finish
The most effective cleaning chores checklist is based on frequency, not wishful thinking. Daily tasks control clutter and food residue. Weekly tasks handle dust, bathrooms, floors, and bedding. Monthly and seasonal tasks cover areas that can wait without making the home feel neglected.
Daily household chores
- □ Make beds or straighten bedding
- □ Put dirty clothing in hampers
- □ Wash dishes and clean the sink
- □ Wipe kitchen counters and the dining table
- □ Sweep or vacuum visible crumbs
- □ Wipe fresh bathroom splashes
- □ Return loose items to their proper rooms
- □ Take out trash if it is full, wet, or smelly
- □ Check laundry and move damp loads promptly
These tasks should take minutes rather than consume the evening. If the list regularly takes more than 20 to 30 minutes, move lower-priority items to the weekly schedule.
Weekly household chores
- □ Dust open surfaces, lamps, and reachable shelves
- □ Clean mirrors
- □ Clean sinks, faucets, tubs, and showers
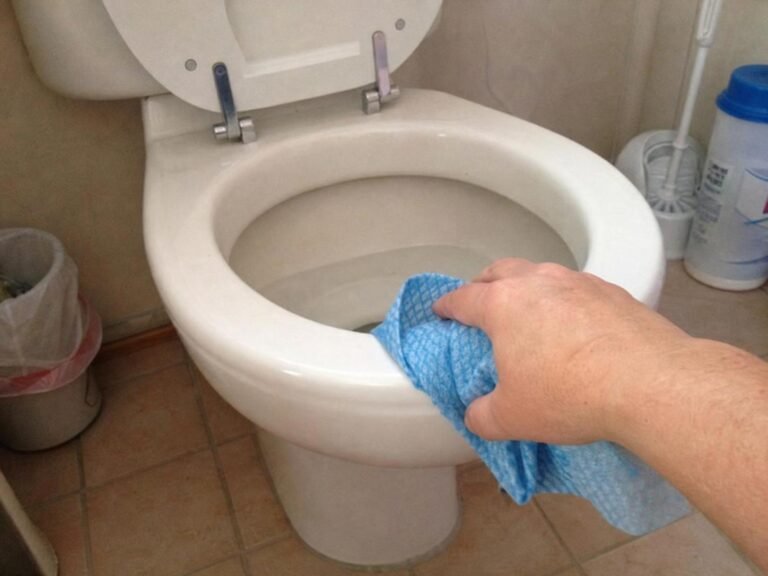
- □ Clean toilets inside and out
- □ Vacuum rugs, carpets, stairs, and upholstery as needed
- □ Mop hard floors
- □ Change sheets and wash towels
- □ Wipe appliance fronts and cabinet handles
- □ Empty household trash cans
- □ Check the refrigerator for spoiled food and spills
If you want a more detailed room-by-room breakdown, our cleaning chores checklist can help you assign specific jobs without crowding every task into one day.
Monthly household chores
- □ Dust ceiling fans, vents, blinds, and door frames
- □ Wipe baseboards in high-traffic rooms
- □ Vacuum under movable furniture
- □ Clean the microwave and oven as needed
- □ Wash trash cans
- □ Remove mineral buildup from compatible fixtures
- □ Vacuum mattress surfaces
- □ Clean cabinet fronts and backsplash edges
- □ Inspect cleaning tools and replace worn items
Seasonal or occasional chores
- □ Wash accessible windows and screens
- □ Clean behind large appliances when safely reachable
- □ Wash curtains or vacuum fabric window coverings
- □ Sort pantry, bathroom, and cleaning supplies
- □ Clean light fixtures after switching them off and allowing bulbs to cool
- □ Rotate or flip mattresses if recommended by the manufacturer
- □ Remove unused clothing and household items
- □ Check manufacturer instructions for filters and appliance maintenance
A Practical Step-by-Step Cleaning Method
1. Choose the right level of cleaning
- Walk through the home with a basket and note what is actually dirty.
- Choose a quick clean, standard weekly clean, or deeper monthly session.
- Set a realistic finish time before beginning.
Do not turn one dusty shelf into an unplanned closet overhaul. If you discover a larger project, add it to the monthly list and continue with today’s work.
2. Remove obvious clutter first
- Carry a basket from room to room.
- Collect items that belong elsewhere.
- Group items by destination rather than putting away each object immediately.
- Empty the basket after the collection pass.
This is a simple form of task batching. It cuts down on repeated trips and keeps you from becoming distracted in another room. Stop and sort immediately if the basket contains wet towels, food, medication, or breakable items.
3. Start laundry and soaking tasks
- Start a suitable load of laundry.
- Apply bathroom or kitchen cleaner according to its label.
- Let the product sit for the specified contact time before wiping or rinsing.
Waiting matters. I used to spray shower cleaner and wipe it away within seconds, then complain that it did very little. Giving an appropriate product time to soften residue reduces scrubbing. If a surface changes color, becomes tacky, or develops a dull patch, stop, rinse it, and check the care instructions.
4. Clean high surfaces before floors
- Dust ceiling fans and upper shelves with the fan or fixture switched off.
- Wipe tables, counters, ledges, and furniture.
- Clean lower cabinet fronts and baseboards only when scheduled.
- Vacuum or sweep after loose debris has fallen.
- Mop hard floors last.
Top-to-bottom cleaning prevents dust and crumbs from landing on a floor you just finished. Use light pressure while dusting. If dust smears instead of lifting, switch to a clean cloth or use a slightly damp cloth on a moisture-safe surface.
5. Work room by room
- Finish the kitchen cleaning pass before moving to the bathroom.
- Use different cloths and tools for food areas and toilet areas.
- Complete visible surfaces, fixtures, and floors before leaving the room.
- Mark the room complete on the checklist.
Finishing one room creates a clear stopping point. It also prevents the frustrating end-of-day situation where supplies are scattered everywhere and every room is only half cleaned.
6. Handle high-touch areas selectively
- Remove visible dirt from handles, switches, remotes, and railings.
- Use a product compatible with the material.
- Disinfect when illness, contamination, or household circumstances make it appropriate.
- Allow the surface to remain wet for the label’s stated time when using disinfectant.
Routine cleaning and disinfecting are not identical. Many homes need regular soil removal more often than whole-house disinfection. Electronics deserve extra care: apply a manufacturer-approved product to the cloth rather than spraying controls directly.
7. Finish with a reset
- Return cleaning products to storage.
- Rinse, wash, or empty the tools.
- Move laundry to the dryer or drying rack.
- Replace towels, liners, and bedding.
- Walk through once for missed residue or damp spots.
A short weekly reset keeps unfinished details from rolling into the next cleaning day. If you are tired, prioritize wet laundry, chemical residue, unlocked product storage, and damp floors before cosmetic tasks.
🧪 Why This Works
A frequency-based checklist works like putting groceries into separate bags: cold items go together, fragile items stay protected, and nothing gets handled five times. Grouping similar chores reduces backtracking, while cleaning from high to low lets gravity move loose debris toward a floor that has not yet been cleaned.
Choose the Right Cleaning Session
| Cleaning level | Best for | Typical tasks | Suggested time |
|---|---|---|---|
| Quick reset | Busy weekdays or unexpected visitors | Dishes, counters, clutter, visible crumbs, bathroom sink | 10–20 minutes |
| Standard weekly clean | Routine household upkeep | Dusting, bathrooms, vacuuming, mopping, bedding, trash | 1–3 hours depending on home size |
| Focused deep clean | Monthly buildup or a neglected room | Baseboards, vents, appliance interiors, under furniture | 30–90 minutes per area |
| Seasonal clean | Occasional maintenance and decluttering | Windows, screens, curtains, storage areas, pantry sorting | Split across several sessions |
Common Checklist Mistakes
Scheduling everything for one day
A six-hour list looks organized on paper but often collapses when laundry takes longer or the bathroom needs extra attention. Spread weekly jobs across two or three days if that suits your household better.
Writing tasks that are too vague
“Clean kitchen” leaves too much room for interpretation. Write “wipe counters, scrub sink, clean appliance fronts, sweep, and mop.” Specific tasks are easier to assign and mark complete.
Cleaning before decluttering
Moving the same bottles, papers, and toys from side to side wastes time. Clear the working surface first, but avoid starting a major organizing project in the middle of routine cleaning.
Using too much product
Extra cleaner can leave floors sticky and attract fresh dirt. Measure concentrates, follow label dilution directions, and use enough product to do the job rather than enough to create a strong smell.
Using one cloth for the whole home
A dirty cloth stops picking up soil and begins moving it around. Fold cloths into sections, turn to a clean side frequently, and switch cloths between bathrooms and food-preparation areas.
Ignoring surface care instructions
Natural stone, unfinished wood, screens, coated metals, and some flooring materials need specific care. When uncertain, check the manufacturer’s directions and test the product in a hidden spot.
Aftercare and Tool Storage
Cleaning is not finished until the tools are clean. Empty vacuum bins, remove hair from brush rolls with the machine unplugged, rinse mop heads where appropriate, and wash reusable cloths according to their care labels.
Let brushes, sponges, cloths, and mop heads dry fully before closing them inside a cabinet. Damp storage encourages stale odors and makes the next cleaning session unpleasant. Ventilate rooms until cleaned surfaces are dry, especially after mopping or cleaning a shower.
Before replacing countertop items, check for cleaner residue with a clean damp cloth. If the surface feels sticky or looks streaky, use less product next time and make another plain-water wiping pass when the material allows it.
Store products upright in their original labeled containers, away from heat and out of reach of children and pets. Never pour leftover cleaner into food or drink containers.
A Pro Tip That Makes the List Easier
Assign a maximum time to each room and write it beside the task list: kitchen 20 minutes, bathroom 15 minutes, bedrooms 10 minutes each. I tested open-ended cleaning against timed room passes, and the timed version kept me from spending 25 minutes polishing one faucet while ignoring the floor. When the timer ends, finish the task in your hands, note anything important that remains, and move on.
Frequently Asked Questions
How often should I complete a household cleaning checklist?
Do small kitchen, clutter, and laundry checks daily. Handle bathrooms, dusting, floors, and bedding weekly, then schedule deeper jobs monthly or seasonally according to actual use.
What should be included in a basic cleaning chores checklist?
Include dishes, counters, sinks, toilets, dusting, vacuuming, mopping, trash, laundry, bedding, and clutter pickup. Add home-specific tasks such as pet-hair removal or playroom cleanup.
Should I clean one room at a time or one task at a time?
Batching one task across several rooms is efficient for dusting or collecting trash. For kitchens and bathrooms, finishing one room at a time usually prevents cross-use of tools and leaves clearer stopping points.
How can I split cleaning chores among family members?
Assign visible, specific tasks based on ability and available time. “Wipe the dining table and sweep underneath it” is easier to complete and check than “help with the kitchen.” Rotate unpopular jobs when practical.
What if I fall behind on the checklist?
Start with dishes, trash, laundry, food spills, toilets, and the main walking areas. Skip low-priority details such as baseboards until the essential areas are usable again. Do not try to catch up on every missed task at once.
A good household cleaning checklist should reduce decisions, not create guilt. Keep daily chores short, schedule weekly work realistically, and reserve detailed cleaning for focused sessions. One final reminder: finish wet or safety-sensitive tasks before stopping, even if the decorative details have to wait.
Everything Mentioned Above
Before you leave, grab the tools you need to get the job done right the first time:
*As an Amazon Associate, TidyFormula earns from qualifying purchases.