How to Clean Dust from Lego without Taking It Apart
The fastest way to clean dust from LEGO without taking it apart is a soft-bristle brush, a can of compressed air, or a low-suction vacuum attachment used from a short distance, followed by a quick wipe with a barely damp microfiber cloth on flat surfaces only. This keeps studs, stickers, and printed pieces intact while clearing dust from tight gaps between bricks.
Dust tends to settle into the grooves around studs and in recessed details on minifigure heads and vehicle panels, which is exactly where full disassembly usually feels necessary. It often isn’t, as long as you match the tool to the type of buildup you’re dealing with.
⚡ The TidyFormula™ Quick Decision
Best approach: Use a soft artist’s brush or compressed air to loosen and lift dust from between bricks, then vacuum it away with a low-suction handheld or brush attachment instead of touching the model directly.
Use caution with: Stickers, printed pieces, metallic or chrome-finish parts, and glued or displayed builds, since moisture and rubbing can dull prints or lift adhesive.
Stop and reassess if: Dust is packed into gaps you can’t reach with a brush, pieces feel sticky or discolored, or you see mold-like spots, since those situations may call for partial disassembly or a different cleaning approach entirely.
What I Use For This Job
Using the right tools saves time and protects your belongings. Here are my exact recommendations:
*As an Amazon Associate, TidyFormula earns from qualifying purchases.
What to Check Before You Start
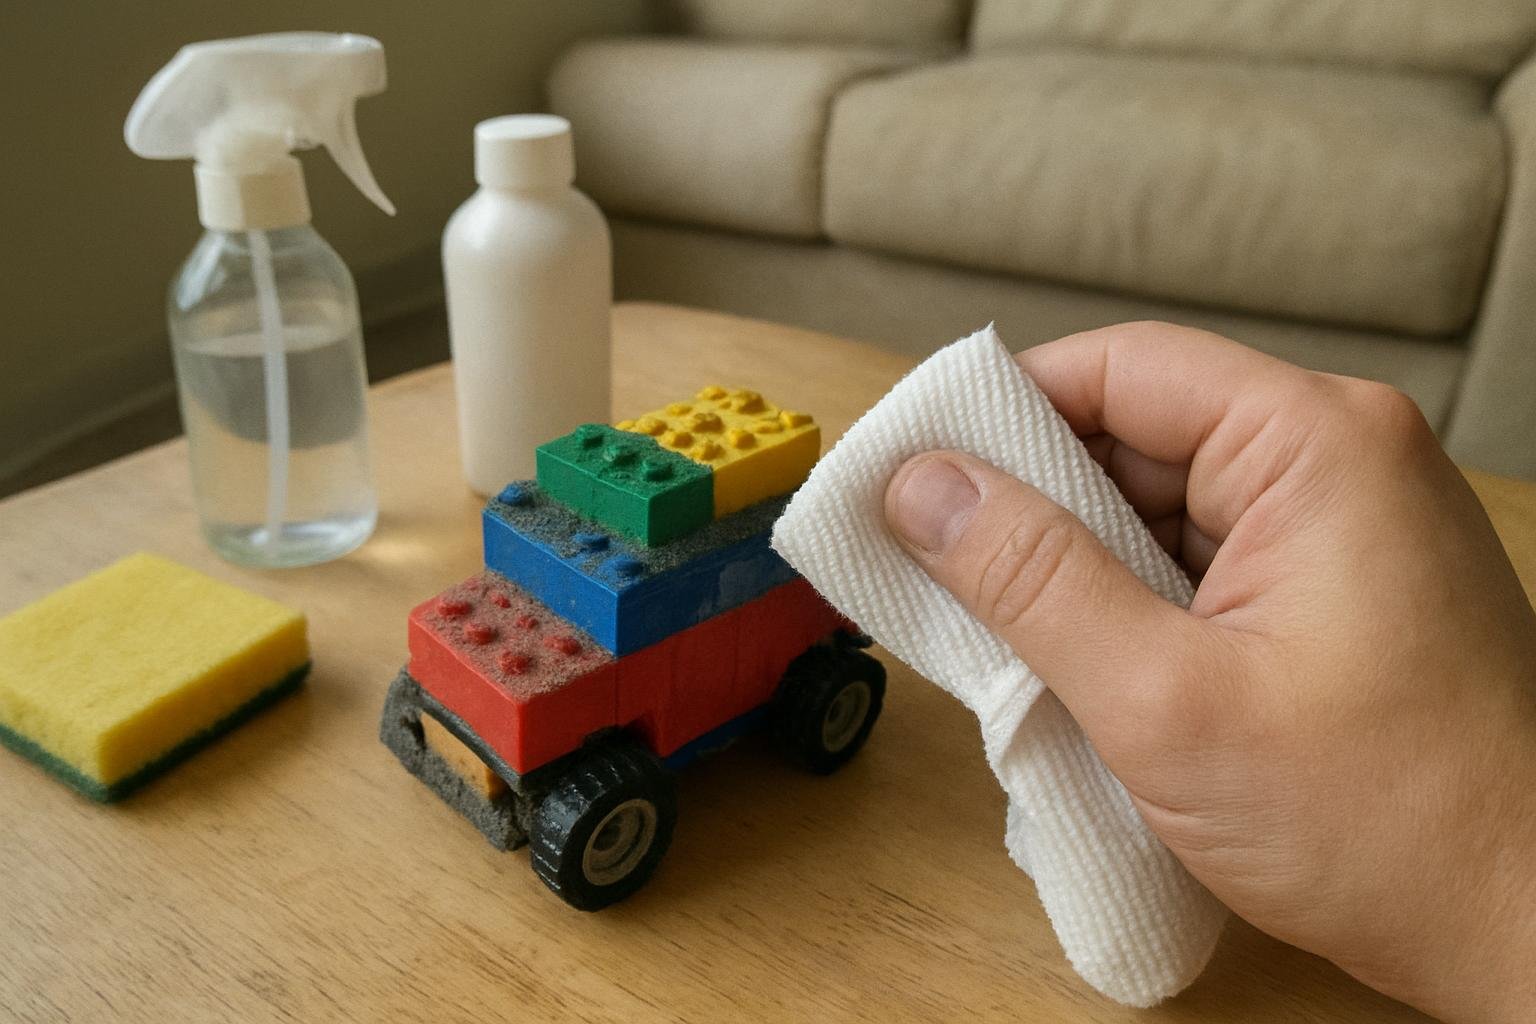
Look at the build itself before choosing a method. A static display model glued to a baseplate needs gentler handling than a set of loose bricks kept in a bin. Printed tiles, water-slide decals, and metallic or chrome-plated pieces are more sensitive to moisture and friction than plain molded plastic, so identify those parts first and treat them more carefully than the rest of the model.
Also check how the piece is displayed. A LEGO set behind glass or in a case usually only needs occasional dusting, while one sitting open on a shelf collects dust faster and may need a slightly more thorough pass.
Dry Methods First: Brush, Air, and Vacuum
Dry cleaning should always come before anything damp. Loose surface dust lifts easily with air or a brush, and clearing it first prevents you from grinding grit into the plastic later with a cloth.
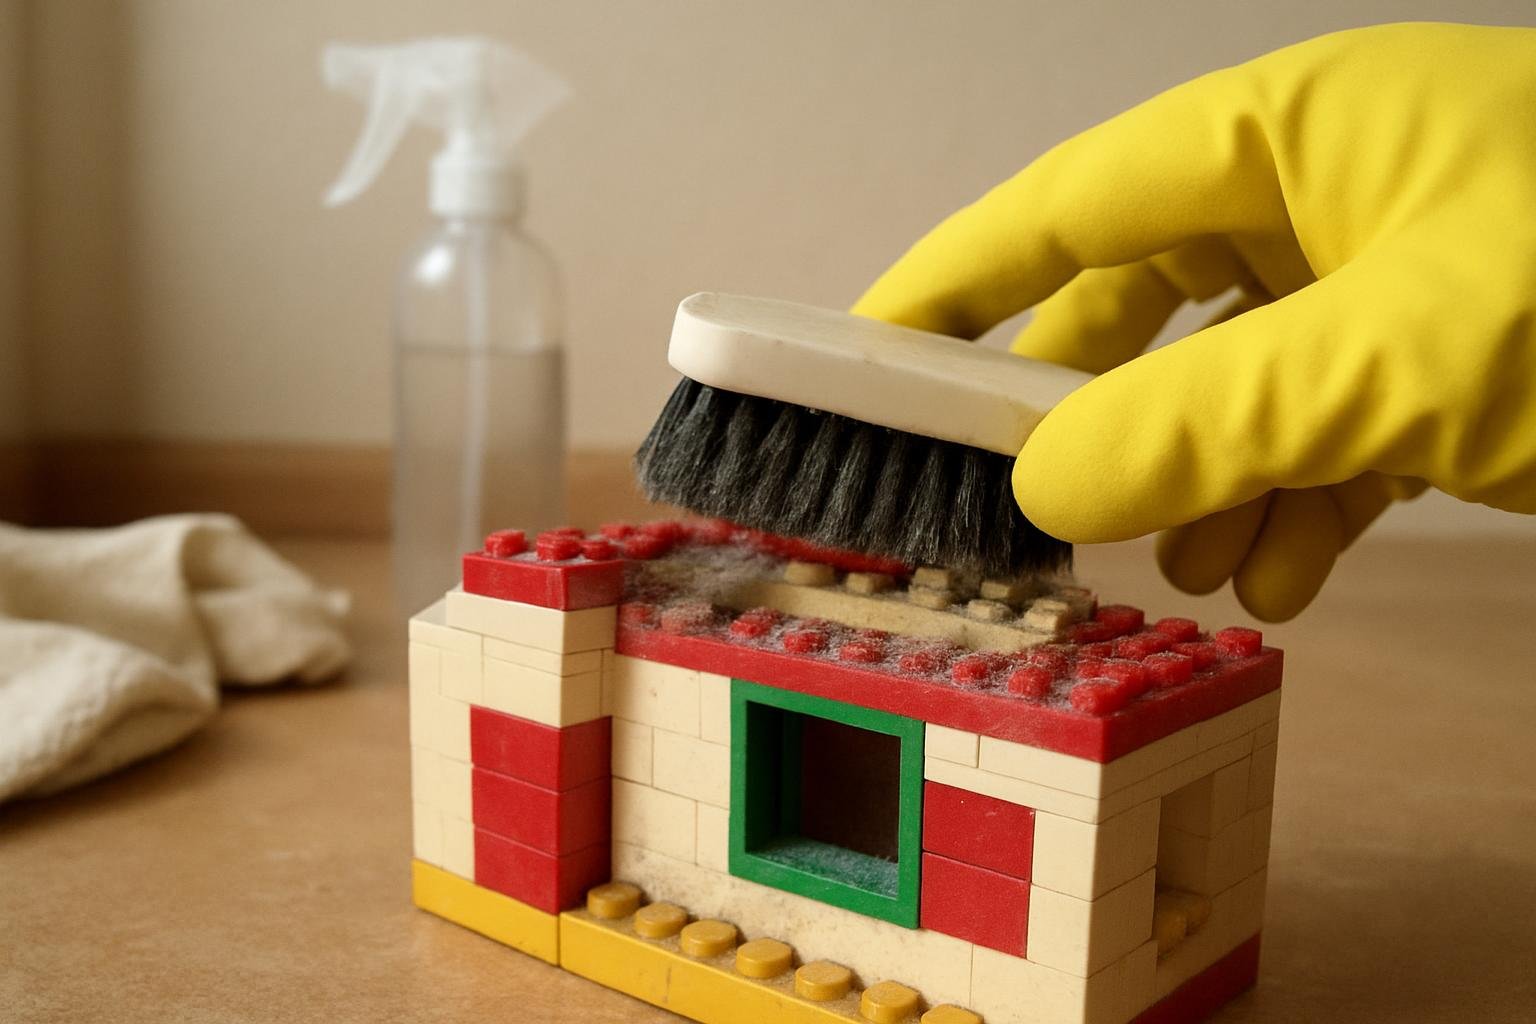
- Start with a soft brush. A clean, soft-bristle paintbrush or makeup brush works well for sweeping dust out of grooves, between studs, and along seams. Use light, short strokes rather than pressing hard, since studs and thin printed details can scratch or wear under pressure.
- Follow with compressed air if needed. A can of compressed air held a few inches away can push dust out of narrow gaps a brush can’t reach, such as between minifigure limbs or inside vehicle wheel wells. Use short bursts instead of one long spray, and avoid tilting the can, since some products can release cold propellant that isn’t meant to contact plastic directly.
- Vacuum on the lowest suction setting. A handheld vacuum with a brush attachment, or a standard vacuum with a hose nozzle held slightly away from the model, can catch the dust once it’s loosened. Keep the nozzle moving and never let it make direct contact with small, loose, or delicate pieces, since suction can pull off stickers or dislodge lightweight parts.
When a Damp Wipe Is Appropriate
If dry methods leave a haze or the dust seems stuck, a barely damp microfiber cloth can help, but only on flat, plain plastic surfaces without stickers, prints, or metallic coatings. Wring the cloth until it’s just slightly moist, not wet, and wipe gently rather than scrubbing.
Avoid using this method on printed minifigure faces, decal-covered panels, or chrome pieces, since moisture and friction can dull or peel these finishes over time. On those parts, stick with a dry brush or compressed air instead. If you’re unsure whether a piece is printed or has an applied sticker, treat it as sensitive and skip the damp wipe.
Cleaning Mistakes That Cause Damage
- Using water directly on a brush or spraying liquid onto the model. This can push moisture into gaps between bricks, where it’s slow to dry and may leave water spots or encourage buildup inside the model.
- Scrubbing printed or stickered pieces. Even a soft cloth can wear down ink or lift the edge of a decal if you rub repeatedly in the same spot.
- Holding compressed air too close. Spraying directly against the plastic from a very short distance can be forceful enough to dislodge small pieces or loosen minifigure accessories.
- Full suction vacuuming. Running a vacuum hose directly over the model without a brush attachment or distance can pull off lightweight parts, especially on minifigures or small greebled details.
How Often to Dust a LEGO Display
An enclosed display case generally needs only a light dusting every few months, since it’s shielded from most airborne dust. An open shelf display, especially in a bedroom or living area, usually benefits from a quick brush-and-air pass every two to four weeks to keep dust from settling into grooves and becoming harder to remove later. If you notice dust building up faster than that, check whether the model sits near a heating vent, fan, or high-traffic area, since airflow can speed up buildup.
When Dusting Isn’t Enough
If a model has sat for years without cleaning, or if you notice discoloration, a sticky residue, or a musty smell, dusting alone may not solve the problem. Sticky residue is sometimes a sign of off-gassing plastic or nearby contamination like nicotine or cooking smoke, and a stronger clean may require partial disassembly to reach every surface. In that case, work in small sections, keep pieces sorted by original location, and avoid soaking printed or stickered parts in water. If mold-like spots appear, that’s outside the scope of routine dusting, and you may want to research safe handling for that specific situation before continuing.
For dust and buildup problems elsewhere in the house that involve similar care-label or material caution, you might find the guidance in cleaning a rug without a carpet cleaner useful for comparing gentle, no-machine approaches.
Everything Mentioned Above
Before you leave, grab the tools you need to get the job done right the first time:
*As an Amazon Associate, TidyFormula earns from qualifying purchases.