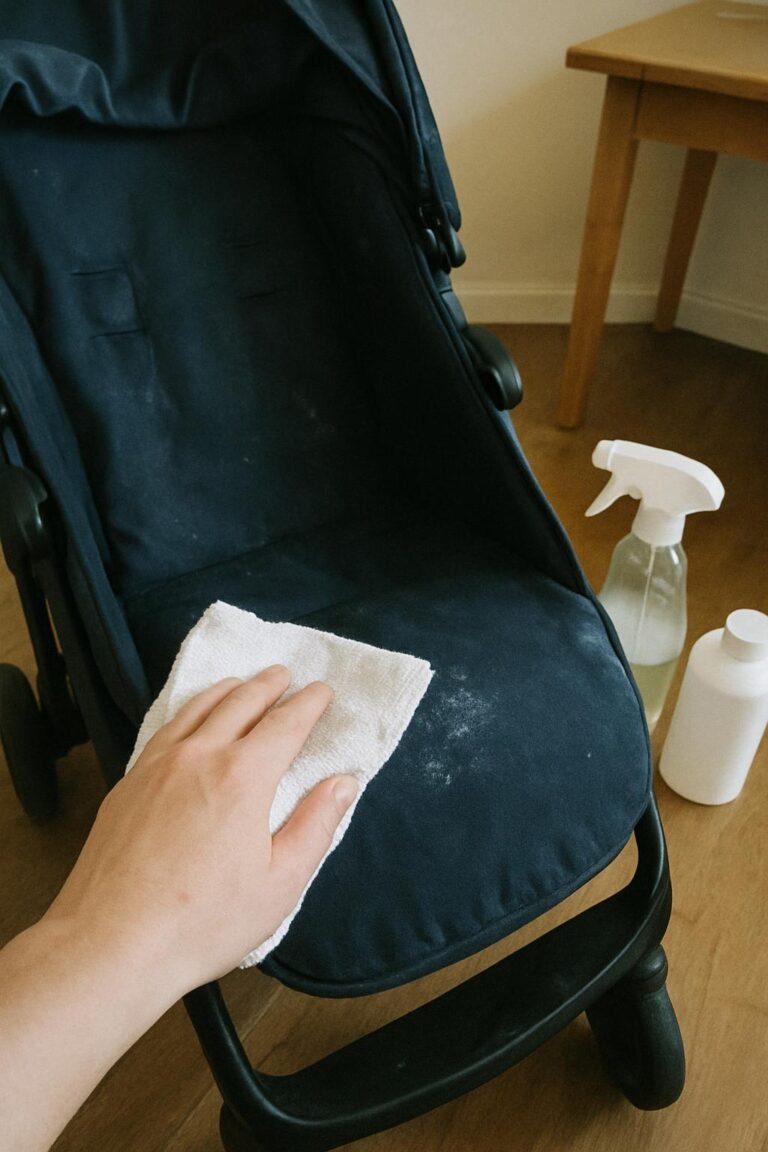
diy toy cleaner
The sticky action figure looked clean until it dried and collected every bit of lint in the room. I had used too much soap, skipped the rinse, and created a toy-shaped dust magnet. Annoying, but fixable.
A good DIY toy cleaner should loosen food, fingerprints, and everyday grime without soaking seams or leaving a heavy residue. The safest general formula is simple: diluted dish soap applied with a cloth, followed by a separate damp wipe.
The toy’s material still matters. Hard plastic can handle more moisture than battery-operated toys, painted wood, plush toys, or anything with glued-on details.
⚡ The TidyFormula™ Quick Answer
The Fix: Mix 2 cups of warm water with 1 teaspoon of fragrance-free dish soap, apply it to a cloth rather than directly to the toy, wipe away grime, rinse with a second damp cloth, and let the toy dry completely.
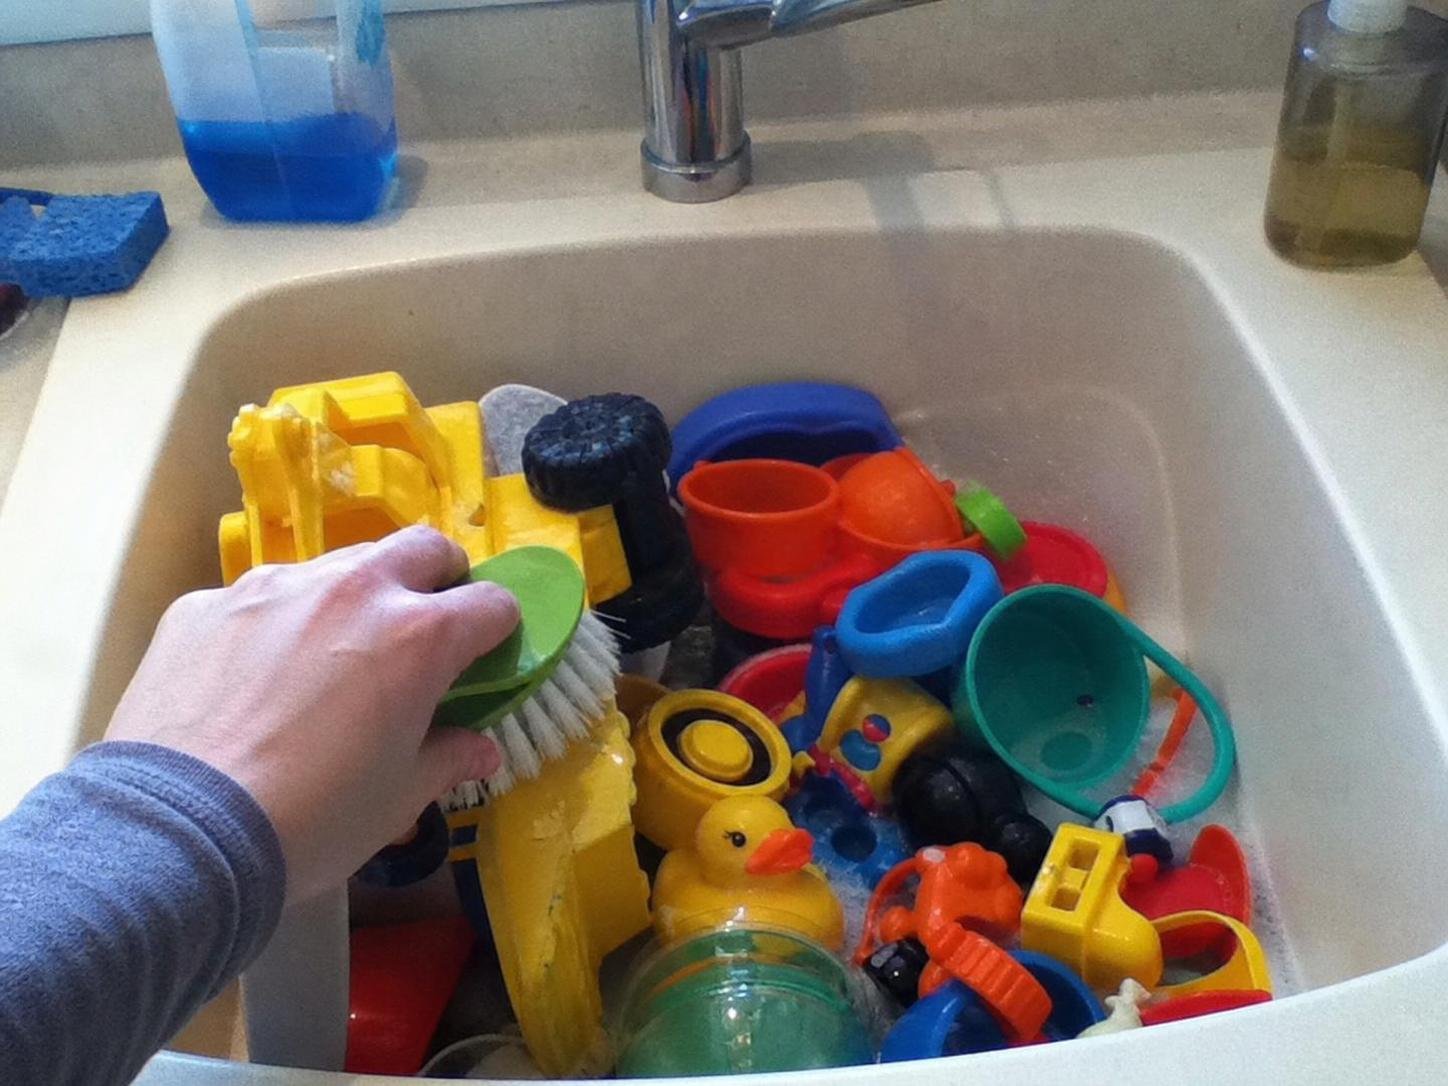
What You Need Before Cleaning
This basic kit handles most washable hard toys without requiring a cabinet full of specialty products:
What I Use For This Job
Using the right tools saves time and protects your belongings. Here are my exact recommendations:
*As an Amazon Associate, TidyFormula earns from qualifying purchases.
- 2 cups of warm water
- 1 teaspoon of fragrance-free mild dish soap
- A clean spray bottle or small bowl
- Two or three clean microfiber cloth towels
- A soft toothbrush for grooves and textured areas
- Cotton swabs for tight exterior crevices
- A dry towel or dish rack
- Painter’s tape for temporarily covering speaker openings, if needed
I prefer a small bowl when cleaning only a few toys. A spray bottle is convenient, but people tend to spray far more solution than necessary (especially when a toddler wants to help).
The basic DIY toy cleaning spray
Add 2 cups of warm water and 1 teaspoon of fragrance-free dish soap to a clean spray bottle. Turn the bottle gently to combine the ingredients. Vigorous shaking creates a head of foam that makes the spray awkward to use.
Label the bottle clearly. Make small batches, discard the mixture if it looks cloudy or smells unusual, and keep it out of children’s reach. This homemade mixture is a cleaner, not a registered disinfectant.
What not to use
Do not use undiluted vinegar, essential oils, abrasive powder, scouring pads, or full-strength dish soap as an all-purpose toy treatment. They can leave odors, dull finishes, affect paint, or create stubborn residue.
Never mix bleach with vinegar, ammonia, or another cleaner. If a situation calls for disinfection rather than routine cleaning, follow the toy manufacturer’s instructions and the product label. The CDC’s household cleaning and disinfecting guidance also explains when ordinary cleaning is generally appropriate and when disinfection may be considered.
How to Clean Toys Step by Step
1. Sort by material and condition
Separate washable hard plastic, silicone, sealed wood, electronic, and plush toys. Check labels for washing instructions before using any homemade solution.
Set aside toys with peeling paint, exposed foam, split seams, loose batteries, cracked plastic, or leaking components. Cleaning will not correct physical damage, and moisture may make it worse.
Remove batteries and detachable fabric pieces where possible. Take a quick photo before dismantling a complicated toy so reassembly is easier.
2. Test a hidden area
Perform a patch test underneath the toy or behind a wheel.
Apply a little diluted cleaner, wait several minutes, then wipe and dry the spot.
Stop if color transfers to the cloth, the surface becomes tacky, or the finish turns cloudy. Use only a barely damp cloth or consult the manufacturer instead.
3. Remove loose debris first
Shake crumbs into a trash can and use a dry toothbrush to loosen dirt around wheels, buttons, and molded details.
Brush outward so debris does not get pushed deeper into openings.
For electronic learning toys, use the same low-moisture approach used for cleaning a keyboard without compressed air: dry debris removal first, controlled damp wiping second.
4. Apply the cleaner to the cloth
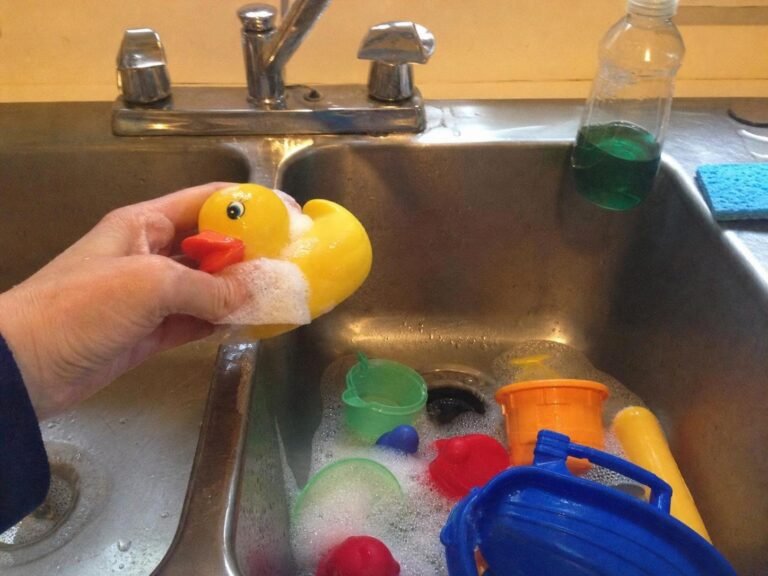
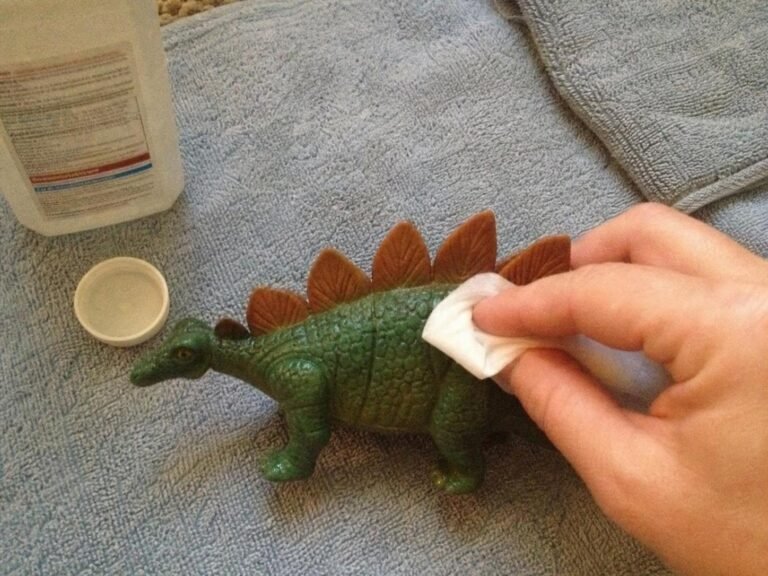
Lightly spray the DIY toy cleaning spray onto a cloth. The cloth should feel damp, not wet enough to drip when squeezed.
Wipe one small section at a time. Pay attention to handles, wheels, undersides, and textured grips where grime tends to remain.
For sticky spots, hold the damp cloth against the area for 20 to 30 seconds. This softens residue with less scrubbing.
Stop adding moisture if liquid collects around seams, screws, speaker holes, battery compartments, or glued decorations.
5. Clean grooves carefully
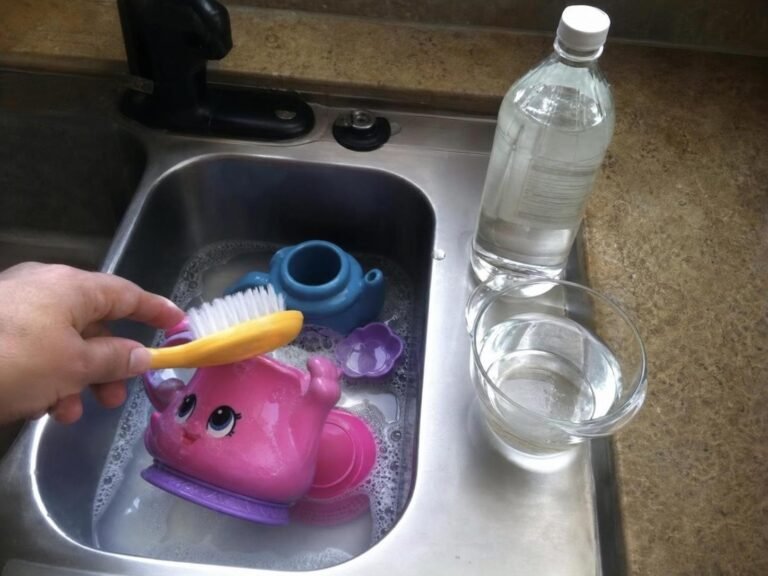
Dip a soft toothbrush into the solution and blot it against a towel before touching the toy.
Brush textured plastic with light, short strokes. Avoid aggressive scrubbing on printed faces and painted details.
Use a lightly damp cotton swab around exterior edges, but do not push it into ports or openings.
6. Remove the soap residue
Wipe the toy with a second cloth dampened with plain water. Proper rinsing prevents the sticky finish that attracts fresh lint and dust.
Repeat with a clean section of the cloth until the surface no longer feels slippery.
For toys children may put in their mouths, follow the manufacturer’s cleaning directions and be particularly thorough about removing cleaner residue.
7. Adjust the method for special materials
Hard plastic and silicone: Use the full cloth-cleaning method. Submerge only when the manufacturer specifically says the toy is washable and there are no holes that can trap water.
Sealed wood: Use a barely damp cloth, work quickly, and dry immediately. Do not soak wooden toys because swelling, roughness, or finish damage can occur.
Electronic toys: Remove batteries, avoid direct spraying, and keep moisture away from controls and openings. Do not reinstall batteries until the compartment and exterior are fully dry.
Plush toys: Follow the care label. Machine-washable plush may go in a mesh laundry bag on a gentle cycle, while musical or glued toys usually need surface cleaning.
🧪 Why This Works
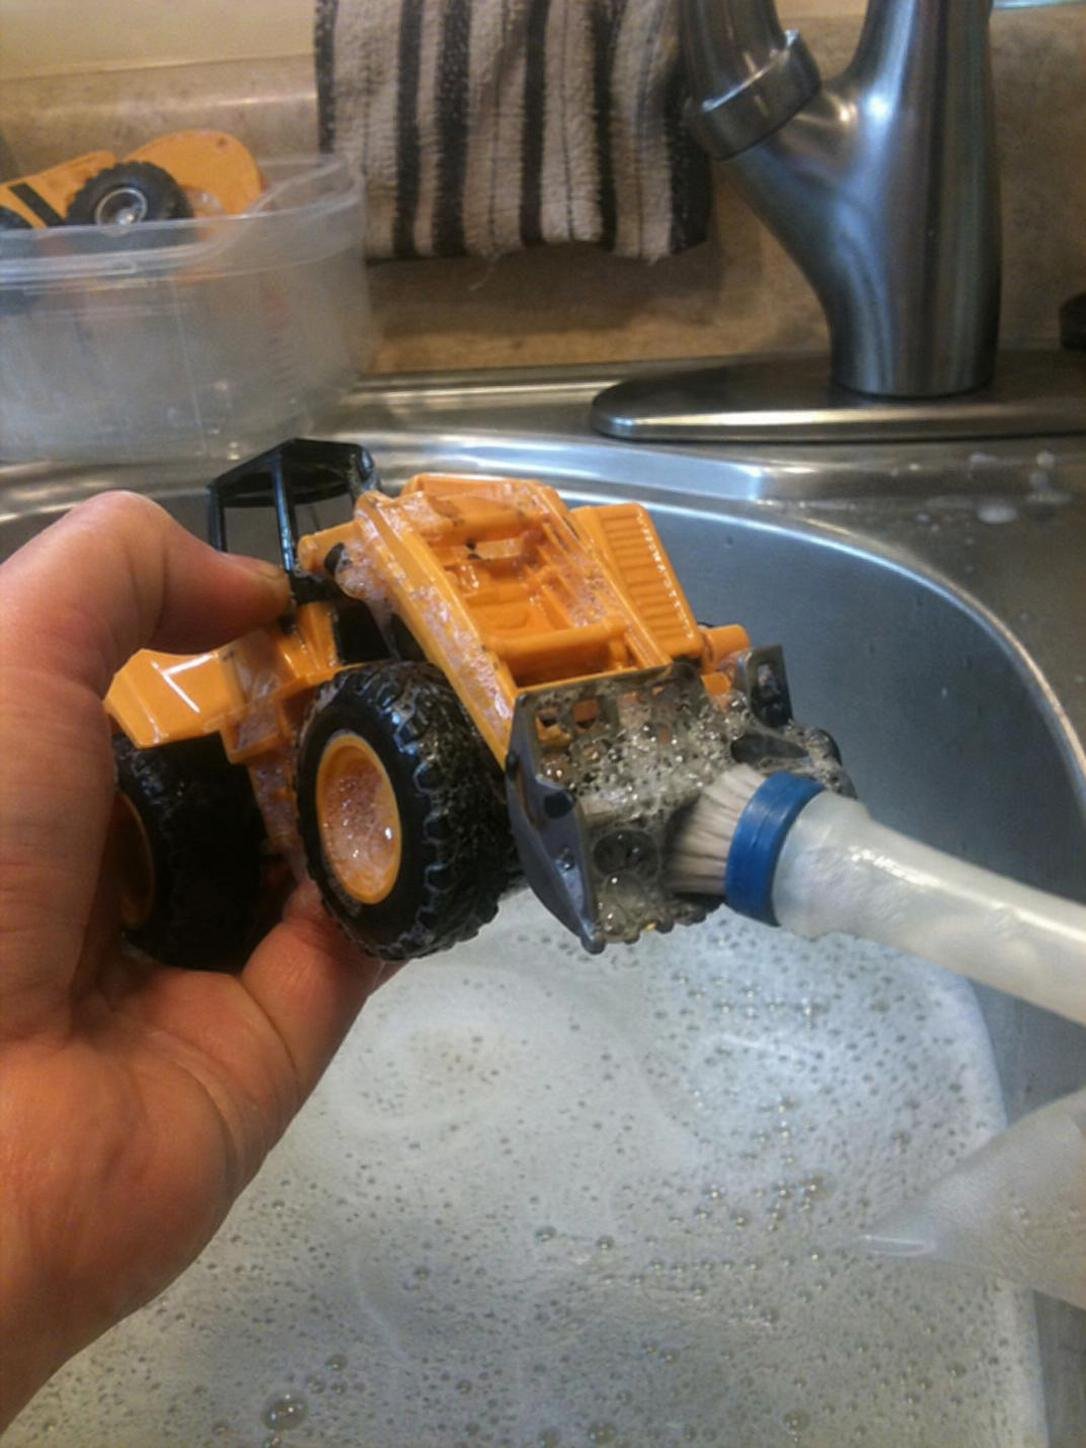
Dish soap helps water lift oily fingerprints, food residue, and grime from a toy’s surface, much like loosening grease from a plate. The damp cloth carries that loosened dirt away, while the plain-water wipe removes leftover soap. Using a small amount is important: more soap does not clean faster; it simply creates more residue to remove.
Choosing the Right Method
| Toy type | Best cleaning method | Main risk to avoid |
|---|---|---|
| Hard plastic blocks and figures | Diluted soap, damp wipe, plain-water wipe | Water trapped inside hollow pieces |
| Silicone toys | Hand-wash according to the care instructions | Soap residue in ridges or openings |
| Sealed wooden toys | Barely damp cloth followed by immediate drying | Soaking, swelling, and damaged finishes |
| Electronic toys | Cleaner applied to a cloth, never directly sprayed | Moisture entering buttons or battery areas |
| Washable plush toys | Care-label washing or careful surface cleaning | Matted filling, loose decorations, or trapped moisture |
Common Toy-Cleaning Mistakes
Spraying the toy directly
A direct spray sends liquid into seams before you have time to wipe it away. Spray the cloth instead. This gives you much better control, particularly around sound buttons and wheels.
Assuming vinegar disinfects every toy
Vinegar has household cleaning uses, but it is not a universal disinfectant and can affect certain finishes. It also leaves an odor that can linger on porous pieces. For ordinary sticky grime, diluted dish soap is usually the more practical starting point.
Combining vinegar and baking soda in the bottle
The dramatic fizz looks productive, but the ingredients largely react with each other rather than making a stronger everyday spray. Foam can also build pressure in a closed container. Use a straightforward soap-and-water mixture instead.
Using too much soap
I made this mistake while cleaning a large bin of building blocks. They looked fine when wet, then dried with a slightly tacky film. It took two extra rinse wipes to correct what one teaspoon of soap would have handled.
Soaking hollow bath toys
If a toy has a hole, squeezing it underwater can pull dirty water into the hollow interior. Unless the toy can be opened and dried completely, surface cleaning or replacement may be more sensible.
Washing every plush toy the same way
Plush toys with cardboard inserts, glued eyes, sound boxes, or delicate fabric may not tolerate a washing machine. The care label wins here. For spills that also reach the play area, use a material-appropriate method for cleaning the rug without a carpet cleaner rather than soaking both the toy and floor together.
Drying and Aftercare
Dry hard toys with a clean towel, then leave them in a ventilated spot for several hours. Position pieces with openings facing downward so hidden water has a chance to drain.
Use air drying for items with seams or textured areas, even when the exterior already feels dry. Avoid putting wet toys directly into a closed bin. A lidded container slows evaporation and can trap stale odors.
Plush toys may need a full day or longer depending on their thickness, room temperature, and washing method. Turn them periodically so all sides are exposed to moving air. Do not return a toy to storage if the filling feels cool or damp when gently squeezed.
Before reassembly, check for slippery patches, visible suds in grooves, moisture near screws, or cleaner odor. Wipe again with plain water if needed. Reinstall batteries only after the toy is completely dry.
A Practical Pro Tip
Clean toys in batches based on material, not by toy box. I place hard plastic toys on one towel, electronic toys on another, and anything needing label checks in a separate basket. This prevents an easy-to-wash block from convincing me that a battery-powered talking animal can tolerate the same treatment.
For a fast residue check, rub a dry fingertip across the cleaned surface. If it drags, squeaks unusually, or feels tacky, give the toy one more plain-water wipe.
Frequently Asked Questions
Can I make a DIY toy cleaner with vinegar?
You can use diluted vinegar on some compatible, nonporous surfaces, but it is not my first choice for a general toy cleaner. It may affect certain finishes and leaves a noticeable smell. Mild dish soap and water are more versatile for routine grime.
Does a DIY toy cleaning spray disinfect toys?
No. A soap-and-water spray is intended for cleaning, meaning it removes visible dirt and residue. If disinfection is needed, use a product suitable for the toy’s surface and follow its label, including contact time and any required rinse.
Can I use this cleaner on baby toys?
Check the manufacturer’s instructions first. For washable hard toys, use a very small amount of fragrance-free soap and remove all residue with plain water. Do not use the spray on damaged teethers, porous foam, or toys with trapped moisture.
How often should toys be cleaned?
Clean them when they are visibly dirty, sticky, dropped outdoors, or involved in a food or drink spill. Frequently handled toys may need attention more often than display toys. A rotating batch keeps the job manageable.
How long does homemade toy cleaner last?
I recommend making a small batch and replacing it regularly rather than storing it for months. Discard it sooner if the liquid changes appearance, develops an odor, or has been contaminated by a dirty cloth or bottle nozzle.
A dependable DIY toy cleaner does not need a long ingredient list. Use a weak soap solution, control the moisture, wipe away residue, and match the method to the material. The final reminder is simple: never put a toy back into a closed bin until every seam and opening is fully dry.
Everything Mentioned Above
Before you leave, grab the tools you need to get the job done right the first time:
*As an Amazon Associate, TidyFormula earns from qualifying purchases.