How to Clean Fuel Injectors Without Removing Them (Because Pulling Them Out Is a Whole Thing)
Your car starts doing that lovely combo: rough idle, weird hesitation, and a fuel smell that makes you think, “Cool, so I’m just burning money now.”
And yeah, dirty injectors can make the engine feel like it’s chewing gravel. The gross part is the varnish and carbon that builds up right where the fuel needs to mist cleanly.
And I’ll be honest—I tried the “cheap miracle” stuff first. It did basically nothing. Then I tried “drive it hard” (which was fun for 6 minutes, then I remembered gas prices). This method is the one that actually moved the needle. Not perfect. But good enough for me.
⚡ The TidyFormula™ Quick Answer
The Verdict: Use a PEA-based fuel injector cleaner in a low tank, then do a steady highway drive; if it’s still rough, run an on-car pressurized cleaning kit (injectors stay installed).
- The Mix: 1 bottle PEA fuel system cleaner + ~1/4–1/2 tank of fuel.
- Time: 10 minutes prep + 30–60 minutes driving.
- Effectiveness: 7/10 for mild deposits, 8.5/10 if you also do the pressurized kit.
But before we start: if your car is misfiring hard, throwing flashing check engine lights, or stalling, don’t do the “hope and vibes” approach. Get it scanned. So yeah—this is for “running kinda bad,” not “about to die.”
What I Use For This Job
Using the right tools saves time and protects your belongings. Here are my exact recommendations:
*As an Amazon Associate, TidyFormula earns from qualifying purchases.
And if you want the nerdy background on what an injector actually is, Wikipedia has a solid overview here.
Method A: The Tank Additive (The Easy Way)
So this is the first method I recommend because it’s simple and it doesn’t involve cracking open fuel lines. And yes, I know that sounds like I’m being dramatic. But gasoline smells sharp and sour, and it clings to your hands like a bad decision.
Tools (and why I picked them)
- PEA-based fuel injector cleaner: Because PEA detergents are actually known for breaking down deposits, not just “perfuming” your fuel.
- A funnel or steady hand: Because spilling this stuff is an instant headache (ask me how I know).
- Gloves + paper towels: Because the smell sticks, and your skin doesn’t need to marinate in solvent.
The Steps
1. Start with a lower fuel level
And I mean roughly 1/4 tank, not “light has been on for three days.” The goal is a stronger cleaner-to-fuel ratio.
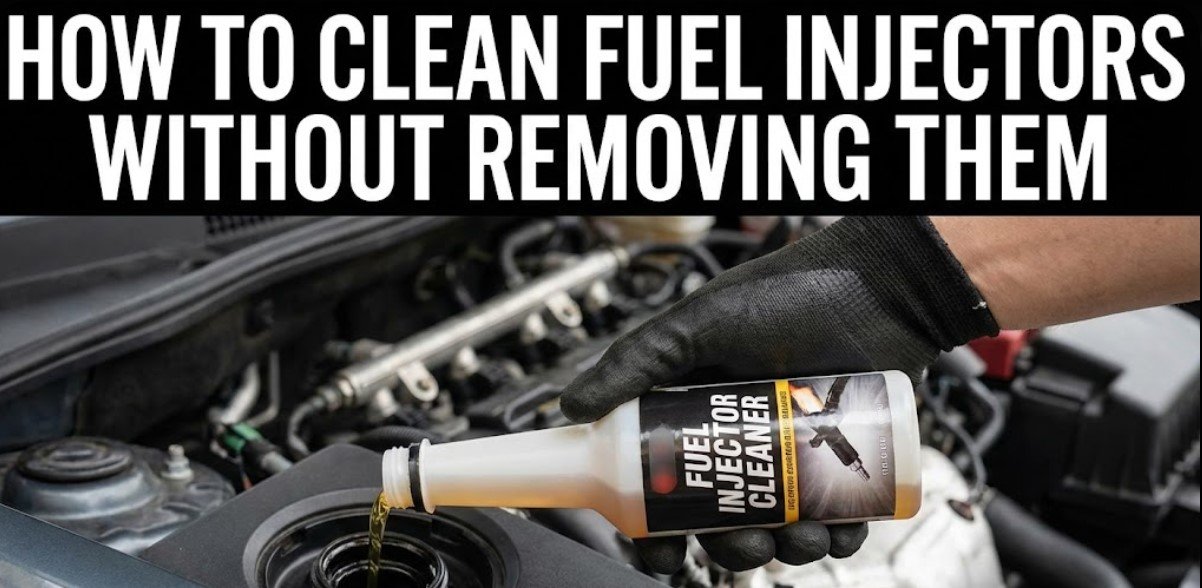
2. Add the cleaner to the tank
So pop the gas cap, pour slowly, and try not to splash it on paint. It smells like sharp solvent + old gas, and it’ll make your nose hairs file a complaint. (I once dribbled it on the driveway and my neighbor asked if I was “making chemicals.” Yep. Sure am.)
3. Drive it like you mean it
Don’t do stop-and-go errands for this. You want a steady 30–60 minute drive where the engine stays warm. Highway is ideal. And you might notice the engine sound smooth out a bit—less stumble, less “random hiccup.”
4. Finish the tank, then refill
So just run that treated fuel through. Don’t overthink it. If it’s going to help, you’ll usually feel it by the end of the tank: smoother idle, slightly better throttle response, and fewer little shakes at red lights. It won’t feel brand-new. But it can be 90% better.
🧪 The Science: Why It Works
Gasoline can leave behind carbon-y deposits and sticky varnish (think: cooked-on sugar, but for fuel). And a good PEA detergent doesn’t “blast” it off with magic—it dissolves and loosens it so the deposits stop clinging. It’s more like melting old candle wax than sanding wood. The cleaner rides with the fuel, hits the injector tips, and slowly breaks down the gunk so the spray pattern gets closer to a fine mist again.
Method B: The On-Car Pressurized Kit
But sometimes the tank method isn’t enough. So if the idle is still lumpy, or the acceleration still feels soggy, the on-car pressurized kit is the next step. And yes, it’s a little more “hands in the engine bay.” Also yes, it can make a hissing sound that’ll make you pause and double-check everything.
The Steps
- Work in open air and let the engine cool a bit. Gasoline + hot surfaces is not a vibe.
- Relieve fuel pressure safe way. Check your service manual. Don’t just yank a line and hope. You might hear a soft “pssst” as pressure bleeds off. That’s normal.
- Connect the kit to the fuel rail. Tighten it snugly. Double-check the seal with a flashlight. If you smell raw fuel immediately, stop and fix it.
- Disable the fuel pump & Run. Run the engine on the cleaner bottle alone. You’ll hear the engine note change a bit.
- Shut it down, reconnect, and restart. If it’s going to help, you’ll usually feel it right away: steadier idle, less stumble off the line.
Reality Check (When This Fails)
But here’s the annoying truth: cleaning won’t fix everything. If an injector is electrically dead, physically clogged like a rock, or leaking, cleaning won’t save you.
Read Next: In a cleaning mood? Check these out:
The Lazy Alternative
If you just want the low-effort route: run a quality PEA-based cleaner occasionally (like every few thousand miles), use top-tier fuel when you can, and don’t let the tank live on fumes forever. It won’t make your engine new. But it can keep things from getting gross again.
FAQ (The Skeptic’s Questions)
Will this fix a check engine light?
Sometimes. But if the light is flashing, stop driving and get it scanned. Cleaning isn’t a miracle patch.
Can I just use any “injector cleaner” from the gas station?
You can, but results vary. The stronger cleaners often mention PEA on the label. Cheap stuff can feel like scented gasoline.
Is the pressurized kit method safe for beginners?
It’s doable, but only if you’re comfortable around fuel pressure and connections. If that sentence made you tense up, stick to the tank method.
Everything Mentioned Above
Before you leave, grab the tools you need to get the job done right the first time:
*As an Amazon Associate, TidyFormula earns from qualifying purchases.