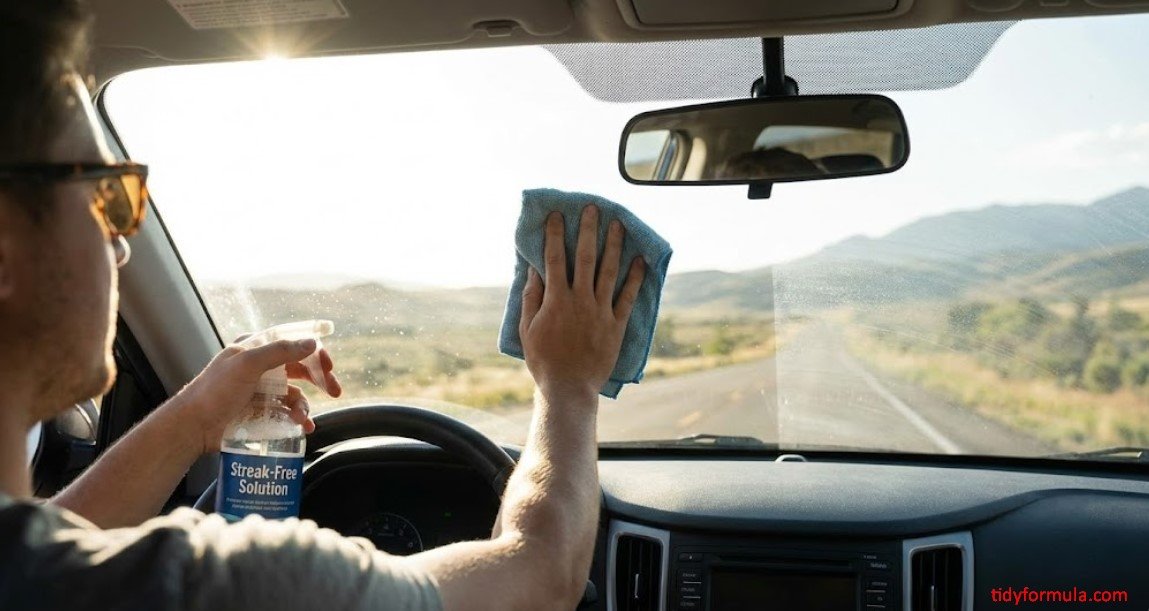
How to Clean Inside of Windshield Without Streaks (The Magic Eraser Hack)
To clean the inside of a windshield without streaks, work on cool glass, remove loose film with a dry microfiber towel, lightly scrub bare glass with a damp plain Melamine sponge, and immediately buff it dry with a clean waffle-weave towel. Do not use a Magic Eraser on tint film, plastic, or coated glass.
I genuinely thought my eyesight was failing me until I realized my windshield was covered in a year’s worth of greasy film. Those expensive “automotive wipes” mostly moved the residue around, creating the blinding, blurry glare that is especially noticeable at night.
⚡ The TidyFormula™ Quick Answer
The Verdict: Pre-wipe cool, bare glass with a dry microfiber, lightly scrub it with a damp plain Melamine sponge (Magic Eraser), and buff immediately with a dry waffle-weave towel.
- The Tools: Plain water, a plain Magic Eraser, and clean microfiber towels.
- Time: About 10 minutes.
- Best for: Oily interior haze on an uncoated, untinted glass windshield.
Before You Start: Check the Glass and Prepare the Car
Park in the shade and let the windshield cool. Water evaporates too quickly on hot glass, which makes streaks and water spots more likely.
Confirm that the inside surface is bare glass. Do not use a Melamine sponge if the windshield has aftermarket tint film, a protective film, or an interior coating. If your vehicle has a head-up display or a specialty windshield and you are unsure about its construction, check the owner’s manual before using an abrasive cleaning tool.
What I Use For This Job
Using the right tools saves time and protects your belongings. Here are my exact recommendations:
*As an Amazon Associate, TidyFormula earns from qualifying purchases.
Clean the outside of the windshield first if it is dirty. That makes it easier to tell whether a remaining mark is inside, outside, or within the laminated glass. Place a towel across the dashboard to catch moisture, but do not block or push liquid into vents, sensors, speakers, or electronics.
Use freshly washed microfiber towels that have not been laundered with fabric softener or dryer sheets. Those products can leave residue that transfers directly to glass.
The “Gross Factor”: Why It Gets So Hazy
That haze isn’t just dust. It can be a mixture of residue released by interior plastics, skin oils, smoke or vaping residue, dashboard dressings, and cooking or drink vapors. The film becomes particularly obvious when sunlight or oncoming headlights hit the windshield.
The loose contamination and oily layer need to be removed rather than spread around. Applying too much liquid at the beginning can turn the residue into a wet film that dries back into streaks.
What You’ll Need:
- A dry microfiber towel: To pick up dust and the initial layer of loose residue.
- A plain Melamine sponge (Magic Eraser): Use an uncoated version without added soap, fragrance, or cleaning chemicals.
- A waffle-weave microfiber towel: These are designed for glass and are less likely to leave lint behind.
- A second clean microfiber towel: Helpful for a final dry buff if the first towel becomes damp or dirty.
- Plain water: Distilled water is preferable in hard-water areas because it contains fewer minerals.
- A dashboard towel: To catch drips and protect nearby trim.
🧪 Why the Method Works
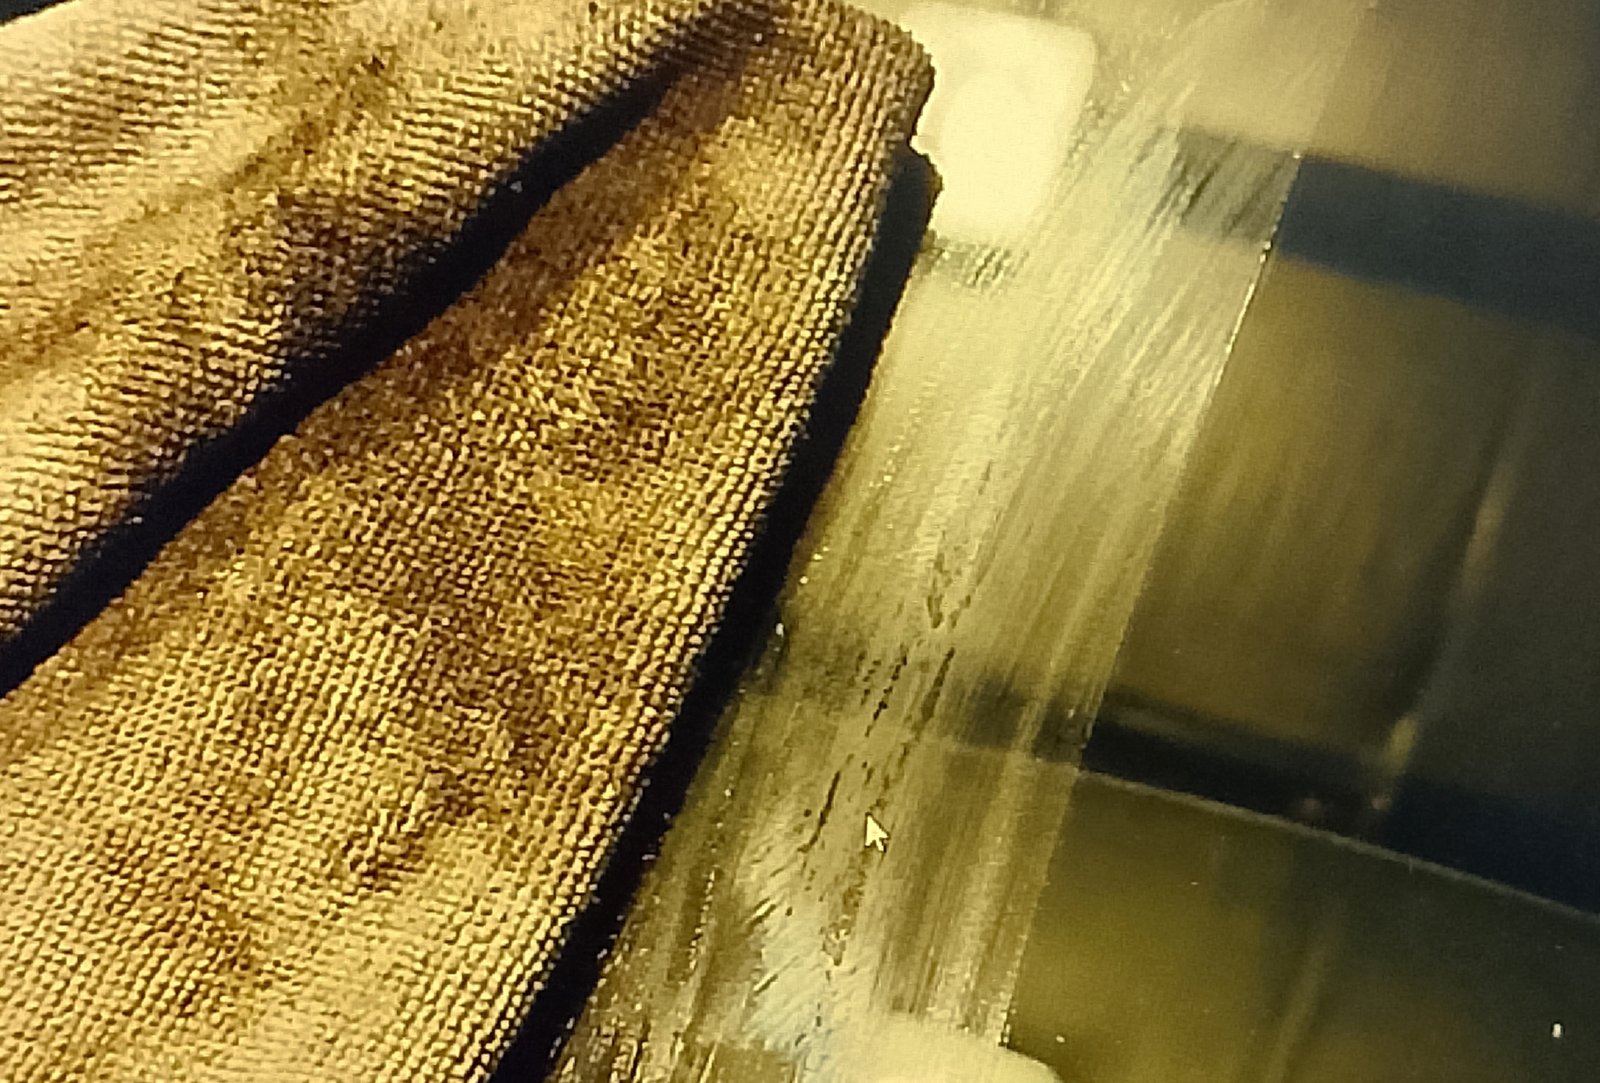
Melamine foam has a firm, fine-textured structure that provides mild abrasive action. On suitable bare glass, it can lift stubborn surface film that a soft towel may continue to smear. The final dry towel is equally important: it removes the loosened residue and moisture before either can dry on the windshield.
Because the foam is abrasive, use light pressure and keep it away from tint film, plastic, instrument screens, glossy trim, and coated surfaces.
Step 1: The Dry Wipe
Use a clean, dry microfiber towel to remove dust and as much loose film as possible before adding water. Fold the towel into quarters so you have several clean wiping faces.
Work from the passenger side toward the driver’s side using overlapping strokes. Flip to a clean section of the towel whenever it starts to look dirty or glide less smoothly. Pay particular attention to the lower edge near the dashboard, where residue often collects.
Do not press hard around an existing chip or crack. If the towel picks up grit, stop and replace it rather than dragging the particles across the glass.
Step 2: The Magic Eraser Scrub
Dampen a plain Magic Eraser with water, then squeeze it thoroughly. It should be evenly damp, not dripping.
Test a small corner first. If the surface is clearly bare glass and no change in appearance occurs, clean the windshield in manageable sections. Use light pressure and overlapping passes rather than aggressive scrubbing. The sponge may squeak as it moves over clean glass, but sound alone is not a reason to apply more force.
Rinse or replace the sponge if it collects visible dirt. Stop immediately if you discover film edges, notice scratching, feel hard debris under the sponge, or see any change in a coating.
Step 3: The Waffle-Weave Buff
Buff each section before moving to the next one. Do not allow the water and lifted residue to air-dry.
Use a clean waffle-weave towel with firm but controlled overlapping strokes. Vertical strokes on the inside and horizontal strokes on the outside make it easier to identify which side holds a remaining streak. Flip the towel frequently, and switch to a second dry towel if the first becomes damp.
Finish by wiping the lower edge, corners, and area behind the rearview mirror. Check the glass from both the driver’s and passenger’s seats because glare can hide residue at one viewing angle.
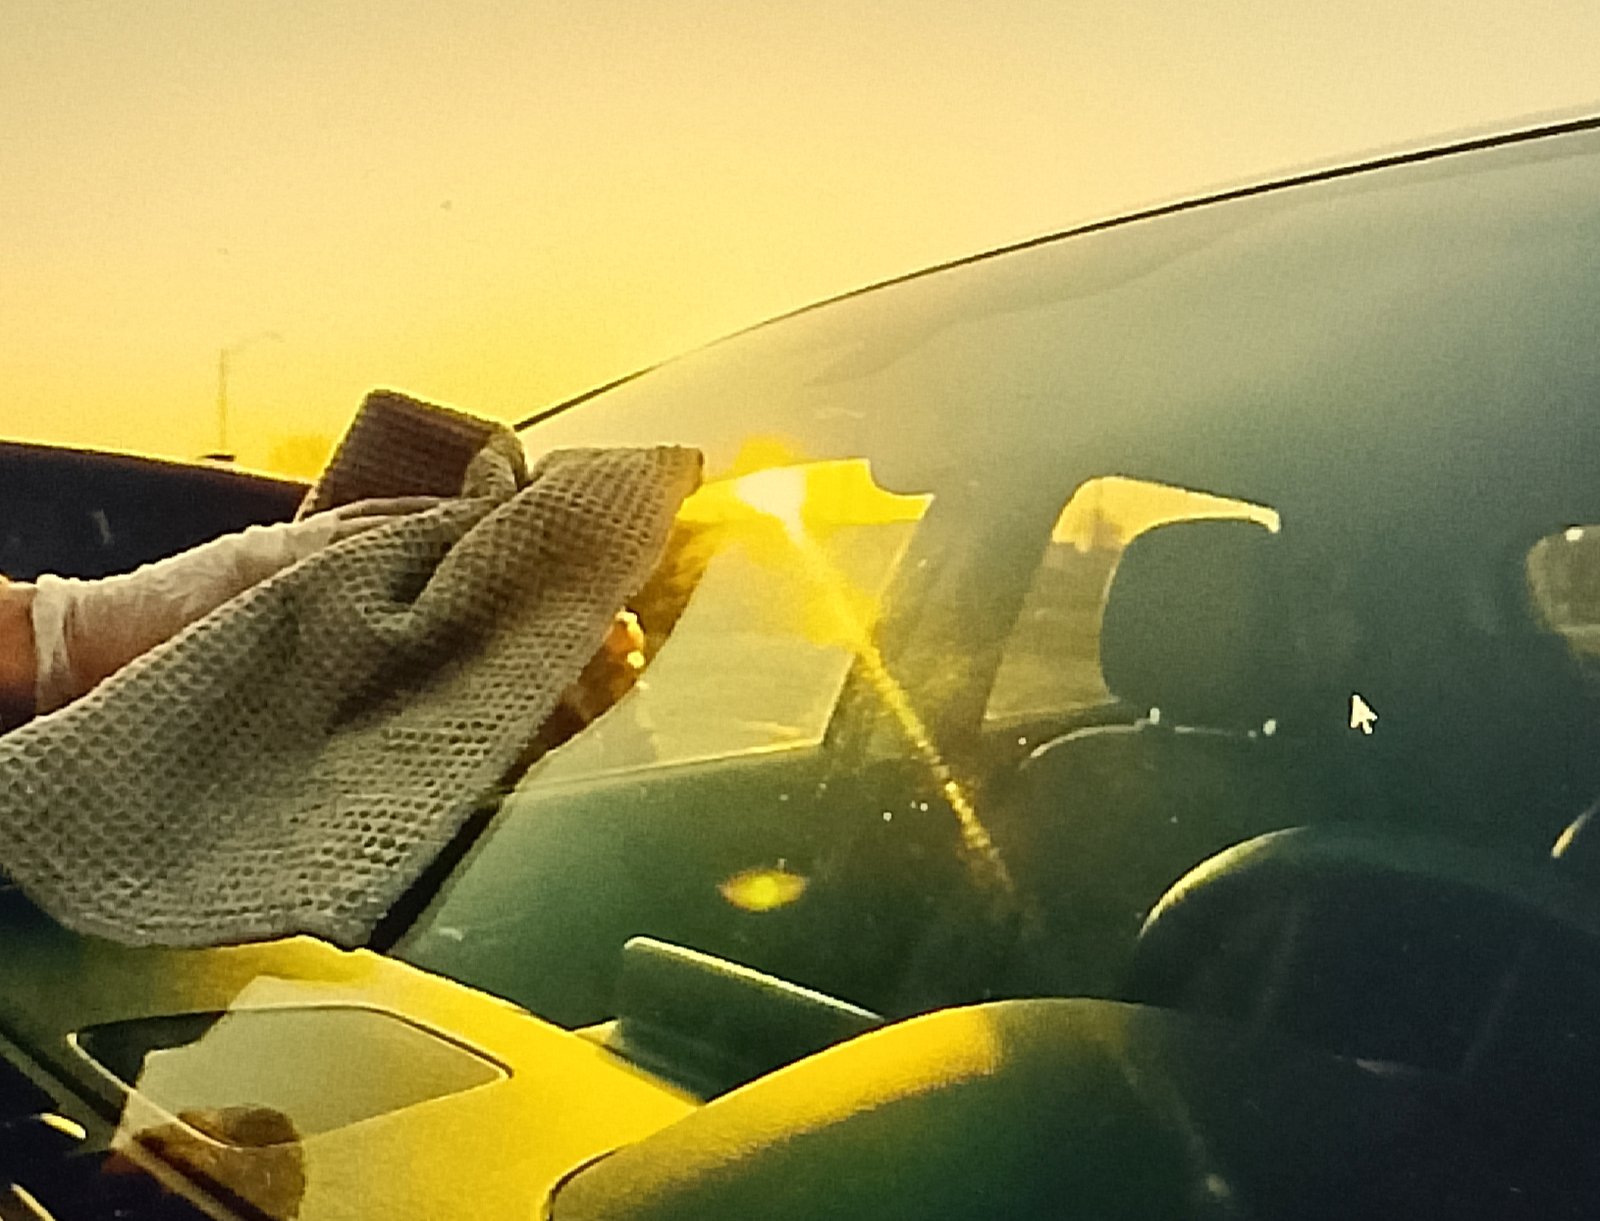
A windshield may still have an isolated speck or a difficult lower corner. Use a clean towel wrapped around a dedicated windshield-reach tool rather than overextending yourself or pressing on the glass for leverage.
How to Check for Streaks
Inspect the windshield from several angles in daylight without staring directly into the sun. If practical, check it again under garage lighting or before driving at night. Low-angle light reveals oily arcs and missed edges better than flat overhead light.
Do not begin driving until the glass is completely dry, the dashboard towel has been removed, and visibility is unobstructed.
Troubleshooting a Windshield That Still Looks Hazy
Streaks appear as the glass dries
The sponge or towel may be too wet, or the buffing towel may already be loaded with residue. Repeat the section with a barely damp sponge and finish with a fresh, completely dry towel.
The same greasy smear keeps returning
Heavy smoke, vaping residue, adhesive residue, or dashboard dressing may require a dedicated automotive glass cleaner. Finish the water-only method first, then use the cleaner separately according to its label. Spray it onto a microfiber towel rather than directly onto the windshield, and confirm that it is compatible with tint or coatings.
A mark does not change when wiped
Check the outside surface. If the mark remains in exactly the same place after both sides are cleaned, it may be a chip, pitting, a mineral deposit, or contamination within the laminated windshield. More pressure with an abrasive sponge will not correct structural damage.
The windshield looks cloudy between the glass layers
A windshield is laminated, and haze or milky areas can occasionally develop where the layers have been damaged or begun separating. If the cloudiness cannot be reached from either side, stop scrubbing and have an automotive glass professional inspect it.
Methods and Materials to Avoid
- Magic Erasers with added cleaners: Soap, fragrance, or other additives can leave residue and introduce compatibility problems.
- Melamine foam on tint or plastic: It can scratch or dull these softer materials.
- Razor blades: They can damage tint, coatings, embedded components, or glass when used incorrectly.
- Paper towels and newspaper: They may shed lint, transfer ink, or leave residue on trim.
- Fabric-softened towels: Fabric softener creates a coating that commonly causes smearing.
- Excess water: Drips can enter vents and collect along dashboard seams.
- Household cleaners used without checking the label: Some contain ammonia or other ingredients that are unsuitable for tint, coatings, and nearby interior materials.
How to Keep the Inside of the Windshield Clear
- Keep one clean, dry glass towel in a sealed bag or container inside the car.
- Avoid applying oily or glossy dashboard dressing near the windshield.
- Remove new haze when it first appears instead of waiting for a thick film to develop.
- Do not smoke or vape in the vehicle if you want to minimize persistent interior residue.
- Wash glass towels separately from greasy detailing towels and skip fabric softener and dryer sheets.
- Allow towels and the Melamine sponge to dry completely before storage. Discard a sponge that is dirty, torn, or holding grit.
The Skeptic’s FAQ
Won’t a Magic Eraser scratch my glass?
Plain Melamine foam is softer than ordinary automotive glass, but the method is not risk-free. Dirt trapped in the sponge can scratch, and the foam can damage tint, plastic, or specialty coatings. Use it only on confirmed bare glass, test a corner, keep the sponge clean, and apply light pressure.
Can I use this method on a tinted windshield?
Not on the tinted surface. Aftermarket tint is normally installed on the inside, which is exactly where this method is used. Clean tint with a soft microfiber towel and a cleaner specifically labeled safe for automotive tint.
Why do I still see streaks after buffing?
The most common causes are a damp or contaminated towel, too much water, residue left along the edges, or dirt on the outside of the windshield. Use a fresh dry towel and inspect both sides using different stroke directions.
Why not use Windex?
A household glass cleaner is not automatically necessary or appropriate for every vehicle. Some formulas contain ammonia and may be unsuitable for tint or nearby interior materials. A dedicated automotive, tint-safe glass cleaner is the safer choice when plain water does not remove the film.
What if the haze cannot be wiped off either side?
The problem may be pitting, damage, mineral deposits on the exterior, or haze within the laminated windshield. Stop increasing pressure and have the glass inspected if visibility remains affected.
Everything Mentioned Above
Before you leave, grab the tools you need to get the job done right the first time:
*As an Amazon Associate, TidyFormula earns from qualifying purchases.