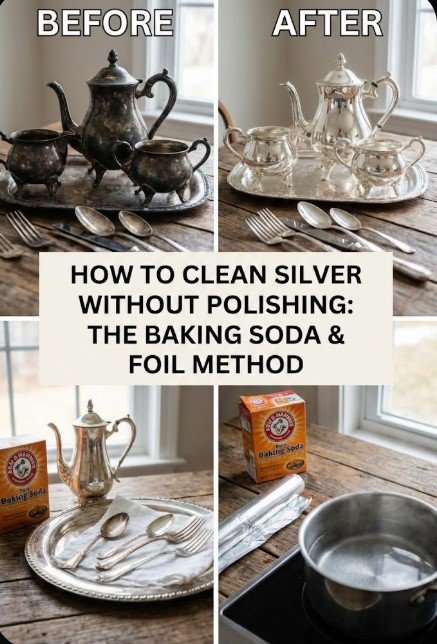
How to Clean Silver Without Polishing (No Scrubbing. No Drama. Mostly.)
To clean plain, uncoated silver without polishing, place it in contact with aluminum foil in a heat-safe bowl, add 1–2 tablespoons of table salt, cover it with very hot water, and soak for 5–10 minutes. Rinse thoroughly and dry immediately with a soft cloth.
This method removes ordinary tarnish through a chemical reaction instead of abrasive rubbing. It works best on solid sterling silver and intact silver plate. It will not repair scratches, pitting, worn plating, or damaged finishes.
⚡ The TidyFormula™ Quick Answer
The Verdict: Line a heat-safe bowl with aluminum foil, add salt, pour in very hot water, and let plain silver soak while it touches the foil. Rinse thoroughly and dry immediately.
- The Mix: Aluminum foil + 1–2 tablespoons of table salt + very hot water
- Time: 5–10 minutes per treatment; repeat once if necessary
- Best For: Ordinary tarnish on uncoated sterling silver or intact silver plate
- Not For: Pearls, glued stones, lacquered silver, intentionally darkened finishes, or valuable antiques
Why Clean Silver Without Polishing?
Silver polish removes tarnish by rubbing away a small amount of material from the surface. That can produce a brighter finish, but repeated or aggressive polishing may soften engraved details and wear through thin silver plating.
Toothpaste, dry baking-soda paste, scouring powder, and rough cloths can also create fine scratches. A foil bath is different: it targets the chemical tarnish layer without requiring abrasive scrubbing.
What I Use For This Job
Using the right tools saves time and protects your belongings. Here are my exact recommendations:
*As an Amazon Associate, TidyFormula earns from qualifying purchases.
The tradeoff is that this method removes tarnish rather than physically smoothing the surface. It cannot erase scratches or restore missing silver.
Check the Piece Before You Soak It
Not every silver-colored object belongs in a hot-water bath. Look for hallmarks and inspect the construction before starting.
- Sterling silver: Often marked “Sterling,” “925,” or “.925.” Plain, uncoated sterling is generally suitable.
- Silver plate: May be marked “Silver Plate,” “EP,” or “EPNS.” The method may remove tarnish if the plating is intact, but it cannot restore worn areas.
- Stainless steel: Usually marked “Stainless.” It does not tarnish like silver and will not benefit from this treatment.
- Unmarked pieces: Treat cautiously. Silver-colored objects may be plated, lacquered, or made from another metal.
Do Not Use This Bath On
- Jewelry containing pearls, opals, turquoise, coral, amber, or other porous or heat-sensitive stones
- Pieces with glued stones, glued handles, enamel, wood, leather, or other nonmetal parts
- Hollow-handled knives, weighted candlesticks, or objects that can trap water internally
- Lacquered, waxed, antiqued, oxidized, niello, or intentionally blackened finishes
- Valuable, fragile, or historically important antiques
If you cannot identify the material or finish, use only mild soap and water or consult a professional conservator or jeweler. Manufacturer care instructions should take priority over a general cleaning method.
Prepare the Silver First
Tarnish is easier to remove when grease and dirt are not blocking the surface.
- Wash the piece briefly with warm water and one small drop of mild dish soap.
- Use your fingers or a very soft cloth to loosen surface grime. Do not scour.
- Rinse thoroughly so no soap remains.
- Inspect the piece for loose parts, worn plating, cracks, or intentionally dark details.
Work in a ventilated area. The reaction can occasionally produce a mild sulfur-like odor, especially when the tarnish is heavy.
The Foil and Salt Method
This method requires direct contact between the silver and aluminum foil. Use a heat-safe glass or ceramic container that is large enough to keep the pieces from piling on top of one another.
Tools + Stuff You Need
- Heat-safe bowl or baking dish: Glass or ceramic is easiest.
- Aluminum foil: Regular or heavy-duty foil works.
- Table salt: Use 1–2 tablespoons for a normal bowl.
- Very hot water: Enough to submerge the silver.
- Tongs: For removing pieces safely.
- Microfiber or soft cotton cloth: For immediate drying.
- Soft toothbrush (optional): Only for gently cleaning loose grime from tight details before or after the bath.
Step-by-Step Instructions
1. Line the Bowl
Line the heat-safe bowl with aluminum foil. Either side of the foil can face up. A few loose crinkles create additional contact points, but avoid sharp folds that could scratch a delicate surface.
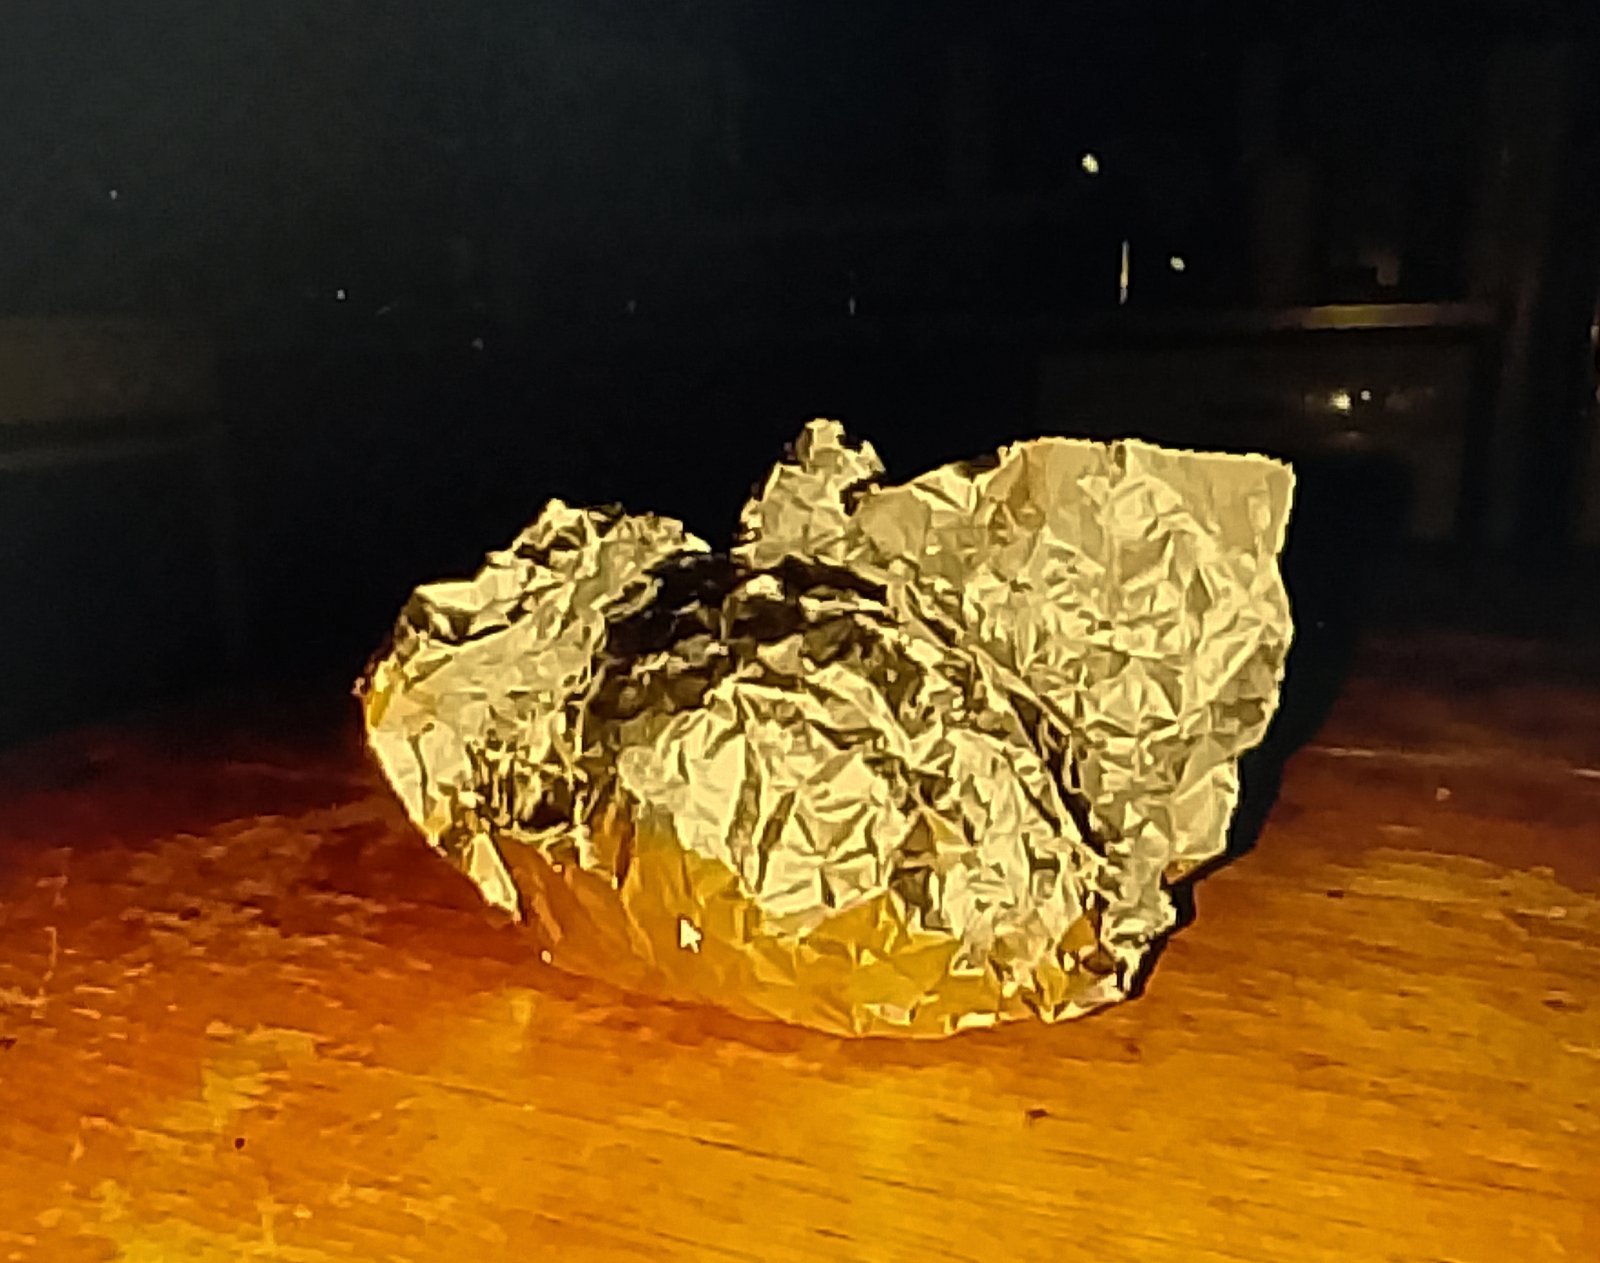
2. Make Direct Contact With the Foil
Place each silver item on the foil. Every piece needs to touch the aluminum directly.
Do not stack utensils or crowd jewelry together. If several pieces cannot all touch the foil, clean them in separate batches. Keep chains unclasped and spread out so the water can reach the tarnished surfaces.
3. Add the Salt
Sprinkle 1–2 tablespoons of table salt evenly into a normal bowl. More salt is not necessarily better, especially on plated or mixed-metal objects.
Do not add vinegar, bleach, ammonia, commercial silver cleaner, or any other cleaning product to the bath.
4. Add Very Hot Water
Place the bowl on a stable, heat-resistant surface. Carefully pour in enough very hot water to submerge the silver. Avoid pouring boiling water into cold glass because sudden temperature changes can crack some containers.
Let the silver soak for 5–10 minutes. Check it after five minutes rather than leaving it unattended. For uneven tarnish, use tongs to reposition the piece so another area touches the foil.
A faint sulfur-like odor can occur as the tarnish reacts. Increase ventilation and avoid leaning over the bowl.
5. Rinse and Dry Immediately
Remove the silver with tongs and rinse it thoroughly under warm water. For flatware or serving pieces, wash once more with a small amount of mild dish soap to remove any remaining salt, then rinse again.
Dry every surface immediately with a soft cotton or microfiber cloth. Pay attention to seams, decorative recesses, and the spaces between fork tines. Do not leave the silver to air-dry because trapped water and mineral spots can dull the finish.
🧪 The Science: Why It Works
Silver tarnish is commonly silver sulfide, a dark compound that forms when silver reacts with sulfur-containing substances in its environment.
When tarnished silver touches aluminum in hot, conductive salt water, an electrochemical reaction can convert some of the silver sulfide back to silver while sulfur transfers toward the aluminum. The salt helps the water conduct electricity, and heat speeds the reaction.
This process removes tarnish rather than smoothing the metal. That is why it can improve color without repairing scratches, pitting, or worn plating.
When to Stop or Adjust the Method
Remove the piece, rinse it, and stop if you notice any of the following:
- Yellow, copper-colored, or gray base metal appears: The silver plating may already be worn through. More cleaning will not replace it.
- Dark recessed details are disappearing: The piece may have an intentional oxidized or antiqued finish.
- A component becomes loose: Heat or water may be affecting adhesive, a handle, or a setting.
- The surface looks cloudy but not tarnished: The problem may be lacquer, scratches, mineral residue, or damaged plating rather than silver sulfide.
- The item becomes unusually hot or changes color quickly: Remove it with tongs, rinse, and reassess the material before continuing.
Do not extend the soak to an hour in hopes of forcing a result. Check after 5–10 minutes and, if the piece is suitable, repeat once with fresh foil and hot water.
Troubleshooting Uneven or Stubborn Tarnish
Nothing Changes
Confirm that the silver is touching the foil and that the water is still hot. Grease, lacquer, wax, or a clear protective coating can block the reaction. An unmarked item may also be stainless steel or another silver-colored metal rather than silver.
Only One Side Gets Cleaner
The side touching the aluminum may react first. Reposition the piece so the remaining tarnished area makes direct contact with the foil, then give it a few more minutes.
Black Tarnish Remains in Crevices
First determine whether the dark areas are intentional patina. If they are not, repeat the bath once and reposition the object. A soft, wet toothbrush may be used to dislodge loosened grime, but do not apply pressure or use a gritty paste.
The Silver Is Clean but Still Dull
Dullness can come from microscopic scratches, worn plating, etching, or pitting. The bath removes tarnish but does not create a mirror finish. Restoring a damaged surface requires polishing or professional refinishing, both of which remove or alter material.
Reality Check: When This Won’t Give You Perfect Results
Not every dark or dull area is removable tarnish.
- If the silver has pitting, scratches, or worn plating, this method will not erase the damage.
- Some decorative silver has an intentional dark patina in recessed areas. Removing it can make the design look flat and reduce contrast.
- If the piece is lacquered or clear-coated, the bath may do almost nothing because the coating blocks contact with the tarnish.
- Heavy corrosion, loose settings, split seams, and structural damage need professional attention rather than a longer soak.
Store-bought silver polish can produce a brighter finish because it mechanically or chemically removes material from the surface. It also requires more handling and may wear delicate details or thin plating if overused.
How to Clean Silver Without Commercial Cleaner
If the goal is to avoid commercial silver cleaner, separate grime from tarnish:
- Grease and grime: Finger oils and sticky residue usually respond to warm water and a small drop of mild dish soap.
- Tarnish: Gray, brown, or black discoloration that remains after washing may respond to the foil bath.
Wash away grease first because an oily film can interfere with the reaction. Use only a small amount of dish soap, rinse thoroughly, and then proceed with the foil and salt bath if tarnish remains.
How to Clean Silver Without Baking Soda
The foil method can work without baking soda because salt makes the water conductive. Results may be slower or less even, so direct foil contact and hot water become especially important.
- Use very hot water: Lukewarm water slows the reaction.
- Increase contact: Make sure each silver item directly touches the foil.
- Limit the soak: Check after 5–10 minutes instead of leaving the item for an extended period.
- Repeat once if needed: Use fresh foil, salt, and hot water rather than scrubbing harder.
Do not substitute random acids or household cleaning products. Lemon juice, vinegar, ketchup, and gritty salt pastes can attack finishes or create scratches when rubbed.
Methods to Avoid
- Toothpaste and dry baking-soda paste: Both can be abrasive when rubbed against silver.
- Scouring pads, steel wool, and stiff brushes: These can scratch silver and quickly wear through plating.
- Chlorine bleach: Bleach can discolor or damage silver. Never add it to this bath.
- Dishwashers: High heat, strong detergent, and contact with other metals can discolor or damage silver flatware.
- Long, unattended soaking: More time is not automatically more effective, especially for plated or mixed-material objects.
- Commercial silver dips used casually: These can remove intentional patina and should be used only when appropriate for the item and exactly as labeled.
Drying, Aftercare, and Tarnish Prevention
Dry silver immediately after washing. Moisture does not cause all tarnish by itself, but thorough drying prevents water spots and keeps moisture from collecting in seams.
Before storing the piece:
- Confirm that joints, crevices, and hollow areas are completely dry.
- Store silver in an anti-tarnish pouch, anti-tarnish cloth, or a clean sealed bag suitable for metal storage.
- Keep pieces separate or wrap them in soft, acid-free tissue to reduce scratching.
- Avoid direct contact with rubber bands, newspaper, wool, and sulfur-containing storage materials that may accelerate tarnish.
- Keep silver away from humid areas. Fresh silica-gel packets can help control moisture, although they do not remove sulfur compounds from the air.
- Clean off fingerprints before long-term storage because skin oils can leave uneven marks.
Frequently Asked Questions
Will this make silver mirror shiny?
Not always. It removes ordinary tarnish, but it does not smooth scratches or restore a worn finish. A mirror shine may require careful polishing or professional refinishing.
Does this work on silver-plated items?
It may work on intact silver plate because it does not depend on abrasive scrubbing. However, it cannot replace missing plating. Stop if yellow, copper-colored, or gray base metal becomes visible.
Can I use this method on silver jewelry?
Only on plain, uncoated silver jewelry without glued components or sensitive stones. Do not immerse pearls, opals, turquoise, coral, amber, enamel, or jewelry with uncertain settings.
Why does silver turn black?
Silver commonly turns black when it reacts with sulfur-containing compounds and forms silver sulfide. This is tarnish rather than ordinary dirt. Here’s a solid explainer: Silver sulfide (Wikipedia).
What if nothing happens?
Check that the item is touching the foil, the water is hot, and the surface is free from grease. Lacquer, wax, heavy grime, or a non-silver material can prevent a reaction. Do not compensate by soaking indefinitely.
Everything Mentioned Above
Before you leave, grab the tools you need to get the job done right the first time:
*As an Amazon Associate, TidyFormula earns from qualifying purchases.