How to Clean Plantation Shutters
Vacuum or dust plantation shutters first with a soft brush attachment or microfiber duster, working with the louvers closed, then follow up with a barely damp microfiber cloth for a deeper clean. Vinyl and most faux wood shutters tolerate a little moisture and mild soap; real wood does not. Excess water is the main risk, since it can warp slats or loosen joints over time.
If your shutters sit in a kitchen or bathroom, you may be dealing with a thin film of grease or soap residue rather than plain dust, which changes how much cleaning power you actually need.
⚡ The TidyFormula™ Quick Decision
Best approach: Vacuum or dust the louvers dry first, then wipe with a well-wrung microfiber cloth and a mild soap solution if needed, working one slat at a time.
Use caution with: Real wood shutters and painted wood finishes, which can warp, swell, or lose sheen if they get too wet or are scrubbed with anything abrasive.
Stop and reassess if: You notice swelling, cracking, peeling paint, or a louver that no longer tilts smoothly, since these signs point to moisture damage rather than a cleaning problem you can fix with more effort.
What I Use For This Job
Using the right tools saves time and protects your belongings. Here are my exact recommendations:
*As an Amazon Associate, TidyFormula earns from qualifying purchases.
Identify Your Shutter Material Before You Start
Plantation shutters look similar across materials, but what is safe to use on them is not. Vinyl and PVC shutters are the most forgiving. They resist moisture well and can generally handle a damp cloth and a small amount of mild dish soap without issue.
Faux wood, sometimes called composite, usually behaves similarly to vinyl and can tolerate light moisture, but confirm this with any care instructions that came with the shutters, since formulations vary by manufacturer.
Real wood shutters need the most restraint. Wood slats can absorb moisture at the edges, and repeated dampness may cause warping, cracking finish, or joints that loosen at the tilt bar. Painted wood adds another layer of risk, since scrubbing or strong cleaners can dull or strip the finish. When in doubt about your specific shutters, treat them as real wood and stick to dry or nearly dry methods.
Step-by-Step: Dusting and Routine Cleaning
Most plantation shutter maintenance is really dust control. Doing this consistently prevents the buildup that eventually requires a wetter, more time-consuming clean.
- Close the louvers so they tilt in one direction, then vacuum along each slat using a soft brush attachment on low suction. This catches dust sitting on top of each louver without pushing it into the frame.
- Tilt the louvers the opposite direction and repeat. Dust settles on both sides of each slat, and skipping this step leaves half the shutter untouched.
- Wipe each slat with a dry microfiber cloth to pick up any remaining dust the vacuum missed, especially near the tilt rod and hinge areas where dust tends to collect.
- For vinyl or faux wood, you can follow with a cloth that is only slightly damp if the dry pass didn’t fully clean the surface. For real wood, stay with dry methods unless you are moving on to a deeper clean.
Deeper Cleaning for Grease, Grime, or Sticky Residue
Shutters near a kitchen stove or a bathroom shower often develop a thin, sticky film that dusting alone will not remove. This calls for a damp cloth rather than a wet one.
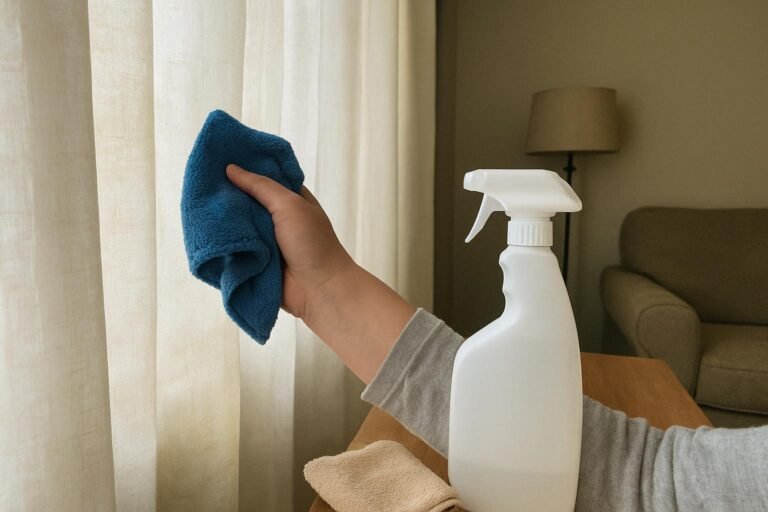
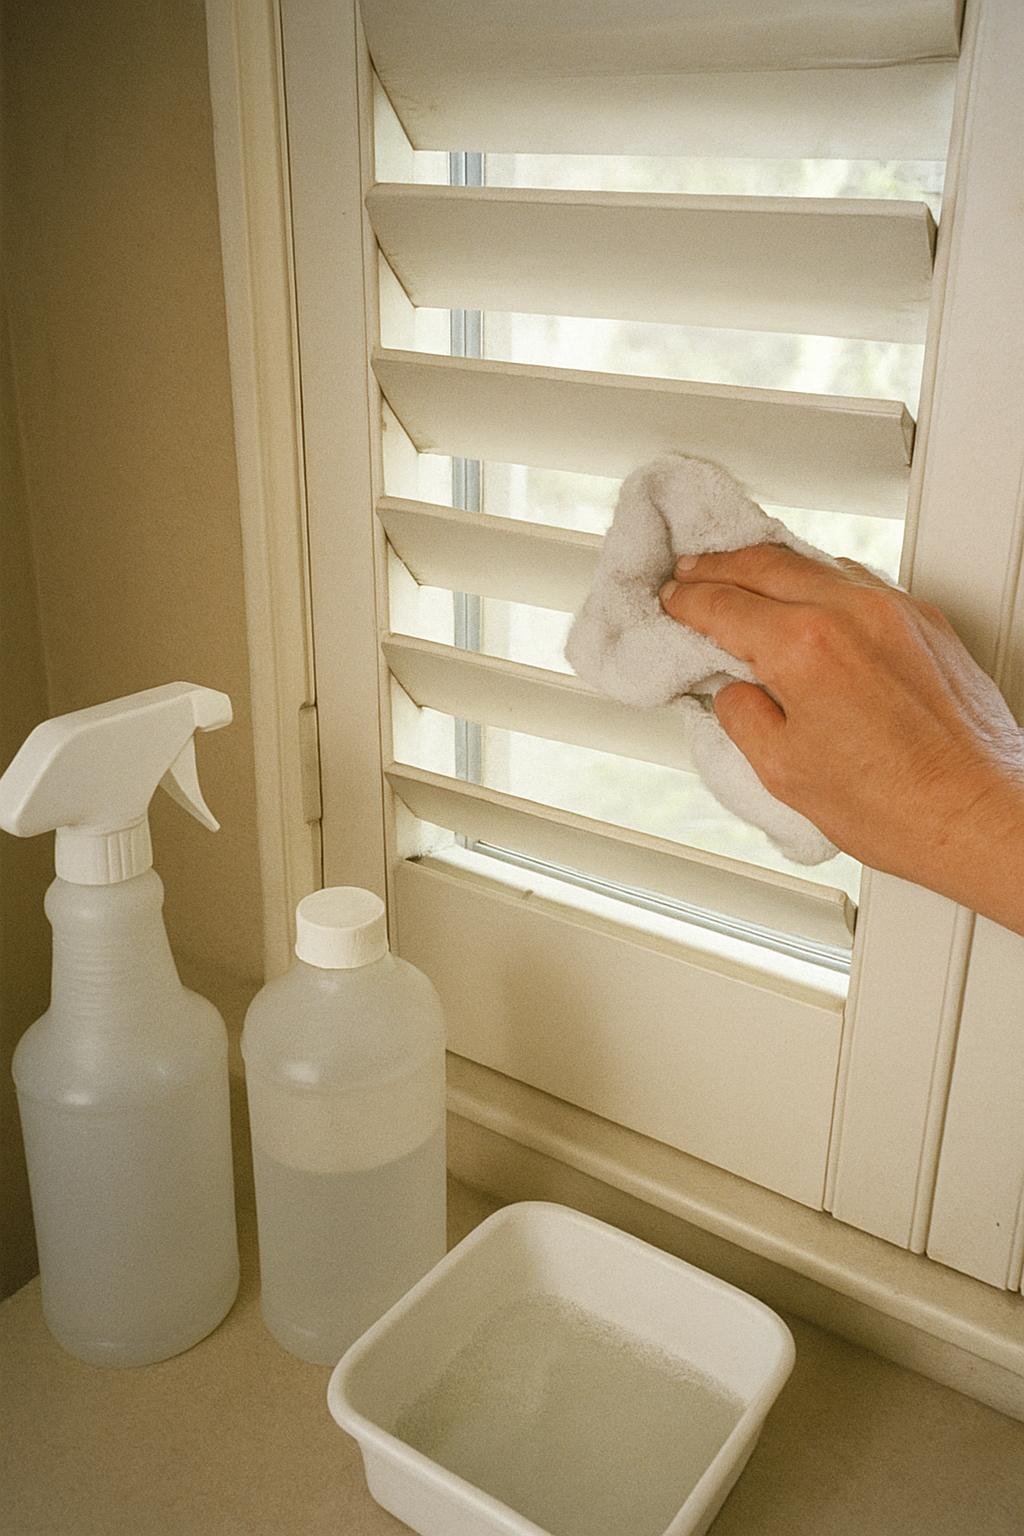
- Mix a small amount of mild dish soap into water. Dip a microfiber cloth into the solution, then wring it out thoroughly so it feels damp, not wet, with no dripping.
- Wipe one slat at a time, supporting the louver gently from underneath so you are not putting stress on the hinge pin while you clean.
- Follow immediately with a dry cloth on the same slat to remove leftover moisture before it can sit in the seams or reach any wood underneath a painted finish.
- Work through the entire shutter this way rather than spraying cleaner broadly, since sprayed liquid can run down into the tilt mechanism and frame joints.
If a slat is especially greasy, a second light pass with the soapy cloth is safer than pressing harder or switching to a stronger cleaner. Real wood shutters generally do best skipping this method altogether in favor of a dry microfiber cloth and, if truly necessary, a cloth that is only faintly damp.
Cleaning Mistakes That Cause Damage
A few habits account for most of the avoidable damage to plantation shutters:
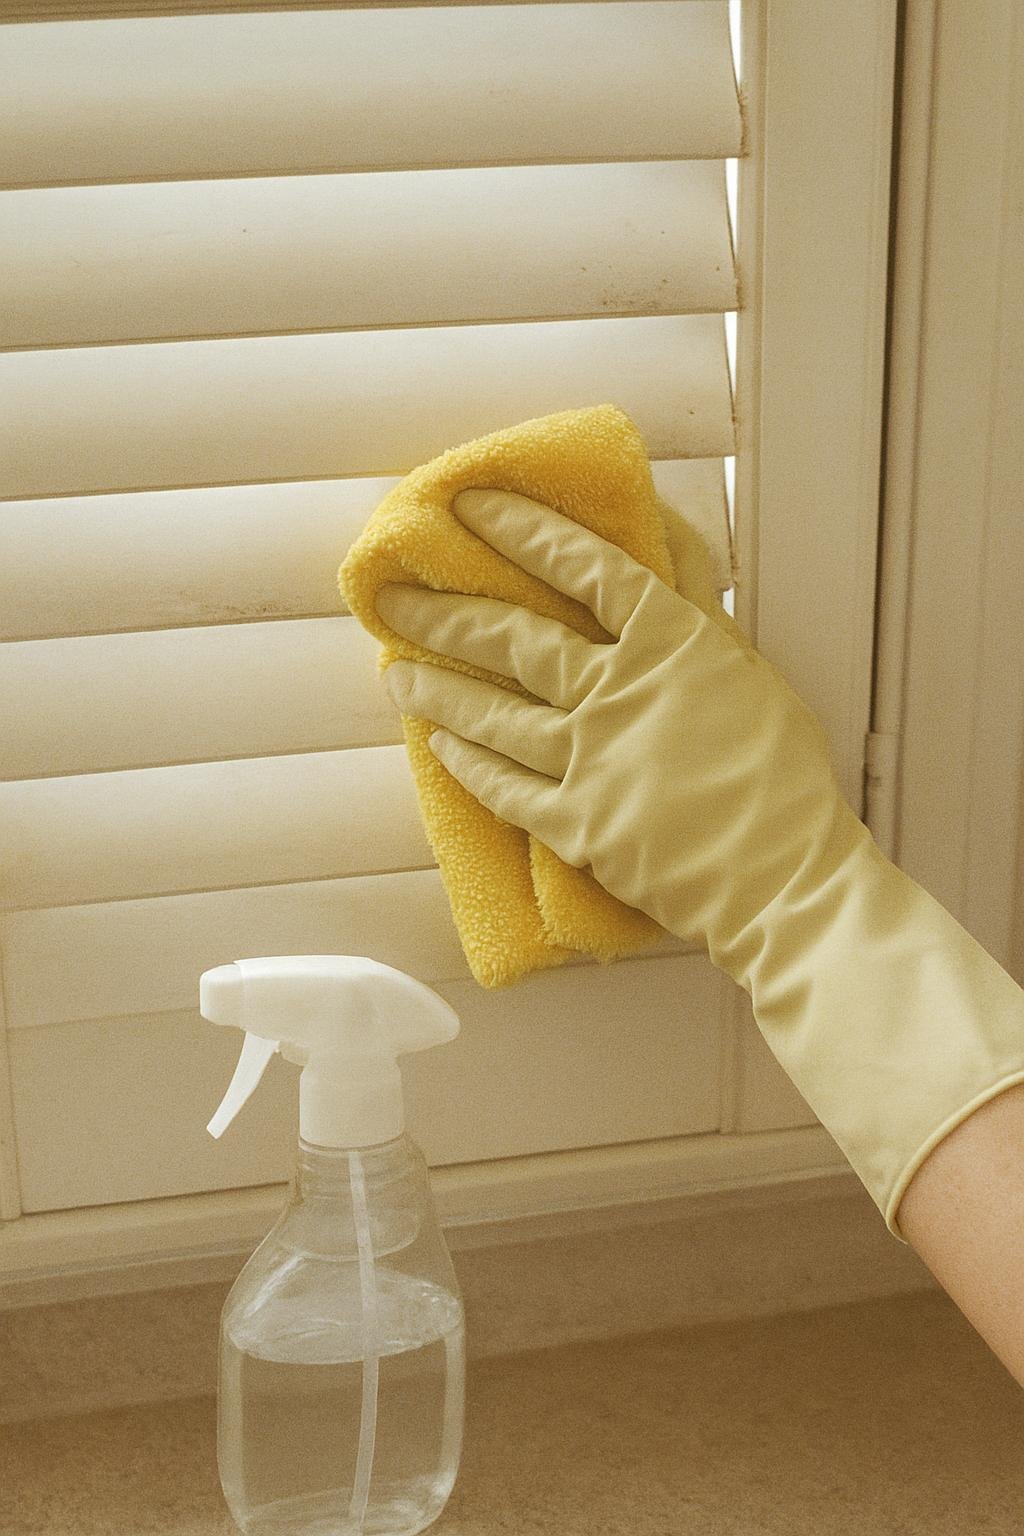
- Spraying cleaner directly onto the slats. Liquid can run into the joints and tilt mechanism, where it is hard to dry and can eventually affect how smoothly the louvers move.
- Using too much water on wood. Even a small amount left standing in a seam can cause swelling or a dull spot in the finish over time.
- Scrubbing with abrasive pads or brushes. These can scratch vinyl and dull or remove paint on wood shutters, and the marks are usually permanent.
- Wiping without supporting the louver. Pressing down on an unsupported slat puts strain on the hinge pin, which can loosen the tilt mechanism over time on some models.
If your shutters share a room with windows that need attention too, you may find it useful to review how to clean windows without streaks so both surfaces get handled with the right technique in the same session.
How Often to Clean Plantation Shutters
A quick vacuum or dust pass every one to two weeks keeps buildup manageable in most rooms, and kitchens or bathrooms may need it more often because of grease and humidity. A deeper wipe-down with a damp cloth is usually only necessary every month or two, or seasonally in lower-traffic rooms. Sticking to this rhythm means you are almost always dealing with light dust rather than the sticky, stubborn film that pushes you toward wetter cleaning methods and higher risk to the finish.
If you are cleaning shutters as part of a broader window refresh and don’t have a squeegee on hand for the glass itself, how to clean windows without a squeegee covers a practical alternative for that part of the job.
Everything Mentioned Above
Before you leave, grab the tools you need to get the job done right the first time:
*As an Amazon Associate, TidyFormula earns from qualifying purchases.