How to Clean Sticky Kitchen Cabinets
The best way to clean sticky kitchen cabinets is with a soft cloth, warm water, and a few drops of dish soap, applied in gentle circular motions and followed by a clean water rinse and dry wipe. This works on most sealed wood, laminate, and painted cabinets, but unsealed or unfinished wood needs a lighter touch to avoid water damage or streaking.
If your cabinets have gone from slightly dusty to genuinely tacky, you’re probably dealing with a layer of cooking grease that’s grabbed onto dust, fingerprints, and steam residue over weeks or months. That combination is exactly what makes ordinary wiping feel like it’s smearing the mess around instead of removing it.
⚡ The TidyFormula™ Quick Decision
Best approach: Warm water with a small amount of mild dish soap on a soft microfiber cloth, applied in small sections and dried immediately after rinsing.
Use caution with: Unsealed or unfinished wood, waxed cabinets, and any painted or laminate surface where you aren’t sure how much moisture it can handle.
Stop and reassess if: The finish looks dull, cloudy, or lifted, the color starts to transfer onto your cloth, or water is soaking into the wood instead of sitting on top of it.
What I Use For This Job
Using the right tools saves time and protects your belongings. Here are my exact recommendations:
*As an Amazon Associate, TidyFormula earns from qualifying purchases.
Why Kitchen Cabinets Get Sticky
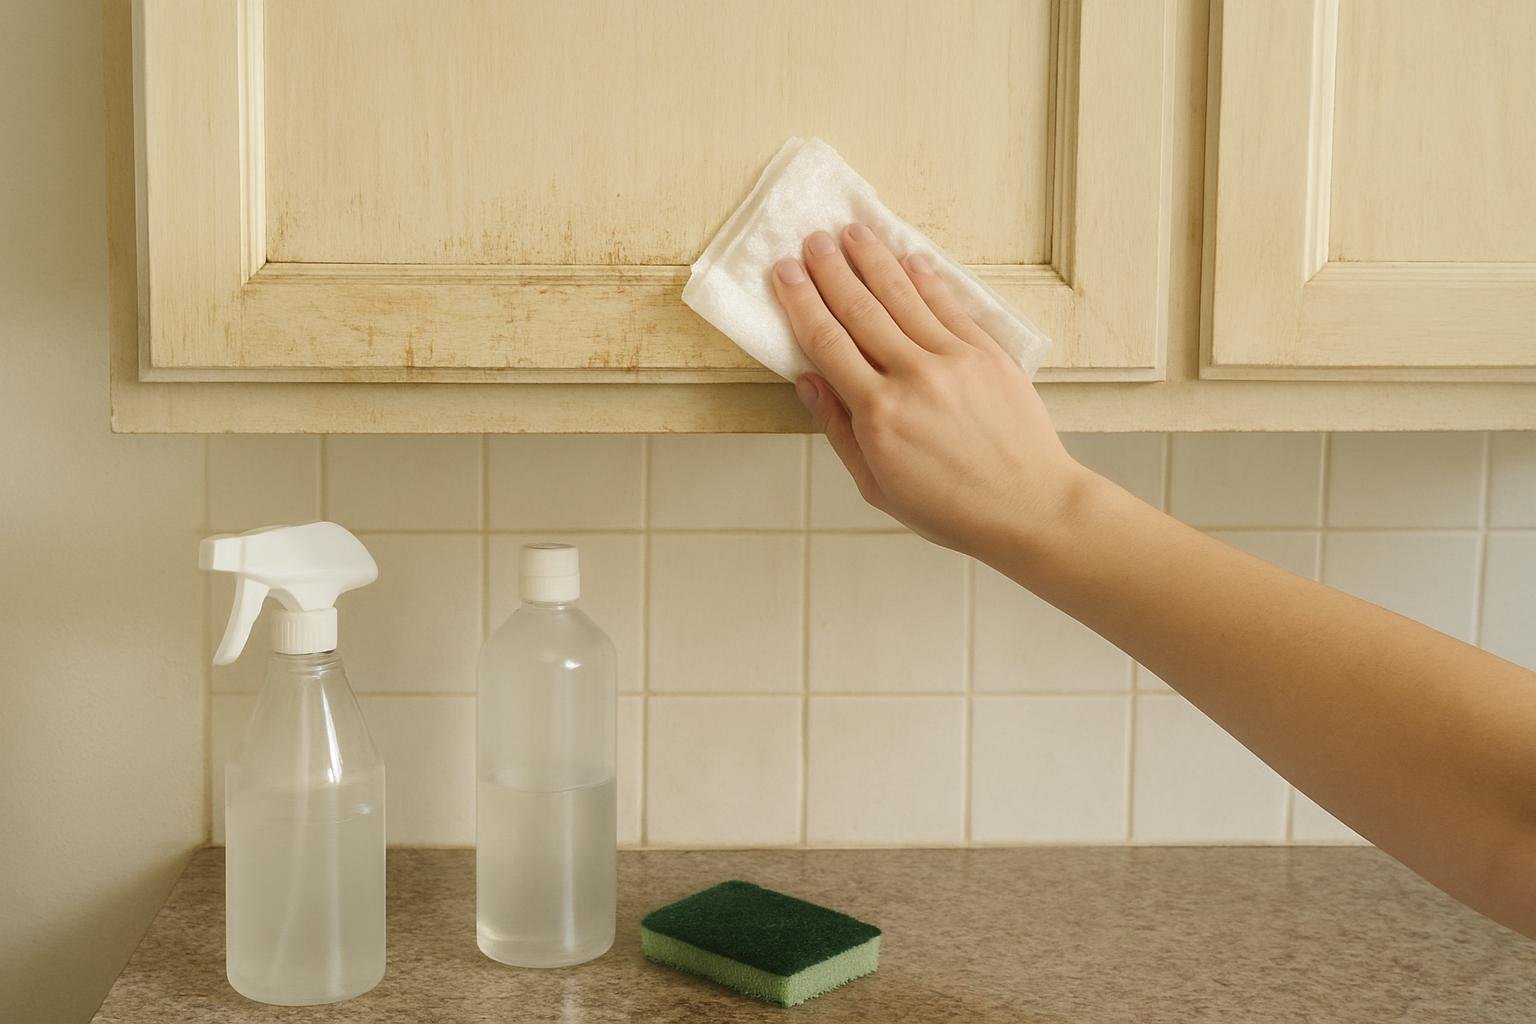
Sticky cabinet surfaces near the stove and range are usually a mix of airborne cooking grease and dust that never gets wiped off before it builds up. Cabinets near cutting boards and sinks tend to feel sticky from a mix of hand oils, food splatter, and evaporated moisture. Once grease sits for more than a few days, it starts attracting more dust, which is why the problem tends to snowball if it’s ignored.
If a lot of your kitchen grime seems to originate from baking or roasting, checking how your oven is cleaned can help you catch buildup at the source before it drifts onto nearby cabinet doors.
Identify Your Cabinet Material Before You Start
Not every cabinet surface tolerates the same cleaning approach, and guessing wrong can leave permanent marks. A quick material check takes thirty seconds and can save you from stripping a finish or warping wood.
| Cabinet Type | Safe Approach | What to Avoid |
|---|---|---|
| Sealed wood or painted wood | Damp cloth with mild dish soap, dried immediately | Soaking, abrasive pads, excess standing water |
| Laminate or thermofoil | Warm water and dish soap, soft cloth only | Scouring powders, sharp-edged scrapers |
| Unfinished or unsealed wood | Barely damp cloth, minimal moisture, quick drying | Any soaking, vinegar, or oil-based cleaners |
| Waxed or oiled wood | Follow the manufacturer’s care instructions | Dish soap or water unless the finish specifically allows it |
If your cabinets came with care documentation from the manufacturer or installer, that guidance should take priority over any general method, especially for specialty finishes like matte lacquer or hand-glazed wood.
Step-by-Step: Cleaning Sticky Cabinets Safely
- Dust first. Wipe cabinet fronts with a dry microfiber cloth to remove loose dust before introducing any moisture. This keeps you from grinding grit into the finish.
- Mix a mild solution. Combine warm water with a few drops of dish soap in a bowl. Avoid making the solution overly soapy, since residue left behind can attract more dust later.
- Work in small sections. Dip a soft cloth into the solution and wring it out well so it’s damp, not wet. Wipe one cabinet door or panel at a time rather than soaking the whole kitchen at once.
- Rinse with a separate cloth. Use a clean, water-only cloth to remove soap residue from each section before it dries.
- Dry immediately. Go over each section with a dry cloth right away. This step matters most on wood, since lingering moisture is what causes swelling, warping, or a cloudy finish over time.
- Check hardware and edges. Sticky residue often collects around handles, hinges, and door edges. A cotton swab or soft toothbrush dipped in the same solution can reach these tighter spots without scratching the surrounding finish.
Cleaning Mistakes That Make Stickiness Worse
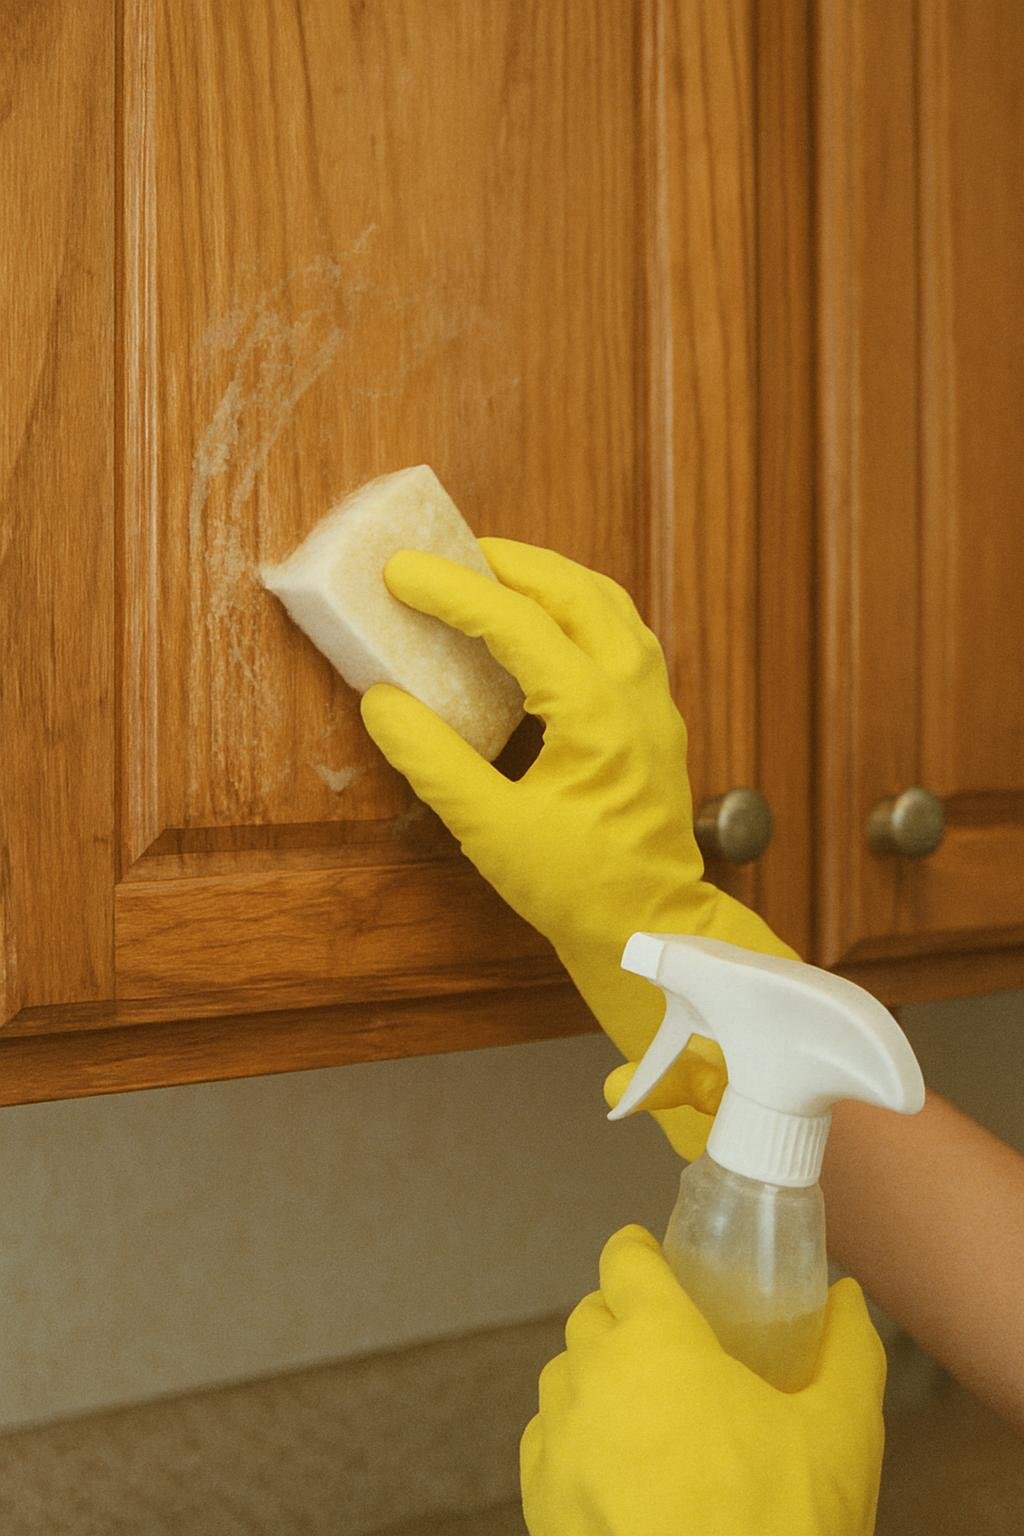
A few habits show up repeatedly when sticky cabinets don’t improve after cleaning, and most of them come from using too much product or too much force rather than too little.
- Skipping the rinse step. Leaving soap residue behind attracts new dust and grease faster, so the cabinets feel sticky again within days.
- Using too much liquid. Excess water pooling in seams, corners, or around hardware can seep into the wood or particleboard core and cause swelling that shows up weeks later.
- Reaching for degreasers without checking the finish. Strong degreasing sprays can dull or strip painted and lacquered surfaces, even when the label sounds kitchen-friendly. Test a small hidden spot first if you’re unsure.
- Scrubbing instead of soaking briefly. Heavy scrubbing on stubborn spots can create fine scratches that trap even more grime going forward. A slightly longer dwell time with a soft cloth is usually more effective than pressure.
How Often to Clean to Prevent Buildup
Cabinets directly above or beside the stove usually benefit from a wipe-down every one to two weeks, since that’s where airborne grease settles fastest. Cabinets farther from cooking areas, like those near a pantry or dining space, often only need attention once a month. If you notice tackiness returning within a few days of cleaning, it’s a sign grease is accumulating faster than your current schedule accounts for, and shortening the interval will keep the buildup from hardening into a harder cleaning job later.
Everything Mentioned Above
Before you leave, grab the tools you need to get the job done right the first time:
*As an Amazon Associate, TidyFormula earns from qualifying purchases.