how to clean toys in bathtub
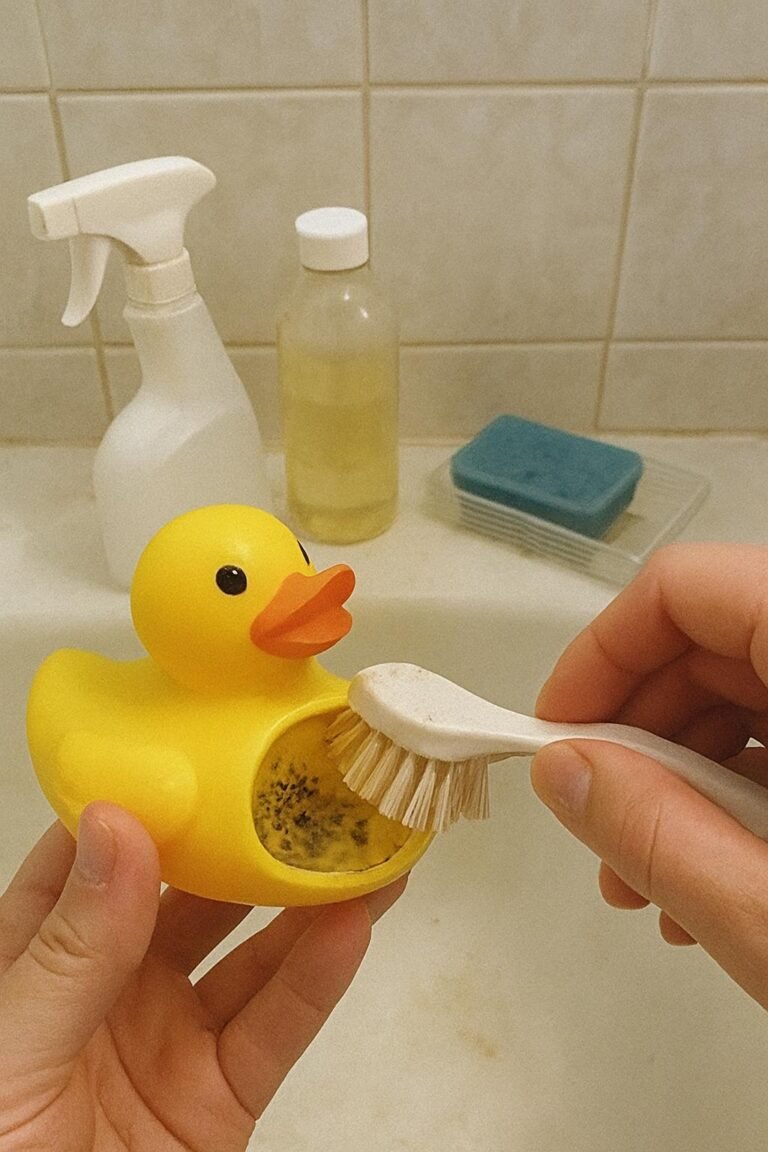
I once tipped a basket of bath toys into the tub and discovered that half of them felt slippery before the water was even running. A rubber duck also released a stream of murky water when I squeezed it. Not exactly the cheerful bath setup I had in mind.
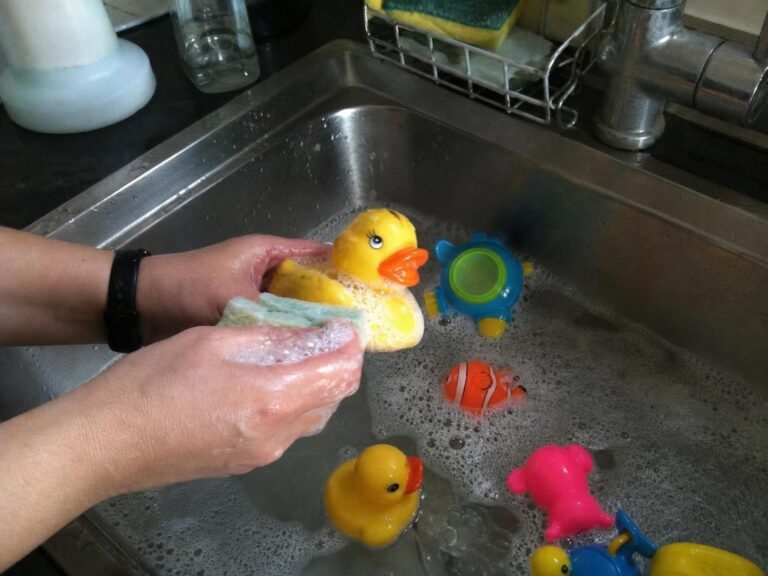
Bath toys collect soap residue, skin oils, and standing water surprisingly quickly. The good news is that most washable plastic, rubber, and silicone toys can be cleaned together in the bathtub with warm water and a few basic supplies.
The important part is sorting first. A floating plastic boat can usually be soaked, while a battery-powered toy, wooden figure, or damaged squirting toy needs different treatment. A bathtub is convenient, but it should not become an all-purpose soaking bin.
⚡ The TidyFormula™ Quick Answer
The Fix: Fill a clean bathtub with a few inches of warm water and mild dish soap, scrub washable toys, rinse them well, and leave every surface and opening to dry fully before storage.
Tools and Preparation
You do not need a cupboard full of special cleaners. For a routine batch, I use the following:
What I Use For This Job
Using the right tools saves time and protects your belongings. Here are my exact recommendations:
*As an Amazon Associate, TidyFormula earns from qualifying purchases.
- Mild dish soap
- A clean bucket or small plastic basin
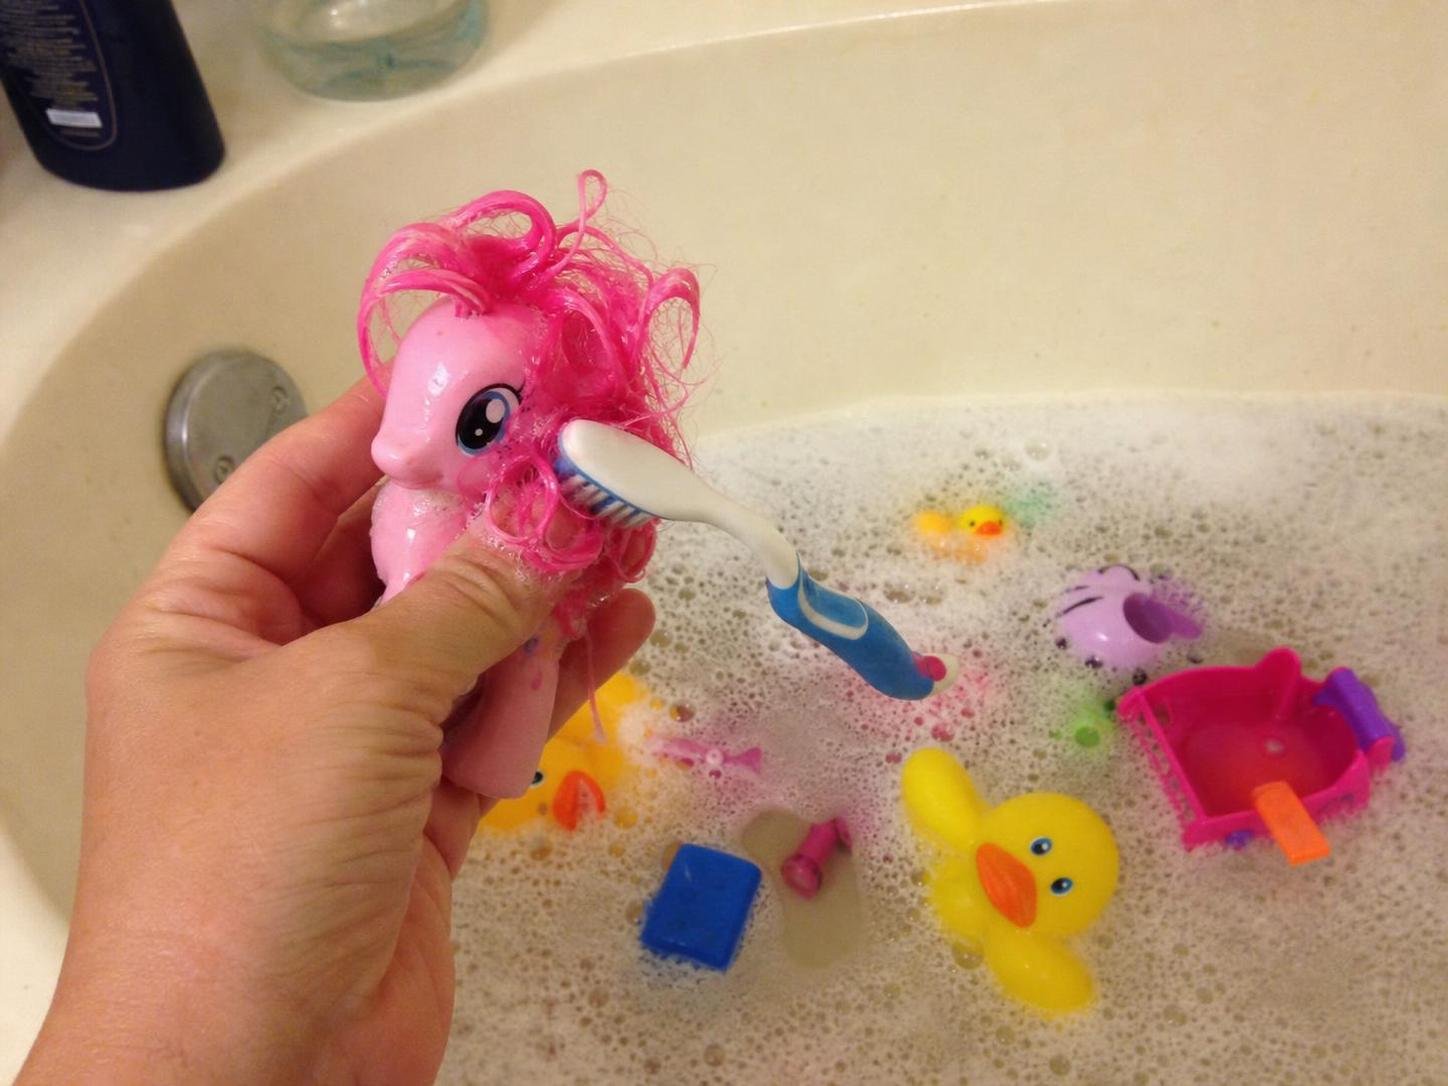
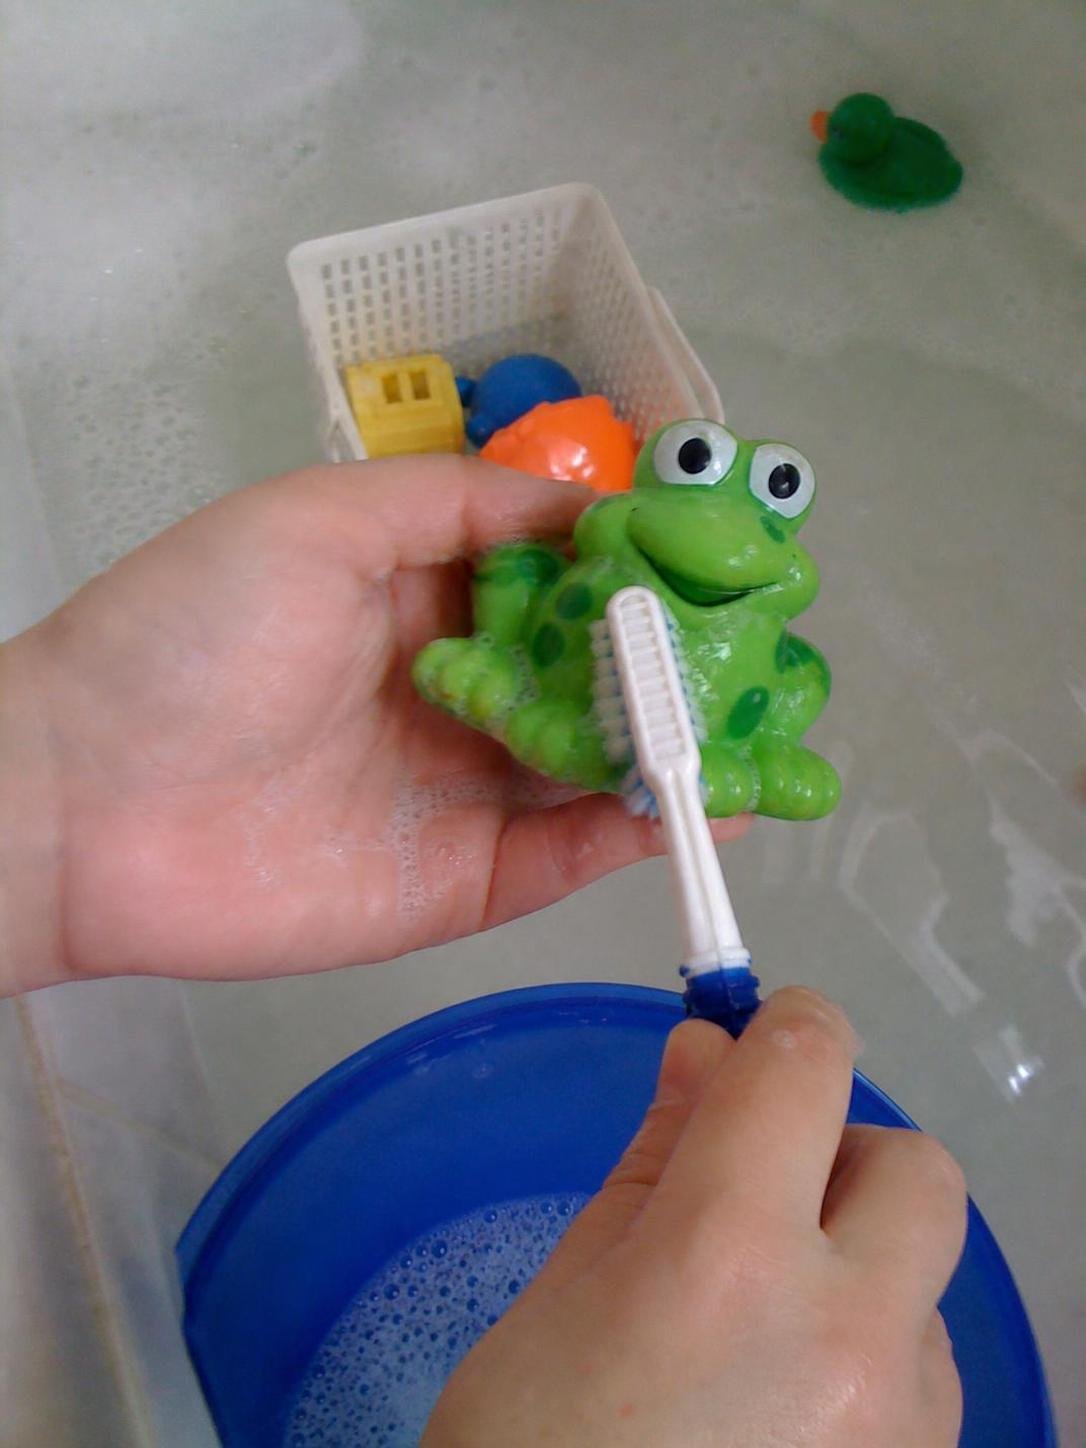
- A soft-bristled brush or an old toothbrush reserved for cleaning
- Two or three clean microfiber cloths
- A bottle brush or narrow straw brush for accessible openings
- Clean towels or a drying rack
- Rubber gloves if your hands are sensitive to prolonged washing
- A mesh laundry bag for small, non-electronic pieces
A toothbrush is especially useful around wheels, seams, textured feet, and molded details. Just label it or store it with the cleaning supplies. I have accidentally left one beside the bathroom sink before, and that created an unnecessarily confusing morning.
Start by cleaning the tub itself. Remove hair and visible residue, wash the basin with your usual bathroom cleaner, and rinse it. There is little point in washing toys in a tub coated with yesterday’s soap film.
Step-by-Step Bathtub Cleaning Method
1. Sort the Toys Before Adding Water
- Separate solid plastic, silicone, and rubber toys from electronic, battery-powered, wooden, painted, fabric, or foam items.
- Look for cracks, loose pieces, peeling paint, damaged seams, or trapped material inside.
- Squeeze hollow toys over the sink or tub to see whether old water or dark debris comes out.
- Read any molded instructions, attached tags, packaging information, or manufacturer guidance that remains available.
Stop before soaking anything with batteries, speakers, pull cords, metal components, glued decorations, or hand-painted details. If the label says surface clean only, follow that instruction. Washing it more aggressively is not worth damaging the toy.
Hollow squirting toys need particular attention. If you can see dark buildup inside but cannot open, scrub, rinse, and dry the interior, replacement is usually the sensible choice. Repeatedly soaking the outside will not clean a sealed interior.
2. Prepare a Mild Washing Bath
- Insert the tub stopper and add several inches of warm water.
- Add a small amount of mild soap while the water runs.
- Swirl the water with a gloved hand to distribute the soap without creating a mountain of foam.
- Add only enough toys to leave room for movement and scrubbing.
Warm water helps loosen oily bath residue, but it should not be extremely hot. High heat can soften certain plastics, weaken glue, distort foam, and damage decorative finishes. Use the sort of warm temperature you would comfortably use for hand-washing dishes.
More soap is not better. Too much creates extra residue and makes rinsing slow. A small squeeze is generally enough for a partially filled tub (the bubbles are satisfying, but they are not doing the scrubbing).
3. Wash and Scrub Every Surface
- Let sturdy washable toys sit in the soapy water for about five to ten minutes.
- Wipe broad surfaces with a microfiber cloth.
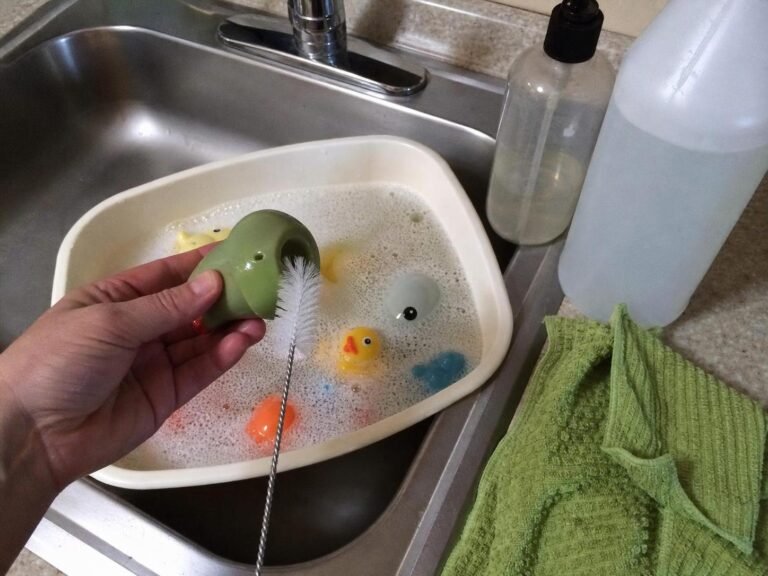
- Scrub seams, grooves, wheel wells, textured areas, and suction cups with the brush.
- For toys with accessible openings, draw in soapy water and expel it several times.
- Use a narrow brush inside an opening only when it fits easily and can be removed without force.
The soaking period loosens grime; it does not replace physical cleaning. Soap residue often forms a dull or slippery film that needs light agitation. You should notice the surface changing from slick to clean-feeling, with no visible line around the toy.
Work in batches if the collection is large. Cloudy or gray water is a sign to drain the tub and mix a fresh batch rather than continuing to move residue from one toy to another.
4. Rinse Carefully
- Drain the dirty water and briefly rinse the bathtub.
- Hold each toy under clean running water.
- Turn it several times so water reaches seams and undersides.
- Flush accessible hollow toys repeatedly until the water runs clear and no suds emerge.
- Set rinsed toys on a clean towel rather than back in the dirty basket.
It is important to rinse thoroughly. Soap left in grooves creates a sticky film that attracts more residue. Run a finger over the surface; it should feel clean rather than slippery, tacky, or strongly scented.
5. Drain and Dry the Toys
- Shake solid toys over the tub to remove surface water.
- Squeeze drainable toys until no more water comes out.
- Stand toys upright or place them with openings facing downward.
- Spread pieces apart on a towel or ventilated rack.
- Turn them after a few hours so hidden contact points can dry.
Allow the toys to air-dry completely before returning them to a basket. Drying may take overnight or longer for toys with deep grooves. Do not seal damp toys in a solid plastic container, because trapped moisture quickly brings back the musty smell you just removed.
Reality Check: What Works and What Does Not
Warm water, mild soap, hands-on scrubbing, good rinsing, and open-air drying work for most ordinary bath residue. This method is inexpensive and gentle enough for many one-piece plastic and silicone toys. It also makes damage easier to spot because you handle each item individually.
What may not work is trying to rescue a toy with inaccessible contamination inside it. If a sealed toy releases dark flakes, smells unpleasant after cleaning, remains slimy, or cannot drain, I discard it. A low-cost bath toy is not worth an endless cleaning project.
Common mistakes include overcrowding the tub, using too much soap, skipping the rinse, and putting toys away damp. Another is mixing cleaning products. Never combine bleach with vinegar, ammonia, bathroom cleaners, or other products. If a toy manufacturer permits disinfecting, use only the stated product, dilution, contact time, and rinsing directions.
Avoid abrasive pads on glossy plastic and printed designs. Also avoid boiling water, the dishwasher, and the washing machine unless the care instructions specifically approve them. Heat and force can warp plastic, strip finishes, loosen glued parts, or damage squeakers.
Stop and check the care label whenever a toy contains electronics, natural wood, fabric stuffing, foam, glued decorations, paint, or multiple joined materials. When instructions are missing, choose cautious surface wiping instead of full immersion.
🧪 Why This Works
Think of bath residue like grease on a dinner plate. Warm water softens it, soap helps lift it away from the surface, and the brush provides the movement needed to remove it. Rinsing carries the loosened material away, while full drying prevents leftover water from sitting in seams and hollow spaces.
Choosing the Right Cleaning Method
| Method | Best For | Main Advantage | Avoid When |
|---|---|---|---|
| Warm soapy bathtub wash | Solid plastic, silicone, and washable rubber toys | Cleans many toys at once while allowing detailed scrubbing | The toy is electronic, wooden, painted, cracked, or labeled surface clean only |
| Surface wiping | Battery toys, wooden pieces, and items with glued details | Limits moisture around sensitive components | Contamination is trapped inside or the toy cannot be cleaned safely without soaking |
| Manufacturer-approved disinfecting | Nonporous toys whose instructions permit it | Adds a specific disinfecting step when needed | No dilution guidance is available or the material is faded, porous, or damaged |
Keeping Bath Toys Cleaner Between Washes
After each bath, rinse visible suds from the toys and shake or squeeze out as much water as possible. Store them in an open, draining container rather than a bucket with a solid bottom. A mesh bag can work, but only if it hangs where air circulates and is washed occasionally.
My practical pro tip is to reduce the number of toys in rotation. Keep a small group in the bathroom and store the rest dry elsewhere, then swap them every week or two. Fewer toys are quicker to rinse, easier to inspect, and far less likely to form a damp pile.
Check the collection during routine bathroom cleaning. A quick weekly inspection catches clogged holes, cracked seams, and lingering water before they turn into a bigger cleanup. If a toy repeatedly holds water despite careful draining, retire it from the tub.
Frequently Asked Questions
Can I use vinegar to wash bath toys?
Diluted vinegar may help with some mineral film and odors, but it is not a replacement for scrubbing with soap or for a manufacturer-approved disinfecting process. Never mix it with bleach or other cleaners.
Can bath toys go in the dishwasher?
Only if the manufacturer clearly says they are dishwasher-safe. Heat can warp plastic, damage paint, weaken glue, and force water into spaces that are difficult to dry.
How often should I clean bath toys?
Rinse and drain them after each use, then give frequently used toys a proper wash every one to two weeks. Clean them sooner when they feel slippery, smell musty, or show visible residue.
What should I do with mold inside a squirting toy?
If the interior cannot be opened, scrubbed, rinsed, inspected, and fully dried, discard the toy. Cleaning only the outside does not address material trapped inside.
How can I stop water from getting inside new bath toys?
Choose solid, hole-free designs when possible. Some people seal holes, but sealants can loosen or create new crevices, so I prefer buying one-piece toys designed without water-trapping openings.
Everything Mentioned Above
Before you leave, grab the tools you need to get the job done right the first time:
*As an Amazon Associate, TidyFormula earns from qualifying purchases.