How to Remove Candle Soot from Walls
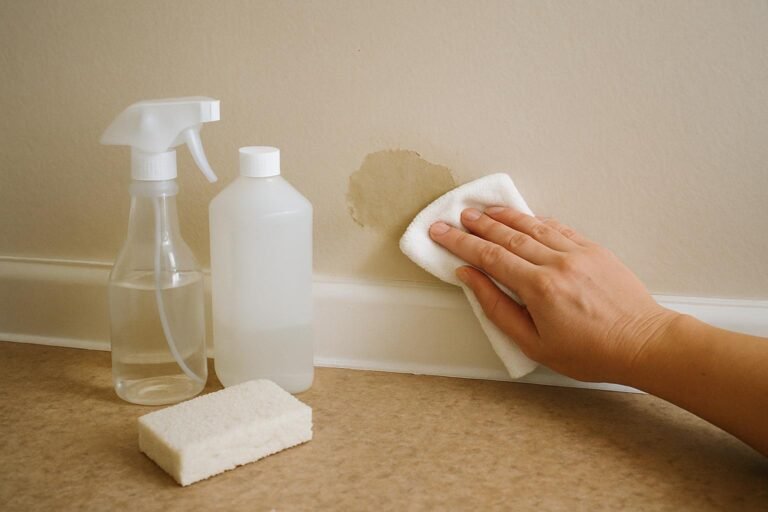
Candle soot on walls is best removed with a dry method first, not water. Start by dabbing the soot with a dry sponge (a “soot sponge” or a clean chemical sponge) or a vacuum with a brush attachment to lift the loose black residue before it smears. Water or all-purpose cleaner applied too early tends to push soot deeper into paint and drywall texture, turning a small mark into a larger stain.
If the soot has been there a while, or if a previous attempt with a damp cloth already smeared it, you’re dealing with a slightly harder cleanup, but the same dry-first approach still applies before you bring in any liquid cleaner.
⚡ The TidyFormula™ Quick Decision
Best approach: Lift loose soot with a dry sponge or vacuum brush first, then follow with a mild soapy water wipe only if a shadow remains and your paint finish can handle light moisture.
Use caution with: Flat or matte paint, unsealed drywall, wallpaper, and textured surfaces, since scrubbing or over-wetting these can remove paint or leave a duller patch.
Stop and reassess if: The soot smears into a gray haze, the wall finish starts to rub off, or the stain won’t lift after a gentle wet pass, since repeated scrubbing at that point usually makes the mark more visible, not less.
What I Use For This Job
Using the right tools saves time and protects your belongings. Here are my exact recommendations:
*As an Amazon Associate, TidyFormula earns from qualifying purchases.
Check Your Wall Finish Before You Start
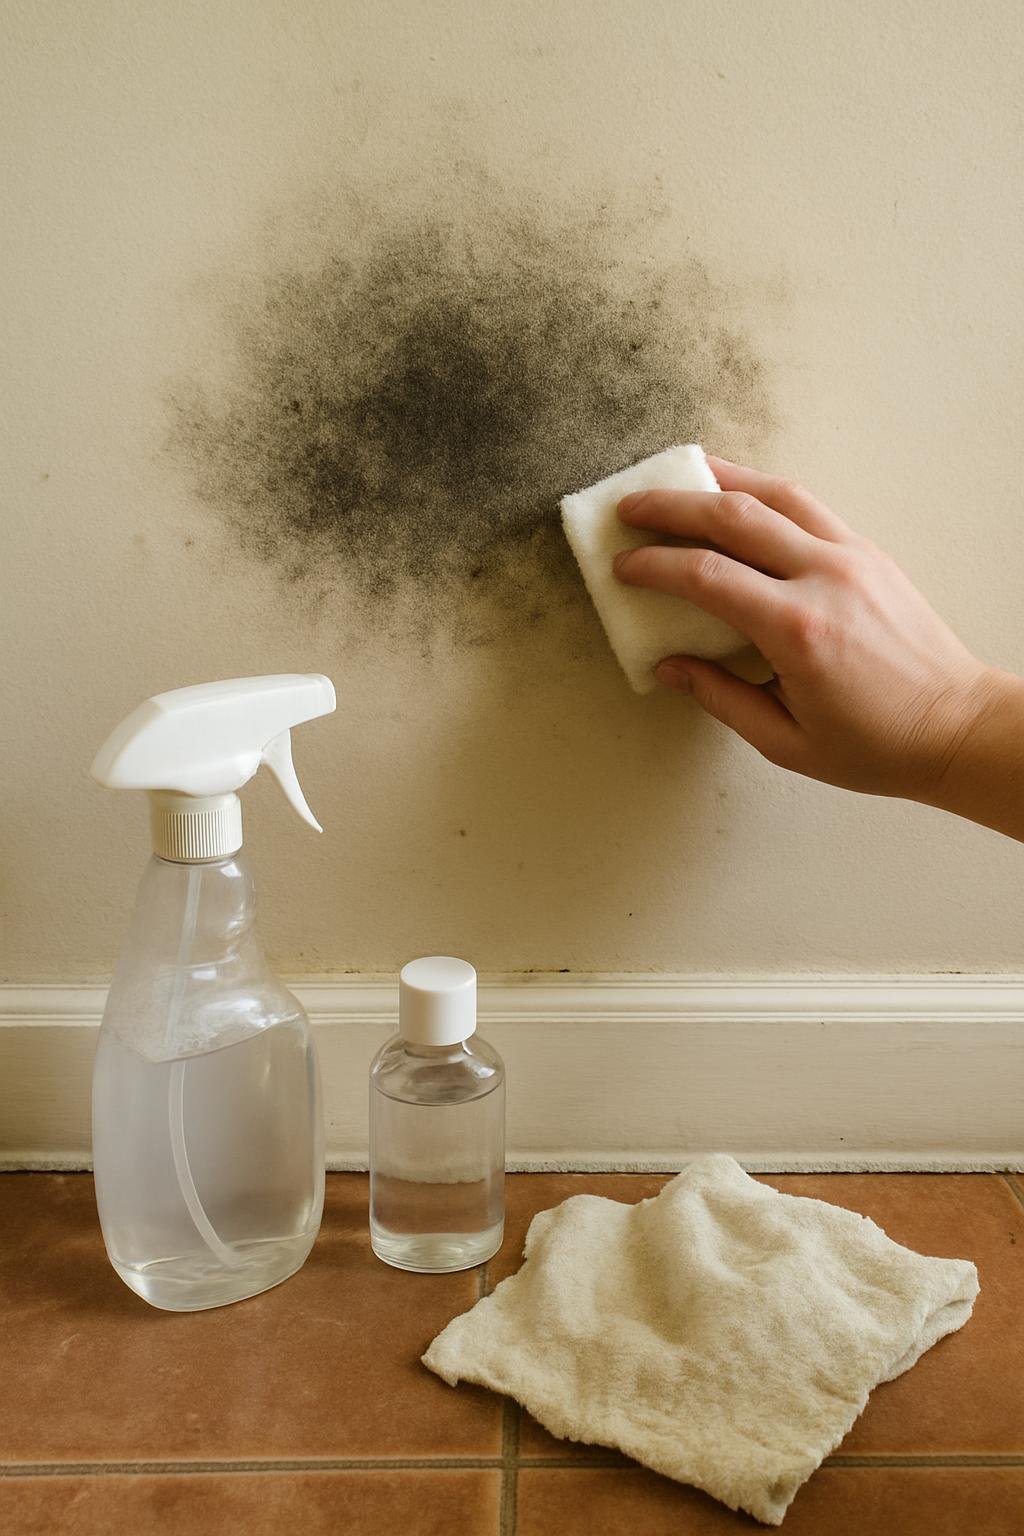
How you clean candle soot depends heavily on what’s underneath it. Painted walls with a satin, semi-gloss, or eggshell finish tolerate light dampness reasonably well. Flat or matte paint is more porous and can burnish or discolor if you rub it, even with plain water. Wallpaper and unpainted or unprimed drywall are the most delicate cases, since moisture can warp paper seams or leave a dark ring on raw drywall that’s hard to reverse.
If you’re not sure what finish you have, test your cleaning method in a small, inconspicuous spot first, like behind a door or near a baseboard, before treating the visible soot mark.
Step One: Remove Soot Dry, Not Wet
Soot is made of fine carbon particles that sit loosely on the surface until they’re disturbed. A dry method lifts them off instead of smearing them into the paint’s pores.
- Vacuum the area first using a soft brush attachment on a low suction setting, moving in short strokes to lift loose soot without grinding it into the wall.
- Follow with a dry sponge (sometimes labeled a soot sponge or chemical sponge), which is designed to pick up carbon particles rather than push them around. Dab in one direction across the stain, then fold the sponge to expose a clean section as it picks up soot.
- Avoid circular scrubbing motions. Straight, overlapping strokes reduce the chance of spreading the residue into a wider gray patch.
- Check your progress often. Once the sponge stops picking up visible soot, stop the dry pass, even if a faint shadow remains.
Step Two: Treat a Remaining Shadow, If Your Finish Allows It
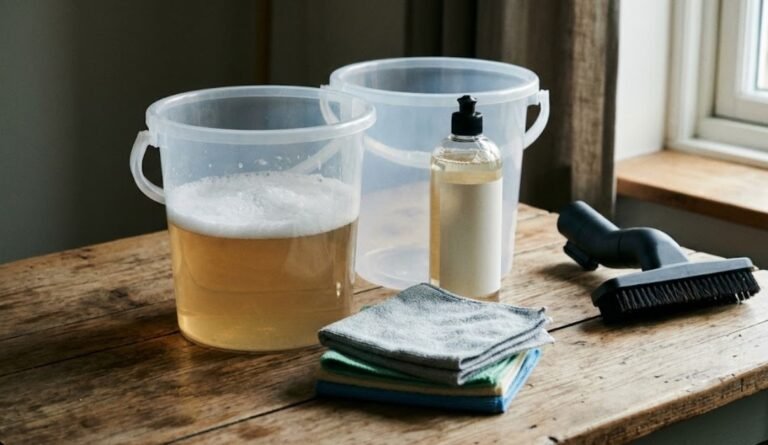
If a light gray shadow is left after the dry pass, a mild soapy water wipe can help, but only on washable paint finishes. Mix a small amount of dish soap into warm water, wring a soft cloth or sponge until it’s just damp (not wet), and dab the shadow gently rather than scrubbing.
Work from the outer edge of the stain toward the center to avoid pushing residue outward into cleaner paint. Rinse your cloth frequently in clean water so you’re not reapplying soot you just lifted. Dry the area with a clean towel afterward, since leftover moisture sitting on paint can cause its own dulling or spotting over time.
Skip this wet step entirely on flat paint, wallpaper, or unsealed drywall unless you’ve already tested it on a hidden area and confirmed it doesn’t lift color or leave a mark.
Cleaning Mistakes That Make Soot Stains Worse
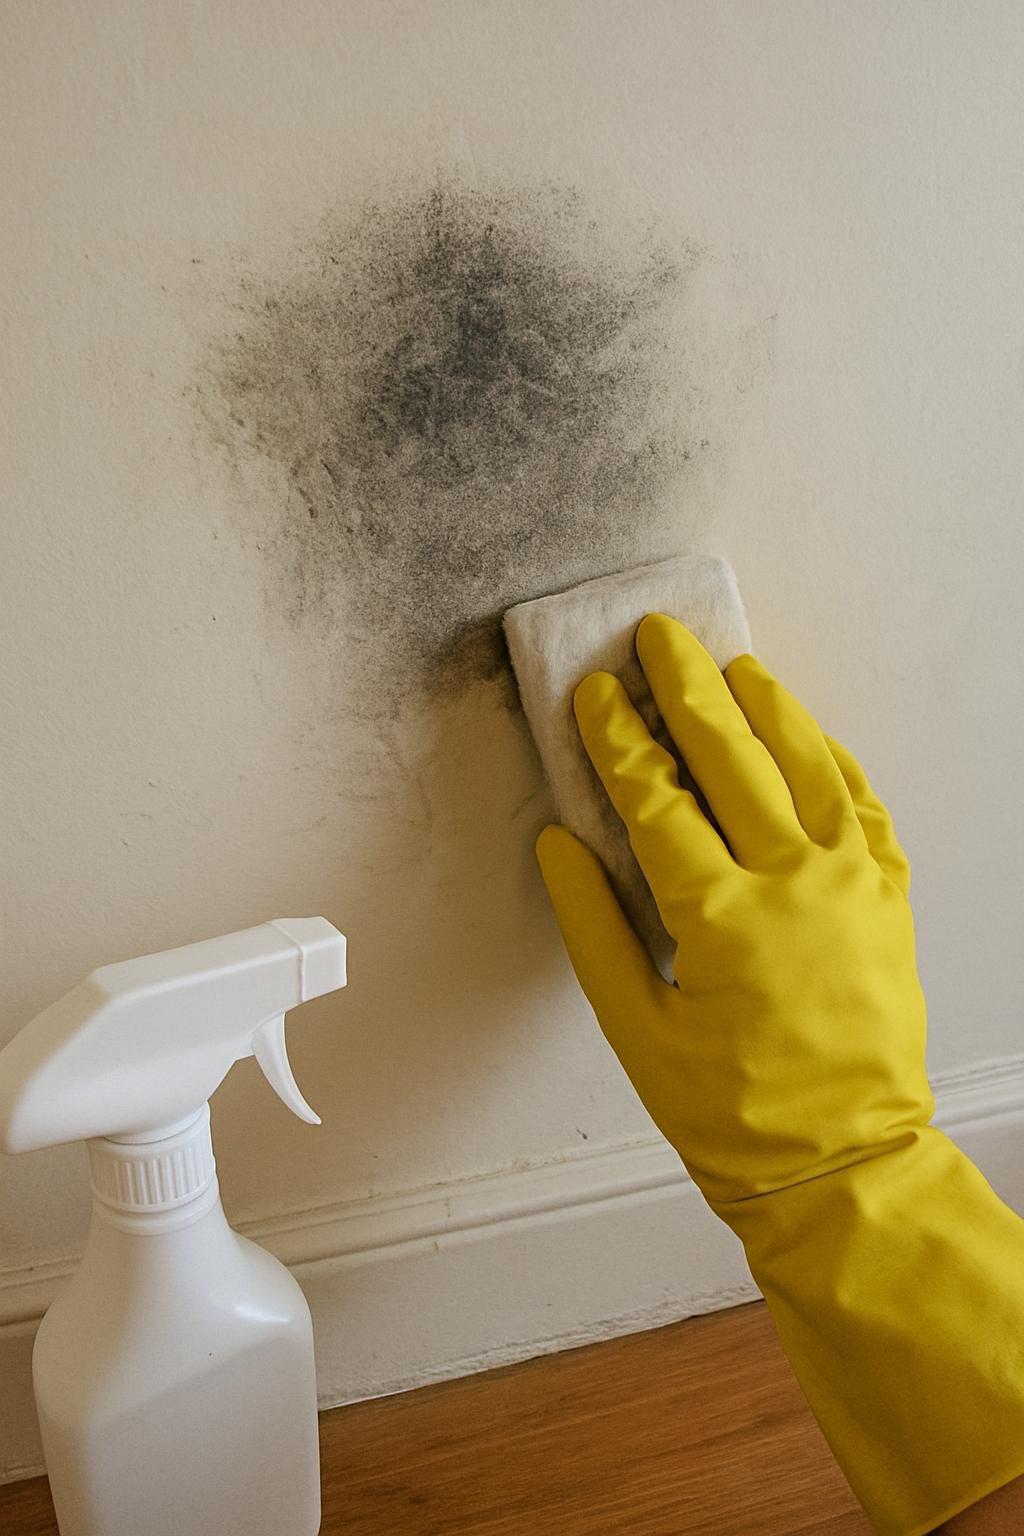
- Reaching for a wet cloth first. This is the most common way a small soot mark turns into a larger smudge, since moisture bonds loose soot particles to the wall surface instead of lifting them.
- Scrubbing hard in circles. This spreads carbon outward and can burnish paint, creating a shiny or lighter patch that’s more noticeable than the original soot.
- Using an all-purpose cleaner right away. Many all-purpose cleaners are meant for grease and grime, not fine carbon residue, and applying one before a dry pass can drive soot into textured drywall or paint pores.
- Skipping the finish check. Treating flat paint the same way you’d treat semi-gloss is a common reason a wall ends up with a dull spot where the soot used to be.
When Cleaning Isn’t Enough
If soot has left a stain that won’t lift after a careful dry-then-damp attempt, or if the wall shows a permanent shadow, a touch-up with matching paint is usually a better outcome than continued scrubbing. Repeated wet cleaning on the same spot tends to wear the paint’s sheen unevenly, which can be more visible than the original soot mark once the wall dries.
Preventing Candle Soot Buildup on Walls
Soot forms when a candle burns with an uneven or flickering flame, often from a wick that’s too long, a draft near the flame, or a candle burning too close to a wall. Trimming the wick to about a quarter inch before each burn and keeping candles at least a foot from walls and shelves can reduce the amount of soot that settles nearby. Placing candles away from air vents, fans, or drafty windows also helps the flame burn more steadily, which produces less visible soot over time.
Everything Mentioned Above
Before you leave, grab the tools you need to get the job done right the first time:
*As an Amazon Associate, TidyFormula earns from qualifying purchases.