How to Clean Mold inside Bath Toys
The best way to clean mold inside bath toys is to flush the inside cavity with a diluted bleach-and-water solution (if the toy’s material allows bleach), let it sit briefly, then rinse thoroughly and squeeze out every drop of water before drying. For toys that can’t be rinsed clean internally, replacement is often the safer choice.
Squeaky bath toys and rubber ducks are the usual troublemakers because water gets pulled in through the squeak hole every time a child squeezes them in the tub, and that trapped water rarely dries between uses.
⚡ The TidyFormula™ Quick Decision
Best approach: For sealed plastic bath toys with a squeak hole, flush the inside with a diluted bleach solution (only if the toy’s material allows it), squeeze it in and out repeatedly, let it sit briefly, then rinse thoroughly and press out all liquid.
Use caution with: foam bath toys, painted or coated surfaces, and any toy without a clear way to fully rinse the inside cavity.
Stop and reassess if: mold returns within days, black staining won’t rinse out, the plastic feels brittle or cracked, or you can’t get water out of the toy afterward — at that point, replacing it is more practical than continued cleaning.
What I Use For This Job
Using the right tools saves time and protects your belongings. Here are my exact recommendations:
*As an Amazon Associate, TidyFormula earns from qualifying purchases.
Why Bath Toys Grow Mold Inside
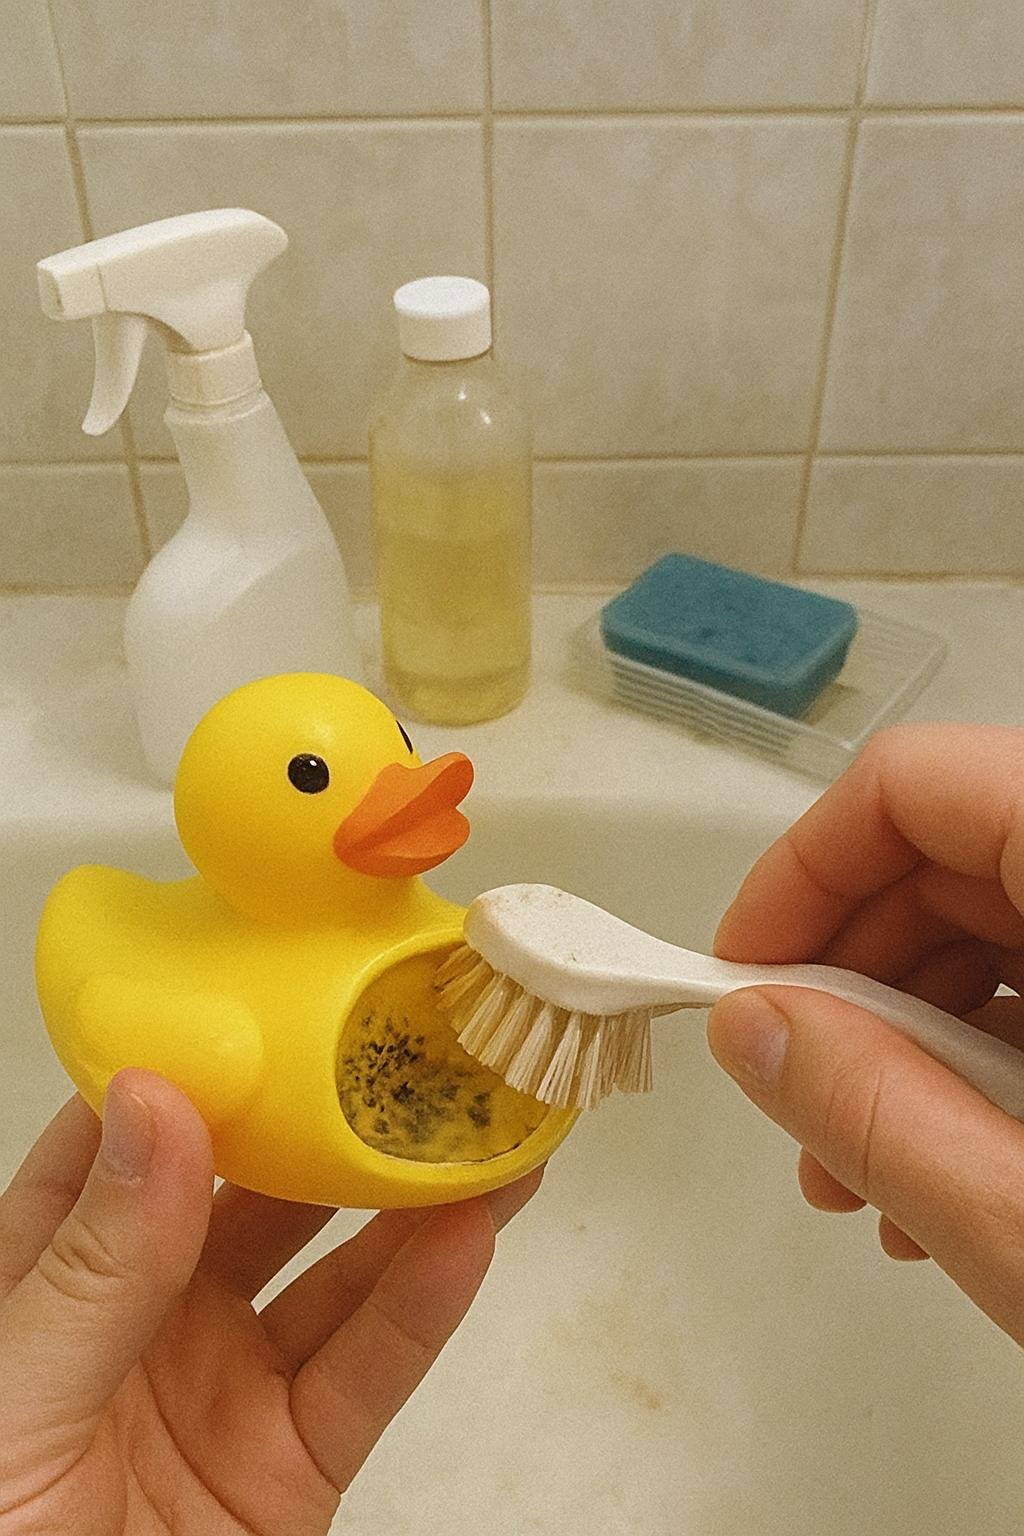
Most squirting and squeaky bath toys have a small hole that lets water in and out as the toy is squeezed. That same hole makes it nearly impossible to see or reach the inside, so water sits in the dark, warm cavity for days at a time. Mold and mildew can develop under those conditions, and you often won’t notice until dark flecks or a musty smell come out of the hole during bath time.
Check the Toy Before You Choose a Method
Not every bath toy should be treated the same way, and the construction matters more than the mold itself.
- Sealed hard plastic toys with a squeak hole (rubber ducks, squirt animals) can usually tolerate an internal rinse with a mild diluted cleaning solution, since the surface is nonporous.
- Foam bath toys absorb water into the material itself. Once mold sets in, it’s very difficult to flush it out completely, and soaking foam longer often makes the problem worse, not better.
- Painted or decorated toys may lose color or coating if soaked or scrubbed aggressively, so gentler handling and shorter contact time matter.
- Toys without any interior access point can’t be meaningfully cleaned on the inside at all. If mold is trapped and there’s no way to flush or drain it, cleaning the outside won’t solve the actual problem.
If you’re not sure what a toy is made of, check for a care label, molded text on the underside, or manufacturer information before applying any cleaner.
Cleaning Mold Inside a Sealed Squeeze Toy
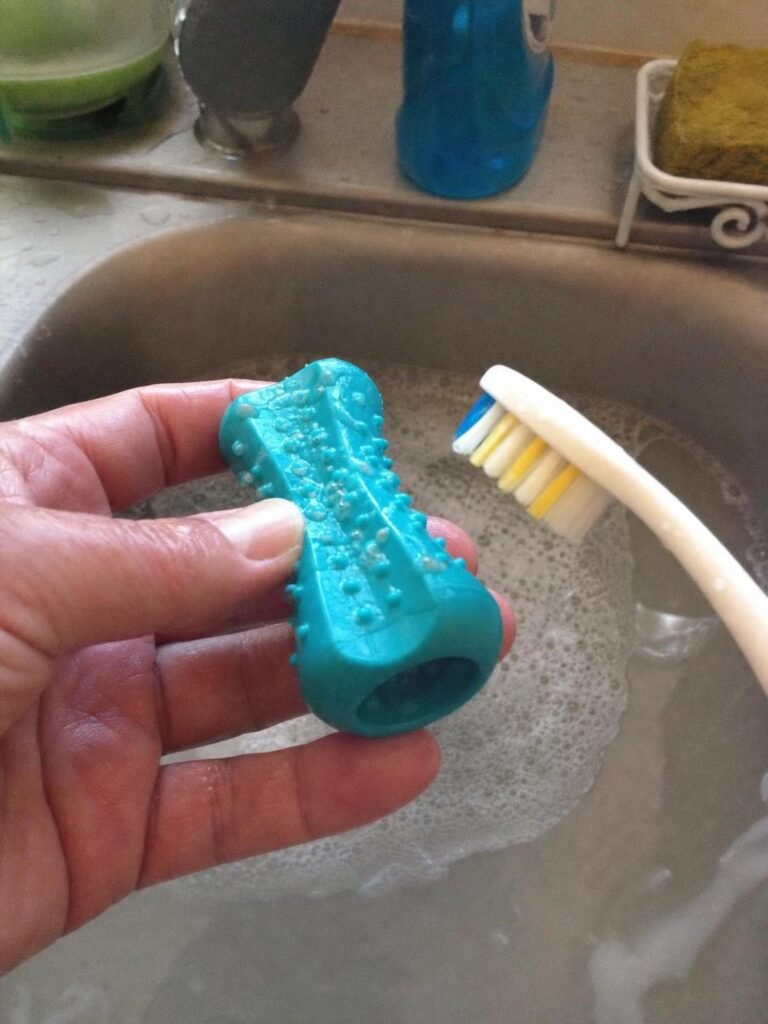
This method works for hard plastic toys with a squeak hole and no manufacturer restriction against bleach or water submersion.
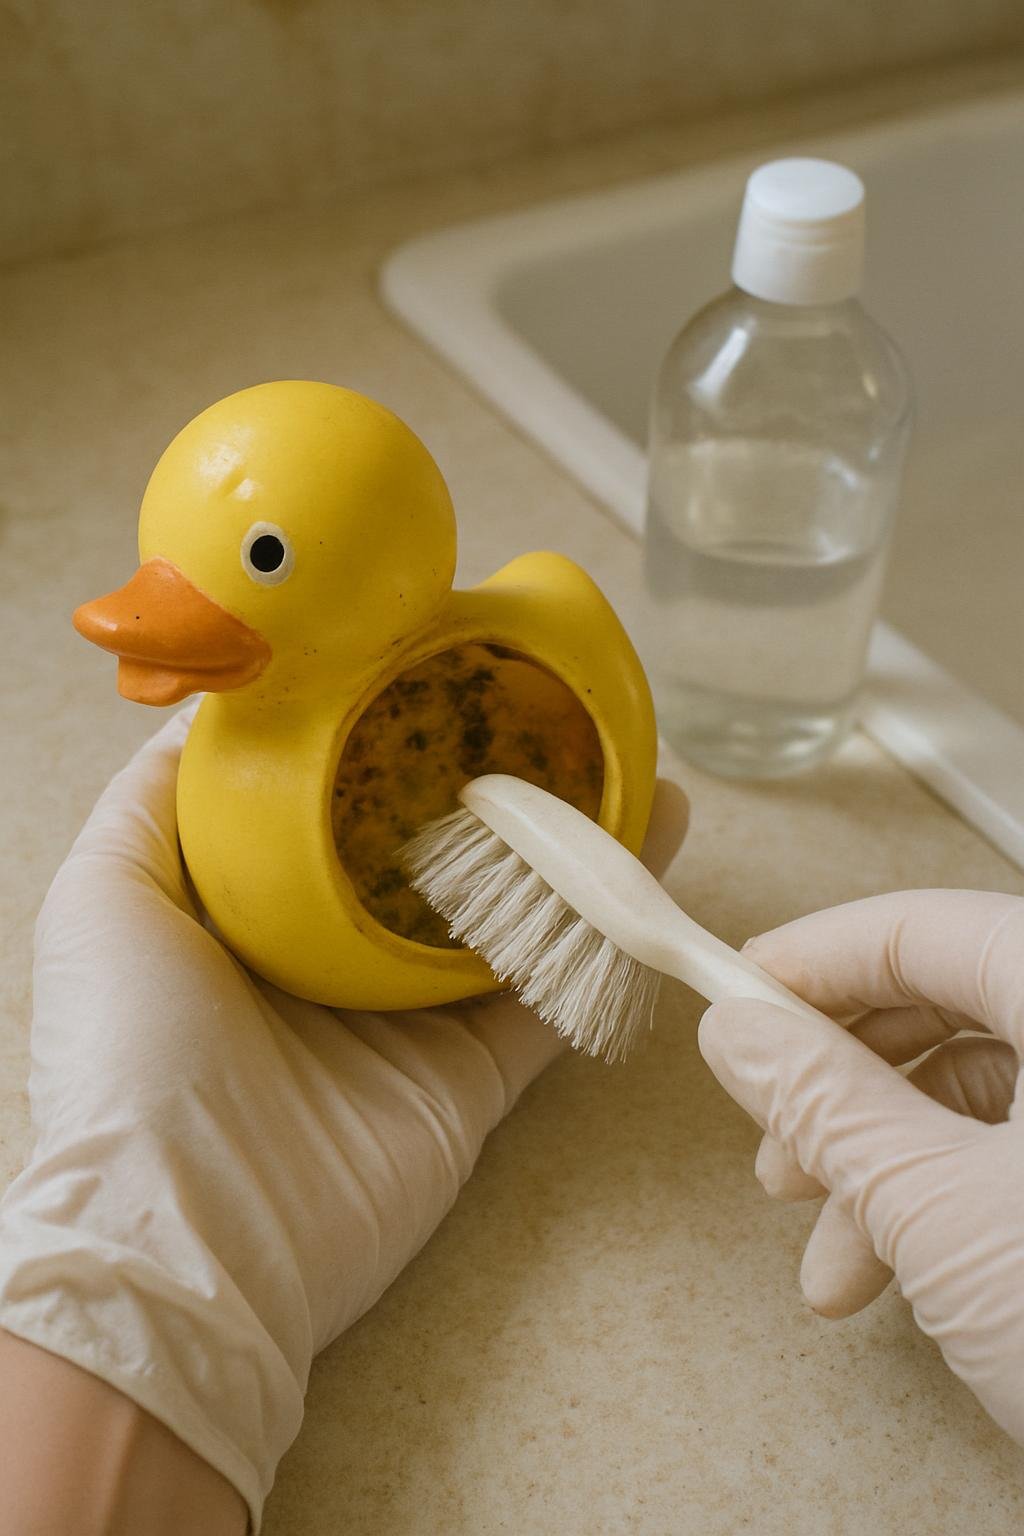
- Squeeze the toy underwater to force out as much old trapped water as possible before you start.
- Mix a mild diluted bleach solution in a small bowl or cup, following the ratio on the bleach product label rather than guessing. Never combine bleach with vinegar, ammonia, or any other cleaning product.
- Use a small syringe, turkey baster, or the toy’s own squeeze action to draw the solution into the cavity through the hole.
- Squeeze the toy repeatedly underwater in the solution so the liquid moves through the inside rather than sitting still in one spot.
- Let it sit for a few minutes in a well-ventilated area, since bleach fumes build up faster in a small closed bathroom.
- Rinse the inside thoroughly by squeezing clean water in and out several times until no cleaner smell remains.
- Squeeze out every bit of water you can, then set the toy hole-down on a towel so gravity helps pull out any remaining moisture.
If a toy’s packaging or manufacturer instructions specifically warn against bleach or submersion, follow that guidance instead of this method.
Cleaning Mold on Foam and Softer Bath Toys
Foam toys don’t respond well to internal flushing because the material soaks up whatever you put into it, cleaner included. For light surface mold on foam, a soft cloth dampened with a mild soap solution and a light wipe is usually the safer approach. Avoid soaking foam toys or applying bleach directly, since trapped moisture and residue inside the foam can be harder to remove than the mold itself. If mold has spread through the foam rather than sitting on the surface, cleaning is unlikely to fully resolve it.
Mistakes That Make Mold Worse
- Cleaning only the outside. Wiping the exterior of a squeak toy does nothing for mold living inside the cavity, and the smell or staining will keep coming back.
- Not rinsing thoroughly after using bleach. Leftover residue inside the toy can leach out during bath time if it isn’t fully flushed and rinsed.
- Storing toys wet. Setting a damp toy in a closed toy bin or bath basket recreates the same dark, moist conditions that caused the mold in the first place.
- Mixing cleaning products to “boost” the result. Combining bleach with vinegar or other cleaners doesn’t clean better and can create a genuinely dangerous reaction. Use one product at a time.
How Often to Clean Bath Toys to Prevent Mold
Squeaky and squirting bath toys generally benefit from an internal rinse and squeeze-dry roughly once a week if they’re used regularly, since water gets drawn in almost every bath. Toys without an internal cavity, like solid rubber or hard plastic shapes, mainly need a quick wipe-down and thorough drying between uses rather than deep internal cleaning. If you notice a musty smell coming from a toy sooner than that, clean it right away rather than waiting for a set schedule.
Drying and Storage After Cleaning
Getting water out is just as important as the cleaning step itself. After rinsing, squeeze the toy repeatedly while it’s out of the water to push out trapped liquid, then rest it hole-down on a towel or drying rack so gravity keeps pulling moisture out over the next hour or two. Store bath toys somewhere they can air out between uses instead of a sealed bin or closed basket, since airflow does more to prevent regrowth than any single cleaning session. Keeping the tub itself free of soap film and residue also helps, and a resource like this guide to cleaning a bathtub and grout without scrubbing covers a lower-effort way to keep that surface from reintroducing grime to freshly cleaned toys.
When Cleaning Isn’t Enough
Some toys reach a point where cleaning is no longer practical. If mold keeps returning within a few days of cleaning, if staining is dark and won’t rinse out from the inside, or if the plastic has become brittle, cracked, or discolored throughout, replacing the toy is generally the more sensible choice. Toys with no way to access or rinse the interior fall into the same category, since trapped moisture there can’t be reliably addressed no matter how the outside is cleaned.
Everything Mentioned Above
Before you leave, grab the tools you need to get the job done right the first time:
*As an Amazon Associate, TidyFormula earns from qualifying purchases.