How to Clean Ears Without Q Tip: The Safe “Lipid-Liquefaction” Guide
Hello, TidyFormula readers. As the Lead Researcher here, I understand the allure of the Q-tip. There is a distinct, almost primal satisfaction in scrubbing that itch. But purely from a mechanical engineering standpoint, inserting a blunt cotton piston into a cylindrical canal (your ear) is counter-productive. Instead of extraction, you often achieve compression—packing the wax tighter against the delicate tympanic membrane.
If you are frantically searching for how to clean ears without Q tip, we need to move away from mechanical scrubbing and embrace fluid dynamics. Today, I’m teaching you the “Lipid-Liquefaction Protocol”—a method relying on chemistry to soften the wax and hydraulic pressure to safely remove it.
⚡ The TidyFormula™ Quick Answer
The Recommendation: Dissolve the wax bond with oil, then flush gently with warm water using a bulb syringe.
- The Mix: Mineral Oil (or Baby Oil) + Warm Water.
- Time: 15–30 Minutes (mostly waiting time).
- Effectiveness: High (safest for canal health).
The TidyFormula Tools: What You Need
To perform this correctly, we need the right tools. Don’t worry, you likely have them under your bathroom sink.
Mineral Oil or Baby Oil: High purity is best. (Olive oil works in a pinch, but mineral oil is more inert and shelf-stable).
⭐ TidyFormula's Top PicksWhat I Use For This Job
Using the right tools saves time and protects your belongings. Here are my exact recommendations:
✓ Grout Scrub Brush Set Check Price ➔ ✓ Pumice Cleaning Stone Check Price ➔ ✓ The Pink Stuff Paste Check Price ➔*As an Amazon Associate, TidyFormula earns from qualifying purchases.
A Bulb Syringe: Available at any pharmacy for a few dollars.
A Clean Towel.
Warm Water: Must be body temperature.
The “Lipid-Liquefaction” Protocol (Step-by-Step)
Why do we call it this? Because earwax (cerumen) isn’t dirt; it’s a mixture of shed skin cells and secretions from glands that are high in fatty acids and cholesterol (lipids). To move it, we must first lower its viscosity.
Step 1: The Softening Phase
First, we need to break the structural integrity of the wax plug. If the wax is hard and dry, water alone won’t move it.
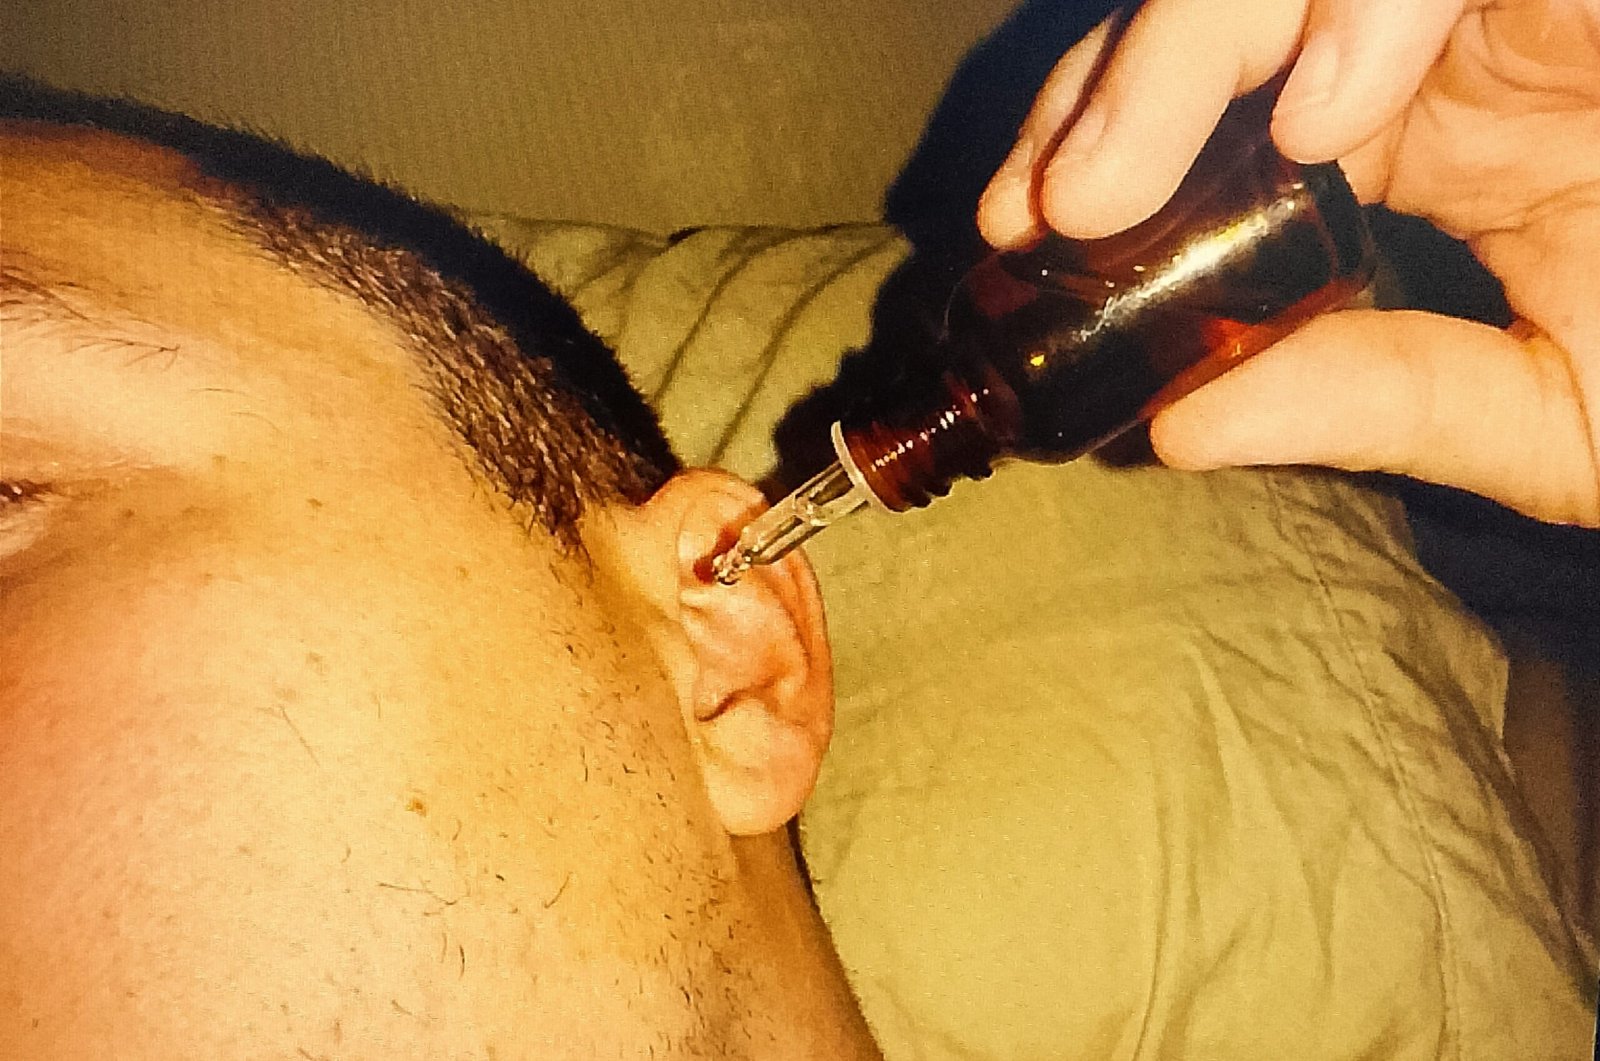
Instructions:
Lie on your side with the affected ear facing the ceiling.
Place 2–3 drops of mineral oil into the ear.
Massage the tragus (that little flap of cartilage at the front of your ear opening). This mechanical agitation helps the oil coat the canal evenly.
Wait 15–30 minutes. Read a book. Let the chemistry happen.
Step 2: The Temperature Check (Critical)
Before we irrigate, we must ensure the water is roughly 98°F (37°C). This is not just for comfort; it is a neurological necessity.
Instructions:
Fill your bulb syringe with warm water.
Test it on your wrist.
Scientist’s Note: Cold water in the ear triggers the caloric reflex, causing the fluid in your inner ear to move, which tricks your brain into thinking you are spinning. This causes instant, severe dizziness (vertigo). Do not skip this check.
Step 3: The Hydraulic Flush
Now we use fluid dynamics to displace the wax.
Instructions:
Head to the sink or shower. Tilt your head so the oiled ear is facing down.
Pull your outer ear up and back to straighten the canal.
Place the tip of the syringe at the entrance (do not insert deeply).
Squeeze the bulb gently. Aim the stream of water upwards and backwards against the canal wall.
The Physics: You want the water to travel behind the wax plug and push it out, rather than hammering it further in.
Repeat 3–5 times until the water runs clear or wax clumps fall out.
🧪 The Science: Why It Works
Mechanism of Action: Earwax is hydrophobic (it repels water). If you try to flush hard wax with just water, it’s like trying to wash a greasy pan without soap—the water just beads up. The mineral oil acts as a non-polar solvent that permeates the wax matrix, reducing its adhesiveness to the skin cells in the canal. The subsequent water flush uses hydraulic pressure to displace the loosened mass, allowing it to exit the ear rather than compacting it like a Q-tip would.
Comparison: TidyFormula vs. Q-Tips
Here is how our method stacks up against the “cotton bud” habit using clear metrics.
💡 Practical Pro-Tips from the Lab
Don’t Overdo It: Your ears need some wax. It contains lysozymes, an enzyme that breaks down bacterial cell walls. It is your ear’s natural antibiotic. Cleaning too perfectly leaves you prone to infection (“Swimmer’s Ear”).
The Shower Wipe: For daily maintenance, just use a damp washcloth wrapped around your pinky finger to wipe the concha (the bowl of the ear). If your pinky doesn’t fit, don’t force it. That is the limit of where you should clean.
🙋 Frequently Asked Questions
❓ Q: Can I use Hydrogen Peroxide instead of Mineral Oil?
A: Yes, you can. Hydrogen peroxide works via effervescence (foaming). When it hits the wax, it releases oxygen bubbles that mechanically break apart debris. However, chemically, peroxide can be drying to the sensitive skin of the canal. I prefer mineral oil for its lubricating properties, which is gentler for regular maintenance.
📅 Q: How often should I clean my ears this way?
A: For most people, the ear is self-cleaning via “epithelial migration” (skin cells growing outward like a conveyor belt). You should only need to perform this deep flush routine once a month, or only when you feel buildup affecting your hearing.
🚫 Q: Is ear candling a good alternative to Q-tips?
A: Scientifically? No. Tests have shown that the vacuum pressure created by candles is insufficient to pull wax out. Furthermore, we frequently see injuries from hot wax dripping into the ear or burns to the face. It creates a fire hazard without solving the hygiene problem.
Everything Mentioned Above
Before you leave, grab the tools you need to get the job done right the first time:
*As an Amazon Associate, TidyFormula earns from qualifying purchases.