How to Remove Mold from Silicone Sealant
To remove mold from silicone sealant, start by washing the area with mild dish soap and water, then use a soft brush and a cleaner labeled for bathroom mold or mildew if discoloration remains. The main limitation is that dark growth or staining beneath, behind, or inside failing sealant usually will not clean out; the sealant needs replacement.
Shower corners, tub edges, and sink seams stay damp longer than the surrounding surface, so discoloration often returns when moisture remains trapped along the bead or behind loose edges.
⚡ The TidyFormula™ Quick Decision
Best approach: Clean intact silicone sealant with mild soap first, then use a soft brush and a product labeled for use on bathroom surfaces if needed.
Use caution with: Avoid harsh scraping, abrasive pads, and unapproved cleaners that can scratch, discolor, or weaken the sealant.
Replace instead of cleaning if: The sealant is cracked, loose, peeling, shrunken, soft, or darkened underneath the surface.
What I Use For This Job
Using the right tools saves time and protects your belongings. Here are my exact recommendations:
*As an Amazon Associate, TidyFormula earns from qualifying purchases.
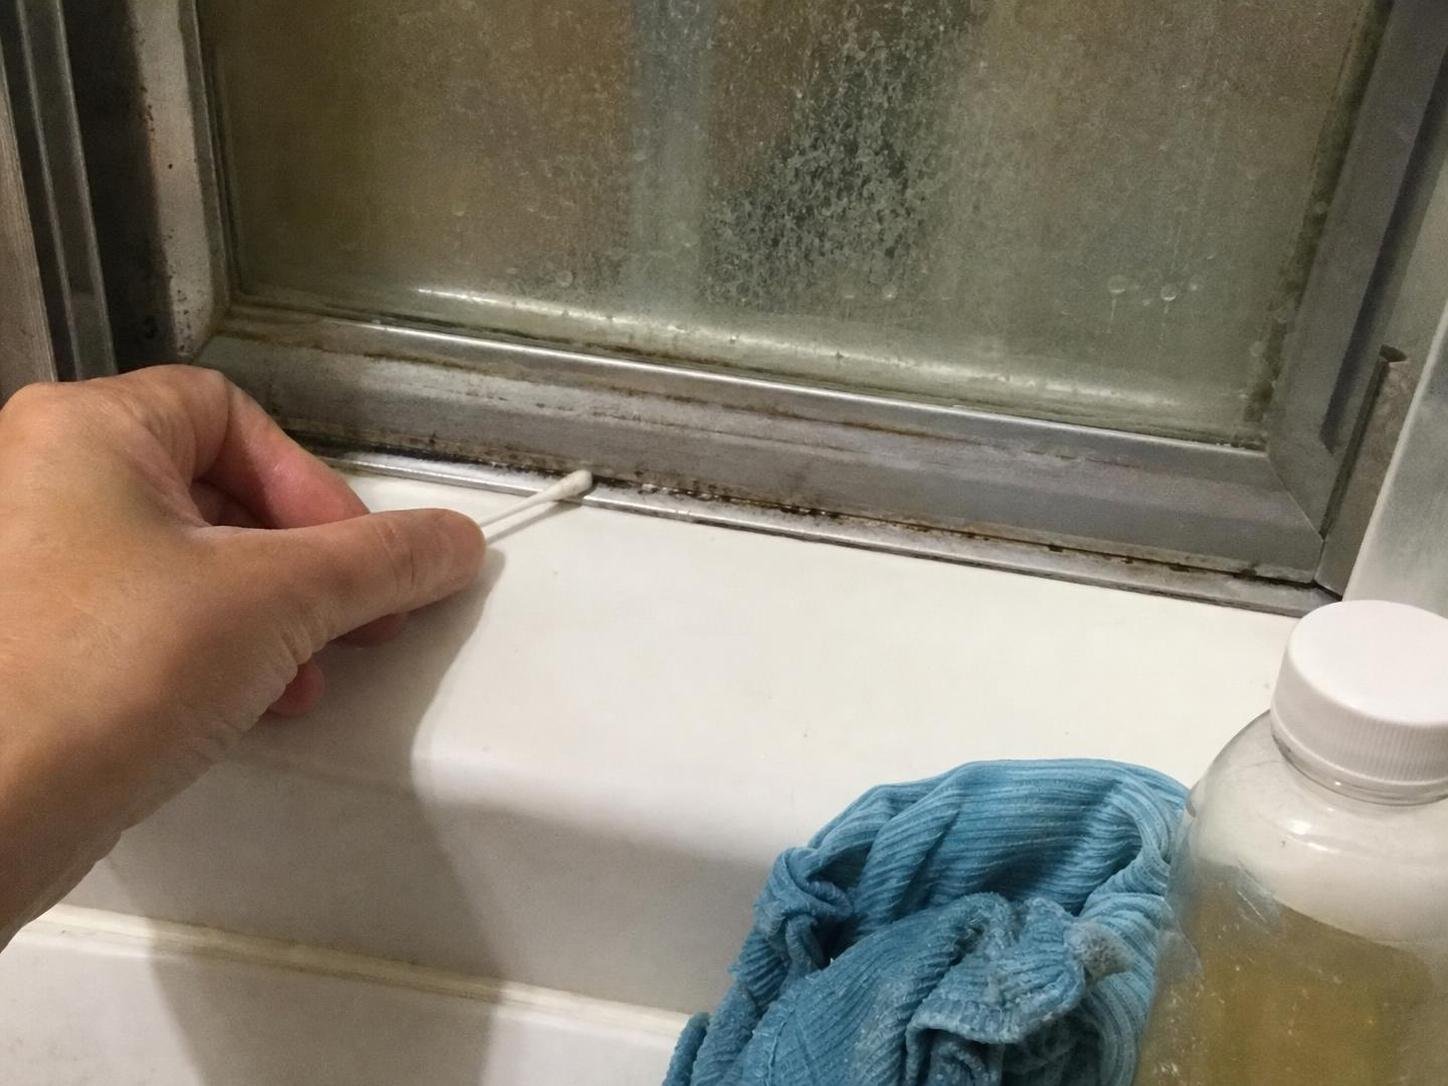
Check whether the sealant can be cleaned
Surface discoloration on firm, well-bonded silicone can often be improved with careful cleaning. If the silicone is failing or the dark area appears to be behind the bead, cleaning the surface may only improve its appearance temporarily.
- Clean it if the sealant feels smooth, flexible, firmly attached, and the discoloration is on the exposed surface.
- Plan to replace it if there are gaps at the wall or tub, lifted edges, cracks, missing sections, or persistent dark staining within the sealant.
- Check whether the material is actually silicone. Some older caulk is acrylic or latex-based and may have different manufacturer care instructions.
- Test any bathroom cleaner in a small, less noticeable area first, especially on colored sealant, natural stone, painted trim, or nearby metal fixtures.
What you need
You do not need aggressive tools to clean silicone sealant. A soft brush and controlled moisture are usually the best place to start.
- Warm water
- Mild dish soap
- A soft nylon cleaning brush or old soft toothbrush
- Clean microfiber cloths or paper towels
- A bathroom cleaner labeled for the surface and problem, if soap alone does not improve the staining
- Gloves and ventilation required by the cleaner’s current product label
Avoid steel wool, pumice, stiff wire brushes, razor blades, and highly abrasive scrubbers. They can scratch the silicone and create rough spots that are harder to keep clean. Do not mix cleaners, and never combine bleach with vinegar, ammonia, acids, alcohol, or another cleaning product.
Clean the silicone sealant without damaging it
Use the least aggressive method that removes the surface residue. Begin with soap and gentle brushing, then move to a labeled cleaner only if needed.
- Ventilate the room and remove loose moisture. Open a window or run the bathroom exhaust fan if available. Wipe away standing water, shampoo residue, and loose grime so you can see the actual condition of the sealant.
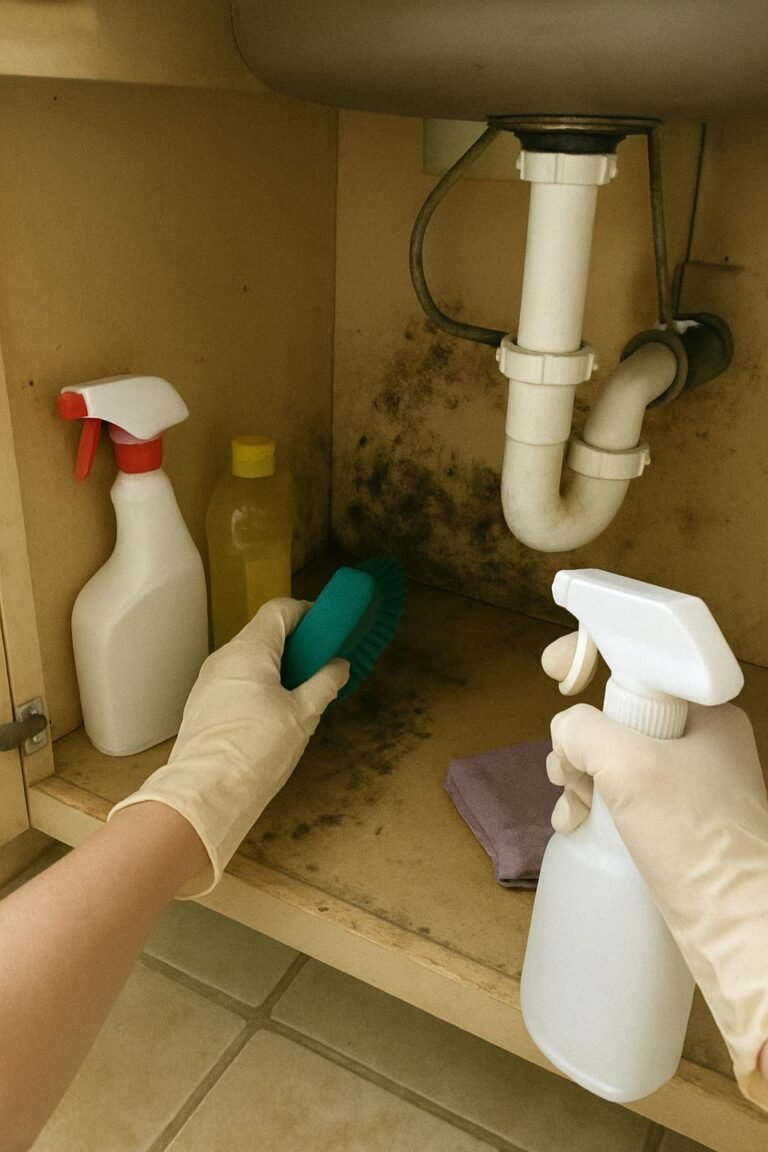
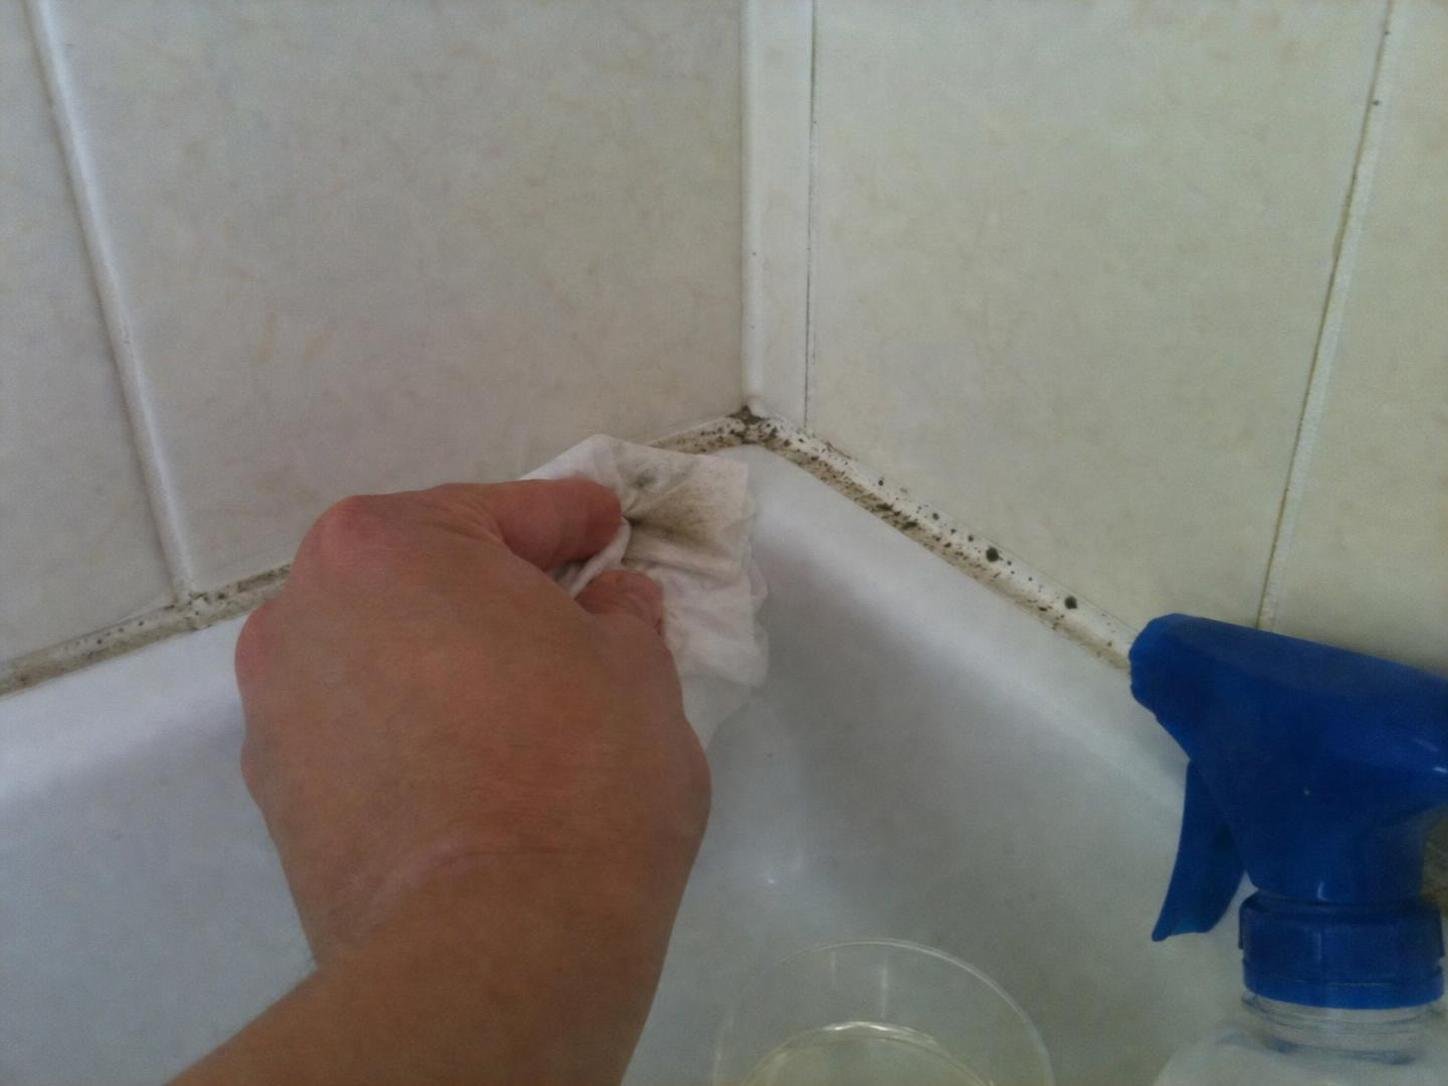
- Wash with mild soap and warm water. Dampen a cloth or soft brush with soapy water. Clean along the full sealant bead, including corners and the narrow edge where the sealant meets tile, glass, or the tub.
- Brush gently rather than scrubbing hard. Work in small sections with light pressure. Focus on lifting visible residue from the surface instead of grinding the brush into the sealant. Rinse the brush often so removed grime is not spread along the seam.
- Rinse away soap residue. Wipe the area with a separate cloth dampened with clean water. Leftover soap film can make the sealant look dull and may collect more bathroom residue.
- Use a labeled bathroom cleaner only for remaining discoloration. If dark spotting remains on intact silicone, follow the current product label exactly, including ventilation, protective equipment, application method, and rinsing directions. Keep the cleaner on the sealant and avoid allowing it to sit on nearby materials that the label does not list as suitable.
- Wipe and dry the seam completely. Use a clean, dry cloth to remove moisture from the sealant bead and surrounding edges. Leave the area open to airflow before using the shower, tub, or sink again.
🧪 Why This Works
Soap and gentle brushing remove the body oils, soap residue, and surface buildup that can hold discoloration against silicone. Using a soft tool protects the smooth sealant surface, while thorough drying removes the moisture that commonly collects along bathroom seams.
When dark marks mean the sealant should be replaced
Cleaning cannot repair deteriorated sealant or reach staining that has developed behind it. Replacement is usually the more practical choice once the bead no longer forms a continuous, well-adhered seal.
| What you see | Best next step |
|---|---|
| Light surface spotting on smooth, intact silicone | Clean with soap, a soft brush, and a suitable labeled bathroom cleaner if needed. |
| Dark staining that remains after careful cleaning but the bead is intact | Decide whether the appearance is acceptable, or replace the sealant for a cleaner-looking finish. |
| Dark areas beneath the sealant or along a lifted edge | Remove and replace the failed sealant rather than repeatedly applying cleaner to the surface. |
| Cracks, gaps, shrinkage, peeling, or soft sections | Replace the sealant. Cleaning will not restore its ability to seal the joint. |
| Damage to nearby wallboard, flooring, or surrounding material | Pause before resealing and follow the fixture or building manufacturer’s guidance. Hidden moisture damage may need more than a new bead of sealant. |
Common cleaning mistakes to avoid
Most mold from silicone sealant cleaning mistakes come from using too much force, leaving cleaner residue behind, or trying to save a sealant bead that has already failed.
Scrubbing with an abrasive pad
Rough pads can leave silicone dull or scratched. If the bead starts to look fuzzy, rough, or visibly damaged, stop scrubbing. Rinse the area, dry it, and switch to a soft nylon brush or cloth.
Using several cleaners in the same session
Layering products does not necessarily improve results and can create unwanted chemical exposure. Use one cleaner at a time, follow its label, rinse thoroughly if directed, and allow the area to dry before trying another approach on a different day.
Ignoring lifted edges and gaps
Cleaner may brighten the exposed surface, but it cannot restore adhesion. If water can get behind the sealant, replacement is the better repair. Continuing to scrub a loose bead can make it detach further.
Leaving the shower or tub wet after cleaning
Moisture left in corners and along horizontal seams encourages recurring discoloration. After bathing, wipe the sealant line and nearby tile or tub edge dry, especially in areas where water collects.
Keep silicone sealant drier between cleanings
The best way to prevent recurring mold on silicone sealant is to reduce the moisture that sits on and around the bead. You do not need to deep-clean it every day, but regular drying makes a noticeable difference in problem corners.
- Run the bathroom exhaust fan during bathing and afterward, following the fan manufacturer’s instructions.
- Open the shower door or curtain after use so the enclosure can air out.
- Use a squeegee or dry cloth on tile, glass, and the tub edge where water normally settles.
- Wipe shampoo bottles, bath mats, and other items that trap moisture against the shower wall or tub rim.
- Inspect sealant periodically for gaps, cracks, and lifting before a small failure becomes a larger repair.
If other stored household items have developed visible mold or a musty odor, use material-specific guidance rather than applying bathroom-sealant methods to them. For example, cleaning mold off luggage requires more caution around fabric linings, zippers, and glued components.
Frequently Asked Questions
Can you use bleach on silicone sealant?
Use bleach only if the current product label says it is suitable for the surface and you can follow all label directions. It may affect color or nearby finishes, and it should never be mixed with any other cleaner. If you are unsure, choose a bathroom cleaner specifically labeled for the intended surface or replace badly stained sealant.
Why does black staining come back on shower sealant?
It may return because the area stays damp, residue remains on the surface, or the sealant is no longer fully bonded. If cleaning helps only briefly and the discoloration appears inside or behind the bead, replacement is usually more effective than repeated cleaning.
Can baking soda damage silicone sealant?
A gentle paste may be less harsh than some abrasive cleaners, but gritty particles can still leave residue or encourage unnecessary scrubbing. Mild soap, a soft brush, and a suitable labeled bathroom cleaner are more predictable choices for finished silicone sealant.
For intact silicone, start with mild soap, a soft brush, and careful drying rather than aggressive scrubbing. If dark staining is trapped beneath the surface or the bead has cracks and gaps, replace the sealant and keep the repaired seam as dry and well-ventilated as practical.
Everything Mentioned Above
Before you leave, grab the tools you need to get the job done right the first time:
*As an Amazon Associate, TidyFormula earns from qualifying purchases.