How to Clean a Fabric Recliner
To clean a fabric recliner without damage, vacuum it first, then use the care tag to choose a low-moisture upholstery cleaner or a lightly damp cloth method. The safest approach is to work in small sections, blot rather than scrub, and keep liquid away from the reclining mechanism, seams, and thick padding.
Recliners are harder to clean than a flat cushion because crumbs, dust, and spills collect in creases, under the footrest, and around moving parts. Too much water can also soak into the padding and leave the chair slow to dry.
⚡ The TidyFormula™ Quick Decision
Best approach: Vacuum thoroughly, then spot-clean with a cleaner that matches the recliner’s upholstery care code and use as little moisture as possible.
Use caution with: Water-sensitive fabric, unknown upholstery codes, dark dyes, loose seams, and areas near the reclining mechanism or electrical controls.
Replace instead of cleaning if: The padding remains damp or strongly odorous after repeated drying attempts, the fabric is crumbling, or the mechanism has been exposed to a large amount of liquid.
What I Use For This Job
Using the right tools saves time and protects your belongings. Here are my exact recommendations:
*As an Amazon Associate, TidyFormula earns from qualifying purchases.
Check the upholstery label before using any cleaner
The tag beneath the seat cushion, under the recliner, or along a side seam gives the best starting point. Upholstery codes are not identical across every manufacturer, so follow the chair maker’s instructions if they are more specific.
- W: Usually indicates a water-based upholstery cleaner may be suitable.
- S: Usually indicates a solvent-based upholstery cleaner only. Avoid water-based methods unless the manufacturer says otherwise.
- WS or W/S: Usually allows either water-based or solvent-based upholstery cleaning products, but testing first still matters.
- X: Usually means vacuuming or professional cleaning only. Do not apply household cleaner or water to the fabric.
If the label is missing, faded, or unclear, treat the recliner as water-sensitive until you can confirm its material. Start with vacuuming and dry methods rather than applying a cleaner you cannot verify.
Gather simple supplies and prepare the recliner
Preparation prevents most fabric recliner cleaning mistakes. Remove loose dirt before applying any cleaner, because rubbing damp grime into the upholstery can leave darker marks.
- A vacuum with an upholstery brush and crevice tool
- Clean white microfiber cloths or soft white cotton cloths
- A soft upholstery brush, if the fabric has a durable woven texture
- An upholstery cleaner appropriate for the care code
- A small bowl of clean water for lightly damp wiping, only if the care label permits water
- A fan or open windows to improve airflow while the recliner dries
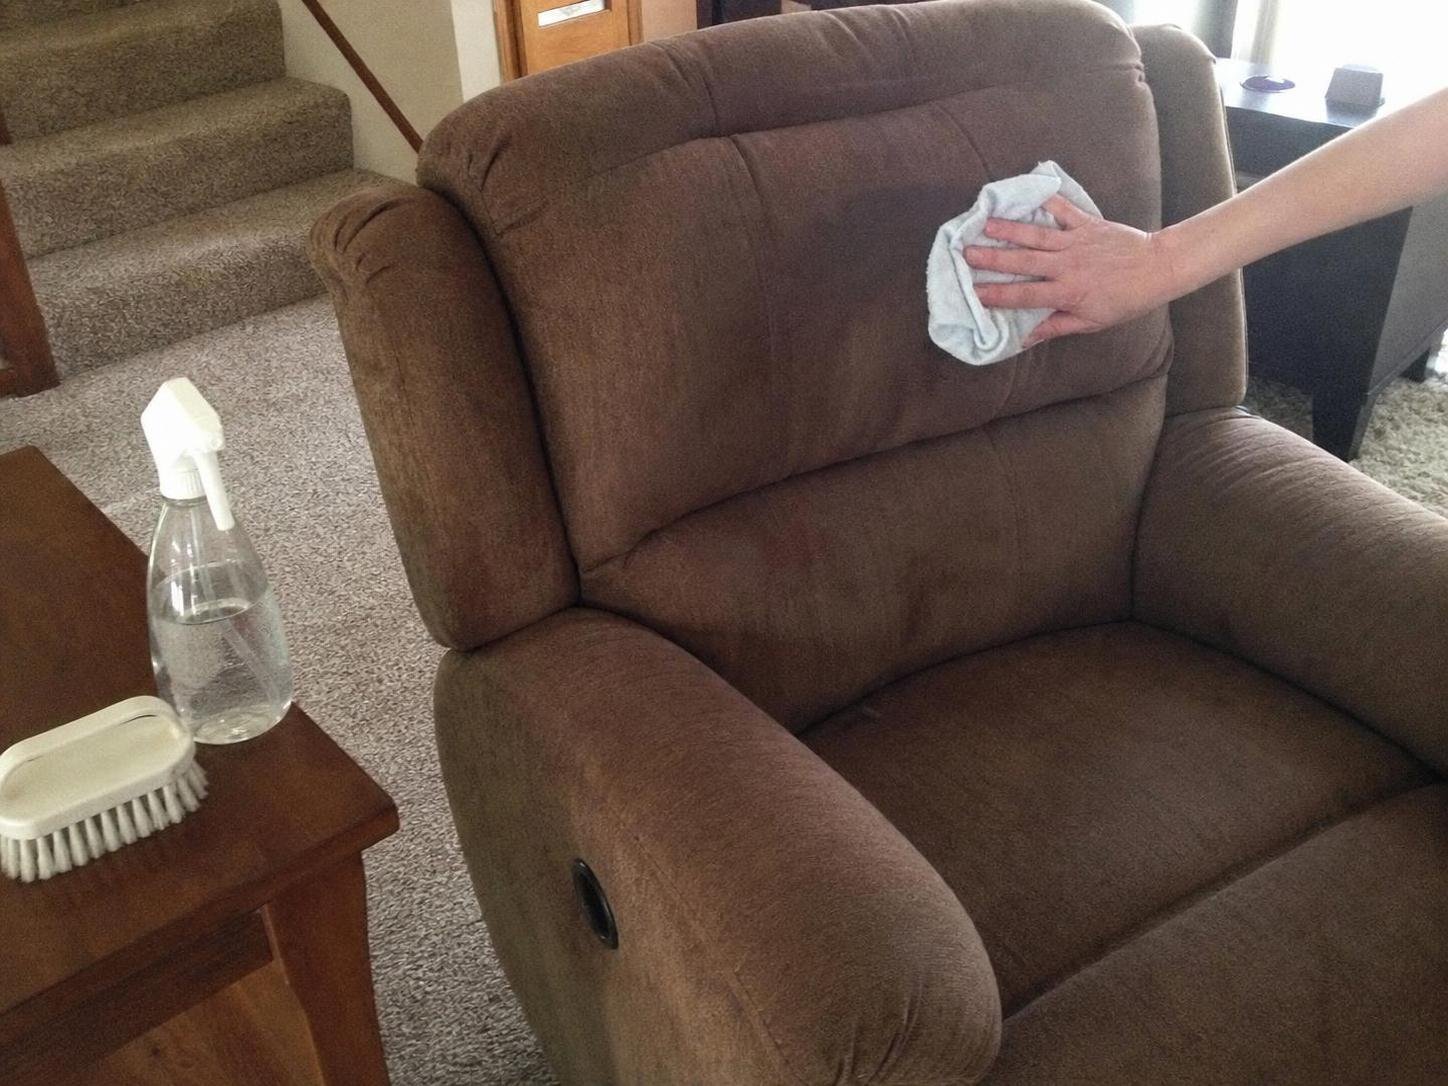
Unplug a powered recliner before cleaning near switches, cords, USB ports, or control panels. Do not spray cleaner directly onto the chair. Apply it to a cloth instead, especially near the side controls and under the seat.
How to clean the fabric safely
Use a low-moisture, section-by-section method. It removes ordinary soil while reducing the chance of wet padding, water rings, and moisture reaching the reclining hardware.
- Vacuum every fabric surface. Use the upholstery attachment across the arms, back, seat, headrest, and outer sides. Use the crevice tool along cushion edges, beneath the footrest, and around the hinge areas. Do not force the nozzle into seams or snag loose threads.
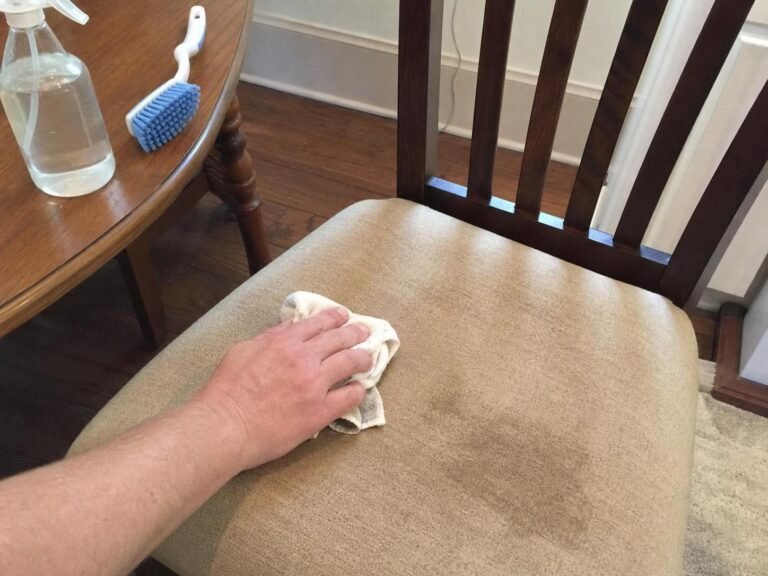
- Test the cleaner in a hidden area. Dampen a white cloth with the chosen upholstery cleaner and blot a concealed spot, such as the lower back edge. Let the area dry fully before proceeding. Stop if the color transfers heavily, the fabric changes texture, or a ring appears.
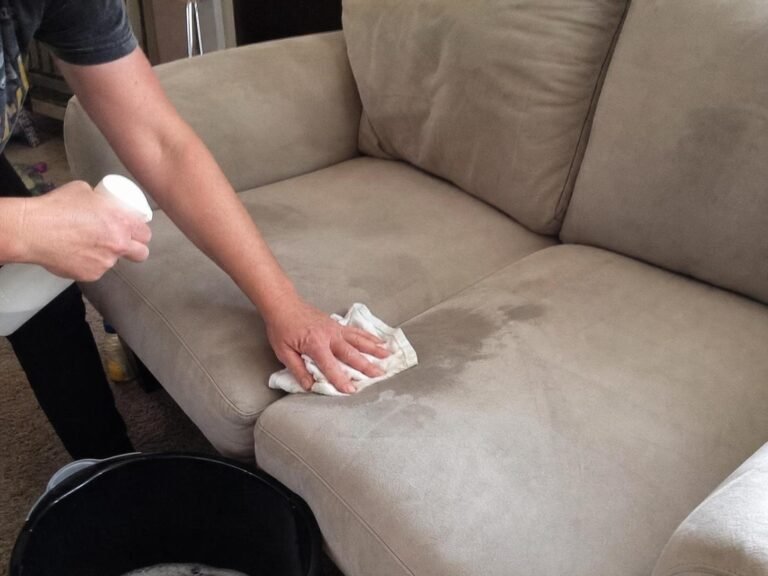
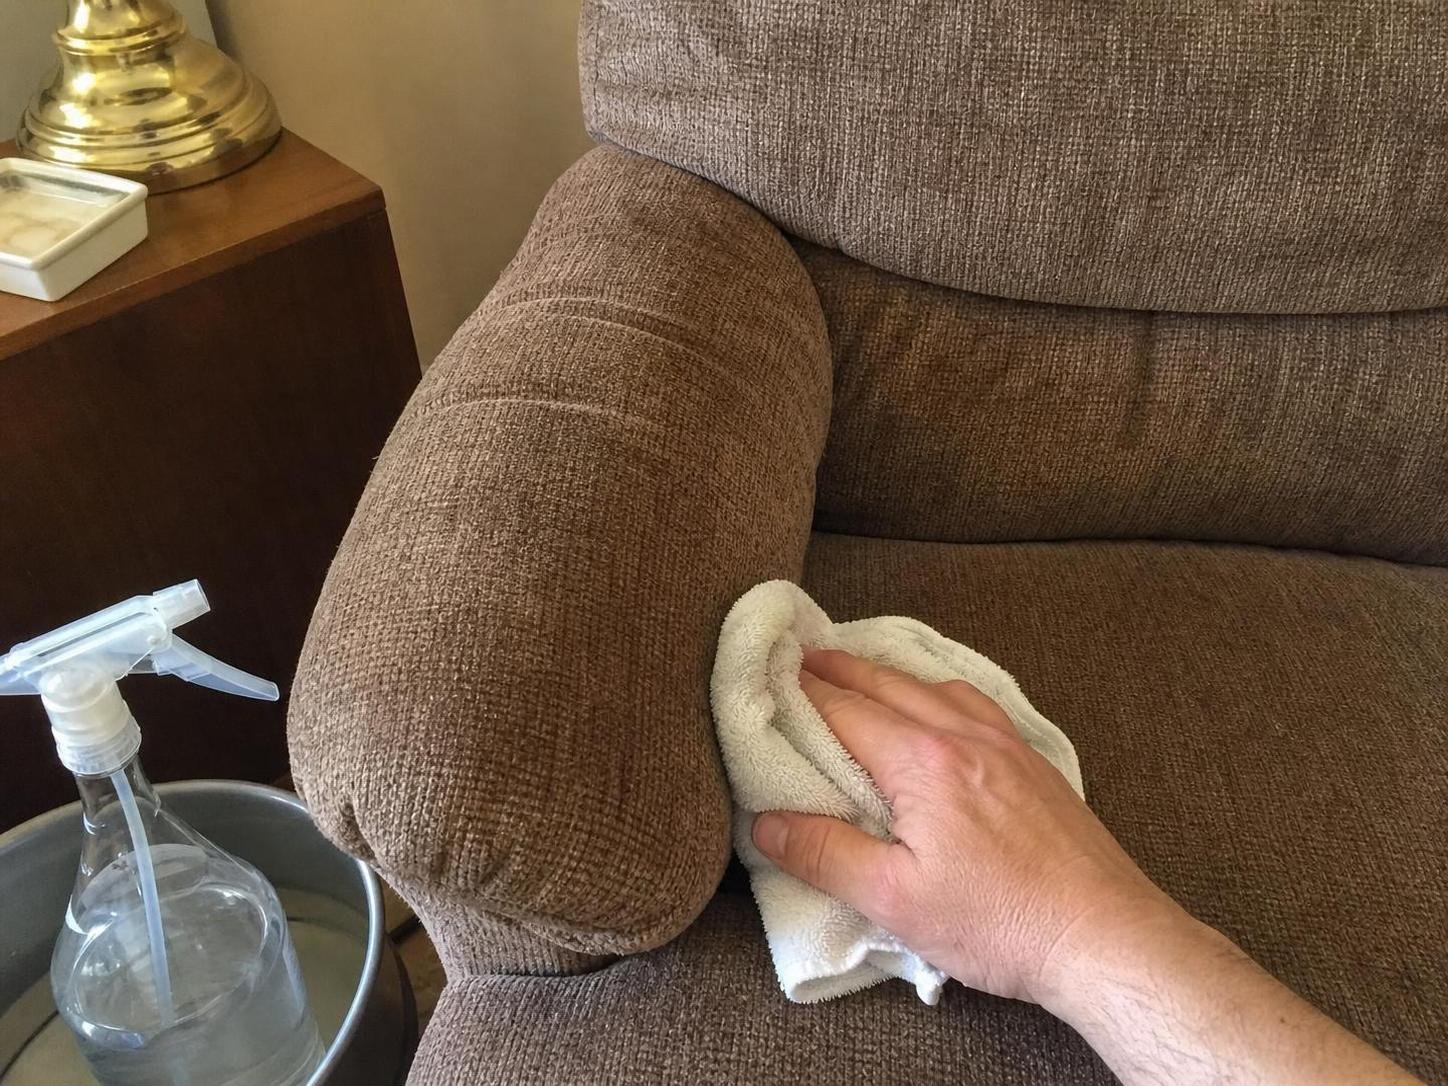
- Clean one small panel at a time. Put a small amount of cleaner on a cloth, not directly on the recliner. Blot and gently wipe in the direction of the fabric weave. For textured upholstery, use a soft brush only if the fabric is sturdy and the care label does not prohibit it.
- Focus on contact areas. Arms, headrests, seat fronts, and footrests usually hold the most body oils and surface soil. Use several light passes instead of saturating one area during a single pass.
- Remove cleaner residue. If the product label calls for rinsing or wiping, use a separate cloth that is only lightly damp. Blot afterward with a dry towel. Residue can make fabric feel stiff or attract fresh dust.
- Clean the gaps without soaking them. Wipe around seams, under the footrest edge, and beside the reclining controls with a nearly dry cloth. Keep cleaner out of moving joints, springs, cables, and powered components.
- Allow the chair to dry fully before using it. Leave the footrest open if possible and use normal room airflow or a fan. Avoid hair dryers, space heaters, and strong direct heat, which may affect fabric, foam, adhesives, or finishes.
🧪 Why This Works
Vacuuming removes dry debris before moisture turns it into a smeared residue. Applying cleaner to a cloth gives you better control over how much reaches the upholstery, while blotting lifts soil with less friction than aggressive scrubbing. Limiting moisture is especially important because recliner padding and internal layers can hold water long after the fabric surface feels dry.
Adjust the method for stains and fabric condition
A full deep clean is not always necessary. For a fresh spill, blotting promptly may be enough. For a noticeable stain or dull, grimy armrest, use the same low-moisture method but repeat only where needed.
| Situation | Best approach |
|---|---|
| Dust, crumbs, pet hair, or light surface soil | Vacuum thoroughly, including seams and under the footrest. Use a lint roller only for surface hair that the vacuum leaves behind. |
| Fresh drink or food spill | Blot immediately with a dry white cloth. Then use a care-code-compatible cleaner only if a mark remains. |
| Small stain on W or WS upholstery | Test first, then clean in small sections with a water-based upholstery product used according to its label. |
| Unknown fabric code or X-coded upholstery | Vacuum and dry-brush gently if appropriate. Avoid wet cleaning and seek manufacturer or professional guidance for visible stains. |
| Large spill that reached the cushion or mechanism | Blot as much as possible, improve airflow, and avoid reclining the chair until it is fully dry. Consider professional help if liquid entered the internal structure. |
For routine light soil on water-safe upholstery, a low-moisture foam approach can be easier to control than a wet cloth. The same principle is used in the dry suds method for dirty fabric luggage: work with minimal moisture, lift soil gradually, and avoid soaking padded fabric.
Common problems after cleaning and how to correct them
The fabric feels stiff or looks slightly dull
This often points to cleaner residue or uneven brushing. Lightly wipe the area with a clean, barely damp cloth only if the care code permits water, then blot dry. Once fully dry, gently brush the fabric in one direction with a soft upholstery brush.
A water ring appeared around the cleaned spot
A ring can happen when one small area becomes much wetter than the surrounding fabric. If the upholstery is water-safe, lightly and evenly blend the edge of the cleaned area with a barely damp cloth, then blot the entire section dry. Do not keep adding water if the mark worsens.
The stain spread or became darker
Stop rubbing. The fabric may be too wet, the cleaner may not suit the upholstery, or soil may be spreading through the weave. Blot with a dry white cloth and allow the area to dry completely before deciding whether to try a different manufacturer-approved product.
The recliner smells damp after cleaning
Open the footrest, leave cushions uncovered if they are removable, and improve airflow around the chair. Avoid covering or sitting on it until it is dry. If the odor persists after thorough drying, moisture may be trapped in the padding or internal structure, and additional wet cleaning is unlikely to help.
The reclining action feels rough after a spill
Do not apply lubricant, cleaner, or water to the mechanism unless the manufacturer specifically instructs you to do so. Let the chair dry fully and inspect for visible fabric caught in the moving parts. For powered recliners, keep the chair unplugged and contact the manufacturer or a repair service if controls or movement remain affected.
Cleaning methods to avoid on a fabric recliner
The best way to clean a fabric recliner is usually controlled and low-moisture, not aggressive. Avoid methods that create more risk than benefit.
- Do not soak the upholstery. Saturated foam and padding can stay damp internally, distort the cushion shape, and leave odors behind.
- Do not use a carpet cleaner or steam machine unless the manufacturer specifically permits it. Heat and heavy moisture may be unsuitable for upholstery backing, foam, adhesive, and recliner mechanisms.
- Do not scrub with a stiff brush. Hard scrubbing can roughen fibers, flatten pile, and create a noticeably lighter patch.
- Do not use bleach, ammonia, or unapproved household cleaners. These products may discolor fabric or leave residue. Never mix cleaning products.
- Do not spray into seams, buttons, controls, or moving joints. Liquid can travel farther into the chair than the visible fabric suggests.
Keep the recliner cleaner between deeper cleanings
Vacuuming the recliner every week or two is usually more useful than waiting for the fabric to look dirty. Pay attention to armrests, headrests, and the gap between the seat and footrest, where dust and crumbs build up quickly.
Blot spills as soon as possible, use washable throws if the chair gets frequent use, and avoid eating messy foods directly over textured upholstery. If the recliner has removable cushion covers, follow their individual care labels rather than assuming they can be machine-washed.
Frequently Asked Questions
Can you use dish soap to clean a fabric recliner?
Only use a soap solution if the recliner’s care label allows water-based cleaning and the manufacturer does not advise against it. A dedicated upholstery cleaner that matches the care code is the safer choice because it is intended for fabric surfaces. Use any cleaner sparingly and test it first.
How often should you clean a fabric recliner?
Vacuum it regularly, especially if it collects pet hair, crumbs, or dust. Spot-clean spills promptly. A more thorough fabric cleaning is usually needed only when the upholstery looks dull, feels grimy, has visible spots, or has accumulated residue from frequent use.
Can you remove the seat cushion to clean underneath?
If the cushion is designed to lift out easily, remove it carefully and vacuum beneath it. Do not pull on attached cushions, fabric tabs, or reclining hardware. Take note of how any removable cushion fits before putting it back.
What should you do if the fabric color rubs onto the cleaning cloth?
Stop cleaning that area. Color transfer can mean the dye is unstable or the cleaner is too strong for the fabric. Let the test area dry, avoid further wet cleaning, and consult the recliner manufacturer or an upholstery-cleaning professional if the stain still needs attention.
For most fabric recliners, careful vacuuming and a care-code-compatible, low-moisture spot-cleaning method are the safest choices. Keep cleaner away from the mechanism, blot rather than scrub, and give the padding plenty of airflow before using the chair again.
Everything Mentioned Above
Before you leave, grab the tools you need to get the job done right the first time:
*As an Amazon Associate, TidyFormula earns from qualifying purchases.