How to Clean Dining Chair Cushions
The best way to clean dining chair cushions is to remove crumbs first, then blot stains with a lightly damp cloth and a fabric-safe cleaner or mild soap solution. Avoid soaking the cushion, especially if it has foam filling, glued seams, or a nonremovable cover. Always check the care label and test a hidden spot first.
Dining chair cushions collect food drips, hand oils, pet hair, and everyday dust. Most only need careful surface cleaning, not deep washing. Using too much liquid is the mistake most likely to leave water marks, stiff fabric, trapped moisture, or a lingering odor.
⚡ The TidyFormula™ Quick Decision
Best approach: Vacuum or brush away dry debris, then blot the fabric with a barely damp cloth and a cleaner approved for the cushion material.
Use caution with: Foam-filled, tufted, glued, vintage, silk-like, velvet, or nonremovable cushions, which can be damaged by saturation or aggressive scrubbing.
Replace instead of cleaning if: The filling is crumbling, the cushion cannot dry fully, seams are separating, or staining and odor remain deep in the padding after careful cleaning.
What I Use For This Job
Using the right tools saves time and protects your belongings. Here are my exact recommendations:
*As an Amazon Associate, TidyFormula earns from qualifying purchases.

Check the cushion before you start
Dining chair cushions are not all made the same. A removable cotton cover may tolerate more cleaning than a fixed upholstered seat with foam underneath. Look for a care tag, manufacturer instructions, zipper, loose seams, buttons, and any signs that the cushion is attached with glue or staples.
- Removable, machine-washable cover: Follow the cover’s care label rather than treating the entire cushion as washable.
- Fixed upholstered cushion: Use low moisture and clean the fabric surface without wetting the padding underneath.
- Foam-filled cushion: Blot carefully and avoid soaking. Wet foam can hold moisture well below the fabric surface.
- Vinyl or faux leather cushion: Wipe with a soft damp cloth and dry promptly. Avoid abrasive pads and strong solvents.
- Velvet, linen, wool, silk-like, or vintage fabric: Use the gentlest method possible and consider professional upholstery cleaning for large stains.
If there is no care label, treat the cushion as delicate. Test your cleaner on an inconspicuous area, such as the back edge or under a removable tie, and let that spot dry before cleaning a visible section.
What you need for routine cushion cleaning
You do not need a long list of products. The goal is to lift surface soil and spot-clean stains without leaving excess moisture or cleaner behind.
- A vacuum with an upholstery attachment, or a soft brush for crumbs and dust
- Two or three clean white microfiber cloths
- A bowl of cool or lukewarm water
- A small amount of mild dish soap, if the fabric care instructions allow water-based cleaning
- A fabric-safe upholstery cleaner, if recommended by the cushion manufacturer or care label
- A soft-bristled upholstery brush for textured fabric, used lightly
Avoid bleach, ammonia, harsh degreasers, abrasive powders, and solvent-based products unless the current care instructions specifically permit them. Do not combine cleaners. A product that works on a hard kitchen surface may discolor upholstery or break down cushion backing.
Clean dining chair cushions with low moisture
The safest general method is dry debris removal followed by controlled blotting. Work in small sections so you can see whether the fabric changes color, becomes overly wet, or starts to feel stiff.
- Remove loose debris. Vacuum the top, sides, seams, piping, buttons, and corners of the cushion. If you do not have a vacuum, use a soft brush and collect loosened crumbs with a dry cloth. Dry debris is easier to remove before moisture turns it into a smear.
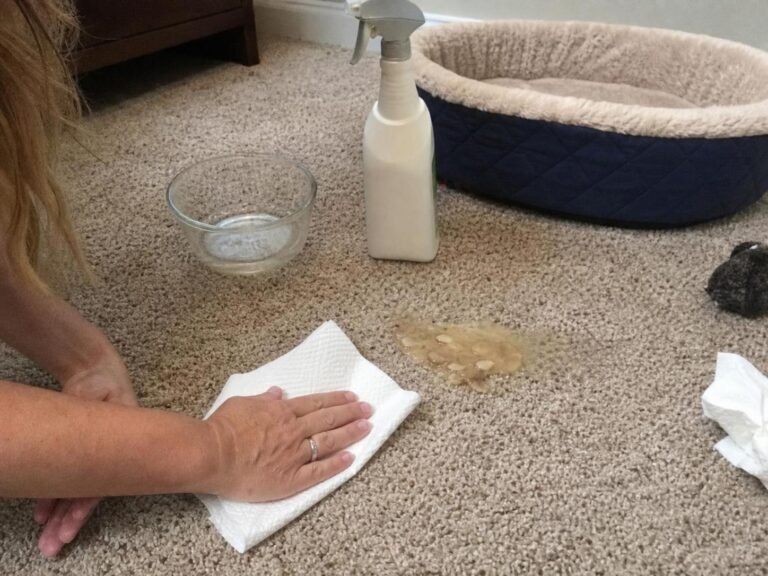
- Blot fresh spills immediately. Press a clean dry cloth onto the spill and lift it straight up. Move to a clean part of the cloth as it absorbs moisture. Do not rub back and forth, because rubbing can spread the spill and push it farther into the fabric.
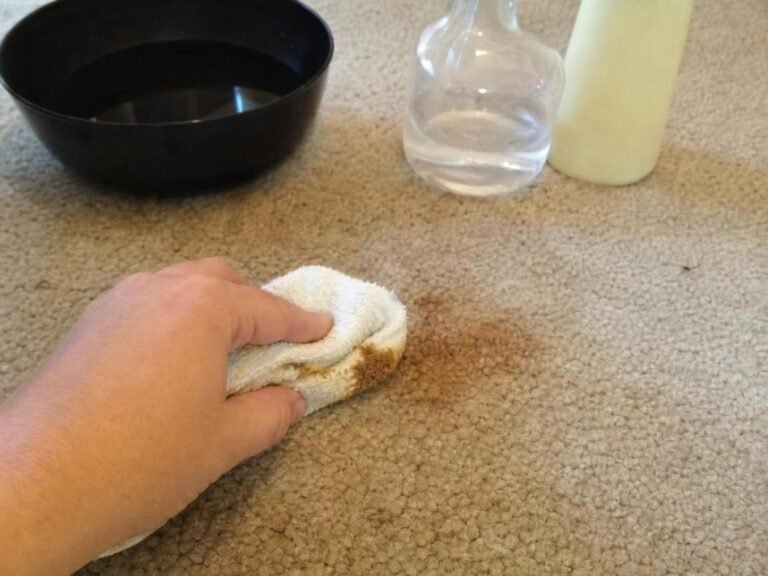
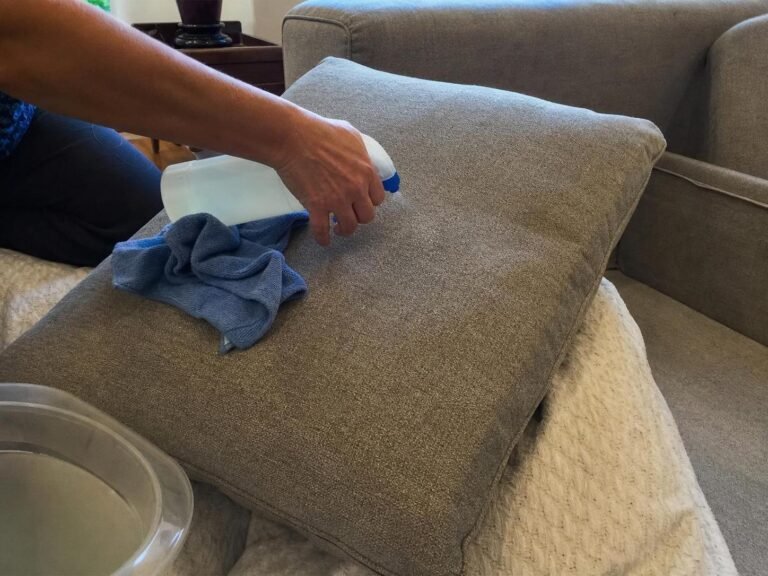
- Prepare a lightly damp cleaning cloth. If the care instructions allow it, add a small amount of mild dish soap to water, then dampen a white microfiber cloth and wring it out very well. The cloth should feel damp, not wet enough to drip. If you are using an upholstery cleaner, follow its current label directions instead.
- Test first. Dab the hidden test spot with the damp cloth. Stop if color transfers to the cloth, the fabric darkens unevenly, the surface feels rough, or adhesive-backed trim begins to loosen.
- Clean the visible fabric in small areas. Blot or lightly wipe along the fabric grain or weave. For textured upholstery, use a soft brush with very light pressure only if the fabric tolerates it. Avoid scrubbing one small spot repeatedly, which can create a lighter patch or fuzzy texture.
- Remove cleaner residue. Wipe the cleaned area with another cloth that is barely dampened with plain water. This step matters because leftover soap can make fabric feel stiff or attract soil later.
- Blot dry. Press a dry microfiber cloth over the cushion to absorb remaining moisture. Pay extra attention to seams, tufted buttons, and edges where liquid can collect.

🧪 Why This Works
Vacuuming removes dry grit before it can be rubbed into the upholstery. Controlled blotting lifts surface soil while limiting the amount of liquid that reaches the foam, backing, or chair frame. A final light wipe with plain water helps prevent soap residue from drying in the fabric.
Adjust the method for common cushion materials
The right cleaner depends more on the cushion cover and filling than on the chair itself. Use the lowest-moisture method that can address the soil you have.
| Material or cushion type | Preferred approach | What to avoid |
|---|---|---|
| Removable washable fabric cover | Remove the cover if instructions allow, pretreat spots gently, and wash according to the care label. | Washing the foam insert or drying the cover with heat unless the label permits it. |
| Fixed woven upholstery | Vacuum, then use a barely damp cloth with a fabric-safe cleaner or mild soap solution after testing. | Soaking, hard scrubbing, or pouring cleaner directly onto the fabric. |
| Tufted or foam-filled cushion | Use dry cleaning methods first, then minimal spot cleaning and thorough airflow. | Flooding button areas, seams, or the cushion underside. |
| Vinyl or faux leather | Wipe with a soft cloth lightly dampened with water and mild soap if needed, then dry. | Abrasive scrubbers, strong solvents, and leaving moisture in seams. |
| Delicate, vintage, or unknown fabric | Vacuum gently and test any cleaner in a hidden area before treating a stain. | Steam, aggressive brushing, and unverified spot-removal products. |
Handle food stains and greasy marks carefully
Most dining chair stains respond best when you deal with them before they dry. Start by lifting solids with a spoon or dull edge, then blot rather than rub. The goal is to remove the spill without enlarging the damp area.
For a fresh food or drink spill
Blot with a dry cloth first. Follow with the low-moisture cleaning method above if a mark remains. Use plain water for the final wipe so soap does not dry into the upholstery.
For a dried stain
Loosen surface residue with a soft brush or vacuum attachment. Then blot the area with a lightly damp cloth rather than saturating it. Repeat a gentle pass if needed, allowing the fabric to dry between attempts if it starts to look unevenly damp.
For an oily or greasy spot
Do not immediately add a lot of water. First blot any fresh oil with a dry cloth without pressing hard. If the care instructions allow water-based cleaning, use a small amount of mild soap solution on a barely damp cloth, then remove residue with a separate plain-water cloth. Stop if the spot spreads or darkens beyond the original stain.
Common dining chair cushion cleaning mistakes
Most cushion damage comes from excess moisture, harsh friction, or leaving cleaner behind. Correcting the problem early is easier than trying to restore a heavily wet or discolored cushion.
The fabric has a water ring
A water ring can happen when one section dries differently from the surrounding fabric. Lightly dampen the broader panel around the mark with a well-wrung cloth, then blot evenly with a dry cloth. Do not soak the entire cushion. If the mark remains after drying, stop repeated treatment and consider upholstery cleaning advice for that fabric type.
The cushion feels stiff after cleaning
Stiffness usually points to cleaner residue or overworking the fibers. Wipe the area once with a clean cloth barely dampened with plain water, then blot dry. Avoid adding more soap in an attempt to soften the fabric.
The cushion smells damp after cleaning
A damp smell suggests moisture may still be inside the filling or beneath the cover. Move the chair to an area with good airflow, keep the cushion uncovered if possible, and allow more drying time before using it. Do not store or stack cushions while they still feel cool or damp.
Color comes off on the cloth
Stop cleaning immediately if dye transfers to your cloth. Blot the area dry with a clean towel and avoid further wet cleaning. The fabric may not be colorfast, or the finish may be too delicate for the product or method used.
The cushion remains stained after several gentle attempts
Do not keep scrubbing the same area. Repeated friction can wear the fabric and create a visibly lighter patch. A persistent stain may be below the upholstery surface or bonded to the fibers, making professional upholstery care or cushion replacement more practical.
Dry the cushion fully before using the chair
Drying is part of cleaning dining chair cushions, especially those with foam padding. Leave the chair in a well-ventilated room and keep the cushion exposed to moving air. If the cushion is removable, stand it on its edge so both sides can air out, provided doing so does not bend or distort it.
Avoid direct high heat from a hair dryer, radiator, or heater. Heat can shrink some fabrics, affect adhesives, or make foam and vinyl less stable. Drying time varies with fabric thickness, cushion filling, humidity, airflow, and how much moisture entered the seams or padding.
Before putting the chair back into regular use, check the underside, seams, and tufted areas. The cushion should feel dry throughout, not just dry on the top surface. If the chair has removable ties, reattach them only after the fabric and filling are fully dry.
Keep dining chair cushions easier to clean
Vacuuming the cushions during routine dining-area cleaning prevents crumbs and grit from settling into the weave. Address spills promptly, rotate removable cushions occasionally if one chair gets heavier use, and use washable chair pads or slipcovers if the cushions are exposed to frequent food spills.
For everyday care, use the low-moisture method: remove dry debris, blot spills early, test any cleaner, and dry the cushion completely. The safest cleaner for dining chair cushions is the one the care label permits and that you can apply without soaking the fabric or foam underneath.
Everything Mentioned Above
Before you leave, grab the tools you need to get the job done right the first time:
*As an Amazon Associate, TidyFormula earns from qualifying purchases.