Laundry Room Organization for a Small Space
The best laundry room organization for a small space starts with zones, not containers: keep daily supplies within reach, use wall or door space where safe, and move backups elsewhere. Before adding shelves, preserve appliance clearances, access to shutoffs and outlets, and enough lid or door movement for your washer and dryer.
A narrow laundry closet can become crowded quickly because detergent, stain-care supplies, cleaning tools, baskets, and household overflow all compete for the same few shelves.
⚡ The TidyFormula™ Quick Decision
Best approach: Create separate zones for washing, stain care, drying, and household overflow, then organize vertically with shallow, clearly labeled storage.
Use caution with: Adhesive organizers, overloaded shelves, appliance-mounted storage, and anything that blocks hoses, vents, outlets, shutoffs, or machine movement.
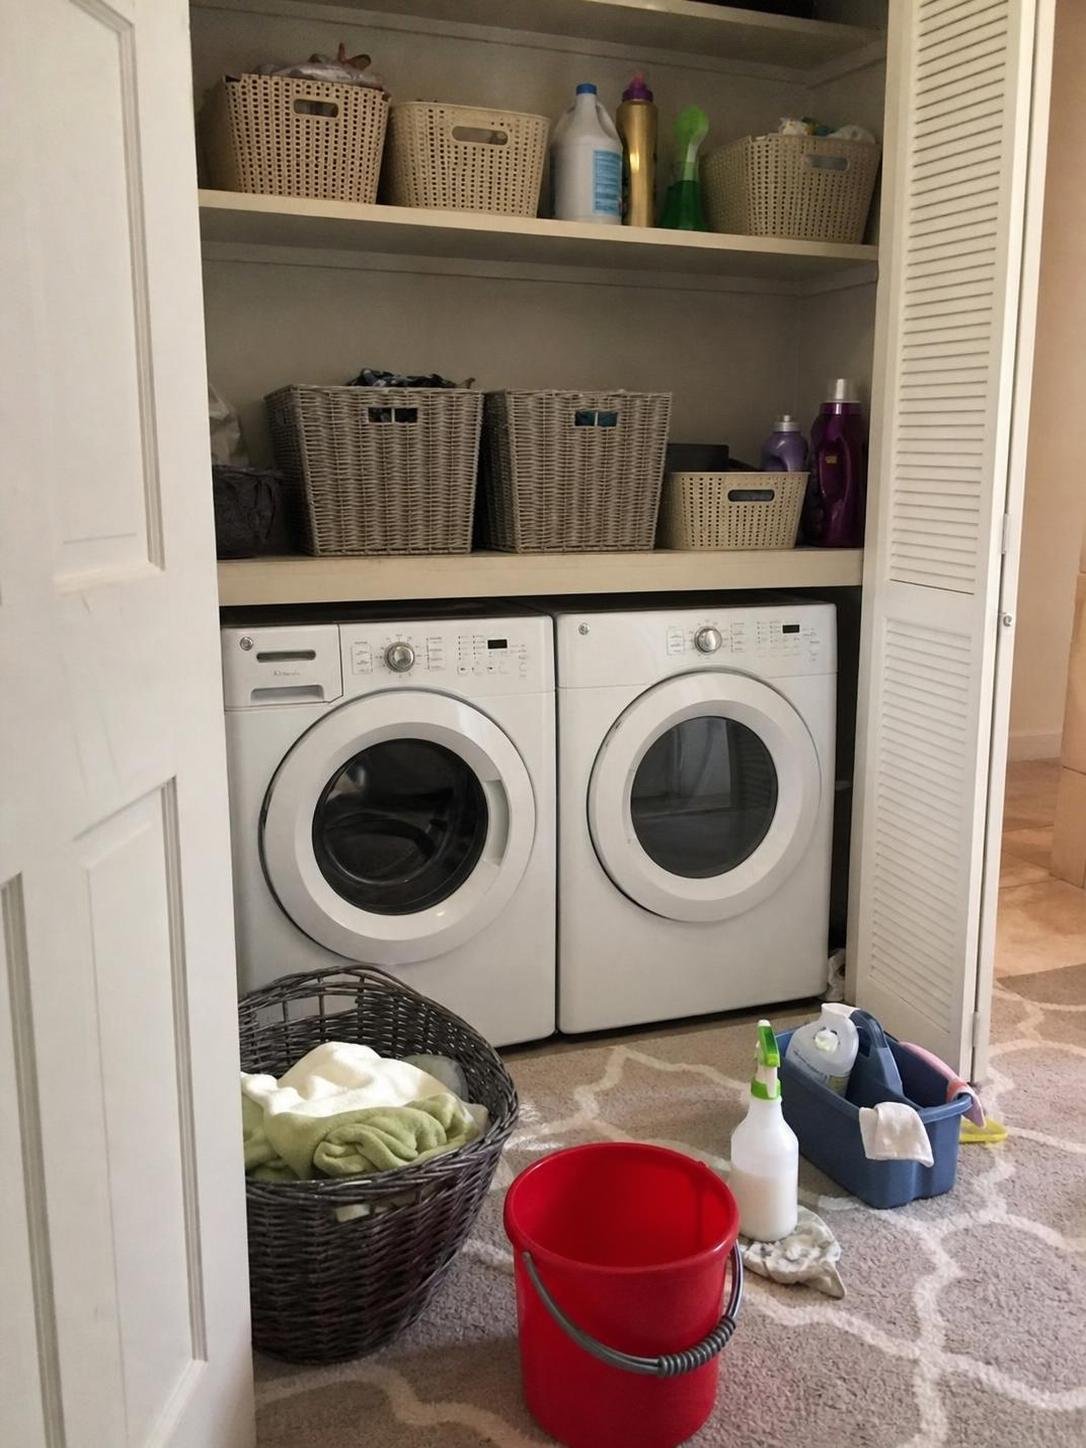
Check the Space Before Buying Organizers
Measure the usable space and identify everything that must remain accessible. A compact organizer is only useful if it doesn’t interfere with the appliances or damage the surrounding surfaces.
What I Use For This Job
Using the right tools saves time and protects your belongings. Here are my exact recommendations:
*As an Amazon Associate, TidyFormula earns from qualifying purchases.
- Measure width, depth, and height: Include the space above and beside each appliance, not just the room dimensions.
- Open every door and lid: A shelf that fits above a closed top-loading washer may block the lid when opened.
- Locate connections: Keep water shutoffs, hoses, drains, outlets, plugs, and dryer connections accessible.
- Check manufacturer clearances: Follow the appliance instructions for ventilation, installation spacing, and allowable items around or on the machine.
- Inspect walls and doors: Note peeling paint, weak drywall, hollow-core doors, uneven tile, and surfaces that may not tolerate adhesive hardware.
- Watch appliance movement: Storage shouldn’t rub against a machine or shift when the washer spins.
If you rent, confirm what drilling or permanent mounting is allowed. Adhesive products aren’t automatically damage-free; they can lift paint, leave residue, or fail in a warm, humid room. Test removable adhesives in an inconspicuous spot and follow their current instructions.
Sort by Use, Not by Product Type
The most practical layout puts frequently used supplies closest to where you need them. Backup products and unrelated cleaning supplies shouldn’t occupy the best shelf simply because they fit there.
Daily washing zone
Keep detergent and other regularly used laundry products within comfortable reach. Use a shallow tray or bin to contain drips, but don’t decant products into unlabeled containers. Retain the original container and current label directions.
Stain-care zone
Group stain-care products, a small brush, and washable cloths in one handled bin. Keeping this category separate prevents small bottles from disappearing behind large detergent containers.
Drying and finishing zone
Store dryer balls, clothespins, garment bags, and similar accessories together. Install a hanging rail only where wet clothing won’t brush walls, block appliance controls, or drip onto electrical connections.
Overflow zone
Move bulk refills, rarely used products, and unrelated household supplies to a higher shelf or another storage area. High shelves are best for lightweight backups, not heavy containers that are difficult to lift safely.
Supplies That Actually Help
You don’t need a matching set of containers. Choose organizers according to the available depth, mounting surface, and weight they must hold.
- A tape measure
- Shallow, wipeable bins or trays
- Labels suitable for the container surface
- A slim rolling cart, if there is enough side clearance
- A wall shelf or track system installed with hardware appropriate for the wall and expected load
- An over-the-door organizer, if the door can still close without rubbing
- A small waste container for lint and empty packaging
- A collapsible or narrow laundry basket
Avoid deep bins on high shelves because you can’t easily see or reach their contents. Open containers are usually better for everyday products; closed containers may be useful for lightweight extras, provided product labels remain visible and storage follows label directions.
A Step-by-Step Method for a Small Laundry Area
Clear and rebuild the room in a deliberate order. This prevents you from organizing around products that don’t belong there and helps protect access to the appliances.
- Remove movable items. Take out bottles, baskets, hangers, tools, and general household clutter. Leave installed appliance components and connections alone unless the manufacturer’s instructions say they can be moved.
- Discard obvious waste. Recycle or dispose of empty packaging as locally appropriate. For unwanted or damaged laundry products, follow the product label and local disposal requirements rather than pouring products together or transferring them into another container.
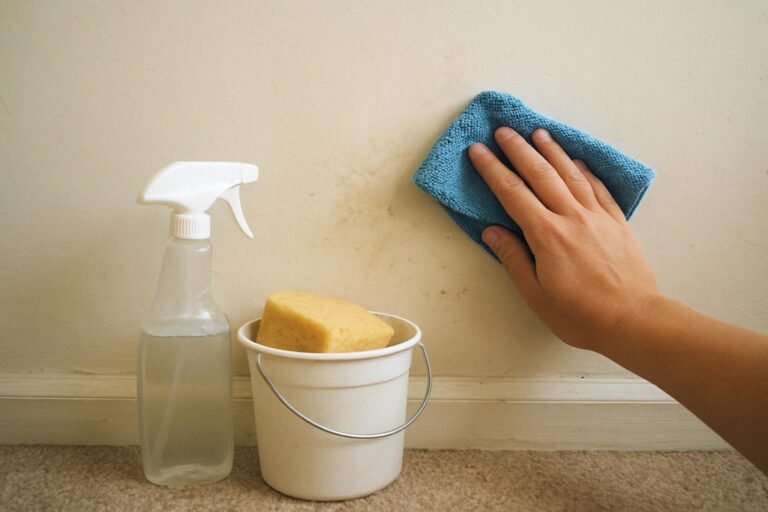
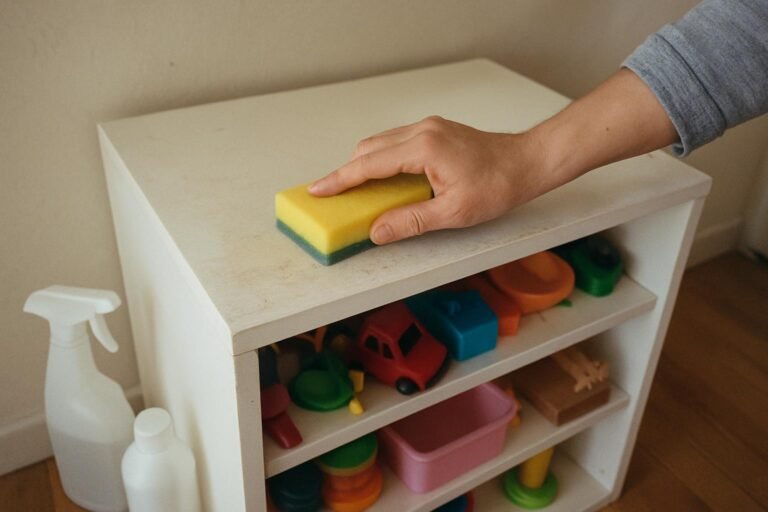
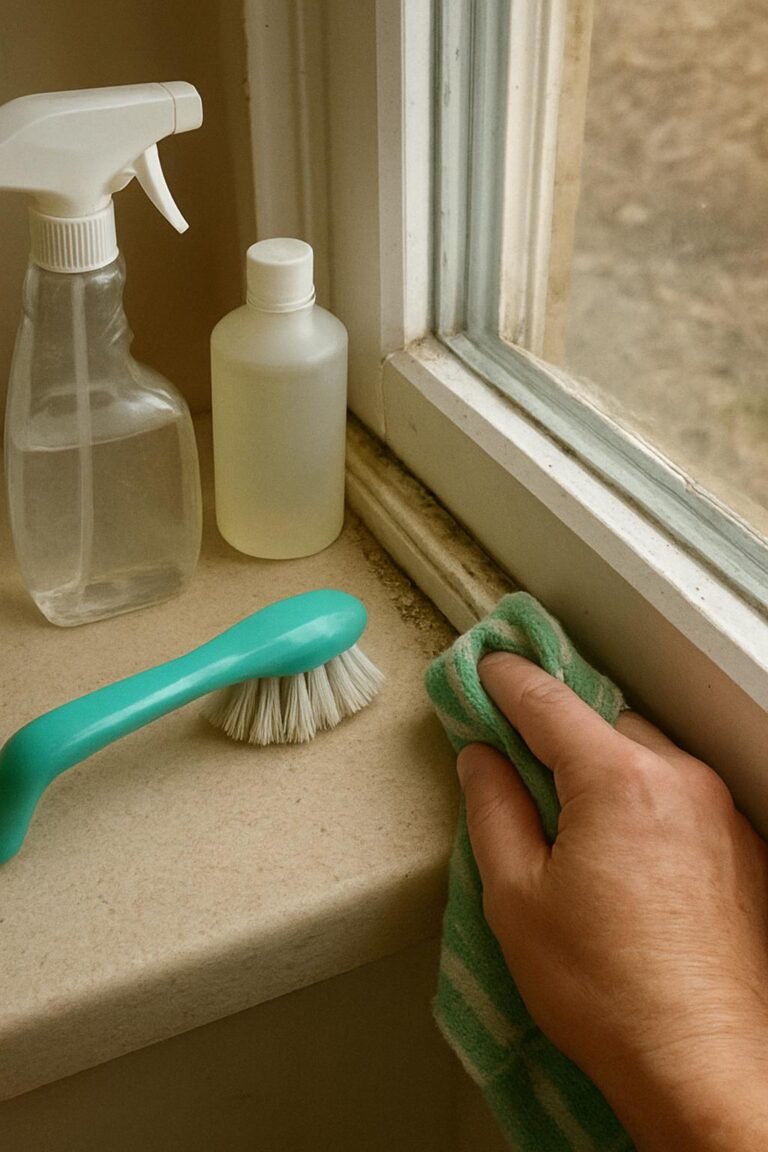
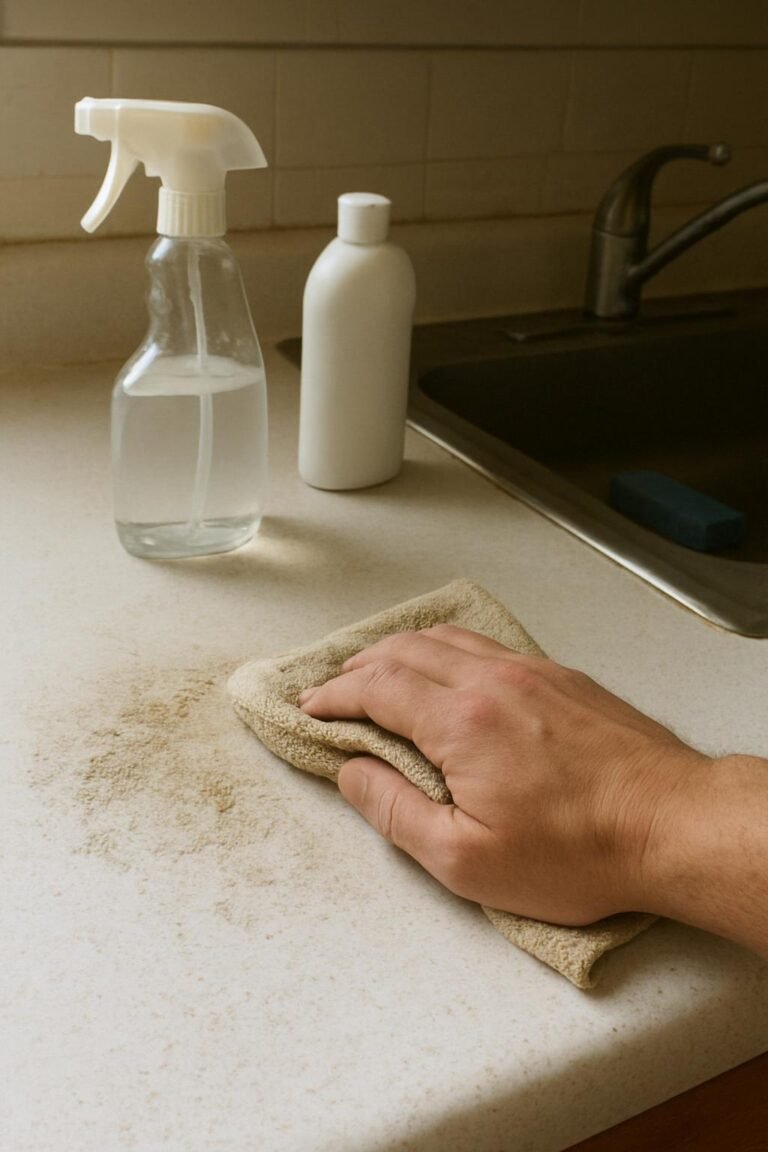
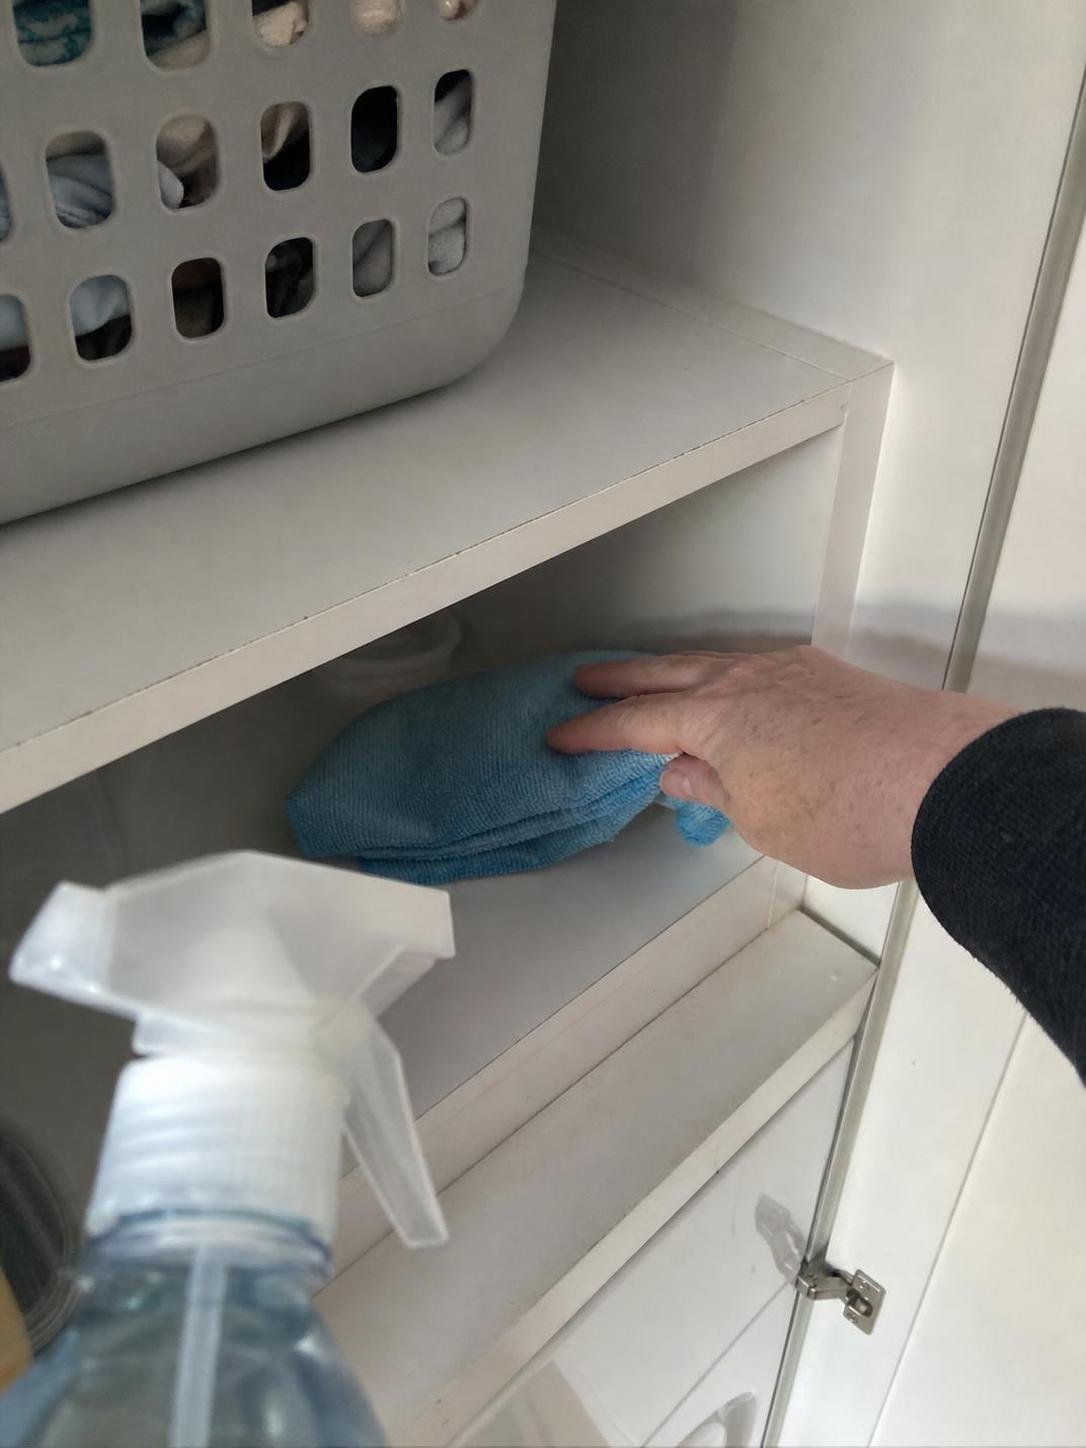
- Wipe the empty storage areas. Clean shelves, trays, and cabinet interiors with a method suitable for their material. Use limited moisture around unfinished wood, peeling paint, outlets, and appliance controls. Let surfaces dry before replacing supplies.
- Group everything into working zones. Separate daily laundry supplies, stain-care products, drying accessories, cleaning tools, and bulk refills. Remove items that have no regular laundry-room purpose.
- Assign the easiest reach to daily supplies. Place heavy, frequently used bottles between roughly waist and shoulder level when the layout allows. Keep lightweight accessories higher and occasional extras farther from the washer.
- Add vertical storage carefully. Use properly installed shelves, over-the-door storage, or a narrow cart only if they preserve appliance clearances. Follow mounting instructions and weight limits. Stop using a shelf if it bows, pulls away from the wall, or develops loose hardware.
- Contain small items. Put dryer balls, mesh bags, clothespins, and stain tools in separate shallow bins. Label by task so another household member can return each item without guessing.
- Leave breathing room. Don’t fill every inch. Keep access to controls, plugs, shutoffs, hoses, and service points, and reserve a small amount of open capacity for changing laundry needs.
- Test the setup. Open appliance doors and lids fully, pull out the basket or cart, and walk through a normal load of laundry. Adjust anything that causes reaching, rubbing, tipping, or blocked access.
🧪 Why This Works
Organizing by task shortens the path between the appliance and the supplies used with it. Shallow storage keeps labels visible, while leaving open space around connections prevents containers from hiding leaks, loose hoses, or access points that may need attention.
Choose Storage That Fits the Room
Wall shelves aren’t always the best answer. Choose a storage type based on your appliance configuration, wall condition, and whether permanent installation is allowed.
| Option | Best use | Main limitation |
|---|---|---|
| Shallow wall shelves | Supplies above front-loading machines or an open counter | Require suitable wall hardware and enough appliance clearance |
| Over-the-door organizer | Small accessories and lightweight supplies | May prevent the door from closing or scrape the frame |
| Slim rolling cart | A usable gap beside an appliance | Needs room to roll out without pulling or rubbing connections |
| Closed cabinet | Reducing visual clutter and storing labeled products out of sight | Deep cabinets can hide spills and expired or unused supplies |
| Adhesive organizer | Very lightweight items on a compatible smooth surface | May release in humidity or damage paint during removal |
| Appliance-top tray | Temporary storage where the appliance manufacturer permits it | Can shift from vibration, obstruct controls, or interfere with top-loading machines |
Common Mistakes and Practical Fixes
Most small-space failures come from overfilling, choosing storage before measuring, or treating every open surface as usable storage.
The shelf is crowded again
The likely cause is too much backup inventory or categories that belong elsewhere. Keep one accessible working product per routine when practical, and relocate surplus containers. A label won’t solve a shelf that simply holds too much.
Bins hide what you own
Deep or opaque bins encourage duplicate purchases and forgotten products. Switch to shallow bins, label the front, and avoid stacking containers that must be moved to reach the ones behind them.
An adhesive organizer is peeling away
Remove its contents immediately rather than pressing a loaded organizer back onto the wall. Follow the adhesive manufacturer’s removal instructions. Choose a freestanding or properly mounted alternative if the surface is textured, damp, weak, or already damaged.
A cart or shelf rubs against the appliance
Reposition or remove it. Repeated contact can mark finishes, create noise, and make connections harder to inspect. Don’t wedge storage against hoses, cords, controls, or ventilation openings.
Products leave sticky rings on the shelf
Place bottles in a washable tray and wipe drips promptly according to the product label and shelf material. Don’t combine leaked products or return contaminated residue to a container.
The room looks organized but laundry still piles up
The missing piece may be workflow rather than storage. Give dirty laundry, clean laundry, and items awaiting special care distinct destinations. A collapsible basket or divided hamper can help, but only if it fits without blocking the walkway or appliance doors.
Keep the System Working
A compact laundry room needs short, regular resets because even a few misplaced items can block the working surface. Return supplies after each load, wipe visible drips, empty the lint waste container, and remove empty packaging.
Add shelf wiping, floor cleaning, and connection-area checks to your household cleaning checklist. Keep cleaning methods appropriate for the flooring, shelving, painted walls, and appliance finishes.
For shared households, assign the reset as a recurring item on a cleaning chores checklist. A clear responsibility is more reliable than expecting everyone to notice when the room needs attention.
- Keep labels facing forward so directions remain readable.
- Check trays and bins for leaks before returning them to shelves.
- Remove products you no longer use rather than pushing them to the back.
- Inspect wall-mounted storage for looseness, bowing, or surface damage.
- Keep the floor and appliance access points clear.
- Follow appliance instructions for lint removal, ventilation, and routine care.
Frequently Asked Questions
How can you organize a laundry closet without drilling?
Start with shallow shelf bins, a freestanding slim cart, or an over-the-door organizer that doesn’t interfere with closure. Adhesive storage can still damage finishes or fail under weight, so check its surface requirements, test cautiously, and keep the load light.
What should go on the highest shelf?
Use the highest shelf for lightweight, infrequently needed items. Avoid placing heavy liquid containers where they’re hard to lift or likely to spill while being lowered.
Can you store supplies directly on top of the washer or dryer?
Check the appliance manufacturer’s instructions first. Containers may shift with vibration, cover controls, mark the finish, or block a top-loading washer. A stable tray may contain minor drips where top storage is permitted, but it shouldn’t replace secure shelving.
Where should laundry products be stored around children or pets?
Store products in their original labeled containers and follow current label directions for storage. Choose a location that limits access as appropriate for your household without placing heavy containers dangerously high or blocking appliance connections.
The best small-space setup is a measured, task-based system with daily supplies in easy reach and backups elsewhere. Protect appliance clearances, avoid overloading walls or doors, and reset the room regularly so its limited storage remains useful rather than merely full.
Everything Mentioned Above
Before you leave, grab the tools you need to get the job done right the first time:
*As an Amazon Associate, TidyFormula earns from qualifying purchases.