Natural Cleaning Products for Every Room
The best natural cleaning products for every room are a mild soap, water, microfiber cloths, and a few carefully chosen extras. Start with the least aggressive method, match it to the surface, and test first. Vinegar and baking soda have useful roles, but neither is safe or effective for every material.
The main challenge is compatibility: a cleaner that works on glass may dull stone, while excess water can damage wood, laminate seams, electronics, and glued components. “Natural” also isn’t a guarantee that a product is gentle, residue-free, or appropriate for a particular finish.
⚡ The TidyFormula™ Quick Decision
Best approach: Use dry soil removal first, then clean with a lightly damp microfiber cloth and a small amount of mild soap approved for the surface.
Use caution with: Natural stone, unsealed wood, specialty coatings, electronics, grout, and any surface that can be scratched or damaged by moisture or acid.
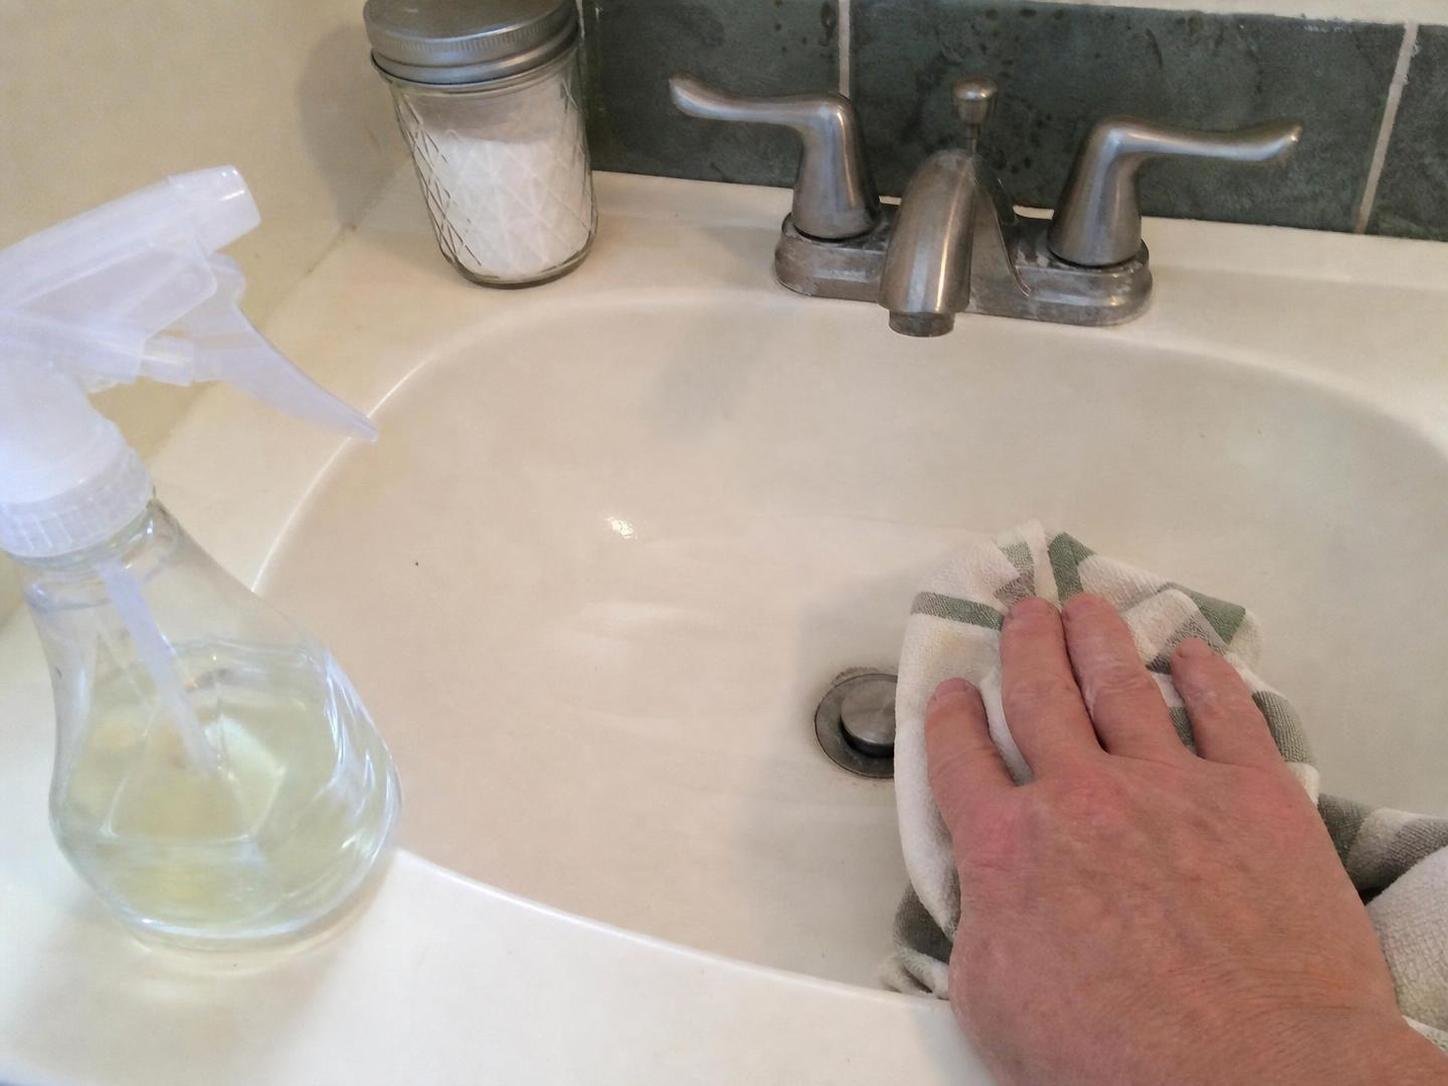
Build a Small, Surface-Safe Cleaning Kit
You don’t need a different homemade formula for every room. A compact kit built around mild cleaning and controlled moisture is easier to use correctly and less likely to damage finishes.
What I Use For This Job
Using the right tools saves time and protects your belongings. Here are my exact recommendations:
*As an Amazon Associate, TidyFormula earns from qualifying purchases.
- Mild dish soap or liquid household soap: Useful for washable, water-safe surfaces. Choose a product whose label permits the intended use.
- Microfiber cloths: Keep separate cloths for kitchens, bathrooms, glass, and general dusting.
- Soft cotton cloths: A practical alternative for delicate finishes that snag on microfiber.
- Soft-bristled brush: Helpful for textured tile, sink edges, and other durable crevices.
- Baking soda: An optional mild abrasive for certain durable, non-glossy surfaces. Test it before using it on stainless steel, acrylic, coated metal, glass cooktops, or polished finishes.
- Plain white vinegar: An optional acidic cleaner for compatible glass and some mineral deposits. Keep it away from natural stone, cement-based grout, unsealed surfaces, and appliance interiors unless the manufacturer permits it.
- Surface-specific cleaner: Use a manufacturer-approved product for natural stone, finished wood, specialty flooring, screens, and delicate coatings.
Avoid adding essential oils simply for fragrance. Oils can leave residue, discolor porous materials, and create compatibility concerns around certain household members or animals. If you use a commercial natural-labeled cleaner, follow its current label rather than treating it as an all-purpose product.
Never mix cleaning products. Keep bleach, ammonia, acids, alcohol-based cleaners, and other products separate. If a task requires a labeled disinfectant rather than routine cleaning, use the product exactly as directed and don’t combine it with a homemade solution.
Check the Surface Before You Start
Material matters more than the room. Identify the actual surface and its finish before choosing your cleaner, especially on stone, wood, painted cabinetry, coated fixtures, or upholstery.
| Material or surface | Preferred starting method | Avoid or verify first |
|---|---|---|
| Sealed laminate and washable painted surfaces | Lightly damp cloth with diluted mild soap, followed by residue removal | Saturation, abrasive powders, and strong scrubbing |
| Natural stone | Manufacturer-approved, stone-safe cleaner | Vinegar, lemon, abrasive pastes, and unapproved soap |
| Finished wood | Dry dusting, then a barely damp cloth if permitted | Standing water, vinegar, steam, and wet mopping |
| Stainless steel | Mild soap and a soft cloth wiped with the grain | Scratching powders, steel wool, and chlorine-containing products unless specifically approved |
| Glass and mirrors | Low-moisture wiping with a clean, lint-free cloth | Spraying liquid near frames, electronics, or damaged backing |
| Ceramic or porcelain tile | Mild soap and water, using limited moisture around grout | Acid on cement-based grout and abrasive tools on glossy tile |
| Upholstery and rugs | Vacuuming and care-code-approved spot cleaning | Unverified homemade solutions, saturation, and aggressive rubbing |
| Screens and electronics | Power off and use the manufacturer’s cleaning method | Direct spraying, dripping cloths, abrasives, and moisture in openings |
Inspect for cracks, peeling coatings, loose veneer, open seams, and previous discoloration. Test your method in a hidden area and let the spot dry before continuing. Stop if the surface becomes tacky, rough, lighter, darker, cloudy, or unusually soft.
A Step-by-Step Whole-Home Cleaning Method
The safest routine works from dry to damp and from gentle to more targeted cleaning. This prevents loose grit from becoming abrasive and reduces the amount of cleaner left behind.
- Read the relevant labels. Check the item’s care instructions and the cleaner’s current label. If the directions conflict, follow the surface or appliance manufacturer’s requirements.
- Clear and ventilate the area. Remove food, toiletries, small appliances, and objects that could be splashed. Open a window or use normal room ventilation when the product label calls for it.
- Remove dry debris first. Vacuum, sweep, or dust before introducing moisture. Pay attention to corners, baseboards, countertop seams, and the edges of fixtures.
- Prepare one cleaner only. For ordinary washable surfaces, add a small amount of mild soap to water. Excess soap creates streaks and sticky residue, so more isn’t better.
- Apply cleaner to the cloth when possible. Wring the cloth thoroughly so it is damp rather than dripping. Direct spraying can force liquid into seams, outlets, appliance controls, wood joints, and mirror frames.
- Work from cleaner areas toward dirtier ones. Wipe from high surfaces to low surfaces and use light pressure. Fold or change the cloth as it becomes dirty instead of spreading residue.
- Treat stubborn soil selectively. Let the dampness and soap soften greasy or dried residue before rubbing again. Use a soft brush only on durable surfaces. Don’t scrape with metal tools.
- Remove cleaner residue. Wipe soap-cleaned surfaces with a separate cloth lightly dampened with clean water when the material permits it. Repeat if the surface still feels slick or looks streaky.
- Dry the surface. Use a dry cloth and allow airflow to remove remaining moisture. Check seams, fixture bases, floor edges, and other places where water can collect.
🧪 Why This Works
Dry removal lifts dust and grit before they can scratch a surface. Mild soap loosens everyday grease and soil, while the cloth carries that residue away. A clean-water wipe prevents leftover soap from attracting more dirt, and prompt drying limits water marks and moisture around vulnerable seams.
Room-by-Room Product Choices
Use the same gentle foundation throughout the home, then adjust for grease, mineral deposits, flooring, fabrics, or moisture-sensitive finishes.
Kitchen
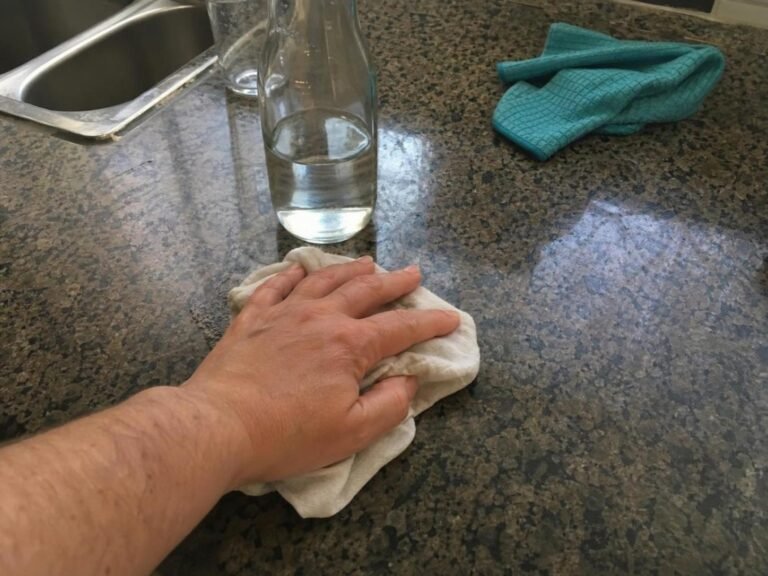
Use mild soap and a damp cloth for most washable cabinet fronts, backsplashes, sealed laminate, and compatible countertops. Natural stone requires a cleaner approved for that stone; acidic ingredients can dull or mark the surface.
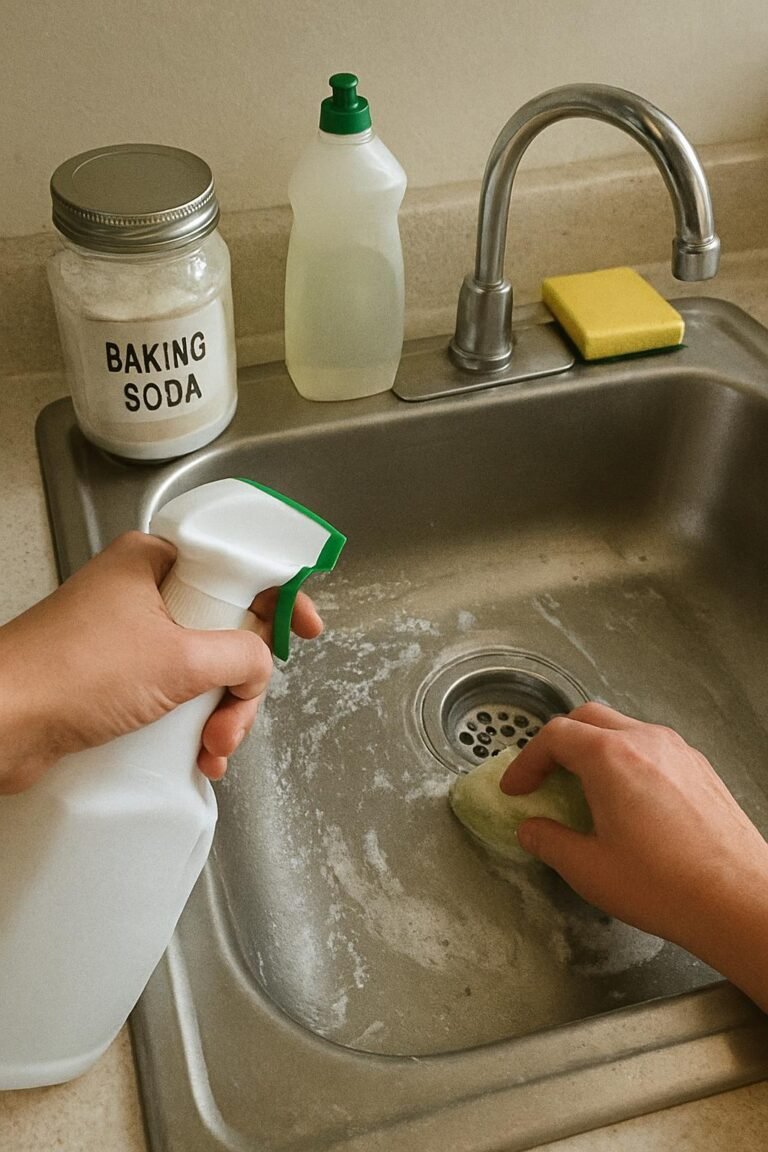
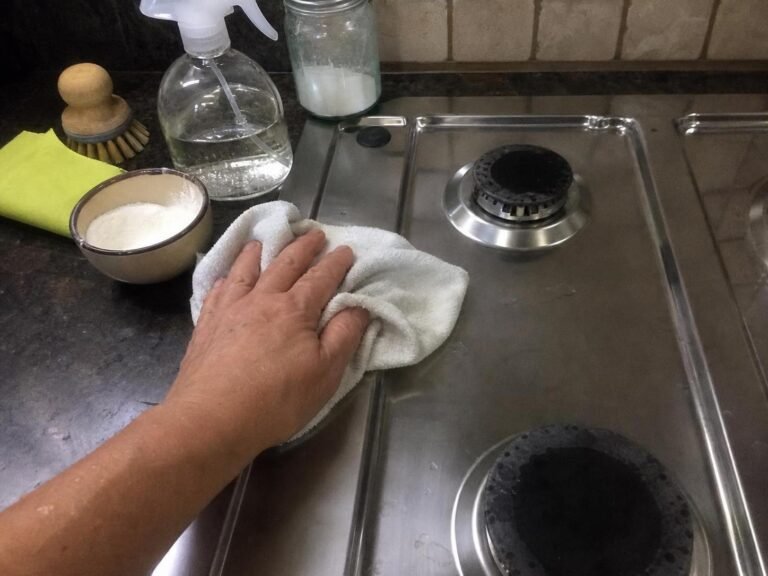
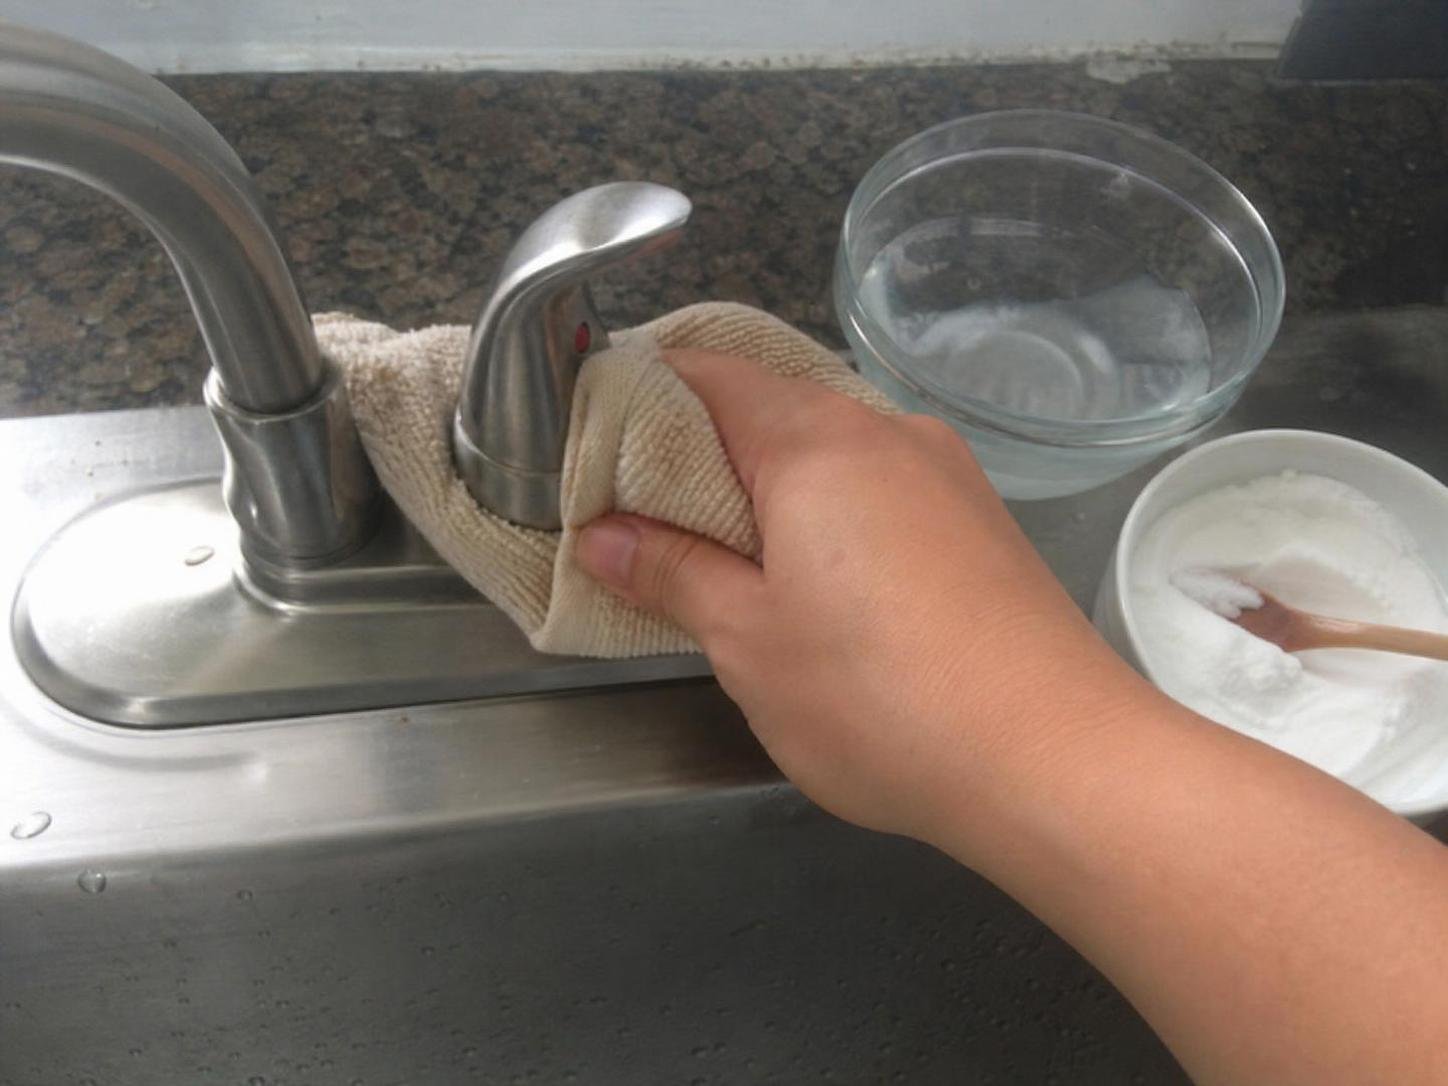
For stainless steel sinks and appliance exteriors, wipe with the grain using mild soap, remove the residue, and dry. Baking soda may scratch or alter some polished and coated finishes, so it shouldn’t be your automatic choice for stainless steel.
Greasy stovetop soil usually responds better to repeated mild-soap wiping than to a thick abrasive paste. Keep liquid away from igniters, control panels, seams, and ventilation openings, and follow the appliance manual for removable parts.
For baked-on oven residue, use an appliance-compatible process rather than improvising with multiple products. The detailed low-chemical oven cleaning method explains how to handle the interior separately from heating elements, coatings, and door components.
Coffee makers need special care because water moves through internal tubing and contacts beverage surfaces. If vinegar isn’t permitted or leaves an unwanted smell, use the vinegar-free coffee maker method and follow the machine manufacturer’s descaling instructions.
Bathroom
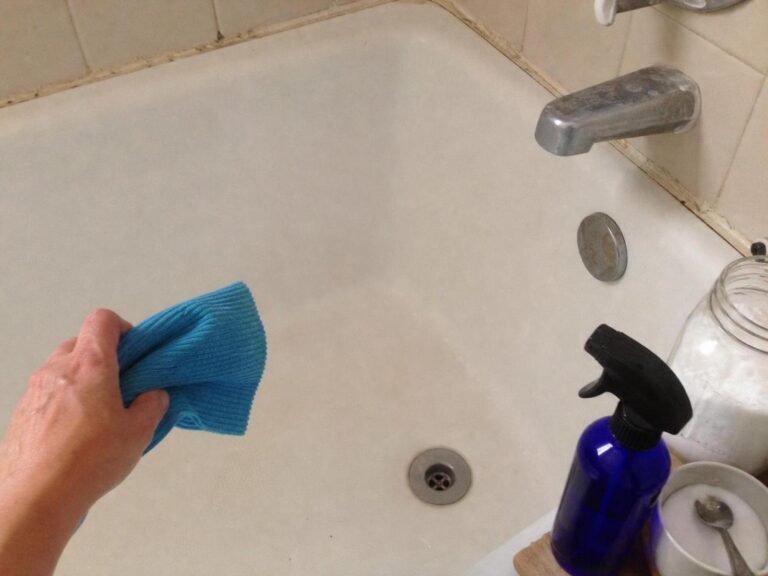
Start with mild soap on sealed counters, glazed tile, tubs, and compatible fixtures. Rinse well because soap residue can create haze and make surfaces feel tacky. Acrylic tubs and shower panels scratch easily, so avoid abrasive powders and stiff brushes unless their care instructions allow them.
Vinegar can help with mineral film on compatible glass, but it’s a poor all-bathroom cleaner. Avoid it on marble, travertine, limestone, cement-based grout, damaged metal finishes, and any surface whose manufacturer prohibits acids.
For sink-drain buildup, remove accessible hair and debris before adding any product. A dedicated chemical-free sink-drain cleaning routine is more appropriate than pouring unrelated cleaners into the drain. Don’t combine a drain method with bleach, commercial drain opener, or another cleaning product.
Living Areas and Bedrooms
Dry dusting and vacuuming should do most of the work. For washable painted trim, shelves, and doors, use a barely damp cloth with mild soap, then remove residue. Flat and matte paint may burnish or lose color under repeated rubbing, so test first and use minimal pressure.
Clean finished wood according to its care instructions. Avoid using vinegar as a default furniture cleaner, and don’t allow water to remain around joints, veneer edges, carvings, or damaged finish.
For upholstered furniture, check the care tag or cleaning code. Vacuum first and use only a compatible spot-cleaning method. Saturating cushions can leave rings, distort filling, loosen adhesive, and trap moisture inside.
Floors
Vacuum or sweep before damp cleaning. On tile and other water-tolerant floors, use only enough labeled cleaner to release soil, then address residue if the directions require it.
Wood, laminate, and some luxury vinyl floors need tightly controlled moisture. Use the floor manufacturer’s approved product and a well-wrung pad. Stop if plank edges swell, seams darken, the finish turns cloudy, or the floor becomes unusually tacky.
Steam is not a universal natural alternative. Heat and moisture can affect adhesives, coatings, wood fibers, laminate cores, grout, and resilient flooring. Use it only where the flooring manufacturer specifically allows it.
Laundry and Utility Areas
Follow garment care labels and detergent directions rather than adding several boosters to one load. Vinegar, baking soda, soap, and commercial detergent shouldn’t be combined casually; they can leave residue, affect machine components, or interfere with the intended wash process.
Wipe washer and dryer exteriors with a lightly damp cloth, keeping moisture away from controls and openings. Clean dispensers, filters, gaskets, and lint areas according to the appliance manual, then leave permitted compartments open to dry.
Mistakes That Cause Damage or Poor Results
Most natural-cleaning failures come from using too much product, choosing the wrong ingredient for the material, or leaving moisture behind.
- Using vinegar everywhere: Acid-related dullness, roughness, or pale marks can indicate finish or mineral-surface damage. Stop immediately, wipe with clean water if the material allows it, and consult the care instructions. Additional vinegar won’t correct etching.
- Scrubbing with baking soda: Fine scratches or a loss of gloss mean the surface is too delicate for the abrasive action. Stop and switch to a soft cloth and manufacturer-approved cleaner.
- Applying too much soap: Sticky, smeared, or fast-returning dirt often points to residue. Wipe repeatedly with a clean, lightly damp cloth, changing the water or cloth as it becomes soapy.
- Spraying the surface directly: Liquid can collect in floor seams, cabinet joints, appliance controls, and mirror edges. Apply the cleaner to your cloth unless the product or item directions say otherwise.
- Using one cloth throughout the house: A dirty or greasy cloth redistributes soil. Fold to a clean section frequently and switch cloths between kitchens, bathrooms, glass, and general surfaces.
- Assuming natural means disinfecting: Routine soap-and-water cleaning shouldn’t be described as disinfection. If a situation calls for a disinfectant, choose an appropriately labeled product and follow its directions, including surface compatibility, ventilation, protection, and contact requirements.
Fix Streaks, Haze, Odor, and Trapped Moisture
If the first attempt looks worse after drying, don’t immediately add a stronger product. Identify whether the problem is residue, moisture, redistributed soil, or actual surface damage.
The surface is streaky or cloudy
Use a fresh cloth lightly dampened with clean water to remove soap residue, then buff dry with a lint-free cloth. If haze remains on stone, wood, or a coated surface, stop rather than trying vinegar or an abrasive.
The room smells like the cleaner
Remove any remaining product with a compatible clean-water wipe and increase ventilation. Don’t cover the smell with essential oils or another cleaner. Persistent odor in porous upholstery, unfinished wood, or flooring may indicate that too much liquid was absorbed.
Wood or laminate seams look darker
Stop wet cleaning and dry the area with airflow. Don’t apply direct heat, which can distort finishes or materials. Swollen edges, lifted veneer, or separation may not be reversible through cleaning.
Upholstery has a water ring
A hard edge can form when a spot is wetter than the surrounding fabric or soil migrates during drying. Don’t keep wetting the ring without checking the care code. A professional upholstery cleaner may be the more practical choice for valuable, delicate, or non-water-safe fabric.
Drying and Ongoing Maintenance
Drying is part of the cleaning process, particularly around wood, flooring seams, grout, upholstery, appliance gaskets, and cabinet edges. Use normal airflow and keep items out of service until no dampness remains.
- Hang cloths where they can dry fully before placing them in a hamper or storage bin.
- Rinse brushes and allow the bristles to dry in an open position.
- Store baking soda and vinegar separately from other cleaning products and in their original labeled containers.
- Don’t transfer cleaners into drink bottles, food containers, or unlabeled spray bottles.
- Wipe fresh spills promptly so they don’t require aggressive scrubbing later.
- Vacuum and dust regularly to reduce the need for wet cleaning.
- Inspect stone sealers, grout, caulk, wood finishes, and floor seams for deterioration before the next deep clean.
A mild soap-and-water routine is the best starting point for most washable household surfaces, but no natural product belongs everywhere. Check the material, control moisture, remove residue, and allow complete drying. Reserve vinegar, baking soda, and specialty products for surfaces that can tolerate them rather than treating them as universal cleaners.
Everything Mentioned Above
Before you leave, grab the tools you need to get the job done right the first time:
*As an Amazon Associate, TidyFormula earns from qualifying purchases.