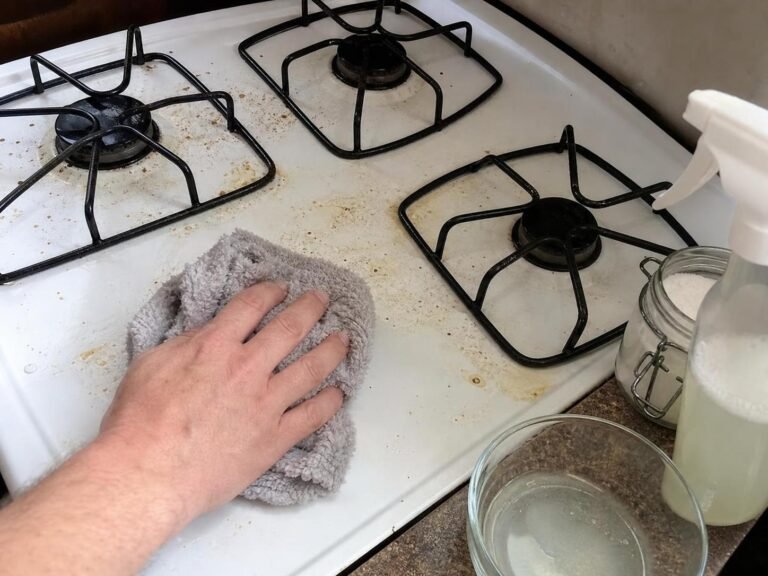
Non Toxic Kitchen Cleaning Checklist
A non-toxic kitchen cleaning checklist works best when you rely on simple, surface-appropriate tools: a mild dish soap solution, microfiber cloths, baking soda for limited scrubbing, and plain water for rinsing. The important limitation is that “natural” does not mean safe for every finish—especially stone, unsealed wood, aluminum, and appliance electronics.
Keep the routine small enough to repeat. Wiping spills promptly and removing crumbs regularly prevents most sticky buildup, while occasional deeper cleaning handles grease, drain debris, and neglected appliance parts.
⚡ The TidyFormula™ Quick Decision
Best approach: Use a damp microfiber cloth with a small amount of mild dish soap for most kitchen surfaces, then wipe away remaining soap with a clean damp cloth and dry.
Use caution with: Avoid acidic cleaners on natural stone, limit water on wood and seams, and do not spray liquid directly into appliance controls, outlets, or vents.
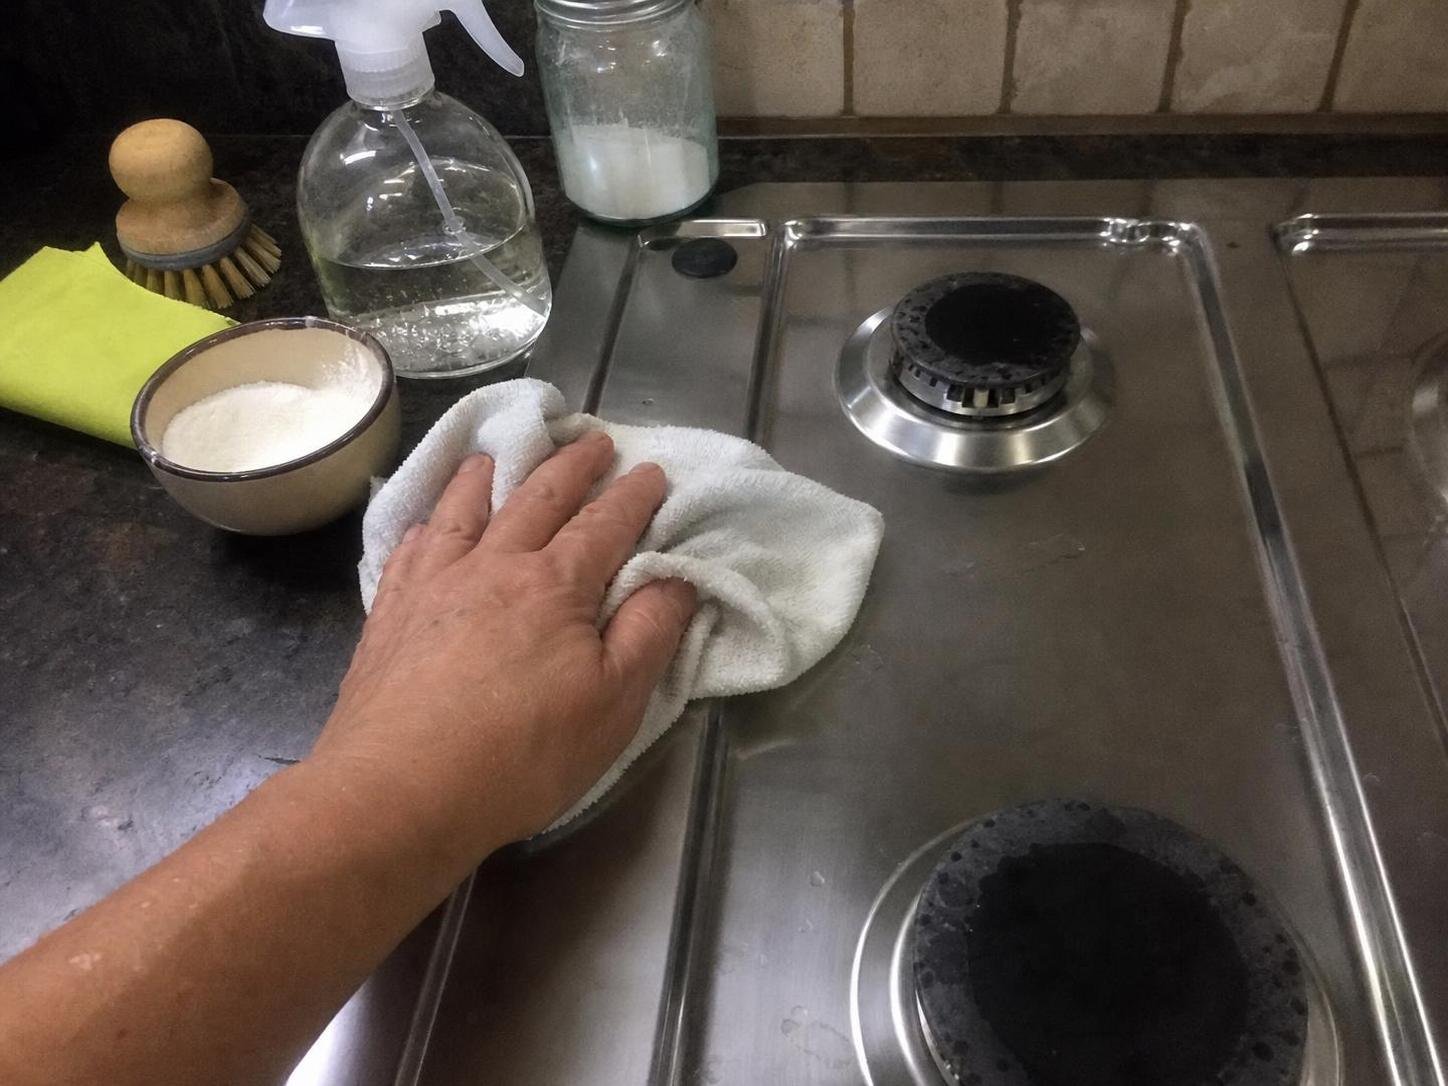
Start with a small set of practical supplies
You do not need a cabinet full of specialty products for routine kitchen cleaning. Choose supplies that match the surface and follow current product-label directions for anything beyond mild dish soap.
What I Use For This Job
Using the right tools saves time and protects your belongings. Here are my exact recommendations:
*As an Amazon Associate, TidyFormula earns from qualifying purchases.
- Microfiber cloths for wiping counters, cabinet fronts, appliances, and tables
- A soft sponge or non-scratch scrub pad for stuck-on food on suitable surfaces
- Mild dish soap for everyday grease and food residue
- A bowl or small basin of warm water for rinsing cloths and wiping away soap residue
- Baking soda for a gentle paste on durable, non-stone surfaces when soap alone is not enough
- A soft brush or old toothbrush for sink edges, faucet bases, and grout lines
- Dry towels for wood, metal, and appliance surfaces that should not stay damp
Avoid using abrasive powders, steel wool, harsh scouring pads, or strong acidic products on an unknown finish. They can dull coatings, scratch stainless steel, wear away printed markings, or leave etched spots on stone. Never mix household cleaning products together.
Check the surface before choosing a cleaner
The safest cleaning checklist separates durable sealed surfaces from water-sensitive or reactive materials. If you are unsure what a countertop, cabinet finish, or appliance coating is made of, start with a damp cloth and mild dish soap, then test a hidden spot first.
| Surface or item | Preferred routine method | Important limitation |
|---|---|---|
| Laminate counters and sealed solid surfaces | Damp microfiber cloth with mild dish soap; wipe again with clean water and dry. | Do not leave standing water around seams, edges, or backsplash joints. |
| Natural stone | Use a stone-safe cleaner if the manufacturer recommends one, or a lightly damp cloth with mild soap. | Avoid vinegar, lemon juice, and acidic cleaners unless the stone manufacturer specifically permits them. |
| Wood counters, cutting boards, and cabinet fronts | Wipe with a barely damp soapy cloth, then dry promptly. | Do not soak wood or allow water to collect in joints, cracks, or unfinished edges. |
| Stainless steel appliances | Wipe with a soft damp cloth and mild soap, following the grain when visible; dry with a clean cloth. | Skip rough pads and gritty pastes that may scratch the finish. |
| Glass cooktops and glossy appliance panels | Use a soft cloth and the cleaner recommended for that surface, if needed. | Let the surface cool first and avoid abrasive scrubbing. |
| Painted cabinets and printed appliance controls | Use a well-wrung cloth with mild soap, then dry. | Do not flood edges, handles, control panels, labels, or seams. |
A realistic non-toxic kitchen cleaning checklist
Use this room-by-room cleaning checklist as a maintenance routine rather than trying to deep-clean the entire kitchen every day. The preferred order is top to bottom: clear clutter first, wipe higher surfaces, clean work areas, then finish with the sink and floor.
After cooking or at the end of the day
- Put away food, wipe spills, and remove crumbs from counters and the table.
- Wash dishes or load the dishwasher so food residue does not dry onto cookware.
- Wipe the cooktop after it has cooled, using the method appropriate for its surface.
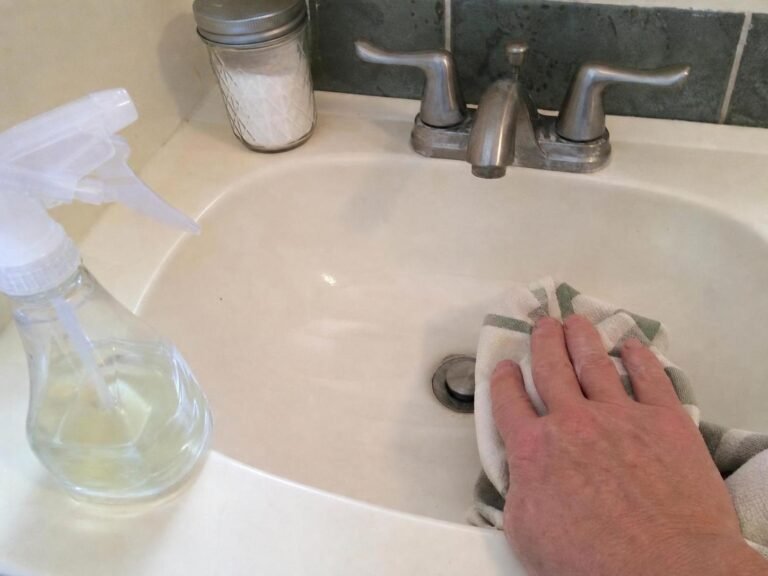
- Wipe the sink basin, faucet handles, and surrounding counter with mild soapy water.
- Rinse and wring out dishcloths and sponges; do not leave them bunched up and wet in the sink.
- Check the floor around the stove, sink, and trash area for splatters or dropped food.
Once a week
- Wipe cabinet handles, refrigerator handles, drawer pulls, and frequently touched appliance handles.
- Clean the microwave interior with a damp cloth after loosening food residue with warm moisture; follow appliance instructions for removable parts.
- Wipe refrigerator shelves and drawers as needed, especially after leaks or food spills.
- Clean the sink more thoroughly, including the drain opening, faucet base, and splash area.
- Wipe the exterior of the refrigerator, dishwasher, oven, and small appliances.
- Shake out or wash washable floor mats according to their care labels, then sweep or vacuum under them.
- Mop or damp-clean the floor using a method suitable for tile, vinyl, sealed wood, or laminate.
For a broader routine that includes the rest of the home, use this cleaning chores checklist to coordinate kitchen tasks with laundry, bathrooms, and other regular household work.
Once a month or as needed
- Remove items from one refrigerator shelf or drawer at a time, wipe the interior, and dry it before restocking.
- Clean cabinet fronts near the stove where cooking grease tends to collect.
- Check the range hood exterior and removable filter. Follow the manufacturer’s instructions for filter removal and washing.
- Pull out movable appliances only if you can do so safely, then clean crumbs and dust behind and beneath them.
- Inspect the trash can lid, rim, and surrounding floor for residue; wash and dry the can before replacing the liner.
- Clean the coffee maker according to its manufacturer instructions. If vinegar is not suitable for your machine or you dislike the lingering smell, see how to clean a coffee maker without vinegar.
Clean the main kitchen zones in the right order
Cleaning in a sequence keeps you from spreading crumbs and grease back onto already-clean surfaces. Use separate cloths, or rinse thoroughly between tasks, when moving from greasy areas to counters and the dining table.
- Clear counters and the table first. Put away food, dishes, small appliances, and loose papers. A clear surface lets you see crumbs, sticky rings, and spills instead of wiping around them.
- Dry-remove crumbs and loose debris. Use a dry cloth, brush, or vacuum attachment before adding water. Wet crumbs can become paste-like residue along counter seams and backsplash edges.
- Wipe cabinets, backsplash, and appliance exteriors. Use a microfiber cloth dampened with mild soapy water. Work from higher areas down so drips do not land on a cleaned counter.
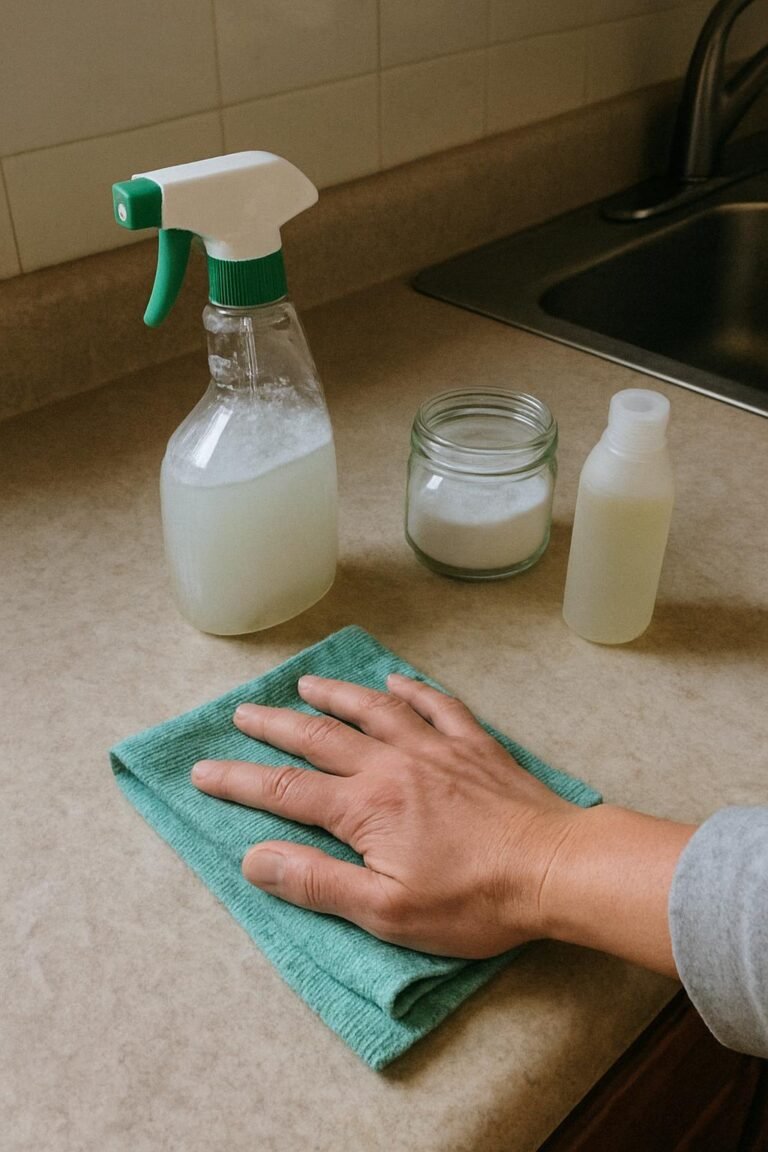
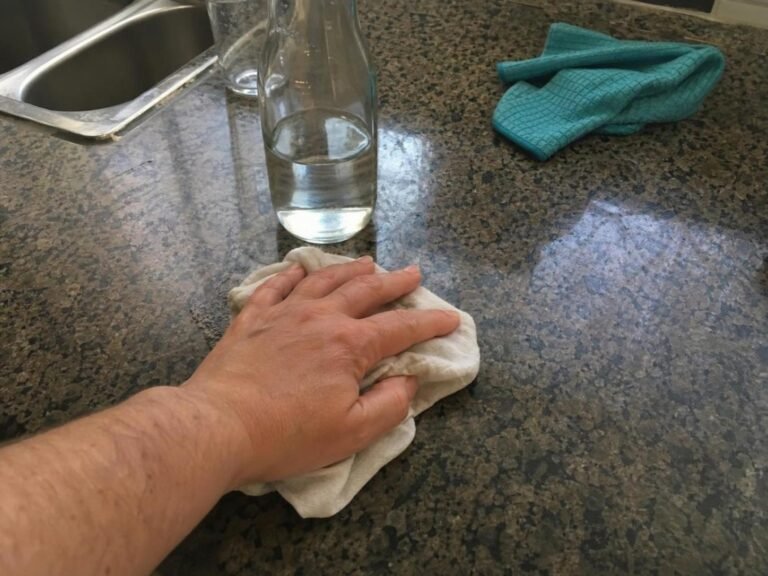
- Clean counters with the correct moisture level. Use a damp—not dripping—cloth for laminate, sealed surfaces, and stone. For wood, use a barely damp cloth and dry immediately. Rinse away soap residue with a second clean damp cloth.
- Handle stuck-on food carefully. On durable non-stone surfaces, apply a small amount of baking soda with enough water to make a soft paste. Rub gently with a soft cloth, then wipe away all residue. Stop if the finish becomes dull, scratched, or discolored.
- Clean the sink last. Wash the basin and faucet with mild soap, rinse, and dry the faucet and surrounding counter. Cleaning it last prevents sink debris from being transferred to food-prep surfaces.
- Finish with the floor. Sweep or vacuum first, then use the smallest practical amount of moisture for your flooring. Check flooring instructions before using any cleaner on wood, laminate, or specialty finishes.
🧪 Why This Works
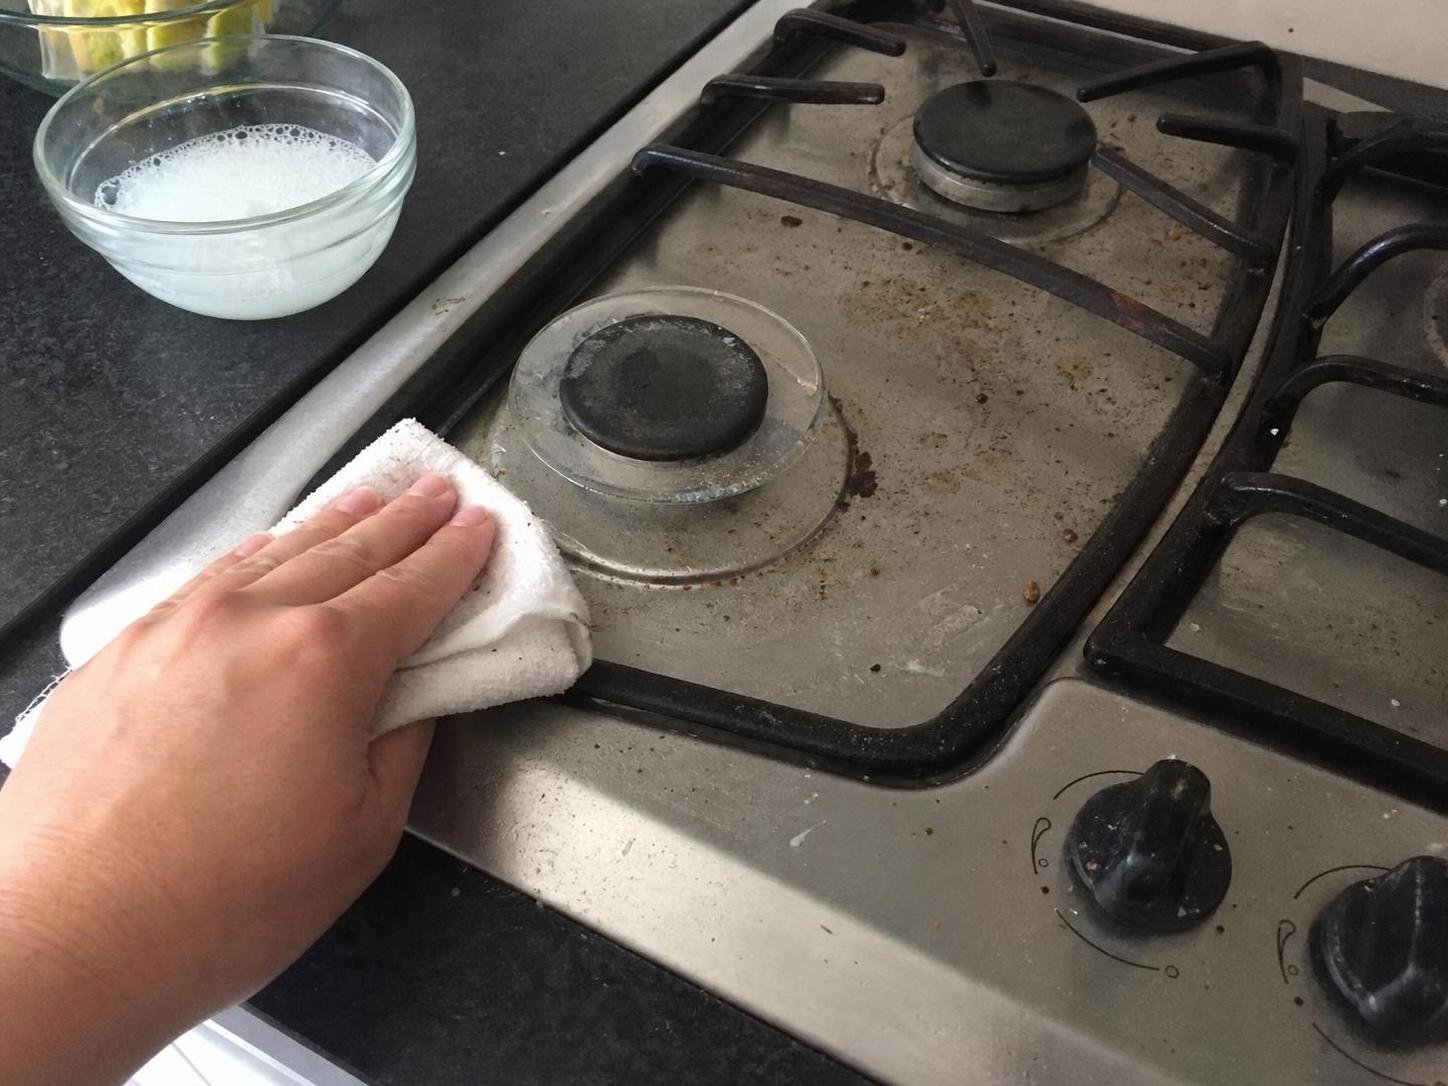
Most routine kitchen messes are a combination of loose crumbs, food oils, dried spills, and soap or mineral residue. Removing dry debris first keeps it from turning into grime, while mild soap helps lift everyday food residue. A separate clean-water wipe prevents leftover soap from making counters feel tacky.
Handle grease without over-scrubbing
Fresh grease is easier to remove than a thick, aged film. Start with mild dish soap on a damp cloth, repeat as needed, and change the cloth or rinse it frequently so you are not spreading oily residue across cabinet doors and appliance fronts.
For a greasy cabinet area near the stove, hold a warm damp cloth against the residue briefly to soften it, then wipe with light pressure. Follow with a clean damp cloth and dry the area. Do not saturate cabinet seams, unfinished edges, or hardware openings.
Use baking soda sparingly. It may help loosen a stubborn spot on a durable surface, but it is not a universal degreaser and can be too abrasive for glossy finishes, stone, soft metal, and delicate coatings. Choose another method if gentle wiping is not improving the buildup or if the surface manufacturer recommends a specific cleaner.
Sink and drain care without harsh chemical mixing
A clean-looking sink can still develop slow drainage from food particles and grease collecting near the drain opening. Remove visible debris first, rinse the basin, and follow the sink and plumbing manufacturer’s instructions if the drain is slow or backed up.
For a simple household approach to routine drain debris, see how to clean a sink drain without chemicals. Do not combine any drain treatment with other cleaning products, and do not continue adding products to a drain that is fully blocked or backing up.
Common problems and how to correct them
Countertops feel sticky after cleaning
The usual cause is leftover soap, too much cleaner, or a cloth that has collected grease. Wipe the surface again with a freshly rinsed, well-wrung cloth, then dry with a clean towel. If the tackiness remains, check whether the surface has a damaged coating or whether a prior product left residue.
White haze appears on a dark counter or appliance
A haze may be dried cleaner residue, hard-water spotting, or a finish change. Start by wiping with plain water and drying immediately. If the haze does not change, stop using abrasive or acidic products and check the countertop or appliance manufacturer’s care guidance before trying another cleaner.
Cabinet edges look swollen or dull
Too much water can enter seams, joints, or unfinished edges. Dry the area promptly and reduce moisture during future cleaning. If cabinet material is lifting, softening, separating, or showing exposed particleboard, surface cleaning may not restore it; repair or replacement may be more practical.
There is still an odor after wiping the kitchen
Look for the source instead of adding more fragrance. Check the trash can rim, food scraps in the sink strainer, refrigerator spills, damp dishcloths, floor mats, and residue under small appliances. Clean the source, remove moisture where possible, and allow the area to air out.
Food is burned onto the cooktop
Let the cooktop cool completely, then follow the manufacturer’s method for that exact surface. A glass cooktop, enamel range, gas burner assembly, and induction surface can have different care requirements. Avoid scraping or scouring unless the manufacturer specifically permits the tool and technique.
Drying and storage matter as much as wiping
Drying is especially important around wood, cabinet seams, appliance buttons, countertop joints, and sink edges. Use a clean towel after damp cleaning rather than allowing water to sit. Drying time varies with airflow, humidity, surface texture, and whether moisture reached a seam or interior space.
Store cloths and scrubbers where air can circulate. Replace a cloth, sponge, brush, or scrub pad when it remains persistently stained, develops an odor that does not wash out, sheds fibers, or becomes too worn to clean without scratching. Keep baking soda and other products in their original labeled containers or clearly identified household containers away from food.
If you prefer a larger routine organized by room and frequency, the household cleaning checklist can help you decide which kitchen tasks belong in daily upkeep and which can wait for a deeper cleaning session.
Frequently Asked Questions
Is vinegar safe for all kitchen surfaces?
No. Vinegar is acidic and may be unsuitable for natural stone, some metal finishes, damaged grout, and certain appliance parts. Check the surface manufacturer’s instructions before using it, and use mild dish soap and water when you are unsure.
Can you use baking soda on kitchen counters?
Use it only on durable surfaces that can tolerate mild abrasion. Avoid it on natural stone, glossy coatings, delicate appliance finishes, and any surface that scratches easily. Test an inconspicuous area first.
How often should you deep-clean a kitchen?
Most kitchens benefit from daily spill removal and weekly maintenance, while deeper tasks can be handled monthly or when grease, crumbs, refrigerator spills, or appliance buildup become noticeable. Cooking frequency, household size, and surface type affect the schedule.
What is the simplest non-toxic cleaner for everyday kitchen messes?
A small amount of mild dish soap in warm water is usually the most practical starting point for washable, sealed kitchen surfaces. Use only enough solution to lift residue, wipe again with clean water, and dry surfaces that should not remain wet.
The most useful non-toxic kitchen routine is a simple one: remove crumbs, wipe food spills with mild soap and minimal moisture, rinse away residue, and dry sensitive surfaces promptly. Treat stone, wood, appliance controls, and damaged finishes more cautiously, and check manufacturer instructions whenever the material or coating is uncertain.
Everything Mentioned Above
Before you leave, grab the tools you need to get the job done right the first time:
*As an Amazon Associate, TidyFormula earns from qualifying purchases.