How to Remove Grease from Kitchen Walls
The best way to remove grease from kitchen walls is with warm water and a few drops of dish soap, applied with a soft microfiber cloth or sponge and rinsed with a clean, barely damp cloth. For heavier buildup, a paste of baking soda and water or a mild all-purpose degreaser works well, but always test in a small hidden spot first, since painted walls, wallpaper, and tile all react differently.
Grease near the stove and range hood tends to build up gradually, so a wall that looks lightly dusty can actually feel sticky once you touch it. That sticky film is what grabs kitchen dust and makes the wall look dingy even after a quick wipe-down.
⚡ The TidyFormula™ Quick Decision
Best approach: Warm water with a small amount of dish soap on a soft cloth, followed by a clean-water rinse, handles most everyday grease film on kitchen walls without damaging paint or finish.
Use caution with: Wallpaper, matte or flat paint finishes, and unsealed drywall, which can absorb moisture or lose color if scrubbed too hard or left wet too long.
Stop and reassess if: Paint starts to lift, color transfers onto your cloth, wallpaper edges begin to peel or bubble, or the surface feels chalky and starts rubbing off.
What I Use For This Job
Using the right tools saves time and protects your belongings. Here are my exact recommendations:
*As an Amazon Associate, TidyFormula earns from qualifying purchases.
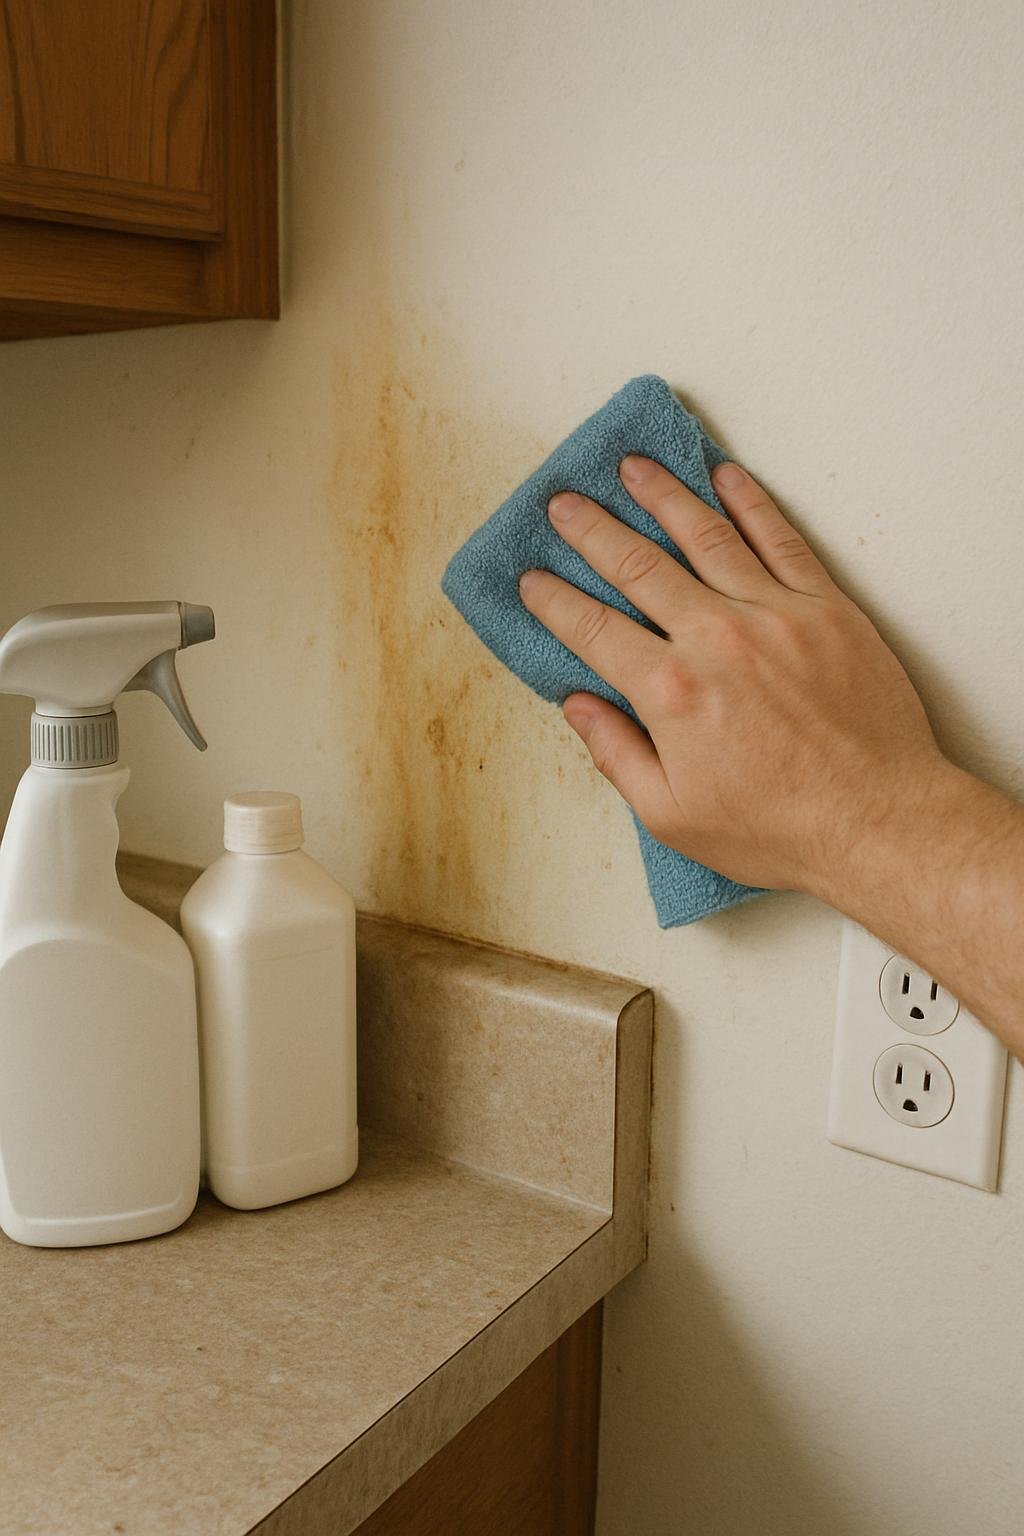
Check Your Wall Surface Before You Start
Not every kitchen wall can handle the same treatment, so it helps to know what you’re working with before you grab a cloth.
- Painted drywall (satin, semi-gloss, or eggshell): Generally holds up well to mild soap and water. Avoid soaking the surface, since drywall behind the paint can absorb moisture over time.
- Matte or flat paint: More porous and more likely to show scrub marks or dull spots. Use gentle pressure and test in a low-visibility area first.
- Tile or backsplash: The most durable surface for grease removal and usually tolerates a stronger degreaser, as long as it’s safe for the grout and tile finish according to the product label.
- Wallpaper: Only clean if the manufacturer or product label confirms it’s washable. Excess water can loosen seams or cause bubbling.
- Unfinished or unsealed drywall: Avoid wet cleaning methods altogether, since moisture can stain or weaken the surface permanently.
Step-by-Step: Removing Grease from Kitchen Walls
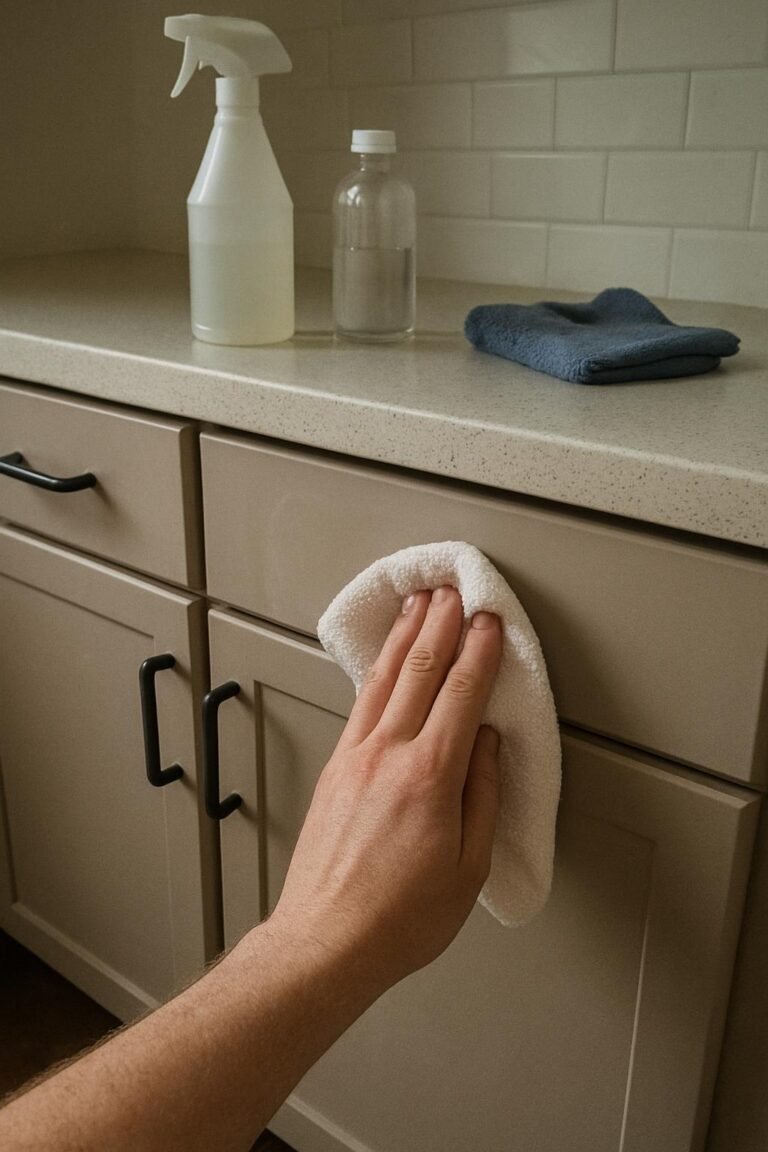
- Dry-dust first. Wipe the wall with a dry microfiber cloth to remove loose dust and crumbs so you’re not grinding grit into the grease.
- Mix a mild cleaning solution. Combine warm water with a small amount of dish soap in a bowl or spray bottle. Dish soap is formulated to break down grease, which makes it a reasonable first choice for most kitchen walls.
- Apply with a soft cloth, not a scrub brush. Wipe in gentle, overlapping strokes rather than scrubbing hard in one spot, which can wear down paint sheen over time.
- Let it sit briefly on heavier spots. For sticky patches, hold a damp cloth against the area for a short moment before wiping, instead of pressing harder.
- Rinse with a clean, barely damp cloth. Soap residue left behind can attract more dust, so go over the area again with plain water on a separate cloth.
- Dry the wall. Finish with a dry cloth so moisture doesn’t sit on painted or papered surfaces longer than necessary.
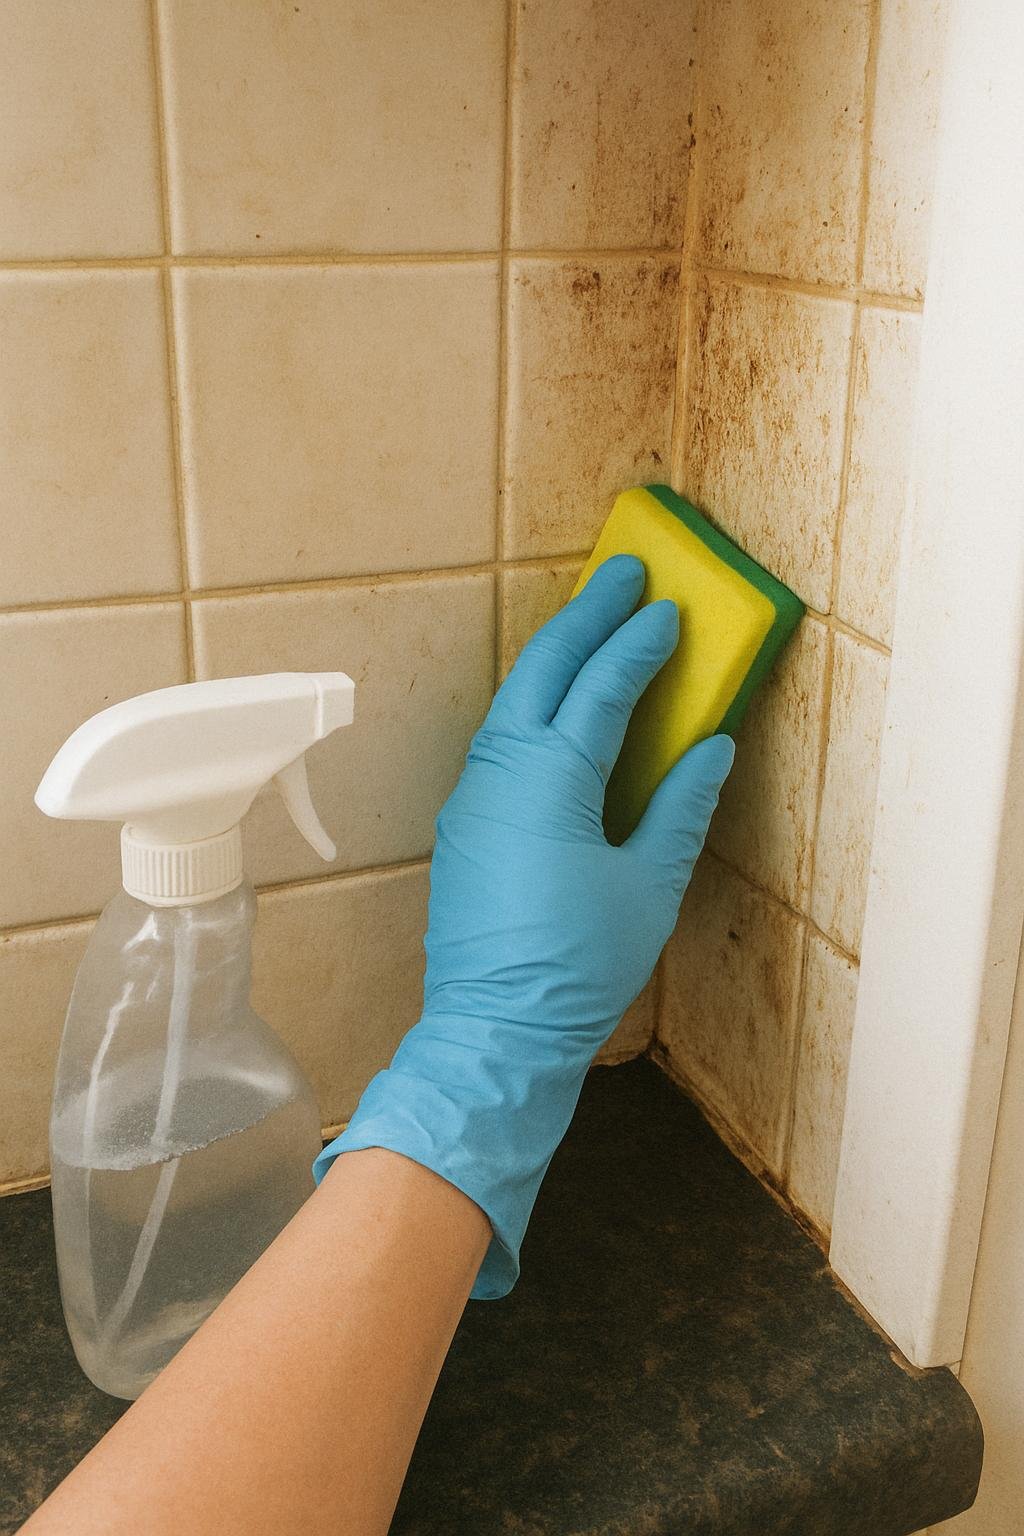
For Stubborn or Baked-On Grease
If dish soap alone isn’t cutting through the buildup, a baking soda paste is a reasonable next step for painted or tiled walls. Mix baking soda with a small amount of water until it forms a spreadable paste, apply it to the greasy area with a soft cloth, let it sit for a few minutes, then wipe and rinse. Baking soda has a mild abrasive texture, so use light pressure and avoid it on matte paint or wallpaper, where it can dull the finish or leave faint marks.
A store-bought degreaser labeled safe for painted walls or tile is another option for tougher spots, especially near the stove where grease has had time to bake on from heat exposure. Follow the product label for dilution and contact time, and always rinse the area afterward so no residue is left behind. Since ovens and range areas are often the source of that airborne grease in the first place, keeping the appliance itself clean can reduce how often you need to treat the surrounding walls. If you’re looking for a gentler way to handle oven buildup, this guide on cleaning an oven without harsh chemicals covers a similar low-abrasion approach.
Cleaning Mistakes That Damage Walls
- Scrubbing too hard on matte paint. This often leaves a shiny or patchy spot where the paint’s texture has been worn down.
- Skipping the rinse step. Leftover soap film can attract more dust and grease, making the wall look dirty again faster.
- Using excess water on wallpaper. Even washable wallpaper can bubble or lift at the seams if it stays wet too long.
- Reaching for strong cleaners without testing. A cleaner that’s fine on tile can discolor or strip paint, so a small hidden test spot saves you from a bigger repair.
- Mixing cleaning products to “boost” the result. Stick to one product at a time and follow the label instructions rather than combining cleaners.
Preventing Grease from Building Up Again
Wiping down walls near the stove once a week with a soft cloth and mild soap and water keeps grease from settling in and hardening. Using your range hood or a kitchen fan while cooking, especially when frying or sautéing, reduces how much airborne grease reaches the walls in the first place. If your kitchen doesn’t have a working range hood, cracking a window during and after cooking can help as well. Catching light grease film early is far easier than treating it once it’s had weeks to bake on.
Everything Mentioned Above
Before you leave, grab the tools you need to get the job done right the first time:
*As an Amazon Associate, TidyFormula earns from qualifying purchases.