How to Clean a Gaming Controller
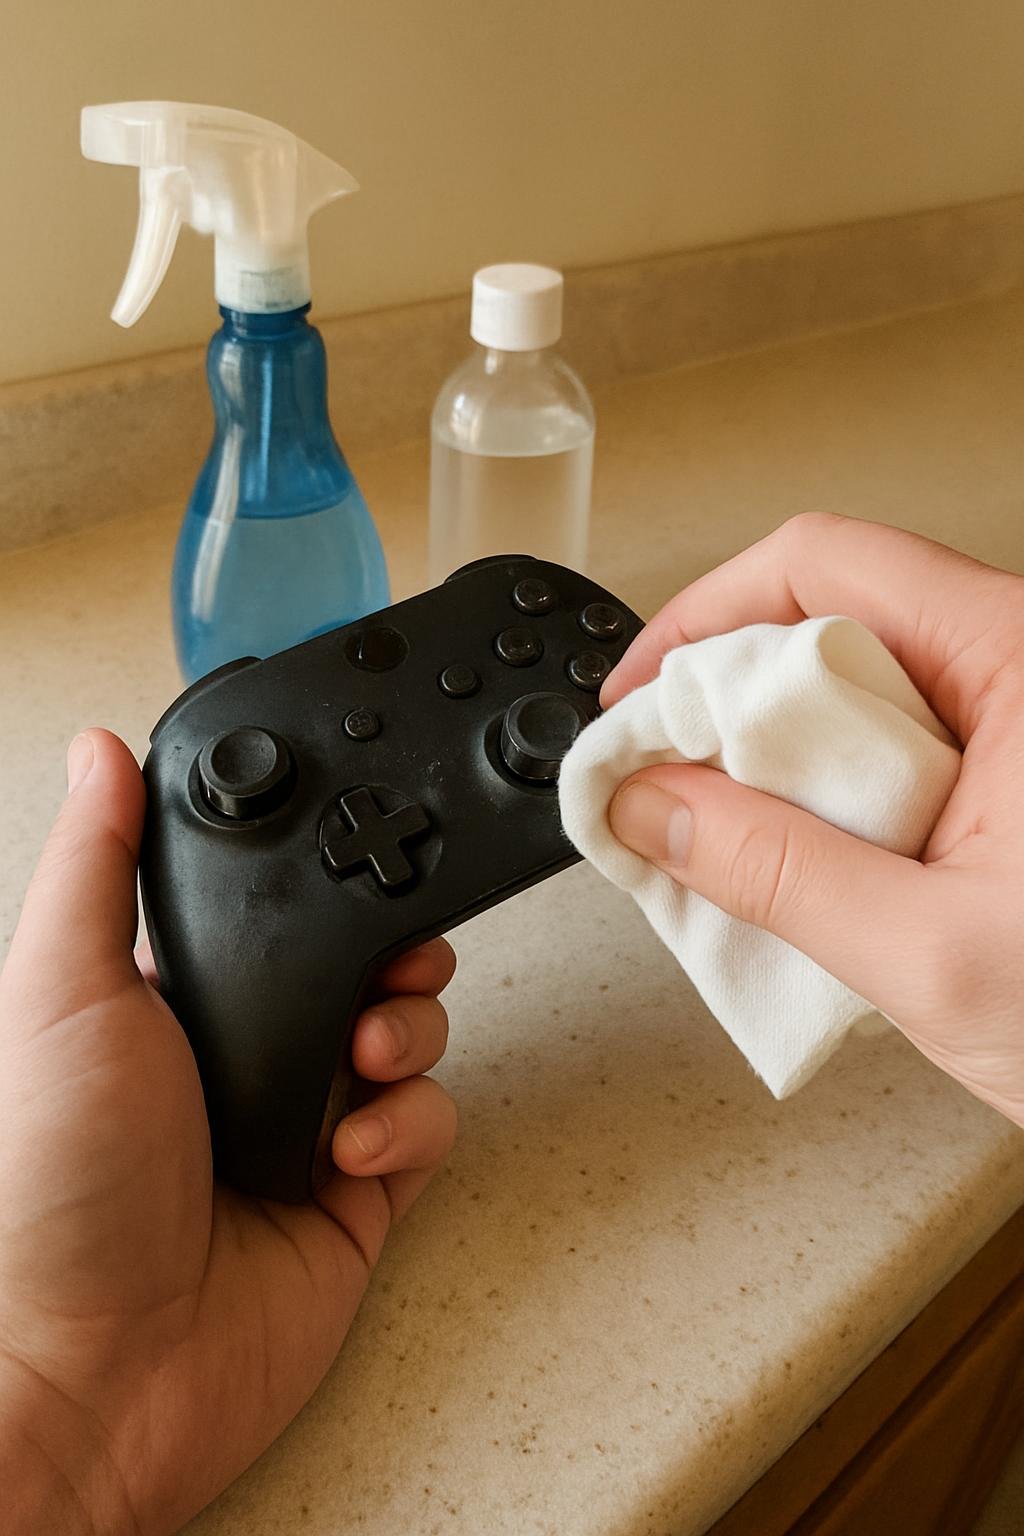
The safest way to clean a gaming controller is to power it off, unplug or remove the batteries, and wipe the surface with a lightly damp microfiber cloth, using a dry toothbrush or wooden toothpick to loosen grime around the buttons and joystick edges. Avoid soaking it, spraying liquid directly onto it, or using alcohol-based wipes on textured grips, since these can wear down coatings or seep into seams.
Controllers pick up a mix of hand oils, dust, and snack residue faster than most people expect, especially around the thumbsticks and trigger wells where grime tends to build up in the grooves.
⚡ The TidyFormula™ Quick Decision
Best approach: Power down the controller, remove batteries if applicable, and clean with a barely damp microfiber cloth plus a dry brush for tight spots around buttons and sticks.
Use caution with: Compressed air near vents (can push debris deeper), alcohol on textured or painted grips, and any liquid near charging ports or seams.
Stop and reassess if: Buttons feel sticky or unresponsive after cleaning, you see liquid pooling near ports, or the controller won’t power on after moisture exposure — let it dry fully before trying again.
What I Use For This Job
Using the right tools saves time and protects your belongings. Here are my exact recommendations:
*As an Amazon Associate, TidyFormula earns from qualifying purchases.
What to Check Before You Start
Take a look at the controller type and condition before choosing a method. Wired and wireless controllers clean the same way on the outside, but wired models have a cable and port that need to stay dry. If your controller has a rubberized or soft-touch grip, that coating can degrade over time with harsh solvents, so stick with mild cleaning agents and gentle pressure.
Check whether the battery cover or faceplate is removable. Many modern controllers allow you to pop off the back panel or battery compartment, which makes it easier to clean around edges without pushing debris further into the housing. If you’re unsure how your specific model comes apart, check the manufacturer’s instructions rather than forcing a panel that may be part of a sealed shell.
Tools That Work Well
- Microfiber cloth, slightly dampened with water
- Cotton swabs for narrow gaps around buttons
- A soft, dry toothbrush for grooves and joystick bases
- A wooden toothpick or plastic toothpick (not metal) to lift stuck-on debris
- A small amount of mild dish soap diluted in water, used sparingly on a cloth, not sprayed directly
Avoid soaking cloths in cleaning solution. The goal is damp, not wet. Excess moisture is the most common way liquid ends up inside the controller shell, where it can affect internal contacts.
Step-by-Step Cleaning Method
- Power off and disconnect. Turn the controller off completely, unplug any USB cable, and remove batteries if it uses replaceable ones. This protects internal electronics and reduces the risk of accidental input during cleaning.
- Shake out loose debris. Turn the controller upside down and gently shake it over a trash can or sink to release crumbs and dust that have settled around the buttons and triggers.
- Wipe the outer shell. Use a slightly damp microfiber cloth to wipe the top, back, and grips. Work in small sections and avoid pressing liquid into seams or vents.
- Clean around buttons and sticks. Dip a dry toothbrush lightly and brush around the base of each thumbstick and along button edges, where oils and grime tend to collect. A toothpick can help lift caked-on residue, but use light pressure so you don’t scratch the plastic.
- Address sticky or grimy grips. If the grip areas feel tacky, wipe with a cloth dampened in a diluted mild soap and water mix, then follow immediately with a dry cloth to remove any soap residue.
- Dry completely before use. Let the controller air-dry for at least 15 to 20 minutes in a well-ventilated area before reconnecting the cable, inserting batteries, or powering it on. Moving forward while any dampness remains is when most damage happens.
Cleaning Mistakes That Cause Real Damage
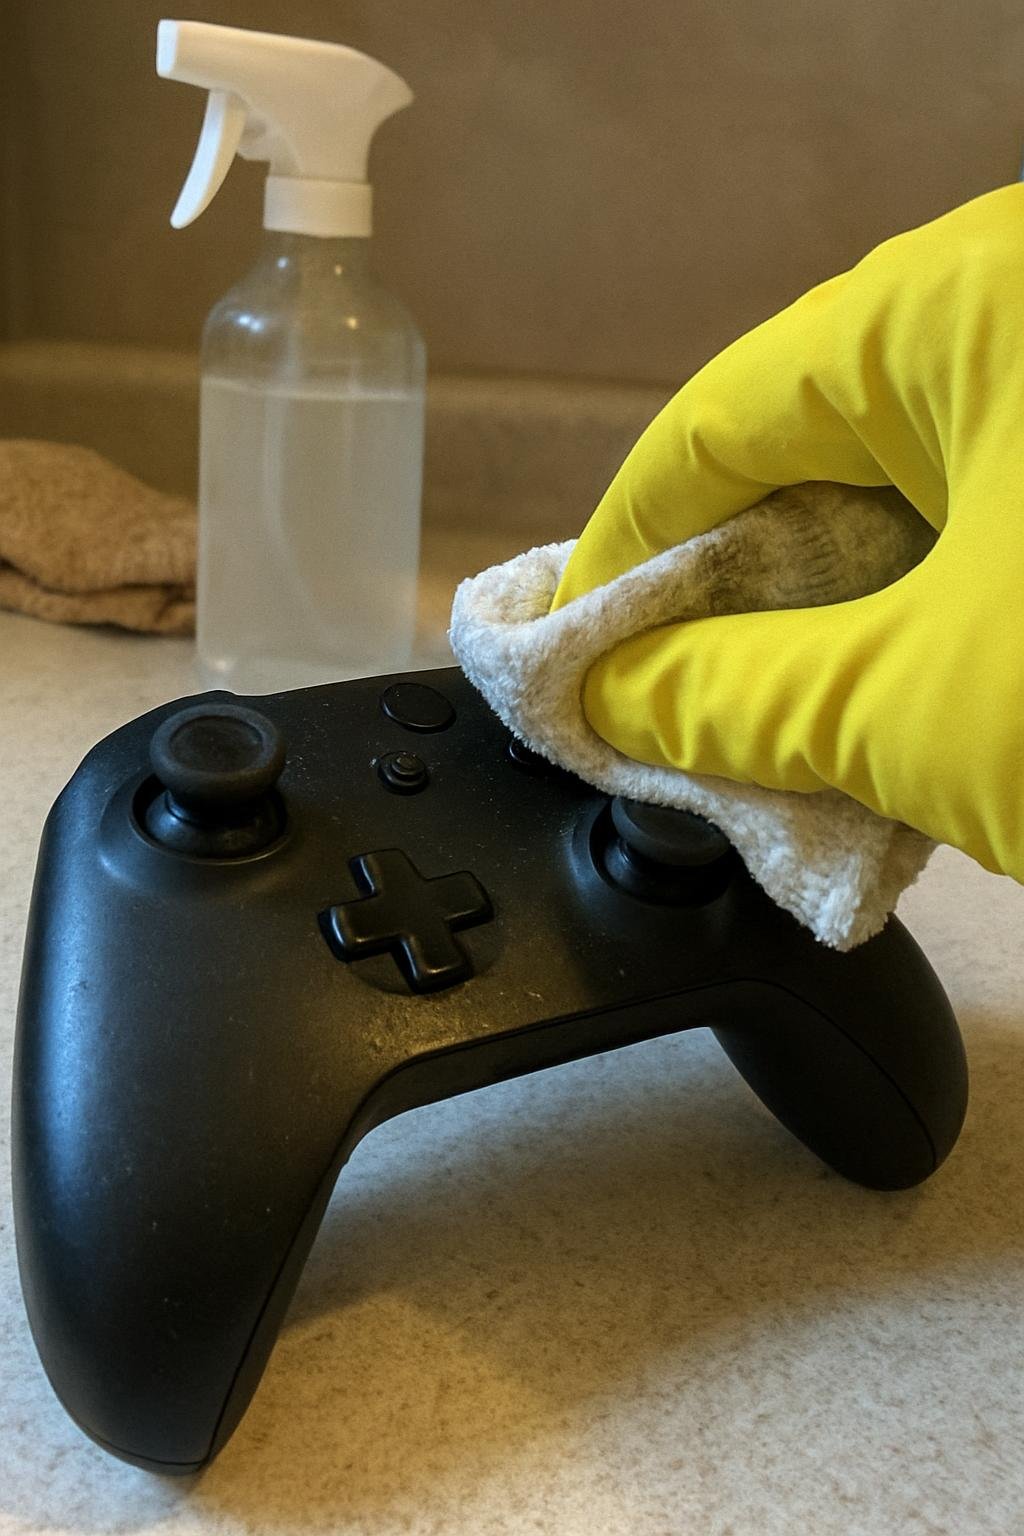
A few habits show up repeatedly as sources of controller problems, and most are avoidable with a little more caution.
- Spraying cleaner directly onto the controller. This is one of the fastest ways to push liquid into seams near buttons or the charging port. Apply cleaner to the cloth instead.
- Using compressed air aggressively. Short bursts held at a distance can help clear dust from vents, but blasting air directly into button gaps can force debris deeper rather than out.
- Reaching for alcohol wipes on textured grips. Alcohol can dry out or dull certain rubberized coatings over repeated use. If you choose to use it on hard plastic surfaces only, test a small hidden area first and check the manufacturer’s cleaning guidance if available.
- Skipping the drying step. Reconnecting a cable or inserting batteries while the shell is still damp is a common reason controllers stop responding correctly after cleaning.
When Buttons Feel Sticky or Unresponsive
If a button feels sticky even after wiping, the residue may be trapped underneath rather than on the surface. Some controllers allow careful removal of individual button caps, but this varies by model and design, and forcing a cap off a controller that isn’t designed for it can crack the plastic. If the issue continues after basic cleaning, check whether your specific model supports safe disassembly before attempting anything beyond a surface wipe.
Unresponsive joysticks after cleaning are sometimes related to leftover moisture rather than lasting damage. Give the controller extra drying time in a dry room before testing it again.
How Often to Clean a Gaming Controller
A light wipe-down every one to two weeks with regular use keeps oils and dust from building up in the grooves. If you eat near your setup often, more frequent spot cleaning around the buttons and triggers can prevent sticky residue from hardening, which is harder to remove later without more aggressive scrubbing.
Controllers aren’t the only household item that collects grime in ways that aren’t always obvious. If you’re working through a broader home cleaning routine, you might also find it useful to review how to clean a rug without a carpet cleaner for another area where dust and debris build up gradually without regular attention.
Everything Mentioned Above
Before you leave, grab the tools you need to get the job done right the first time:
*As an Amazon Associate, TidyFormula earns from qualifying purchases.