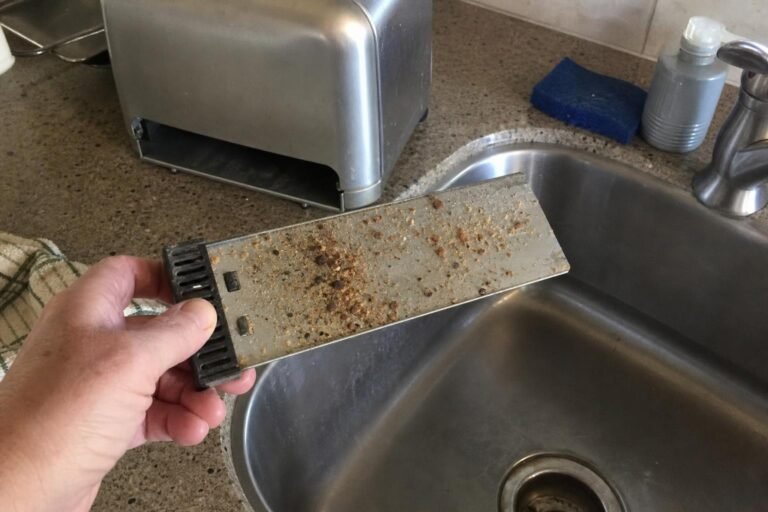
How to Clean a Water Cooler: A Complete Guide
You clean a water cooler by unplugging it, draining the reservoir, and washing the removable parts with warm water and mild dish soap, then wiping the interior tank with a diluted white vinegar solution before rinsing thoroughly and letting everything air dry. Doing this every few weeks helps keep buildup and odor from settling into the machine.
The TidyFormula Quick Decision
Best approach: Drain the unit, hand-wash the drip tray and cap holder with warm soapy water, and wipe the interior reservoir with a diluted white vinegar solution on a soft cloth or bottle brush.
Use caution with: Bleach-based cleaners inside the tank, abrasive scrubbers on plastic spouts, and any electrical components near the base or heating element.
Stop and reassess if: You see mold that keeps returning after cleaning, notice a persistent odor that vinegar doesn’t resolve, or the unit shows any sign of electrical damage such as frayed cords or exposed wiring.
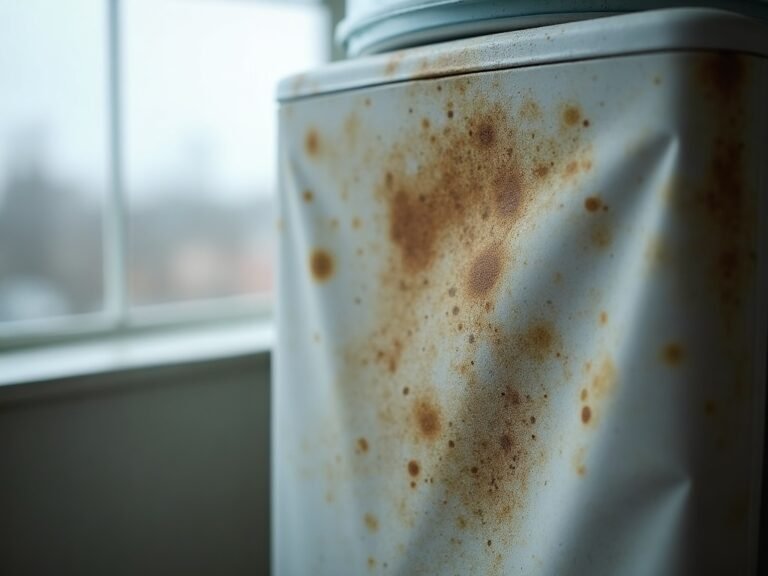
A water cooler is one of those appliances people trust to be clean simply because the water looks clear. But the reservoir, spouts, and drip tray sit in a warm, damp environment for weeks at a time, which is exactly the kind of setting where residue and buildup can accumulate. Regular cleaning is less about a single deep scrub and more about a habit that keeps the internal parts from developing a coating you can’t see from the outside. Mineral buildup in coolers is similar to the hard-water limescale you see on faucets; for more on removing that kind of scale, see How to Remove Limescale from Bathroom Faucets.
What I Use For This Job
Using the right tools saves time and protects your belongings. Here are my exact recommendations:
*As an Amazon Associate, TidyFormula earns from qualifying purchases.
What You Need Before You Start
Gather a few basic supplies before touching the unit. You will want warm water, mild dish soap, distilled white vinegar, a soft cloth or sponge, a bottle brush or pipe cleaner for narrow spouts, and a clean towel for drying.
- Mild dish soap and warm water
- Distilled white vinegar (undiluted household strength)
- A soft cloth, sponge, or bottle brush
- A clean towel or drying rack
- A bucket or basin to catch drained water
Avoid reaching for bleach or ammonia-based cleaners for this job. Cleaning agents that should not be combined must not be combined, and mixing leftover residue from one cleaner with another product later in the process is a real risk if the tank isn’t rinsed completely between steps. If you prefer gentler, low-toxicity product choices for routine appliance cleaning, our Non Toxic Cleaning Routine for the Whole House has practical alternatives and guidance.
How Do You Clean a Water Cooler Step by Step
The core process works for most bottled and bottleless coolers, though your model’s manual may specify a different interior material or a recommended cleaning frequency.
- Unplug the unit and disconnect it from any power source before removing parts.
- Remove the water bottle (if applicable) and drain the reservoir into a bucket or sink.
- Take off the drip tray, spout covers, and any removable caps, then wash them in warm soapy water.
- Mix a vinegar-and-water solution and pour a portion into the empty reservoir. (If you’re unsure where vinegar should not be used, read Surfaces You Should Never Clean with Vinegar.)
- Use a soft cloth or bottle brush to wipe the interior walls and reach into the spout openings.
- Let the vinegar solution sit briefly in the tank so it can help loosen residue on the interior surface.
- Drain the vinegar solution completely, then rinse the tank several times with clean water until no vinegar smell remains. If you prefer to avoid vinegar altogether, methods like those in How to Clean a Coffee Maker Without Vinegar show alternative approaches for rinsing-sensitive appliances.
- Dry the removable parts fully before reassembling, and let the interior air dry with the door or cap open if the unit allows it.
Rinsing thoroughly matters here. Any leftover vinegar or soap residue can affect the taste of the next batch of water, so don’t skip the multiple rinse cycles. For extra help with mineral-scale residues that sometimes form inside tanks and spouts, see our guide on How to Clean an Electric Kettle with Limescale for strategies that work on similar deposits.
Cleaning the Drip Tray and Exterior
The drip tray collects spilled water and airborne dust, so it often needs more frequent attention than the interior tank. Wash it with warm soapy water weekly if it sees regular use, and dry it fully before setting it back in place so water doesn’t pool underneath.
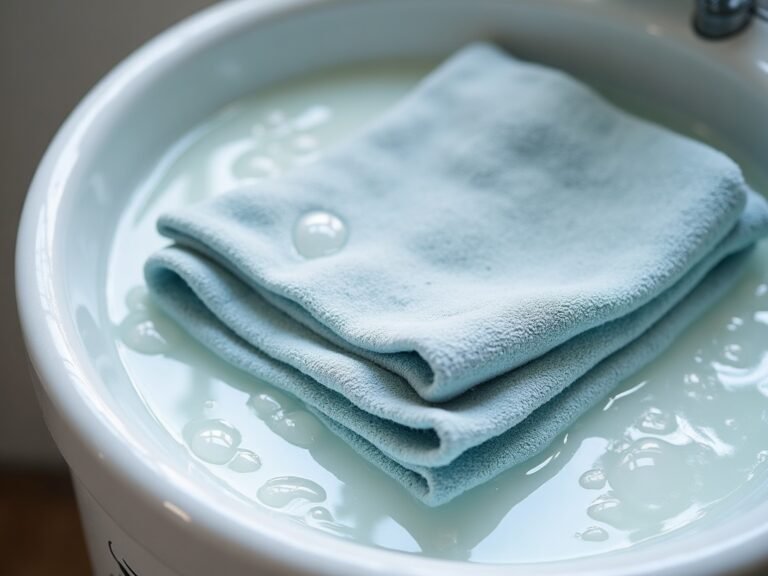
For the exterior housing, a damp cloth with a small amount of dish soap is usually enough. Avoid spraying cleaner directly onto control panels or vents, and instead apply it to the cloth first. Wipe down handles and spout areas more often since they’re touched frequently throughout the day.
When to Deep Clean vs. Quick Wipe
A quick wipe of the exterior and drip tray can happen weekly, but the interior reservoir usually benefits from a full vinegar rinse on a longer cycle, particularly if the cooler runs continuously in a household with several users. If you notice a change in water taste, a cloudy appearance, or a musty smell near the spout, that’s a sign the interior needs attention sooner rather than later.
| Area | Suggested Frequency | Method |
|---|---|---|
| Drip tray | Weekly | Warm soapy water, full dry before replacing |
| Exterior housing | Weekly | Damp cloth with mild soap |
| Interior reservoir | Every few weeks, or per manual | Vinegar solution, thorough rinse |
| Spouts and nozzles | With each interior clean | Bottle brush or pipe cleaner |
TidyFormula Tip
Keep a small dedicated bottle brush just for the cooler spouts so you’re not tempted to reuse a kitchen sponge that has picked up grease or food residue.
What to Avoid
Skip bleach inside the reservoir unless your appliance manual specifically allows it and provides its own guidance, since bleach residue in a water tank is difficult to rinse away completely and raises unnecessary risk. Avoid abrasive scouring pads on plastic interior walls, since scratches can create small grooves where residue collects more easily over time.
Don’t reassemble the unit while parts are still damp. Trapped moisture in a closed spout or cap can encourage the kind of environment that leads to musty odors returning shortly after cleaning. And never plug the unit back in until you’re certain no water has reached the electrical base or heating element during the cleaning process.
Frequently Asked Questions
Can you use bleach to clean a water cooler?
Bleach is not recommended for the interior reservoir unless the manufacturer’s manual specifically approves it and gives its own instructions. Vinegar is a gentler option that most coolers tolerate well, and it rinses away more easily than bleach residue.
How often should you clean a water cooler?
Many households clean the drip tray and exterior weekly, while the interior reservoir often gets a deeper vinegar clean every few weeks depending on usage. Check your appliance manual, since some manufacturers list their own recommended interval.
Why does my water cooler smell musty even after cleaning?
A lingering musty smell usually means residue or moisture remains somewhere in the system, often in a spout, cap, or drip tray that wasn’t fully dried. Repeat the interior rinse, dry every part completely, and if the smell returns quickly, consider having the unit inspected.
Is it safe to clean a bottleless water cooler the same way?
The general cleaning steps are similar, but bottleless coolers connect to a water line and may have an internal filter that needs separate attention per the manufacturer’s instructions. Check your specific model’s manual before disassembling any filtration components. For guidance on cleaning other built-in water appliances, you may find the steps in How to Clean an Ice Maker Safely helpful.
What should I do if mold keeps coming back in the reservoir?
If mold returns repeatedly after cleaning, stop using the unit and consult the manufacturer or a qualified appliance technician, since recurring growth can point to a design or drainage issue beyond routine cleaning. Persistent mold concerns are also worth discussing with a health professional if anyone in the household has respiratory sensitivities.
Everything Mentioned Above
Before you leave, grab the tools you need to get the job done right the first time:
*As an Amazon Associate, TidyFormula earns from qualifying purchases.