How to Clean a Hat Without Ruining It (The “No-Soak” Method)
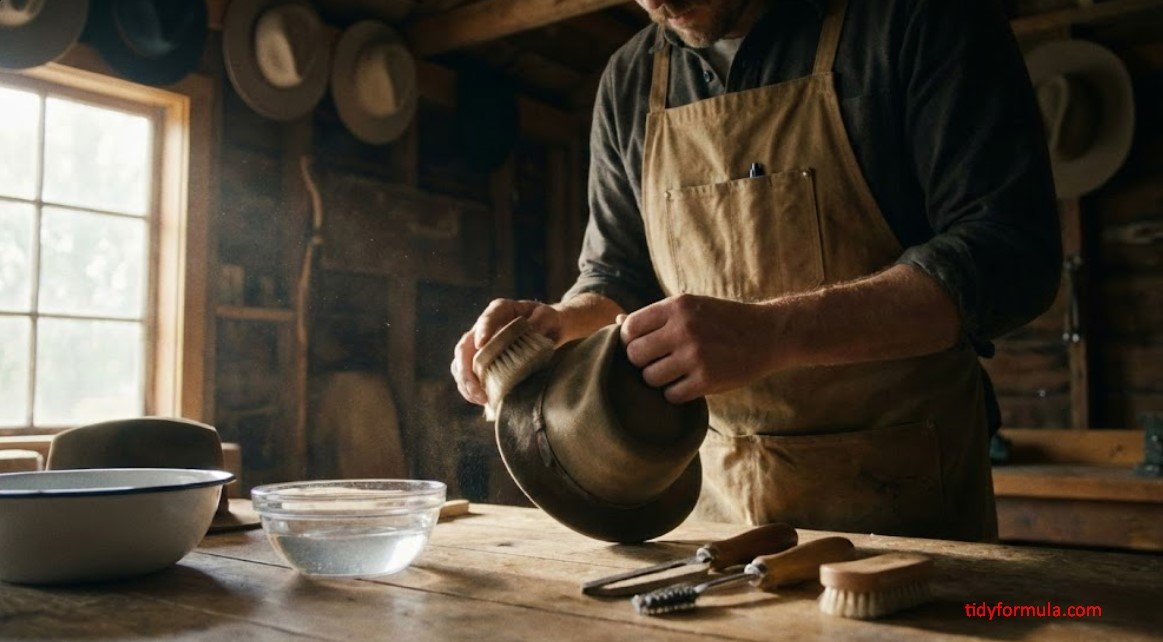
The safest way to clean a hat without ruining its shape is to dry-brush it first, then spot-clean it with a barely damp microfiber cloth and diluted clear dish soap. Keep the brim from becoming saturated, rinse away soap with a second damp cloth, reshape the hat, and let it air-dry away from heat.
⚡ The TidyFormula™ Quick Answer
The Verdict: Spot-clean with a damp microfiber cloth instead of soaking the entire hat. This is the safest general method for structured baseball caps, snapbacks, and similar fabric hats.
- The Mix: 1 cup cool water + 1 teaspoon mild clear dish soap.
- Cleaning Time: About 15–25 minutes, plus air-drying time.
- Best For: Sweat marks, surface dirt, light oil, and everyday odors.
- Avoid: Hot water, bleach, soaking, hard scrubbing, dishwashers, dryers, and hairdryers.
Before You Clean the Hat
Check the care label before using water or detergent. If it says “dry clean only,” follow that instruction. Remove detachable pins, patches, or accessories, but do not pull off anything sewn or glued in place.
Empty the adjustment strap and inspect the hat for loose stitching, peeling decorations, cracked material, or a soft and misshapen brim. Cleaning can worsen existing damage, so repair loose components before proceeding.
Identify the Material
This no-soak method is intended primarily for cotton, polyester, nylon, and common fabric-blend caps. Adjust the method for more delicate materials:
What I Use For This Job
Using the right tools saves time and protects your belongings. Here are my exact recommendations:
*As an Amazon Associate, TidyFormula earns from qualifying purchases.
- Wool: Use cool water and a detergent labeled for wool or delicates. Avoid rubbing, twisting, and heat, which can cause felting or shrinkage.
- Leather or suede: Do not use the dish-soap mixture or steam. Use a cleaner made specifically for the material, or take the hat to a professional.
- Straw: Dust it with a soft brush and use as little moisture as possible. Excess water can swell, stain, or deform the straw.
- Felt or highly structured dress hats: Dry-brush only unless the care label allows cleaning. Professional hat cleaning is safer for blocked shapes.
- Vintage caps: Assume the brim may contain cardboard unless you know otherwise. Keep it nearly dry.
Modern baseball-cap brims often contain plastic, but older hats may have cardboard inside. If the brim feels papery, has soft spots, or makes a faint crinkling sound when gently flexed, do not soak it.
Test for Colorfastness
Mix 1 teaspoon of mild clear dish soap into 1 cup of cool water. Dab a hidden area inside the hat with a white cloth, then press the cloth against the fabric for several seconds.
If color transfers to the cloth, the surface becomes lighter, or the finish changes, stop using the wet method. Stick to dry brushing or consult a professional cleaner. Test embroidered logos and contrasting trim separately because they may react differently from the main fabric.
Step 1: The Dry Brush (Remove Surface Dirt)
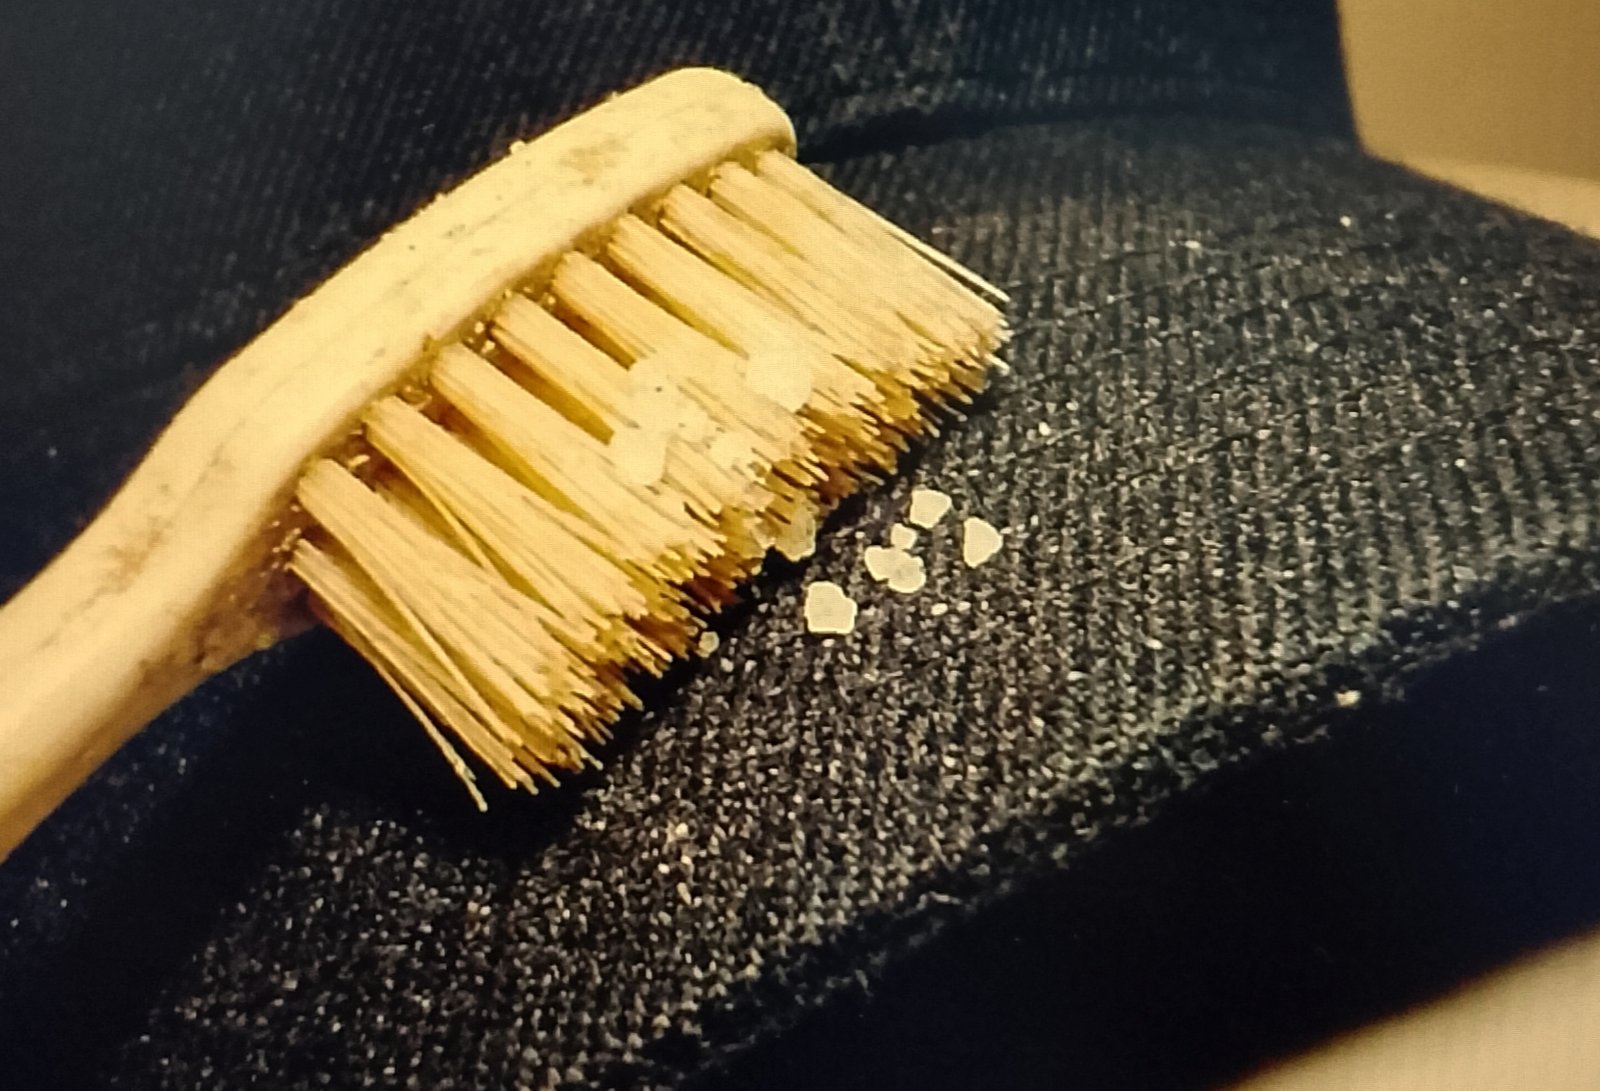
Before adding moisture, use a clean, soft-bristled brush—an old soft toothbrush works well—to loosen dust, hair, lint, and dried salt from the hat.
Use light strokes and work in one direction where possible. Aggressive scrubbing can pill cotton, roughen wool, and fray embroidery. Pay particular attention to seams, ventilation eyelets, the edge of the brim, and the area where the crown meets the brim.
Brush light-colored salt deposits from the inside out so you do not spread them across clean fabric. A lint roller can help with hair and loose fibers, but avoid pressing strong adhesive over delicate embroidery or peeling graphics.
Step 2: The Damp Cloth Method (Spot Cleaning)
Use clear soap because strongly colored products can leave a tint on light fabric. Do not apply undiluted soap directly to the hat.
- Dip a clean microfiber cloth into the diluted soap mixture.
- Wring it out thoroughly. The cloth should be damp, not dripping.
- Blot the sweatband first, working on a small section at a time.
- Move to stained areas on the crown and brim. Blot from the outside edge of each stain toward the center to limit spreading.
- For stubborn residue, use a soft toothbrush with very light, short strokes. Do not scrub embroidery, screen printing, patches, or worn fabric.
- Rinse the microfiber cloth, or use a second clean cloth dampened only with cool water. Blot every cleaned area to remove soap residue.
Clean the entire sweatband evenly rather than wetting only one small patch. This reduces the chance of creating a visible water line. Keep folded paper towels beneath the sweatband while cleaning if you need to prevent moisture from reaching the crown.
The hat should never feel heavy or waterlogged. If liquid can be squeezed from the fabric, you are using too much water.
🧪 Why Diluted Soap Works
Sweat marks commonly contain body oils, salts, and ordinary surface dirt. Diluted dish soap helps loosen oily residue so it can transfer to the cloth. Blotting and wiping with a second water-dampened cloth remove that residue while limiting the amount of moisture that reaches the brim and internal stiffeners.
How to Handle Common Hat Stains
- White sweat or salt rings: Make several light passes with the damp cloth instead of one heavily wet pass. Blot with plain water afterward.
- Greasy marks: Hold the damp soapy cloth against the spot briefly, then blot. Repeated gentle treatment is safer than hard scrubbing.
- Mud: Let it dry completely, brush away as much as possible, and then spot-clean the remaining mark.
- Makeup or sunscreen: Blot with diluted soap and frequently switch to a clean section of the cloth so you do not redeposit the residue.
- Ink, paint, adhesive, or unknown stains: Stop before using solvents. Alcohol, acetone, and stain removers can dissolve prints, loosen glue, or remove dye.
Step 3: Deodorize Without Masking the Smell
Odor usually remains when sweat and oil are still trapped in the sweatband. Clean that area again with diluted soap, then blot thoroughly with a plain-water cloth. Allow the hat to dry completely before deciding whether another cleaning pass is necessary; damp fabric can smell musty even when it is becoming cleaner.
For a dry deodorizing option, sprinkle a small amount of baking soda inside a fully dry, colorfast fabric hat. Leave it overnight, then brush or vacuum it out carefully using low suction. Do not use baking soda on leather, suede, felt, dark fabric that holds powder, or hats with delicate glued decorations.
Avoid perfume, essential oils, and heavy fabric sprays. They may leave rings or residue and often cover the odor rather than removing its source. Do not mix baking soda with soap, bleach, vinegar, alcohol, or other cleaning products.
Step 4: Steam and Reshape, If the Material Allows
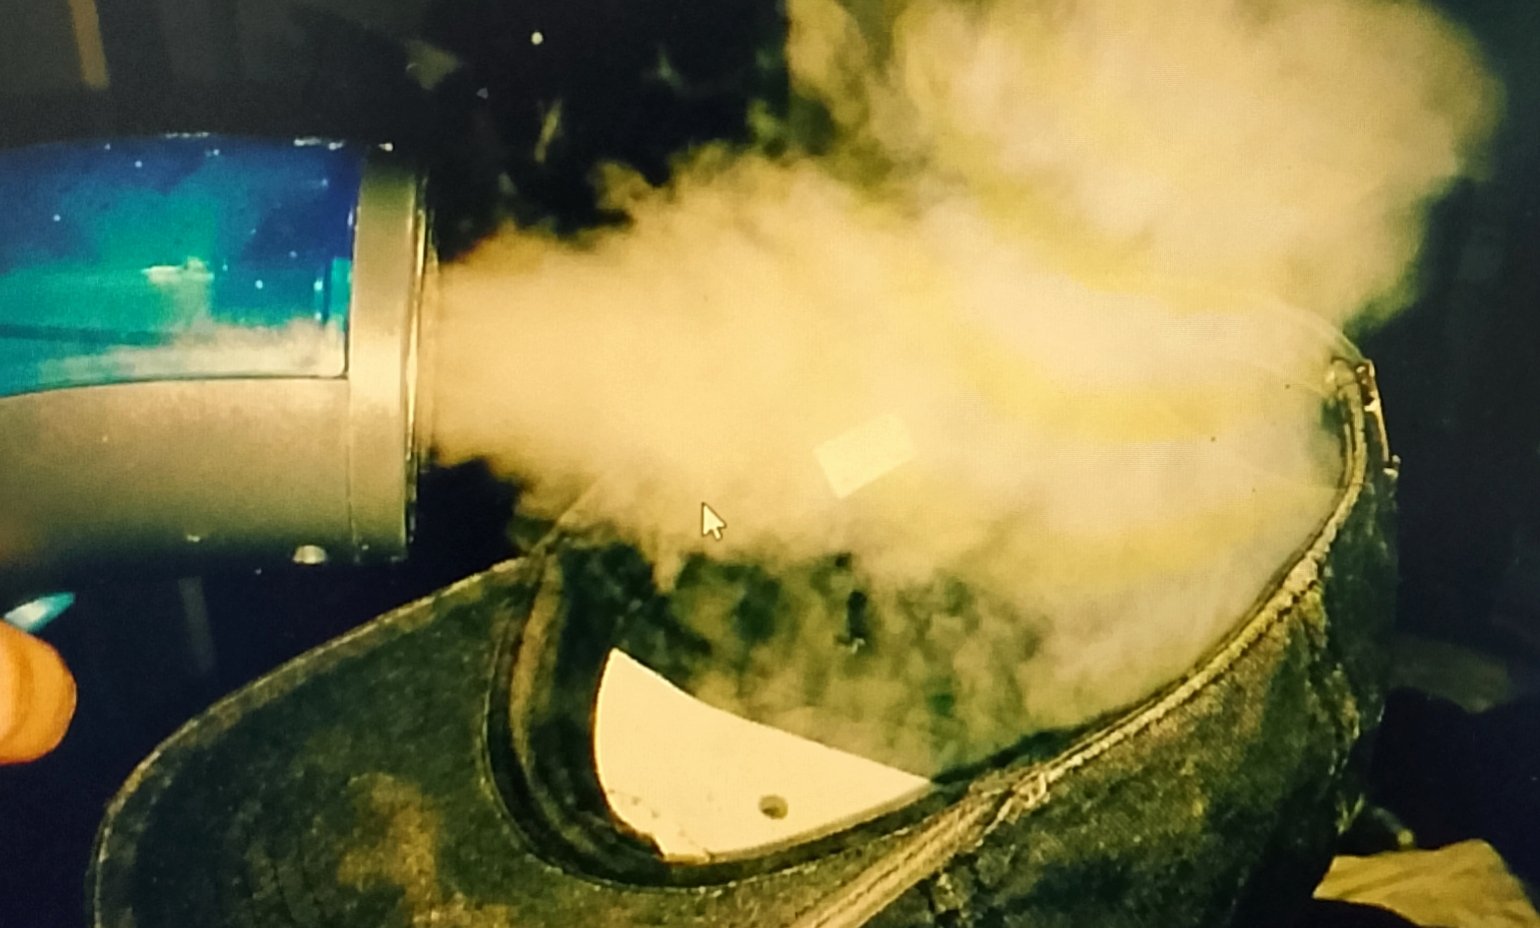
Steam is optional. It can help relax light creases in a washable fabric crown, but it should not replace cleaning and is unsuitable for leather, suede, fragile straw, cardboard brims, heat-sensitive decorations, and hats with peeling adhesive.
- Hold the steamer about 6 inches away.
- Keep it moving rather than concentrating steam in one spot.
- Apply only enough steam to make the fabric slightly pliable.
- Reshape the crown gently with clean hands.
- Stop if dye transfers, adhesive softens, the brim curls, or the material develops a new texture.
Do not place the steamer directly against the fabric. If the care label warns against steam or heat, skip this step.
Step 5: Air-Dry Without Warping the Hat
Blot excess moisture with a dry white towel, but do not twist or wring the hat. Shape the crown while it is still damp and place it over a clean jar, bowl, rolled towel, or hat form that approximates the shape of your head.
Keep the brim in its intended position. If it is flat, dry it on a flat surface with the crown supported. If it is curved, support the existing curve without bending it more sharply.
Place the hat in a ventilated room away from direct sunlight, radiators, heating vents, and other heat sources. Turn or reposition it occasionally so trapped moisture can escape. Do not wear or store it until the sweatband and inner seams are completely dry.
The biggest danger is often heat rather than limited moisture. A dishwasher can expose the hat to hot water, heated drying, and strong detergent. A clothes dryer can shrink the sweatband and distort the brim or crown.
Troubleshooting After Cleaning
The Hat Has a New Water Ring
Lightly dampen the boundary of the ring with a clean water-dampened cloth and feather the moisture outward. Blot with a dry towel and let the area dry evenly. Do not soak the whole panel to chase the mark.
The Fabric Feels Stiff or Looks Chalky
Too much soap may remain in the fibers. Blot the area repeatedly with a clean cloth dampened with cool water, switching to a clean section of the cloth each time. Air-dry it again before repeating.
The Brim Is Becoming Soft or Misshapen
Stop adding water immediately. Place the brim in its original position on a flat, absorbent towel and let it dry naturally. Do not bend, press, iron, or clamp a wet brim.
The Color Is Transferring
Stop wet cleaning and blot away surface moisture with a dry white cloth. Do not continue rinsing in an attempt to remove the dye. Allow the hat to dry and use only a dry brush afterward.
The Odor Returns
Check whether the sweatband and seams are completely dry. If they are dry, repeat the spot-cleaning process on the sweatband using less soap and a thorough plain-water blot. Persistent odor, mildew-like spotting, or widespread staining may require professional cleaning or replacement.
The Reality Check
A no-soak method cannot safely remove every stain. A vintage hat with a cardboard brim, unstable dye, cracking decoration, or brittle stitching may be damaged by even a small amount of water. Deep grease, paint, ink, mildew-like spotting, and old oxidation marks may also remain after spot cleaning.
Stop if the brim softens, color bleeds, glued trim lifts, or the fabric changes texture. A permanent light stain is usually preferable to structural damage.
How to Keep a Hat Cleaner
- Let the hat air out after wearing it instead of immediately placing it in a closed drawer or gym bag.
- Blot fresh sweat from the band with a clean dry cloth before it dries into a visible ring.
- Brush off dust regularly so it does not become embedded in oily fabric.
- Store the hat on a shelf or form that supports the crown. Avoid stacking heavy objects on the brim.
- Keep hats away from prolonged direct sunlight, which can fade the exposed panels unevenly.
- Clean light buildup early. Several gentle spot cleanings are safer than aggressive treatment of an old, set-in stain.
FAQ: Cleaning a Hat Without Ruining It
Can I put my hat in the dishwasher?
No. Dishwasher detergent is formulated for dishes, and the heat and water pressure can shrink fabric, distort the brim, fade color, or weaken glued components.
Can I clean a signed or autographed hat?
Do not wet or steam the signed area. Ink can feather, fade, or transfer even when it appears permanent. Use a soft dry brush around the autograph and consider professional preservation for a valuable hat.
Why does my hat still smell after it dries?
The sweatband may still contain body oil or soap residue, or the inner seams may not be fully dry. Repeat a light cleaning of the sweatband, blot with plain water, and allow more ventilation. Do not store the hat until every layer is dry.
What should I do if the colors bleed?
Stop wet cleaning immediately and blot the area with a dry white cloth. Let the hat air-dry without heat. Use only dry cleaning methods afterward or consult a cleaner experienced with hats.
Everything Mentioned Above
Before you leave, grab the tools you need to get the job done right the first time:
*As an Amazon Associate, TidyFormula earns from qualifying purchases.