How to Deodorize a Kitchen Trash Can
Wash the can with warm water and dish soap, dry it completely, then place an open box of baking soda or a few charcoal deodorizer bags inside to absorb ongoing odor. For a lingering smell, wipe the interior with a baking-soda-and-water paste, rinse, and let it air dry fully before adding a fresh liner. Skipping the drying step is the most common reason odors come right back.
If the can has been sitting closed with wet garbage for a day or two in warm weather, a single wipe-down usually will not be enough, and you may need to repeat the cleaning step or address a spot where liquid pooled at the bottom.
⚡ The TidyFormula™ Quick Decision
Best approach: Wash the can with soap and water, dry it completely, then use baking soda or a charcoal packet for ongoing odor control between cleanings.
Use caution with: Scented sprays and heavy fragrance products, which can mask odor without addressing the source, and any metal can with rust spots, which may need gentler handling.
Stop and reassess if: The smell returns within a day or two after a full cleaning, which usually means liquid has pooled under the liner or seeped into a crack or seam.
What I Use For This Job
Using the right tools saves time and protects your belongings. Here are my exact recommendations:
*As an Amazon Associate, TidyFormula earns from qualifying purchases.
Why Kitchen Trash Cans Develop Odor in the First Place
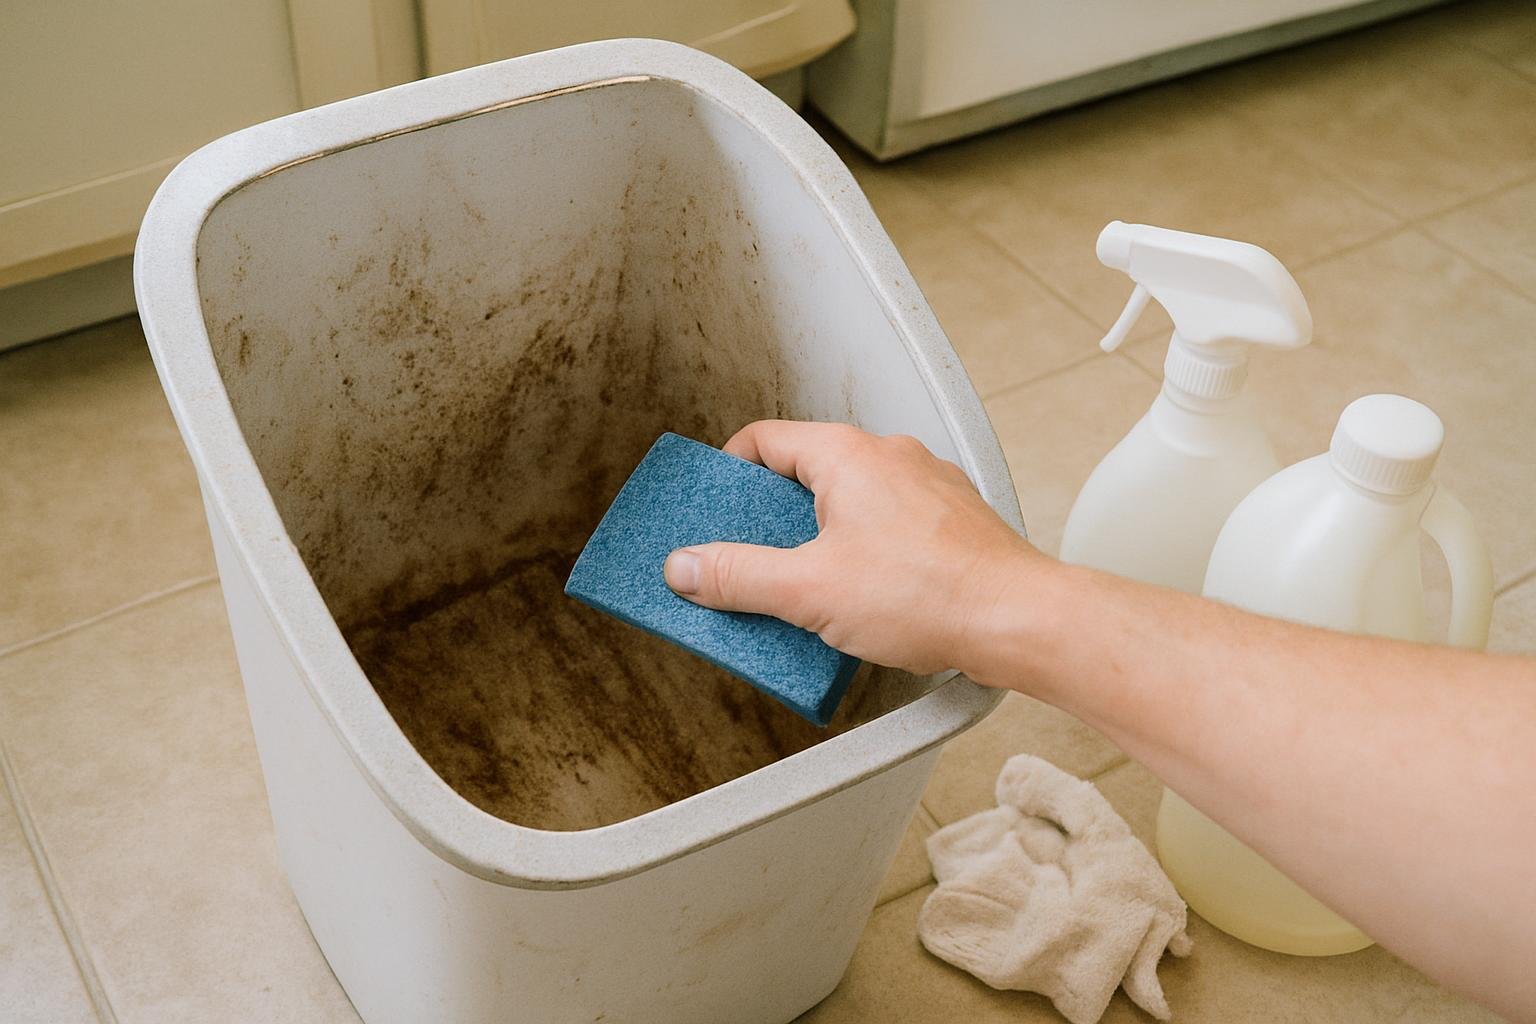
Most kitchen trash can odor comes from moisture. Food scraps, produce, and liquid from packaging settle at the bottom of the can, and if a liner leaks or doesn’t reach all the way to the base, that moisture sits directly against the plastic or metal. Odor tends to build faster in warm kitchens, with cans that don’t get emptied daily, or with liners that are too thin for what’s being thrown away.
Understanding this matters because deodorizing only masks the smell temporarily if the underlying moisture problem isn’t solved first. A can that’s cleaned and dried thoroughly will hold a deodorizer’s effect much longer than one that’s just sprayed and closed back up.
Step-by-Step: Cleaning and Deodorizing the Can
- Empty the can completely and remove any liner. Take it outside or to a well-ventilated area if the odor is strong.
- Rinse the interior with warm water to loosen any residue stuck to the bottom or sides.
- Wash with warm water and dish soap, using a scrub brush or sponge to reach the bottom seams and any ridges where debris collects. These low spots are usually where odor concentrates.
- Rinse thoroughly until no soap residue remains, since leftover soap can attract dust and grime once the can is back in use.
- Dry the can completely before adding a new liner. Air drying works, but wiping the interior with a clean towel speeds things up and helps you check for any spots that are still damp.
- Add an odor absorber once the can is dry. An open box of baking soda, a small dish of baking soda, or a charcoal deodorizer bag placed at the bottom of the can works well for ongoing maintenance between full cleanings.
Treating a Can That Still Smells After Washing
If a plain wash didn’t fully clear the odor, the smell has likely worked into a porous spot, a seam, or a scratch in the plastic where bacteria-favoring residue can linger. In that case, make a paste of baking soda and a small amount of water, spread it over the interior surface, and let it sit for a few minutes before scrubbing with a brush and rinsing well. Baking soda is a mild, low-risk option for most plastic and metal cans, but always let the can dry fully afterward since any trapped moisture will bring the odor back.
Avoid mixing cleaning products when treating stubborn odor. Combining bleach with other household cleaners, including vinegar or ammonia-based products, can create harmful fumes, so stick to one cleaning approach at a time and rinse thoroughly between steps if you switch products.
Choosing a Deodorizing Method That Fits Your Can
| Situation | Recommended Approach | Why It Fits |
|---|---|---|
| Mild, everyday odor | Baking soda left in the bottom of the can | Low-cost, low-risk, works well for ongoing maintenance |
| Persistent or musty smell | Charcoal deodorizer bag | Absorbs odor over several weeks without added moisture |
| Odor tied to a specific spill | Full wash plus baking soda paste | Targets the residue directly instead of masking it |
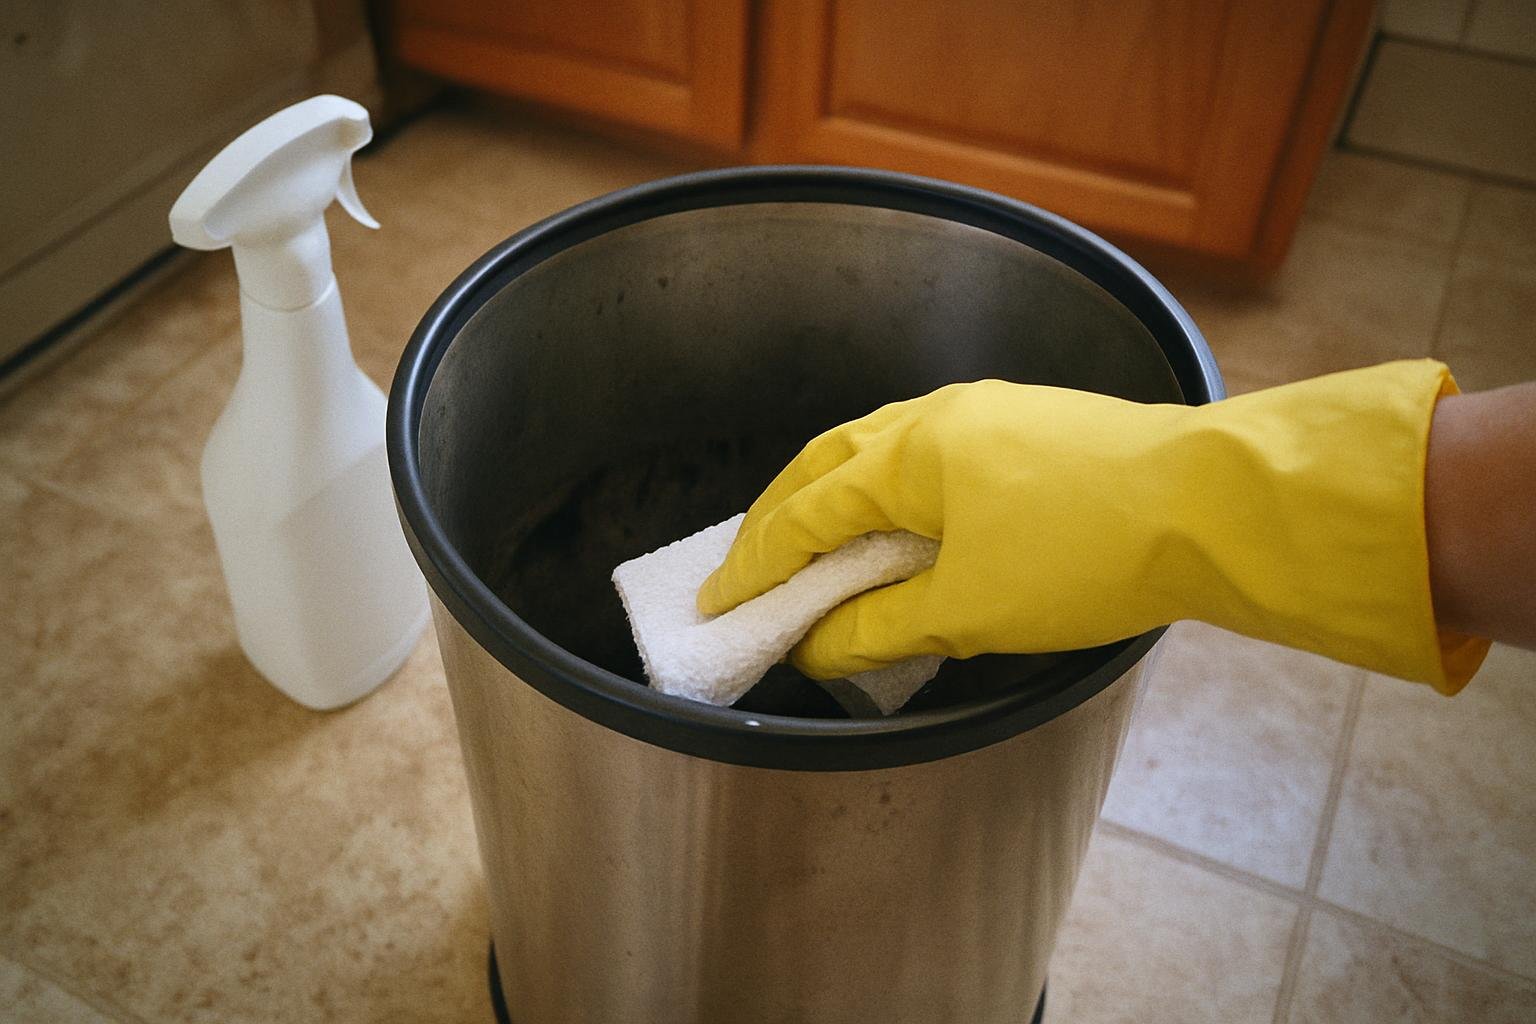
| Metal can with rust spots | Gentle wash, thorough drying, avoid abrasive scrubbing | Reduces risk of worsening surface corrosion |
Mistakes That Make Kitchen Trash Can Odor Worse
- Spraying scent over a dirty can. Air fresheners and scented sprays cover odor temporarily but don’t remove the source, so the smell often returns once the fragrance fades.
- Closing the lid on a damp interior. Trapped moisture in a closed, warm space is one of the fastest ways to regrow odor, even right after cleaning.
- Using a liner that’s too thin or too small. A liner that doesn’t reach the bottom of the can or tears easily lets liquid leak directly onto the surface underneath.
- Letting the can sit unwashed for weeks. Odor and residue build up gradually, so a can that’s never washed between liner changes needs deeper cleaning than a quick wipe can provide.
- Skipping the bottom seam or ridges when scrubbing. These areas trap the most residue and are usually where lingering odor comes from even after the visible surface looks clean.
Preventing Odor From Coming Back
A few small habits go a long way toward keeping a kitchen trash can from smelling in the first place. Use liners rated for the size of your can, tie off bags before they overfill, and take out the trash more frequently if you’re regularly disposing of meat scraps, dairy, or produce waste, since these break down faster than dry trash. Wiping down the inside rim of the can every week or two, even when it looks clean, helps catch buildup before it turns into a lingering smell.
If you’re setting up a broader cleaning routine for your kitchen, the household cleaning checklist can help you fit trash can maintenance into a regular schedule instead of treating it as an occasional chore.
When Cleaning Isn’t Enough
If a can continues to smell after a full wash, dry-out, and deodorizer treatment, check for cracks, warped plastic, or a lid that no longer seals tightly. Odor can settle permanently into deep scratches or damaged seams on older plastic cans, and at that point, replacing the can is usually more effective than continuing to treat it. Metal cans with heavy rust or pitting have the same issue, since corrosion creates rough surfaces that trap residue no matter how often you clean them.
Everything Mentioned Above
Before you leave, grab the tools you need to get the job done right the first time:
*As an Amazon Associate, TidyFormula earns from qualifying purchases.