How to Remove Mildew from a Shower Curtain
To remove mildew from a shower curtain, check the care label first. Machine-wash a washable fabric curtain with laundry detergent on a label-approved cycle; hand-clean a plastic or vinyl liner with mild dish soap and a soft cloth unless its label allows machine washing. Avoid high heat, and never combine bleach with any other cleaner.
Small surface spots are usually manageable, but old discoloration may remain after the residue and odor are gone. Brittle plastic, peeling coatings, damaged seams, and widespread recurring mildew can make replacement the more practical choice.
⚡ The TidyFormula™ Quick Decision
Best approach: Machine-wash label-approved fabric curtains and hand-clean plastic or vinyl liners with mild dish soap unless their care labels permit machine washing.
Use caution with: Printed designs, coated fabric, decorative trim, metal grommets, bleach, abrasive scrubbers, and dryer heat.
Replace instead of cleaning if: The curtain or liner is cracked, brittle, peeling, impossible to dry fully, or still has widespread mildew and persistent odor after cleaning.
What I Use For This Job
Using the right tools saves time and protects your belongings. Here are my exact recommendations:
*As an Amazon Associate, TidyFormula earns from qualifying purchases.
Identify the Curtain Material Before You Start
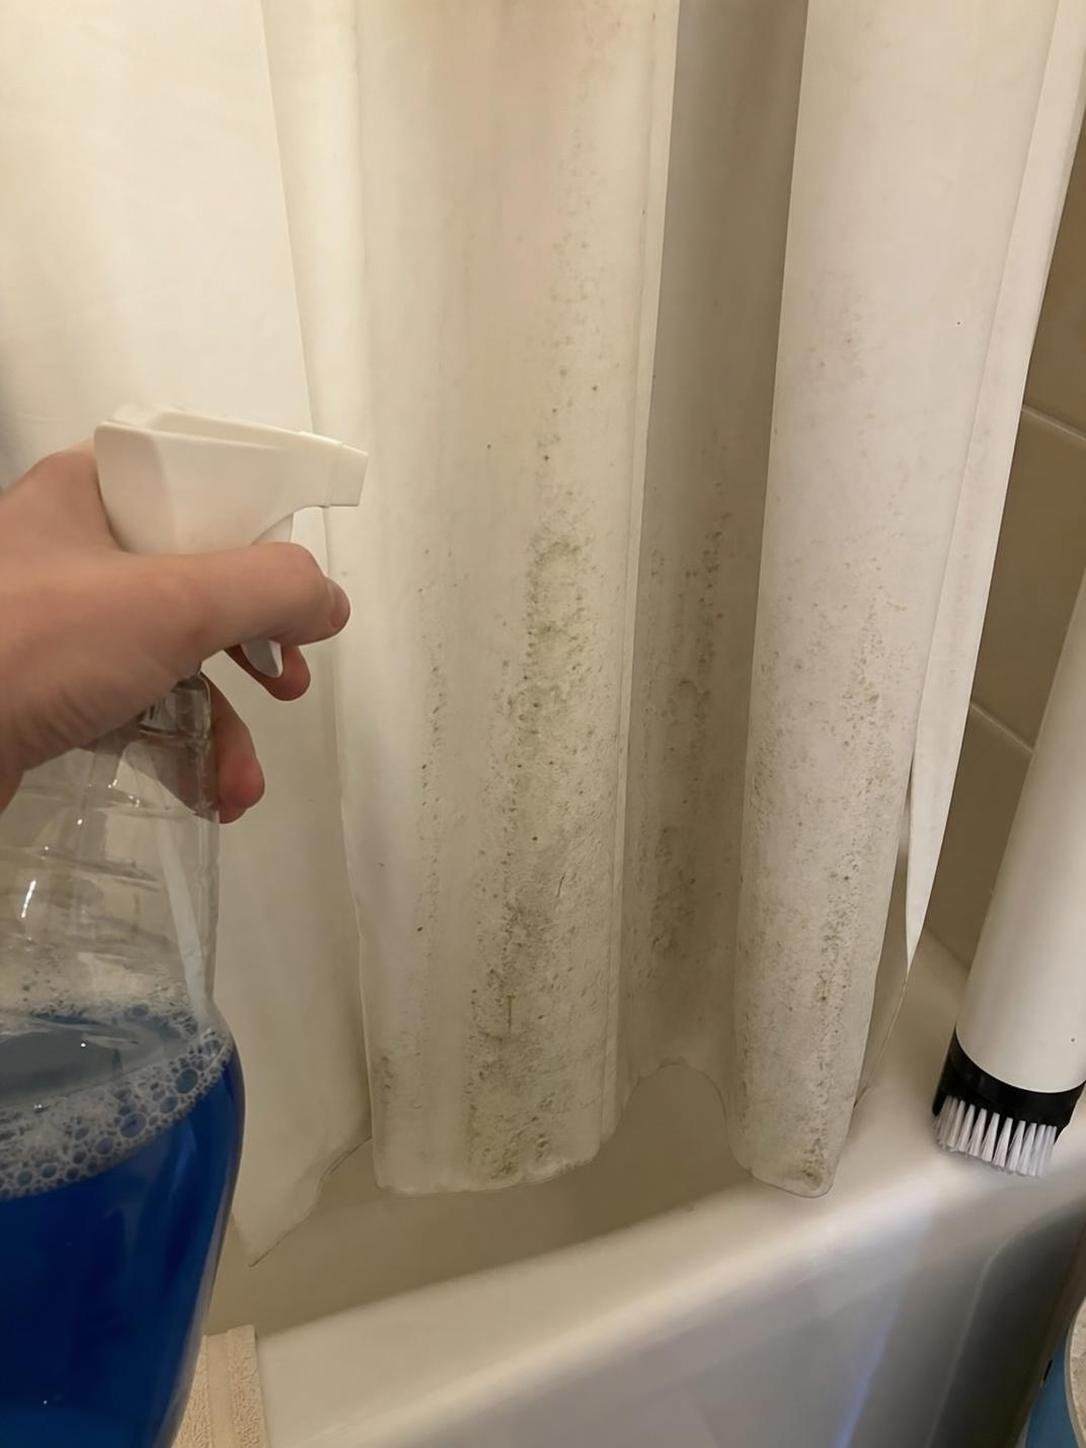
The safest cleaning method depends more on the curtain material than on the color of the mildew spots. Look for a sewn-in care label or printed instructions before applying a cleaner.
- Washable fabric: Cotton, polyester, and fabric blends may be machine washable, but the label controls the cycle, water temperature, and drying method.
- Plastic or vinyl liner: Hand cleaning is the lower-risk choice unless the manufacturer specifically allows machine washing. Heat can warp, stiffen, or damage these materials.
- Coated or printed curtain: Test the cleaner in an inconspicuous corner. Stop if color transfers, the print becomes tacky, or the coating begins to lift.
- Decorative curtain: Curtains with glued trim, embroidery, magnets, or delicate metal grommets may require spot cleaning or professional care.
Inspect the bottom hem closely because folds can hold residue and water. If the hem is separating or the material feels sticky, brittle, or unusually thin, aggressive cleaning may cause more damage.
Gather a Small, Material-Safe Cleaning Kit
You don’t need several competing cleaners. Choose one suitable product, use gentle tools, and follow its current label directions.
- Laundry detergent for a machine-washable fabric curtain
- Mild dish soap for hand-cleaning a plastic or vinyl liner
- Soft microfiber cloth or nonabrasive sponge
- Soft-bristled brush for durable fabric hems, if needed
- Clean towels to protect the work surface and catch drips
- Gloves or other protection required by the cleaner label
For stubborn fabric stains, you may use a laundry stain remover only if both the curtain’s care label and the cleaner label allow it. Use it as a separate follow-up treatment, and rinse out the first cleaner before changing products.
The Safest Practical Cleaning Method
Remove the curtain from its hooks and clean both sides, paying special attention to the lower edge and folded hem. Use the machine method for washable fabric and the hand-cleaning method for plastic, vinyl, or uncertain materials.
For a machine-washable fabric curtain
- Take off all hooks and detachable hardware. Close any hook-and-loop fasteners and check loose hems or grommets before washing. Repair significant damage first or choose gentle hand cleaning.
- Remove loose surface residue. Over a bathtub or washable surface, wipe the affected areas with a damp cloth. Don’t shake a heavily spotted curtain around the room.
- Wash according to the care label. Use laundry detergent and the permitted cycle and water temperature. Don’t add bleach, vinegar, or another household cleaner unless the curtain label and product label specifically direct that use.
- Check before drying. If stains remain, don’t apply dryer heat. Repeat the wash or use a compatible laundry stain treatment according to its label after the detergent has been thoroughly rinsed away.
- Dry as directed. Hang the curtain promptly when allowed. Use a dryer only if the care label permits it, since heat can shrink fabric, damage coatings, or distort decorative details.
For a plastic or vinyl liner
- Place the liner on a protected washable surface. A clean bathtub or large basin works well. Keep the work area ventilated and watch for slippery soap residue.
- Test your cleaner. Apply a small amount of mild dish soap and water to a hidden corner. Stop if the surface becomes sticky, faded, cloudy, or rough.
- Wipe gently. Clean both sides with a soft cloth or nonabrasive sponge. Support the material with your other hand around seams and grommets so you don’t stretch or tear it.
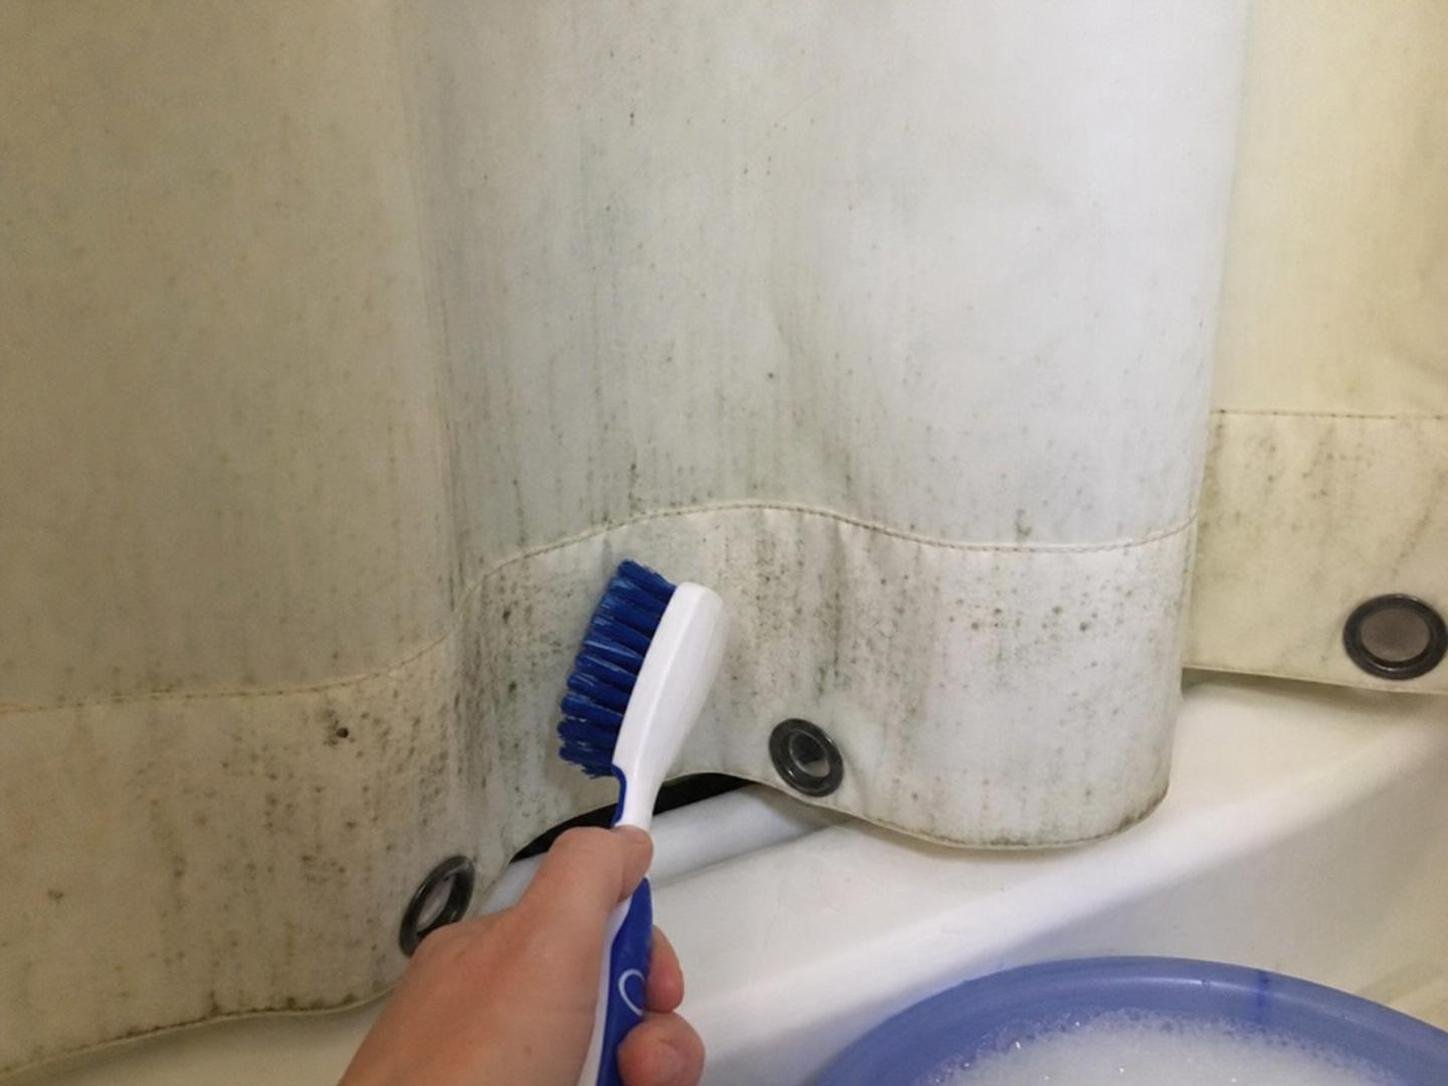
- Work on the hem and folds. Use light pressure rather than hard scrubbing. A soft brush can help only if the material is sturdy and the test area shows no scratching.
- Rinse thoroughly. Remove all soap from the front, back, hem, and magnet pockets. Leftover residue can feel tacky and attract new soil.
- Hang it fully extended. Let water drain into the tub and keep the liner spread open until both sides, the hem, and any folded pockets are dry. Don’t place plastic or vinyl in a dryer unless its care label explicitly permits it.
🧪 Why This Works
Detergent or mild soap loosens oily bathroom residue that helps mildew discoloration cling to the curtain. Gentle wiping or washing lifts that residue without relying on harsh abrasion, while thorough rinsing and complete drying remove the moisture and cleaner film that can leave the curtain feeling sticky.
What to Do If Spots or Odor Remain
A failed first cleaning doesn’t always mean you need a stronger product. Check for trapped residue, incomplete drying, or permanent discoloration before treating the curtain again.
The dark marks are lighter but still visible
The remaining marks may be stains rather than removable surface residue. For washable fabric, use a compatible laundry stain remover according to its label, after rinsing away the original detergent. Test colored or printed fabric first. Repeated hard scrubbing can weaken fibers or remove printed details.
The liner feels slippery or sticky
Cleaner residue is the likely issue. Rinse both sides again, paying attention to folds, reinforced holes, magnets, and the bottom hem. If the liner remains sticky after a thorough rinse and drying, its surface may be deteriorating and replacement is sensible.
The musty odor returns quickly
Check whether the hem, overlapping folds, bathtub edge, curtain hooks, or wall-facing side remained damp. Clean the surrounding washable surfaces separately with a product intended for them, and allow the curtain to dry completely. Persistent odor in a damaged or heavily spotted curtain can justify replacement.
The color or finish changes during cleaning
Stop immediately if dye transfers, a coating peels, or the material becomes tacky. Rinse away the cleaner if the care instructions permit rinsing, then let the curtain dry without heat. Don’t continue scrubbing a compromised finish.
Cleaning Mistakes That Can Damage a Shower Curtain
The most common problems come from excessive heat, excessive force, and using multiple cleaners in an attempt to speed up stain removal.
- Mixing cleaning products: Never combine bleach with vinegar, ammonia, acids, alcohol, or other cleaners. Follow the current product label and rinse one cleaner away before considering another treatment.
- Assuming every liner is machine washable: A washing machine can crease, stretch, or tear plastic and vinyl. Hand-clean it unless the manufacturer permits machine washing.
- Using abrasive pads: Rough scrubbers may scratch clear plastic, dull printed designs, or damage a water-resistant coating.
- Applying dryer heat too soon: Heat can set some discoloration and may warp plastic or damage coated fabric. Inspect the curtain before drying.
- Ignoring the reinforced hem: Water and residue can stay trapped around weights, magnets, and folded seams even when the main panel looks dry.
- Using more cleaner instead of rinsing: Excess product can leave stiffness, streaks, or a sticky film. Use the amount directed on the cleaner label.
Keep Mildew From Returning as Quickly
The most useful preventive step is allowing the entire curtain to dry between showers. Concentrate on airflow and eliminate wet folds rather than repeatedly applying cleaner.
- Pull the curtain or liner fully across the rod after showering so it isn’t bunched into damp folds.
- Keep the liner positioned so water drains into the tub or shower base rather than collecting along the bathroom floor.
- Use the bathroom exhaust fan or other available ventilation during and after showers.
- Straighten the bottom hem and separate it from the tub wall if the two surfaces remain stuck together.
- Wipe away visible buildup before it becomes widespread, following the curtain’s care instructions.
- Clean soap residue from the nearby tub edge and wall so it doesn’t transfer back onto the curtain.
Before rehanging the curtain, confirm that the rod, rings, grommets, and lower hem are dry. Replace rusty or rough hooks that could stain or tear the material.
Frequently Asked Questions
Can you use bleach on a shower curtain?
Only use bleach if the curtain’s care label and the bleach label allow it for that material and color. Follow the current product directions, provide the ventilation and protection the label requires, and never mix bleach with another cleaner. Avoid guessing a dilution or soaking time.
Can vinegar and baking soda be used together?
Using multiple household products is unnecessary and can complicate rinsing or damage an uncertain finish. Choose one material-compatible cleaner instead. Never use vinegar with bleach, and thoroughly rinse the curtain before switching to any different product.
Should you clean the curtain while it is hanging?
Light wiping may be practical for a small spot, but removing the curtain gives you better access to the wall-facing side, bottom hem, and grommets. It also reduces the chance of stretching the rod or missing residue in folded areas.
When is a shower curtain not worth saving?
Replace it when plastic is cracked or brittle, a coating is peeling, seams are failing, or stains and odor remain widespread after appropriate cleaning and complete drying. Replacement is also more practical when the construction prevents the curtain from drying fully.
For most shower curtains, the best approach is simple: follow the care label, machine-wash suitable fabric, hand-clean plastic or vinyl gently, rinse thoroughly, and avoid high heat. Once rehung, keep the curtain fully extended and ventilate the bathroom so its folds and lower hem can dry between uses.
Everything Mentioned Above
Before you leave, grab the tools you need to get the job done right the first time:
*As an Amazon Associate, TidyFormula earns from qualifying purchases.