How to Clean Window Screens without Removing Them
The safest way to clean window screens without removing them is to loosen dust with a soft brush or low-suction vacuum, then wipe the mesh gently with a barely damp microfiber cloth and mild soapy water. The limitation is access: clean only the sides you can reach safely, and avoid saturating fiberglass, aluminum, coated, or retractable screens.
This in-place method handles ordinary dust, pollen, cobwebs, and light grime. Heavily embedded dirt may require screen removal because wiping one exposed side can’t fully clean the opposite surface or the edges hidden inside the frame.
⚡ The TidyFormula™ Quick Decision
Best approach: Dry-brush or vacuum first, then wipe from top to bottom with a well-wrung microfiber cloth and lightly soapy water.
Use caution with: Loose mesh, brittle fiberglass, bent aluminum, damaged coatings, retractable screens, and upper-story windows you cannot reach safely.
Replace instead of cleaning if: The mesh is torn, separating from the frame, badly distorted, or crumbling when touched.
What I Use For This Job
Using the right tools saves time and protects your belongings. Here are my exact recommendations:
*As an Amazon Associate, TidyFormula earns from qualifying purchases.
Check the Screen Before Adding Water
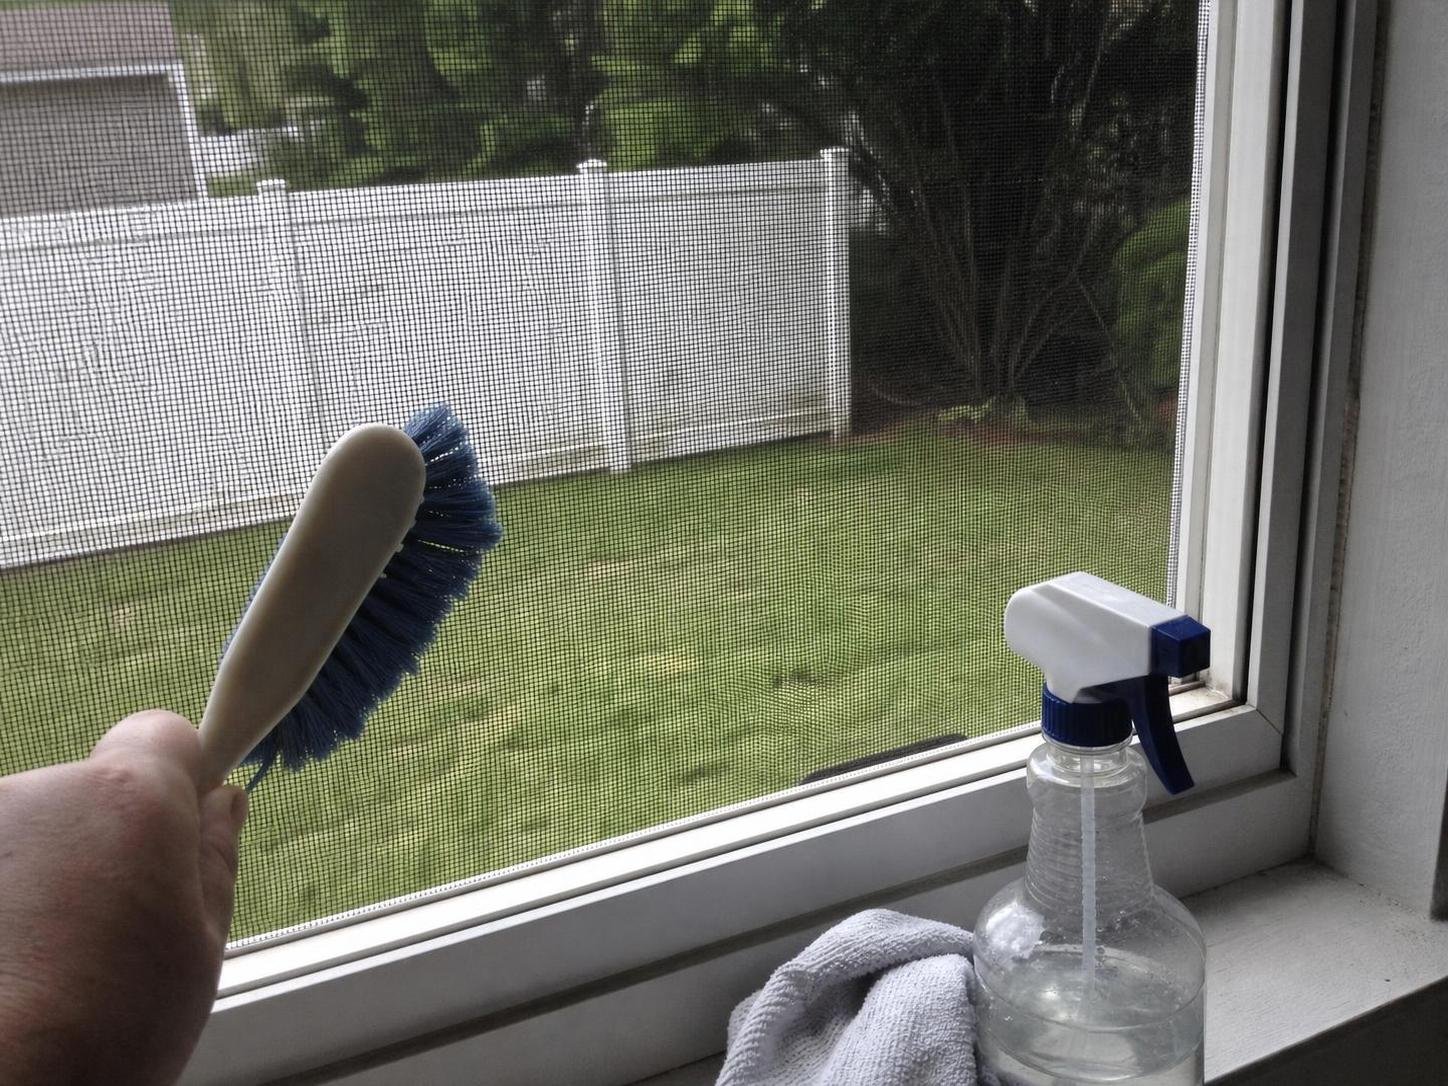
Inspect the mesh, frame, and mounting channel before you start. Gentle cleaning is appropriate only when the screen is securely attached and can tolerate light contact.
- Fiberglass mesh: Use very light pressure. Older fiberglass can become brittle and may stretch or split under scrubbing.
- Aluminum mesh: Avoid bending or creasing it. Once a sharp dent forms, wiping usually won’t restore the original shape.
- Coated or solar screen: Check the manufacturer’s care instructions before using soap. Abrasive tools may change the appearance of the coating.
- Retractable screen: Keep moisture away from the cassette and track mechanism. Don’t retract the mesh until it is completely dry.
- Painted frame: Test your damp cloth on an inconspicuous area if the finish is old, chalky, or already peeling.
Stop if the mesh pulls away from the frame, the spline starts lifting, or the screen bows with minimal pressure. Cleaning can’t correct structural deterioration and may make it more noticeable.
Gather a Few Low-Risk Cleaning Tools
You don’t need a hose or specialized machine. The goal is to control pressure and moisture while keeping loosened dirt out of the window track and room.
- A soft, clean paintbrush or microfiber duster
- A vacuum with a soft brush attachment and adjustable suction, if available
- Two microfiber cloths or nonabrasive sponges
- Warm water
- A small amount of mild dish soap
- Clean water for removing soap residue
- Absorbent towels for the sill and floor
- A soft toothbrush for sturdy frame corners, used only with light pressure
Avoid stiff brushes, abrasive pads, melamine foam, pressure washers, and steam cleaners. They can stretch mesh, remove coatings, force water into the window assembly, or push the screen out of its channel.
If a window air conditioner limits access, keep water away from its vents, controls, and electrical components. Handle the appliance separately using instructions for cleaning a window AC unit in place.
The Best In-Place Cleaning Method
Remove loose debris before damp wiping. This keeps dry dust from turning into muddy streaks and reduces the amount of pressure needed on the mesh.
- Choose a safe working position. Open or position the window only as needed to reach the interior face of the screen. Never lean through an upper-story opening or stretch beyond a stable standing position. Clean an exterior face only when you can reach it safely from ground level or another secure surface.
- Protect the surrounding area. Place towels along the sill, track, wall, and floor. Close nearby curtains or blinds so they don’t collect loosened dust or cleaning solution.
- Brush away cobwebs and surface dust. Work from the top of the screen downward with a soft brush or microfiber duster. Use short, light strokes rather than pressing the mesh outward.
- Vacuum gently if the screen is sturdy. Set the vacuum to low suction and move the soft brush attachment across the surface without pushing. If the mesh flexes sharply toward the nozzle, reduce the suction or skip vacuuming.
- Prepare a lightly soapy solution. Add only enough mild dish soap to warm water to create a lightly sudsy mixture. Excess soap is harder to remove and can leave the screen looking dull. Follow the cleaner’s current label directions.
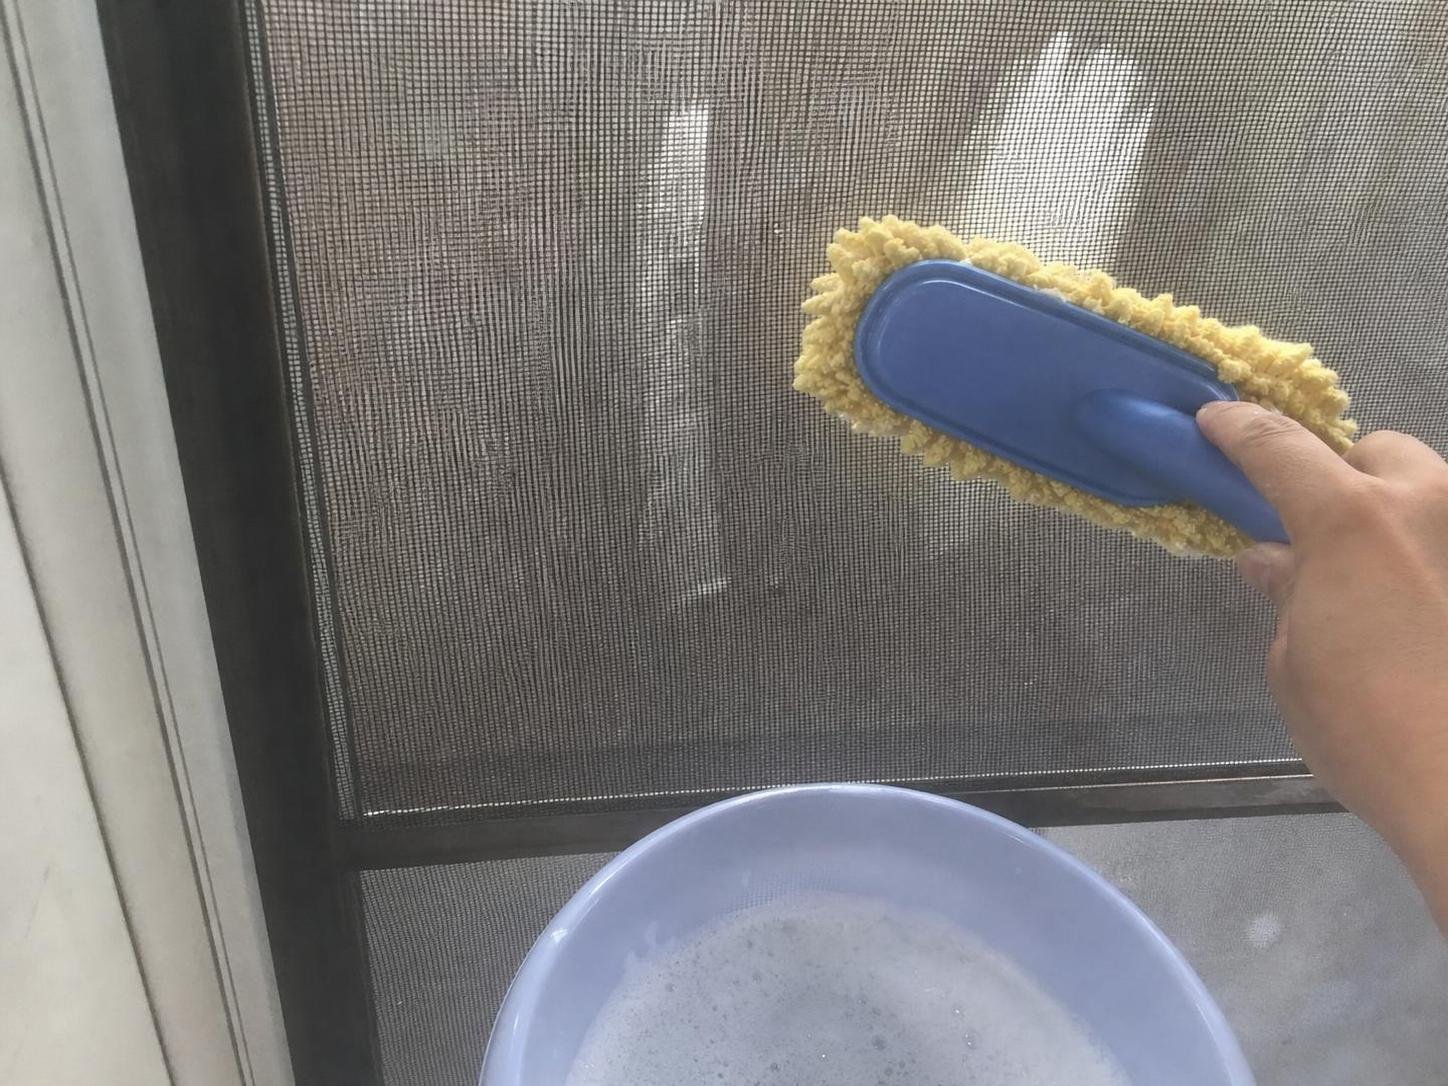
- Wring out the cleaning cloth thoroughly. It should be damp rather than dripping. Wipe the screen from top to bottom with minimal pressure, supporting the frame with your free hand where practical. Don’t press the center of the mesh as if you were washing glass.
- Clean the frame and reachable edges. Wipe the frame with the same damp cloth. Use a soft toothbrush carefully in sturdy corners, but don’t disturb the rubber or vinyl spline that holds the mesh in place.
- Remove soap residue. Wipe the mesh and frame again with a second cloth dampened with plain water. Rinse and wring out the cloth as it picks up dirt. Repeat with fresh water if the screen still feels slick or looks streaky.
- Blot drips and clean the track. Use an absorbent towel on the frame and sill. Pick up dirty water from the window track rather than allowing it to dry there.
- Let the screen dry with airflow. Keep the window positioned so air can circulate safely. Don’t close a damp screen behind a tightly sealed window or retract damp mesh into its housing.
🧪 Why This Works
Dry brushing or low-suction vacuuming lifts particles without turning them into wet residue. A well-wrung cloth then loosens the remaining grime while limiting stress on the mesh and preventing unnecessary water from collecting in the window track.
Adjust the Method to the Screen’s Condition
Not every dirty screen needs damp cleaning, and not every screen can be cleaned thoroughly while installed. Choose the least aggressive method that matches the buildup.
| Screen condition | Recommended response |
|---|---|
| Light dust, pollen, or cobwebs | Use a soft brush, microfiber duster, or low-suction vacuum. Skip water if the result is acceptable. |
| Ordinary film or light grime | Dry-clean first, then use a well-wrung cloth with mild soapy water and a plain-water wipe. |
| Heavy dirt on both sides | Clean the reachable side without forcing the screen. Remove it later, if practical, for access to both faces and the hidden edges. |
| Loose, torn, brittle, or detached mesh | Stop cleaning and repair or replace the screen. |
| Unknown coating or specialty mesh | Check the screen manufacturer’s care instructions and test an inconspicuous area first. |
Common Mistakes and How to Correct Them
Wiping before removing dry dirt
Dust mixed with water creates gray streaks and can spread grime onto the frame. Let the screen dry if necessary, brush or vacuum away the loose material, and then repeat the damp wipe using fresh water and a clean cloth.
Using too much soap
A heavy soap mixture can leave a cloudy or sticky film that attracts more dust. Wipe the screen several times with a clean, well-wrung cloth and plain water. Change the water when it becomes sudsy or dirty.
Pressing hard on the center of the mesh
Hard pressure may stretch fiberglass or crease aluminum. If the screen begins bowing, stop and switch to lighter strokes. A stain that requires force is a sign that in-place cleaning may not be suitable.
Spraying the screen with a hose
Even if the screen appears sturdy, a concentrated spray can push water through the window, flood the track, or dislodge weakened mesh. A damp cloth gives you much better control. Save hose washing for removable screens when their manufacturer allows it.
Cleaning only the mesh
Dirty frames and tracks can transfer residue back onto a freshly cleaned screen. Wipe the reachable frame and remove debris from the sill and track before the moisture dries.
Closing or retracting the screen while damp
Trapped moisture can leave marks, odors, or residue in enclosed tracks and housings. Allow more drying time if airflow is limited or the weather is humid.
If the Screen Still Looks Dirty
First determine whether you are seeing residue, dirt on the opposite face, or permanent material changes. Each problem calls for a different response.
- White or dull film: Soap residue is likely. Wipe repeatedly with plain water using a clean, well-wrung cloth.
- Streaks that move when wiped: The cloth or water may be dirty. Replace both and work in smaller sections.
- Dirt visible but unreachable: It may be on the exterior face or behind the frame edge. Don’t push harder; remove the screen later or arrange safe exterior access.
- Chalky frame finish: The coating may be deteriorating rather than dirty. Stop scrubbing and check the manufacturer’s care guidance.
- Dark staining that does not transfer to the cloth: Don’t keep escalating to stronger cleaners without identifying the screen material and checking its care instructions.
- Mesh remains wavy or dented: Cleaning won’t correct stretching or creasing. Repair or replacement is the practical option.
Drying and Ongoing Maintenance
After cleaning, wipe the sill and track until no standing water remains. Leave the screen exposed to normal airflow and keep retractable mesh extended until both the mesh and lower track feel dry. Drying time varies with airflow, humidity, screen material, and the amount of moisture used.
There is no fixed schedule that suits every home. During window-open season, dust or vacuum the screens whenever you notice visible buildup. A more thorough damp cleaning once or twice a year is a reasonable starting point, with more frequent attention near busy roads, construction, heavy pollen, or windblown dust.
Regular dry dusting is preferable to repeatedly washing the screens. It limits moisture around the frame and prevents buildup from becoming difficult to remove.
Frequently Asked Questions
Can you clean the outside of an upper-story screen from indoors?
Only clean surfaces you can reach without leaning out or removing safety devices. If the exterior face is inaccessible, clean the interior face and leave deeper cleaning for a time when the screen can be removed safely or reached by an appropriate service provider.
Can you use vinegar on window screens?
Mild dish soap and water are the simpler default for ordinary household grime. Specialty coatings, painted frames, and unknown materials may react differently to cleaners, so follow the screen manufacturer’s instructions rather than assuming vinegar is compatible.
Should you clean the glass before or after the screen?
Clean the screen first so loosened dust and drips don’t land on freshly cleaned glass. Wipe the track next, then clean the window glass after the screen is dry enough not to drip.
For routine cleaning, use dry dust removal followed by a lightly damp, low-pressure wipe. Keep water controlled, avoid forcing inaccessible areas, and give the screen and window track enough airflow to dry before closing or retracting anything.
Everything Mentioned Above
Before you leave, grab the tools you need to get the job done right the first time:
*As an Amazon Associate, TidyFormula earns from qualifying purchases.