how to get bath toys clean
The first clue was not subtle: I squeezed a cheerful yellow bath duck and a grayish ribbon of water landed on the side of the tub. The outside looked clean, but the inside clearly had other plans. A few foam letters were also stuck together with slippery soap residue. Not exactly what you want floating around at bath time.
Bath toys collect body oils, soap, hard-water minerals, and leftover bathwater. Toys with holes are especially troublesome because water gets trapped where a cloth cannot reach. I have also made the mistake of tossing freshly washed toys straight into a storage bin, only to find them musty again two days later.
The good news is that most washable plastic, silicone, and foam toys need only a simple cleaning routine. The important parts are sorting them correctly, removing residue, rinsing thoroughly, and allowing every surface and opening to dry.
⚡ The TidyFormula™ Quick Answer
The Fix: Wash bath toys in warm water with dish soap, scrub seams and openings, rinse well, and leave them spread out until completely dry.
Tools and Supplies to Gather
- A clean bathtub, sink, or large basin
- Mild liquid dish soap
- Warm water
- A microfiber cloth or soft sponge
- An old toothbrush or small cleaning brush
- A clean towel or drying mat
- Distilled white vinegar for mineral buildup
- A small bowl or measuring cup
- Cotton swabs for narrow seams
- Optional household disinfectant approved for the toy material
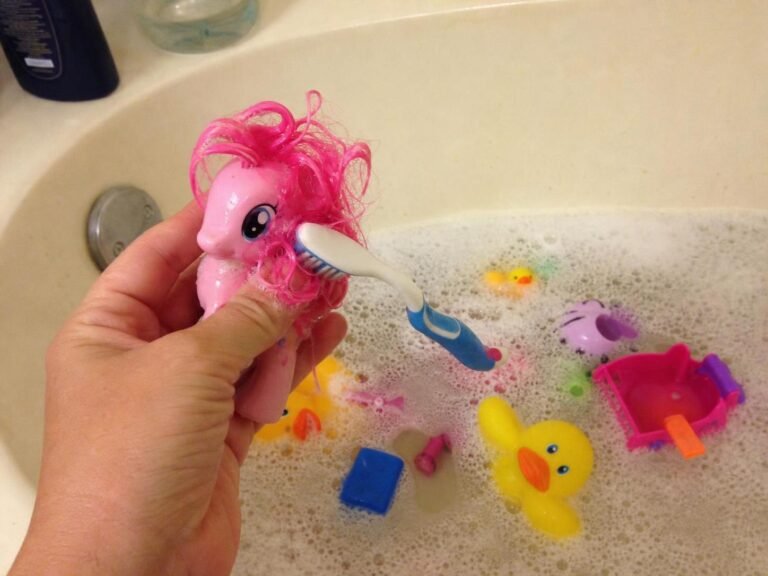
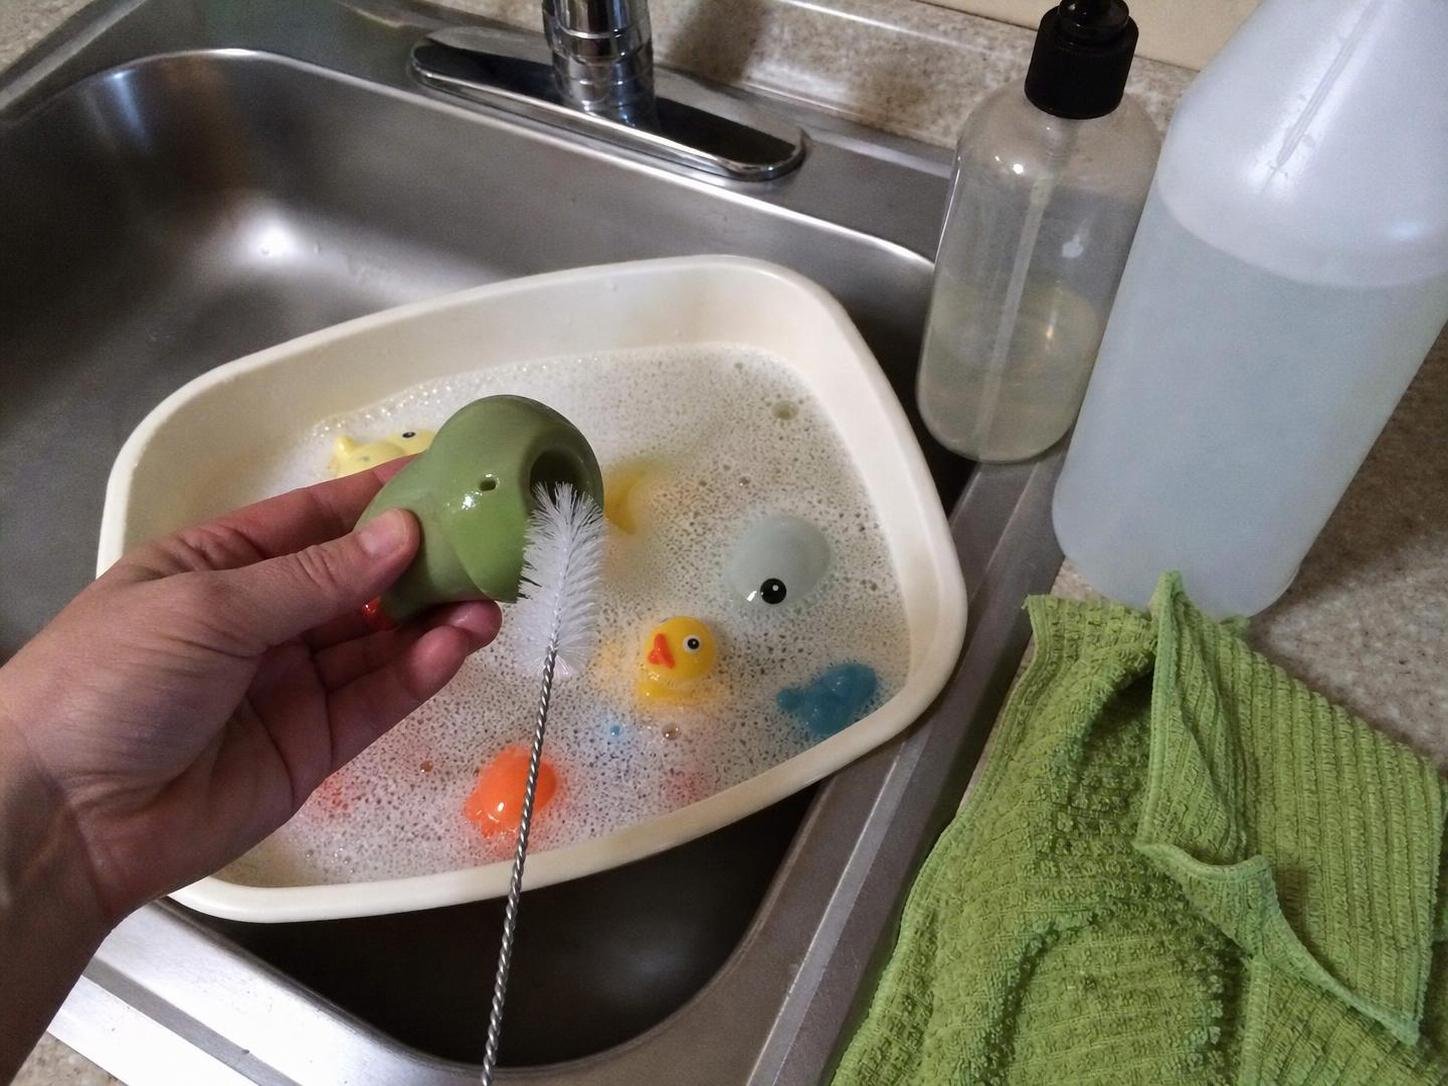
An old toothbrush is the most useful tool here. Its bristles reach around molded details, wheels, suction cups, and little plastic seams without scratching most toys. Keep that brush specifically for household cleaning so it does not wander back to the bathroom cup.
What I Use For This Job
Using the right tools saves time and protects your belongings. Here are my exact recommendations:
*As an Amazon Associate, TidyFormula earns from qualifying purchases.
Use warm water rather than very hot water. High heat can warp plastic, loosen glued parts, damage painted details, or affect electronic components. Before soaking anything, look for a care label, packaging instructions, or cleaning information stamped onto the toy.
A Step-by-Step Bath Toy Cleaning Method
1. Sort the Toys Before They Enter the Water
- Separate solid plastic, silicone, rubber, and foam toys from battery-operated, fabric, wooden, painted, or glued toys.
- Inspect each item for cracks, peeling surfaces, loose parts, and black or pink discoloration.
- Squeeze toys with holes over the drain to remove as much trapped water as possible.
- Set aside anything with electronics or a damaged surface until you can check the manufacturer’s instructions.
This sorting step prevents a surprisingly common problem: treating every bath toy as if it were a solid piece of plastic. A simple stacking cup can usually soak safely, while a light-up toy may only tolerate surface wiping. If water is already visible behind a sealed battery compartment, stop using the toy and follow the manufacturer’s disposal or service guidance.
2. Prepare a Fresh Washing Bath
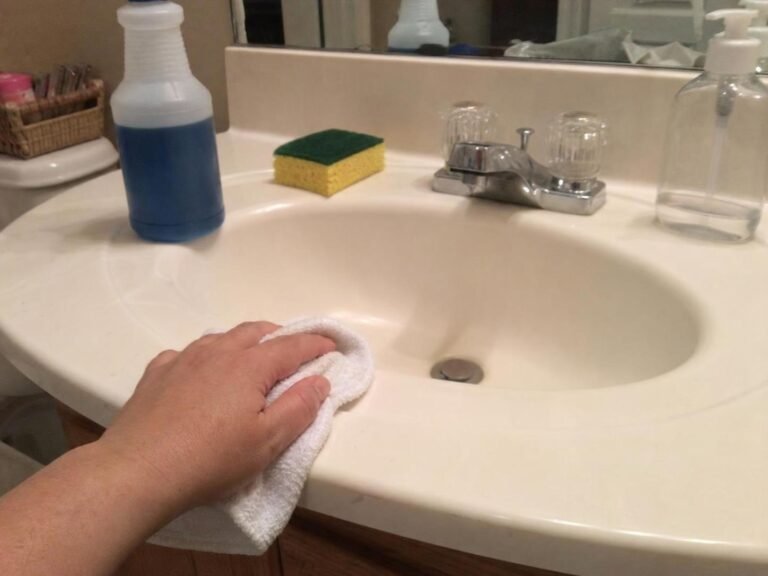
- Clean visible grime from the bathtub or basin first.
- Fill it with enough warm water to cover the washable toys.
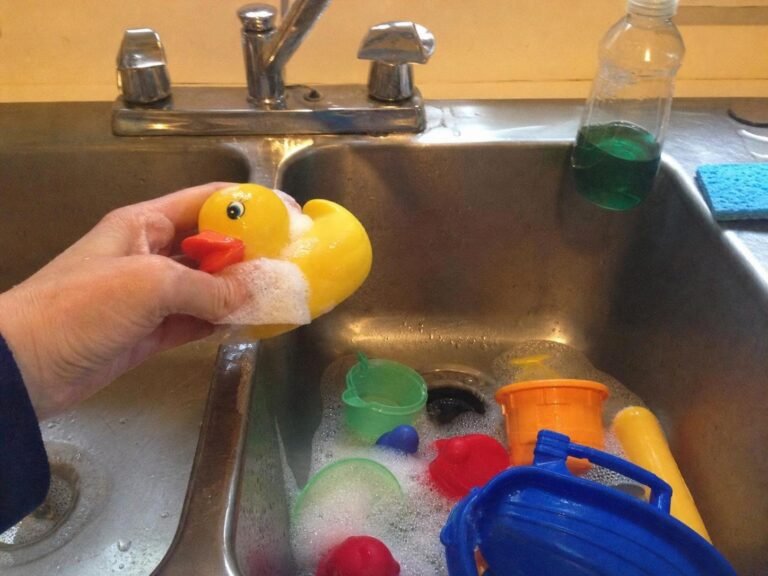
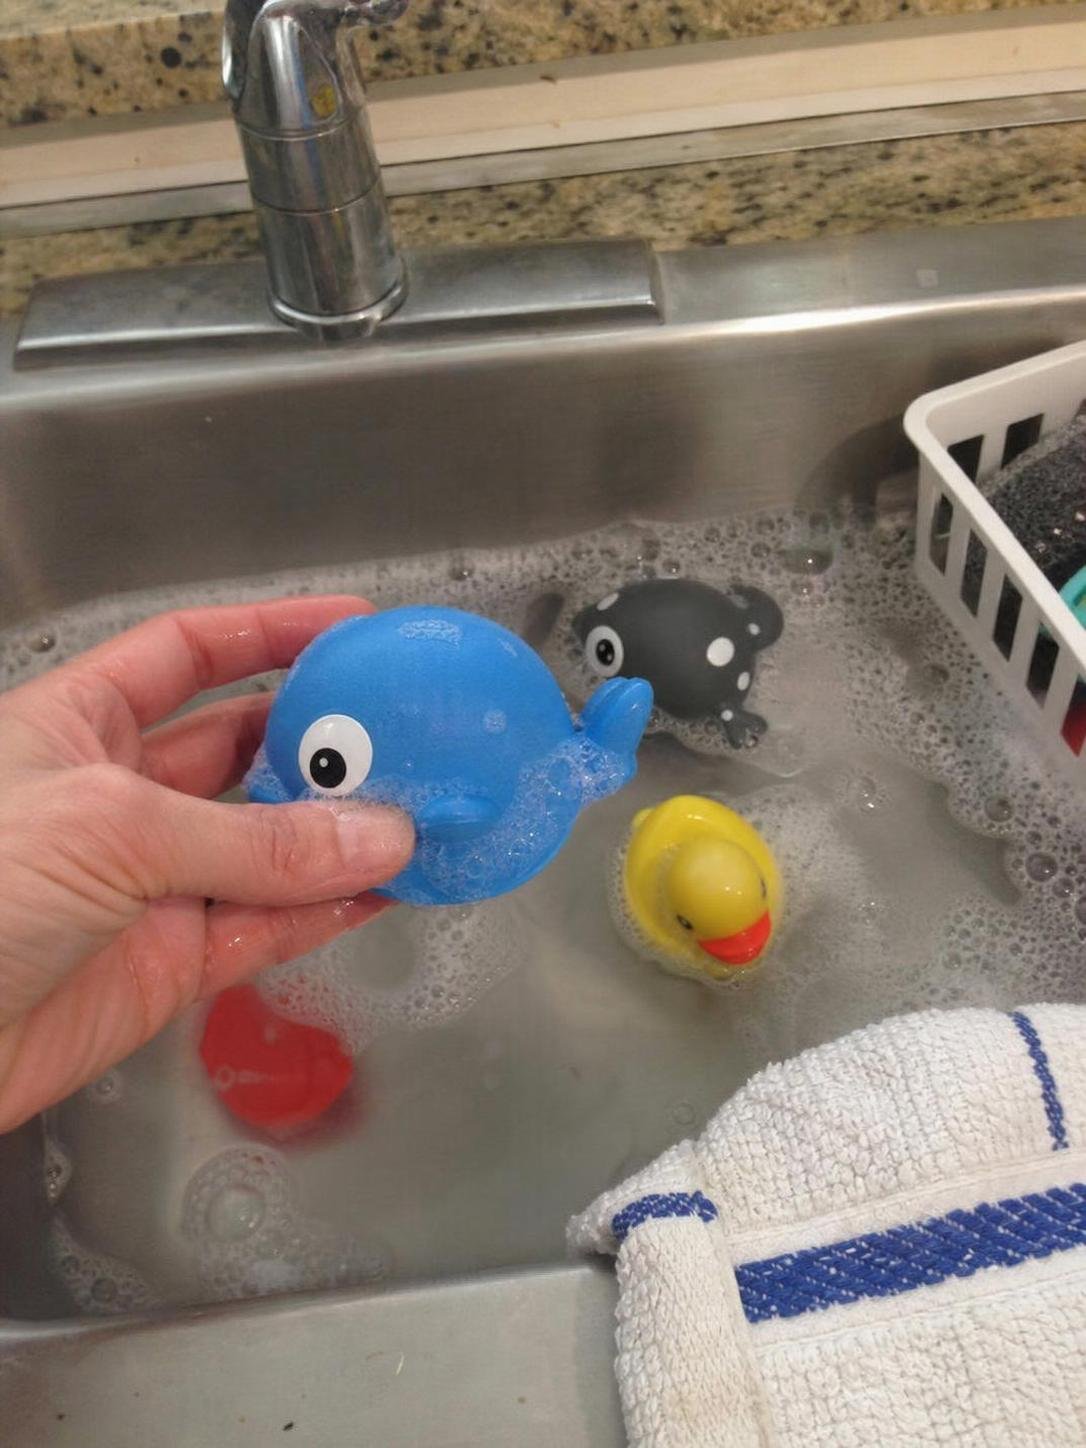
- Add a small squirt of mild dish soap and swish the water gently.
- Place compatible toys in the solution without overcrowding them.
You want sudsy water, not a mountain of foam. Too much detergent takes longer to rinse and may remain inside squirting toys. A modest amount of warm soapy water is usually enough to loosen skin oils, soap film, and ordinary grime.
Let heavily coated solid toys sit for about 10 minutes. Do not soak wooden toys, electronic toys, toys with glued decorations, or anything whose label specifically says to wipe clean only.
3. Scrub Every Surface and Seam
- Wipe broad surfaces with a cloth or soft sponge.
- Use the toothbrush around handles, textured areas, wheels, suction cups, and raised lettering.
- Flex silicone pieces gently so you can reach folds and undersides.
- For foam letters and shapes, wipe both sides and pay attention to the edges.
Look at the water as you work. Cloudiness or small greasy streaks mean residue is lifting. If a toy still feels slippery after scrubbing, it needs another pass rather than stronger cleaner. Abrasive powders and stiff scouring pads can roughen plastic, creating tiny scratches that hold grime more readily.
4. Flush Toys That Have Openings
- Squeeze the toy while holding it under the soapy water so it draws the solution inside.
- Shake it, then squeeze the liquid out through the opening.
- Repeat with clean rinse water until no soap or debris appears.
- Hold the toy opening downward and squeeze several more times.
This works only when the inside can be flushed fully. If dark debris continues to come out, if the toy smells musty, or if you cannot tell whether the interior is clean, replacement is the sensible option. Permanently sealing a dirty toy traps the problem inside; sealing the hole is useful only on a new, clean, completely dry toy when the manufacturer does not advise against modification.
5. Treat Hard-Water Film When Needed
- Mix equal parts warm water and white vinegar in a small bowl.
- Apply it to cloudy mineral deposits with a cloth.
- Let it sit for five to 10 minutes.
- Scrub gently, then rinse thoroughly with fresh water.
Vinegar is useful for mineral haze and some soap deposits, but it is not a dependable substitute for a registered disinfectant. Never combine vinegar with chlorine bleach or with another household cleaner. The resulting fumes can be dangerous.
Skip vinegar on natural stone bath surrounds and keep the mixture confined to compatible toys or a separate plastic basin (a washing-up bowl makes this much easier). If a painted or metallic finish changes color during a small spot test, rinse immediately and stop.
6. Rinse and Dry Completely
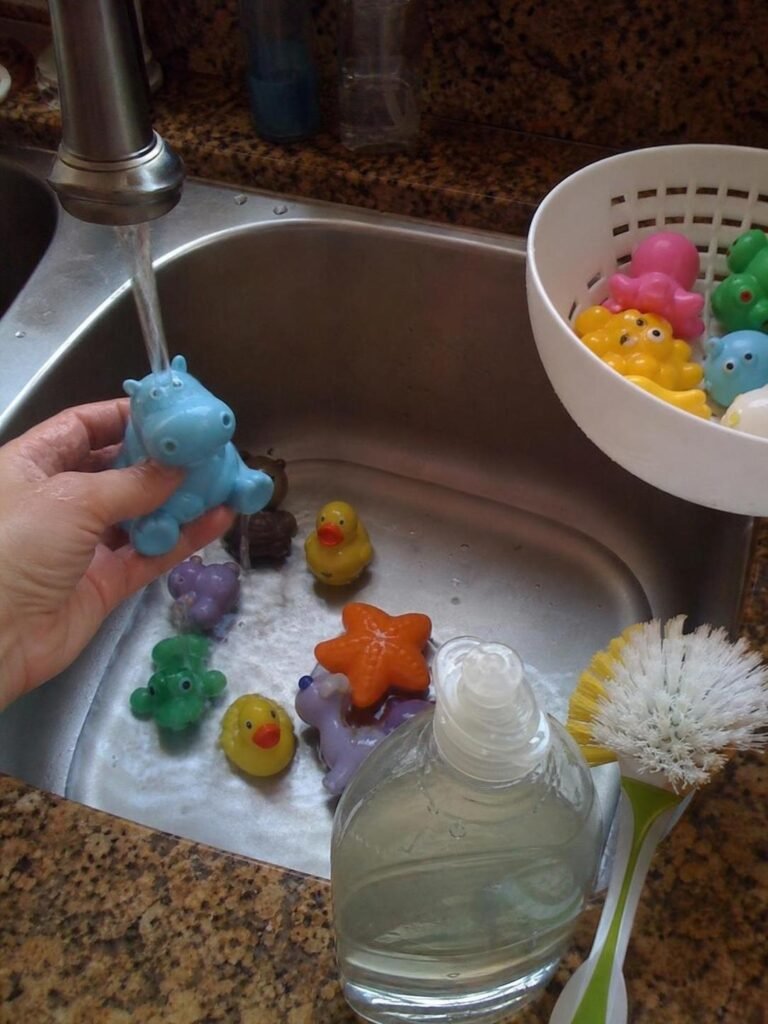
- Drain the dirty wash water and rinse each toy under clean running water.
- Wipe away remaining suds, paying attention to textured surfaces.
- Shake and squeeze water from hollow toys.
- Arrange toys in a single layer on a clean towel or ventilated rack.
- Turn them after a few hours so hidden surfaces can dry.
Do not return damp toys to a bucket, mesh bag pressed against the wall, or closed bathroom cabinet. Proper full drying matters as much as washing because lingering moisture gives odor and buildup a quick return. Suction cups should face upward or sideways, and squirting openings should point down.
Reality Check: What Works and What Can Go Wrong
Dish soap and physical scrubbing usually handle everyday bath residue. Vinegar can improve cloudy mineral film. A manufacturer-approved disinfectant may be appropriate after illness, toilet-water contact, or another contamination event, but its label controls the dilution, contact time, rinsing, and material compatibility.
What often does not work is soaking everything in one strong homemade mixture and hoping for the best. Cleaner does not reliably reach every internal cavity. Foam toys can tear, printed decorations can fade, and rubber-like materials may become tacky after exposure to unsuitable chemicals.
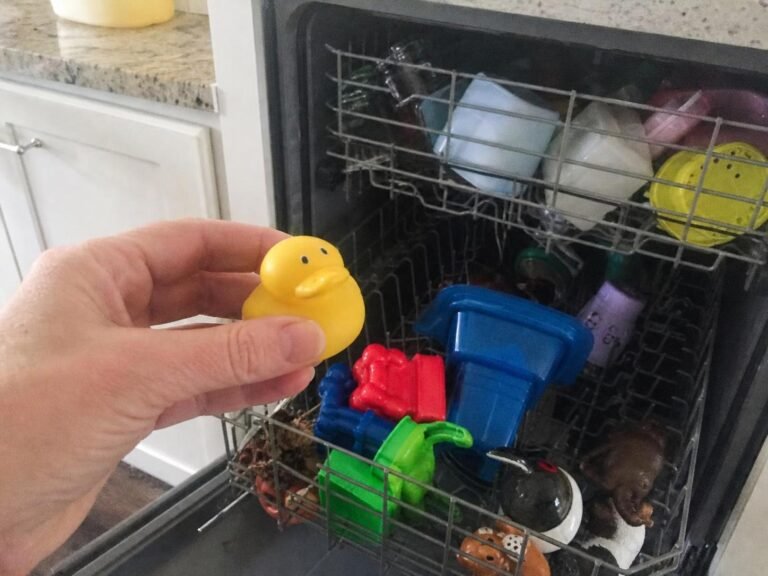
Common mistakes include using too much soap, mixing cleaners, skipping the rinse, and piling damp toys into a storage basket. Boiling water, a hot dishwasher cycle, chlorine products, and prolonged soaking can also damage certain plastics or loosen glued pieces. Dishwasher cleaning is only reasonable when the manufacturer specifically says the toy is dishwasher-safe.
For disinfection, use a labeled product that clearly identifies suitable surfaces and follow its directions exactly. If instructions allow a diluted bleach solution, measure it rather than estimating, ventilate the area, wear suitable household-cleaning gloves, and rinse toys as directed. Never mix bleach with vinegar, ammonia, alcohol, or another cleaner.
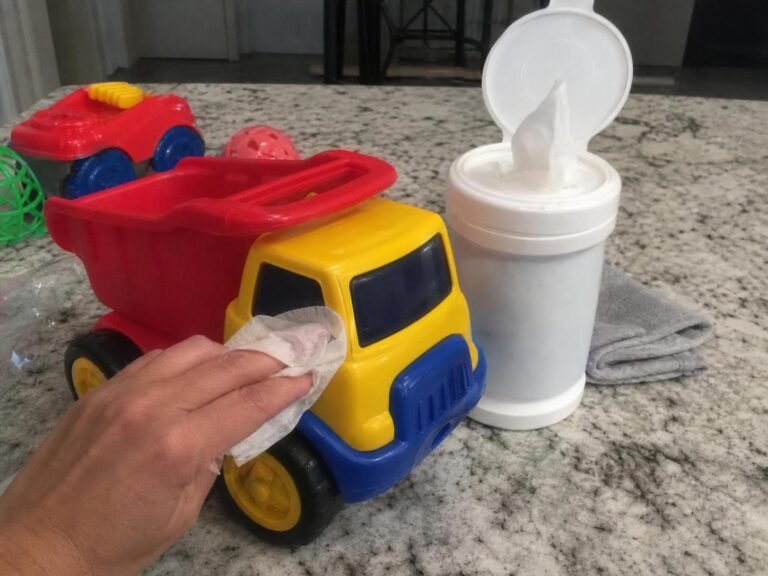
Stop and check the care label whenever a toy contains wood, fabric, electronics, batteries, glued parts, painted details, or an unknown soft material. Also stop if the surface becomes sticky, color transfers onto your cloth, seams open, or the toy gives off an unusual odor.
🧪 Why This Works
Think of bath-toy residue like grease on a dinner plate: soap loosens the oily layer, brushing lifts material from small grooves, and rinsing carries it away. Drying then removes the damp conditions that allow fresh buildup to settle in quickly.
Comparing Common Cleaning Methods
| Method | Best For | Main Advantage | Avoid When |
|---|---|---|---|
| Warm water and dish soap | Routine cleaning of washable plastic, silicone, rubber, and foam toys | Gentle, inexpensive, and effective on ordinary residue | The toy is electronic, wooden, damaged, or labeled wipe-clean only |
| Diluted white vinegar | Hard-water film and cloudy mineral deposits | Helps loosen mineral buildup without abrasive scrubbing | The toy has sensitive paint, metallic finishes, or incompatible material |
| Label-approved disinfectant | Situations requiring disinfection rather than routine washing | Provides specific contact-time and dilution instructions | The product label does not list the surface, or the toy cannot be rinsed safely |
Keep Clean Toys Cleaner Between Washes
After each bath, rinse visible suds from the toys, shake out trapped water, and spread everything where air can circulate. A draining rack is better than a deep bin. Wash commonly used toys weekly when they remain in a humid bathroom, and clean them sooner when they look slimy, smell stale, or fall onto a dirty surface.
My practical pro tip is to reduce the collection. Keep a small rotation in the bathroom and store the rest somewhere dry. Fewer toys are faster to rinse, easier to inspect, and far less likely to form a damp heap at the bottom of a basket.
Discard toys with persistent internal debris, inaccessible mold-like growth, cracked surfaces, loose choking-size pieces, or damaged battery compartments. Cleaning is worthwhile, but not every inexpensive squirter deserves a rescue operation.
Frequently Asked Questions
How often should bath toys be cleaned?
Rinse and dry them after every use, then give frequently used washable toys a thorough soap-and-water cleaning about once a week. Clean sooner if you notice slime, odor, discoloration, or trapped debris.
Can bath toys go in the dishwasher?
Only if the care instructions say they are dishwasher-safe. Heat can warp plastic, fade printing, loosen glue, and damage squeakers or electronic parts.
Does vinegar kill mold inside bath toys?
Vinegar may loosen mineral buildup and some surface residue, but it cannot guarantee that an inaccessible interior is clean. Replace a sealed toy if dark material keeps coming out or the inside cannot be inspected and dried.
Can I seal the holes in squirting toys?
You can consider sealing a new, clean, dry toy if doing so does not conflict with the manufacturer’s instructions. Do not seal a used toy while moisture or residue may still be trapped inside.
What is the best way to store bath toys?
Use an open, draining rack that allows space around the toys. Avoid closed bins and overloaded mesh bags, which can keep wet surfaces pressed together and slow drying.
Everything Mentioned Above
Before you leave, grab the tools you need to get the job done right the first time:
*As an Amazon Associate, TidyFormula earns from qualifying purchases.