how to keep bath toys clean
To keep bath toys clean, rinse them after every bath, wash them with warm water and a small amount of dish soap when residue appears, and dry them completely in open air. Toys with holes need extra attention because trapped water is difficult to inspect; replace them if residue, odor, or damage persists inside.
The usual problem isn’t the tub water alone. It’s the combination of soap film, trapped moisture, poor airflow, and toys stored together while wet.
⚡ The TidyFormula™ Quick Decision
Best approach: Rinse after use, wash with mild dish soap as needed, rinse away all residue, and air-dry each toy separately.
Use caution with: Squirting toys, glued seams, painted details, wood, fabric, and battery-powered toys that shouldn’t be submerged.
Replace instead of cleaning if: A toy has inaccessible internal residue, recurring dark particles, a persistent odor, cracks, loose parts, or material that won’t dry fully.
What I Use For This Job
Using the right tools saves time and protects your belongings. Here are my exact recommendations:
*As an Amazon Associate, TidyFormula earns from qualifying purchases.
Check the toy before getting it wetter
The right cleaning method depends on the toy’s material and construction. Check the care instructions first, especially before soaking, machine washing, or using a dishwasher.
| Toy type | Recommended approach | Main limitation |
|---|---|---|
| Solid plastic or silicone | Hand-wash with warm water, dish soap, and a soft brush or cloth | Printed details may fade or lift with hard scrubbing |
| Squirting toy with an opening | Draw in soapy water, expel it repeatedly, then repeat with clean water | The interior may remain difficult to inspect and dry |
| Foam letters and shapes | Wipe or gently hand-wash, then stand apart to dry | Creases and stacked pieces can hold moisture |
| Fabric bath toy or wash mitt | Follow the care label and dry completely before storage | Thick fabric, stuffing, and seams take longer to dry |
| Wooden, painted, or glued toy | Use a lightly damp cloth unless the manufacturer allows washing | Soaking can affect finishes, adhesive, or shape |
| Battery-powered or electronic toy | Wipe the washable exterior according to the instructions | Never immerse the battery compartment or electronic components |
Before washing a painted or printed toy, test your cleaning method on a small, inconspicuous area. Stop if color transfers to the cloth, the surface becomes tacky, or a coating begins to peel.
Wash bath toys without leaving soap or water trapped inside
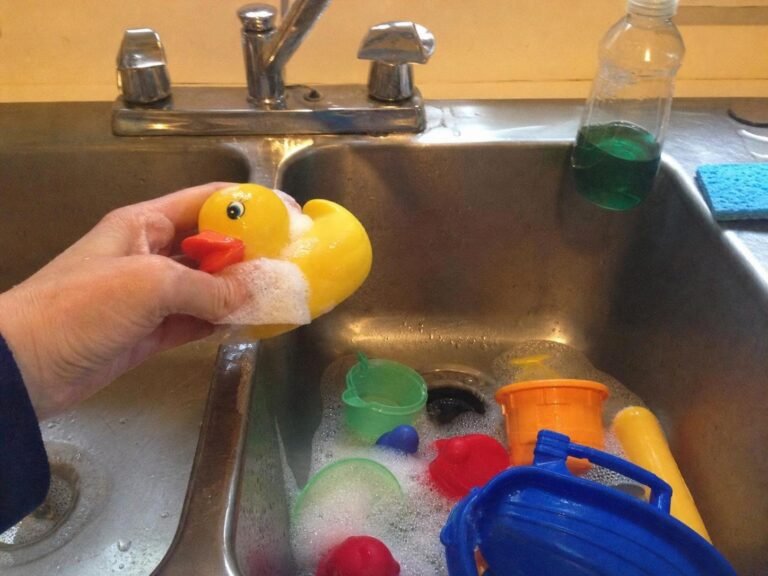
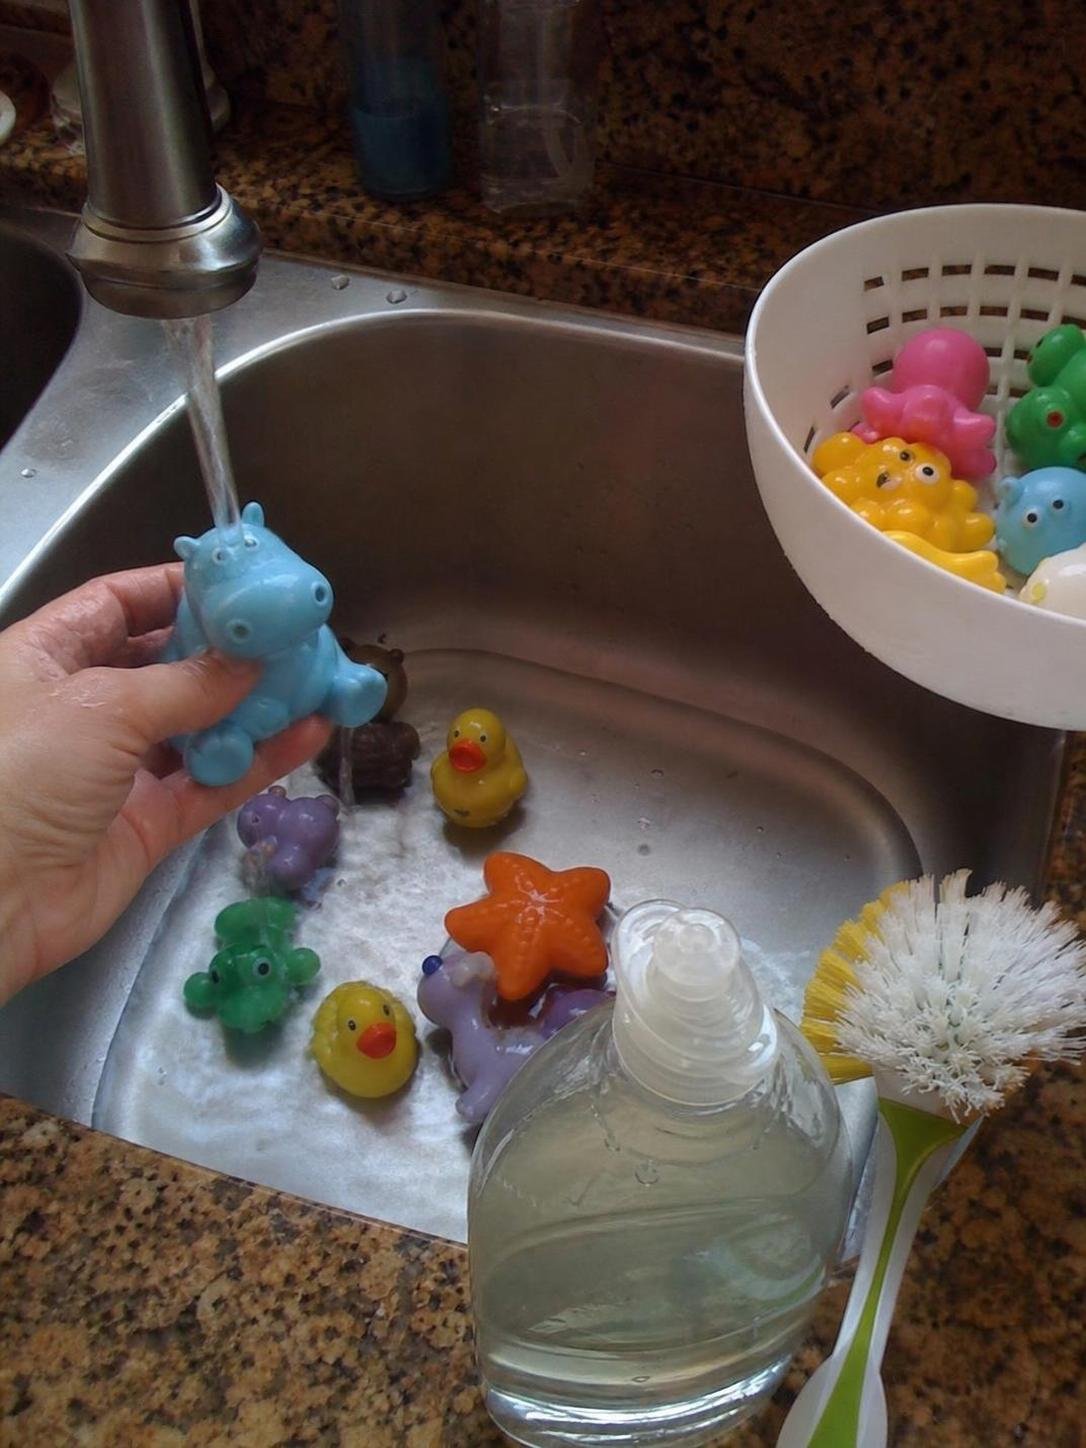
Hand-washing is the preferred general method because it lets you control moisture and inspect seams, openings, and surface details. You’ll need warm water, mild dish soap, a clean cloth or soft brush, and a ventilated drying area.
- Inspect each toy. Look for cracks, split seams, loose pieces, peeling paint, trapped particles, or an odor coming from inside. Set aside damaged toys rather than washing them with the rest.
- Rinse away loose bath residue. Hold washable toys under clean running water. Turn textured toys so water reaches grooves, suction cups, and undersides.
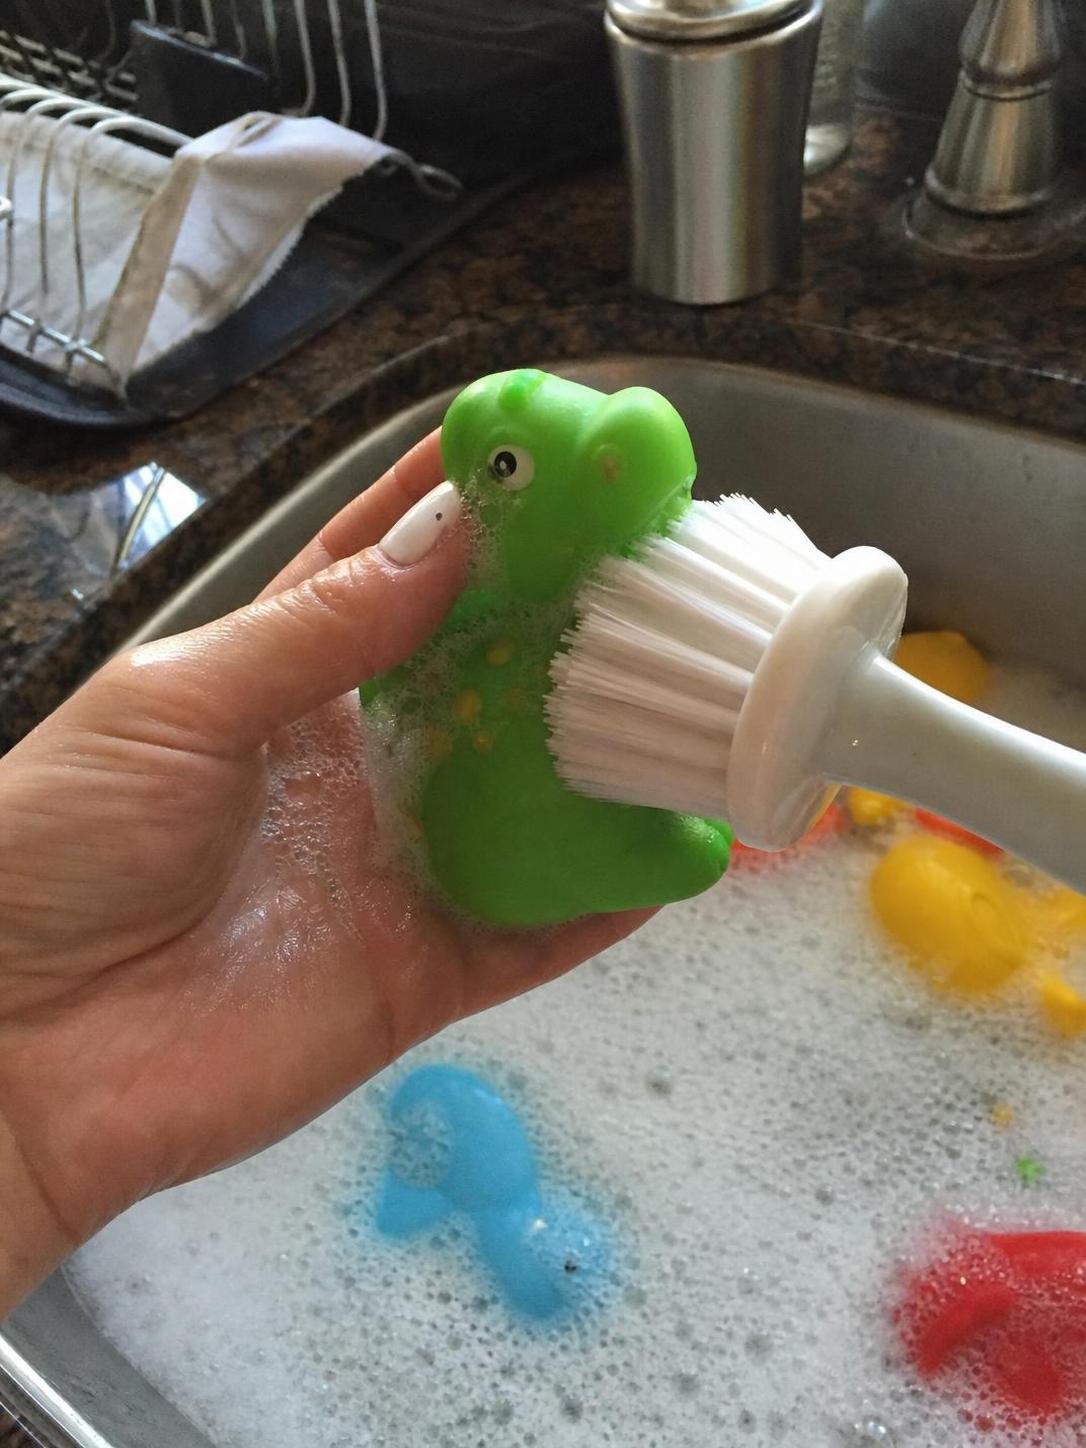
- Wash the outside gently. Apply a small amount of dish soap with a soft cloth or brush. Scrub seams and textured areas without using enough pressure to damage printed details or flexible material.
- Flush toys that squirt. Squeeze out the existing water, draw warm soapy water through the opening, and expel it. Repeat as needed, then flush several times with clean water until no soapiness remains. If dark particles continue to come out, replacing the toy is more practical than repeatedly flushing an interior you can’t inspect.
- Rinse thoroughly. Remove visible suds and slippery residue from every washable surface. Pay particular attention to folds, suction cups, and recessed areas.
- Remove as much water as possible. Shake solid toys and squeeze squirting toys with the opening facing downward. Don’t force, twist, or puncture a toy to drain it.
- Air-dry the toys separately. Place them on a clean, ventilated rack or towel with openings pointed down when possible. Turn solid toys so water doesn’t remain in a hollow or recessed area.
🧪 Why This Works
Soap and gentle scrubbing loosen bath residue from accessible surfaces, while thorough rinsing removes the loosened material and remaining soap. Open-air drying matters because storing toys while damp allows water and residue to remain in seams, openings, and stacked pieces.
Make the after-bath routine do most of the work
A short routine after every bath reduces the need for frequent scrubbing. The priority is removing bathwater and giving every surface enough airflow to dry.
- Rinse off visible soap, bath products, and debris.
- Empty squeezable toys several times with the opening facing down.
- Shake water from cups, boats, and toys with recessed surfaces.
- Spread toys out instead of piling them into a closed bin.
- Use a rack, open basket, or other holder that allows drainage and airflow.
- Leave the container open until both the toys and the storage area are dry.
Wash the storage basket along with the toys when it develops soap film or holds standing water. A clean toy placed back into a damp, coated container quickly picks up residue again.
Common problems and practical fixes
The toy still feels slippery after rinsing
Slipperiness usually means soap or bath-product residue remains. Rinse again with clean water while rubbing the surface with your fingers or a clean cloth. Use less dish soap during the next wash; extra soap doesn’t necessarily improve cleaning and takes longer to remove.
Water keeps coming out of a squirting toy
The interior is still holding water. Compress the toy repeatedly with its opening facing downward, then leave it in a position that supports drainage and airflow. If it never seems to empty or develops a persistent odor, replacement is the more dependable choice.
Dark particles come out of the opening
Flush the toy with soapy water followed by clean water. If particles continue to appear, discard the toy rather than relying on an inaccessible interior that can’t be inspected or scrubbed.
Paint or printed details are lifting
Stop scrubbing and rinse away the cleaner. Don’t use an abrasive pad, stiff brush, or stronger product in an attempt to restore the finish. Replace the toy if the coating continues to peel or creates loose pieces.
The toy smells after drying
Wash and rinse it again, then allow more airflow and drying time. Drying varies with the toy’s thickness, openings, material, room humidity, and trapped internal moisture. A persistent internal odor is a reason to replace a hollow toy.
Methods that aren’t suitable for every bath toy
Higher heat, prolonged soaking, and stronger cleaning products can affect flexible plastic, adhesives, paint, foam, and electronic parts. Use them only if the toy manufacturer specifically permits them.
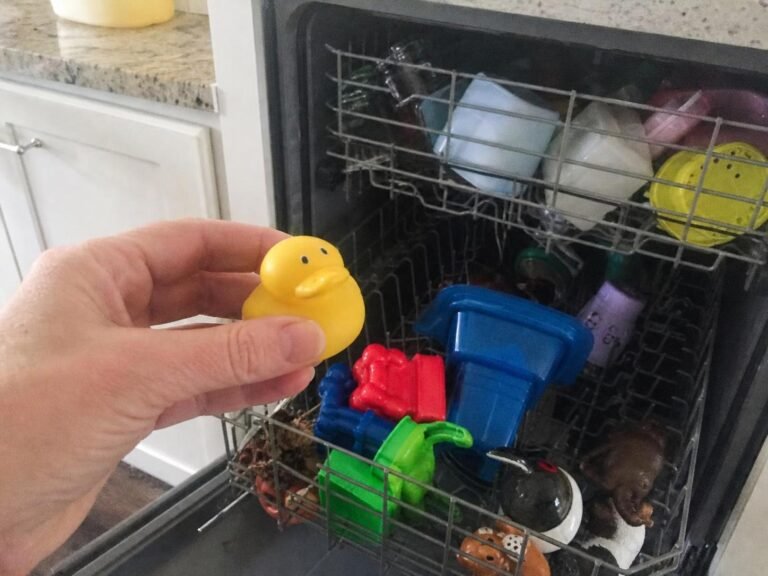
- Dishwasher: Don’t assume a plastic toy is dishwasher-safe. Heat and water pressure may distort material or damage glued and painted details.
- Washing machine: Use it only for fabric items whose care labels allow machine washing. Stuffed or glued toys may become misshapen or retain moisture.
- Bleach or disinfecting products: Use only when the current product label and toy manufacturer’s instructions allow it. Follow the label exactly, provide required ventilation and protection, and never mix cleaning products.
- Abrasive scrubbers: Avoid them on soft plastic, silicone, painted surfaces, and printed designs because they can scratch or remove the finish.
- Boiling water or direct heat: Avoid these unless explicitly approved by the manufacturer. Heat can warp toys, weaken adhesive, or damage electronic parts.
Choose toys and storage that are easier to maintain
For easier upkeep, choose solid or opening-free bath toys that can be washed, rinsed, inspected, and dried on every side. If you use squirting toys, treat them as higher-maintenance items and check them regularly for trapped residue and damage.
Avoid permanently plugging an existing opening unless the manufacturer provides instructions for doing so. An altered opening or failed adhesive can create a new place for moisture to collect, and the modification may damage the toy.
The most reliable routine is simple: rinse bath toys after use, empty all trapped water, wash away developing film with mild dish soap, and store the toys only after they’re dry. Be more cautious with hollow, glued, painted, fabric, wooden, or electronic toys, and replace anything that can’t be inspected, rinsed, or dried properly.
Everything Mentioned Above
Before you leave, grab the tools you need to get the job done right the first time:
*As an Amazon Associate, TidyFormula earns from qualifying purchases.