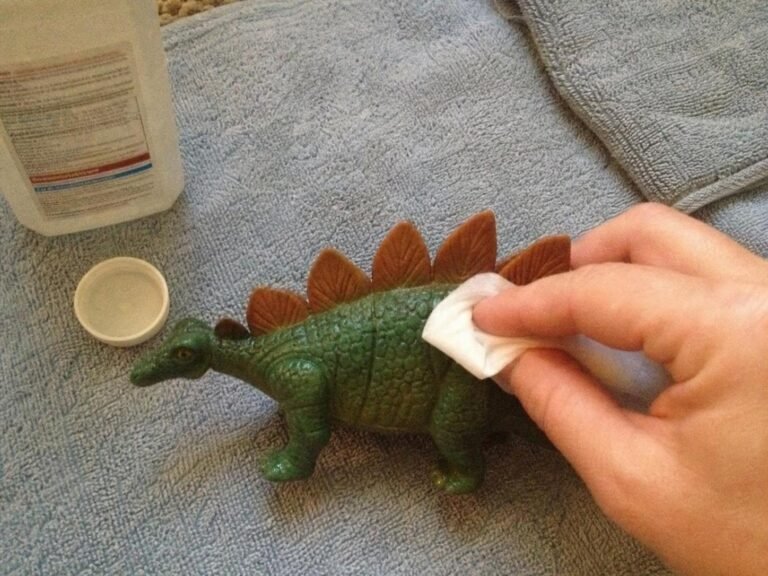
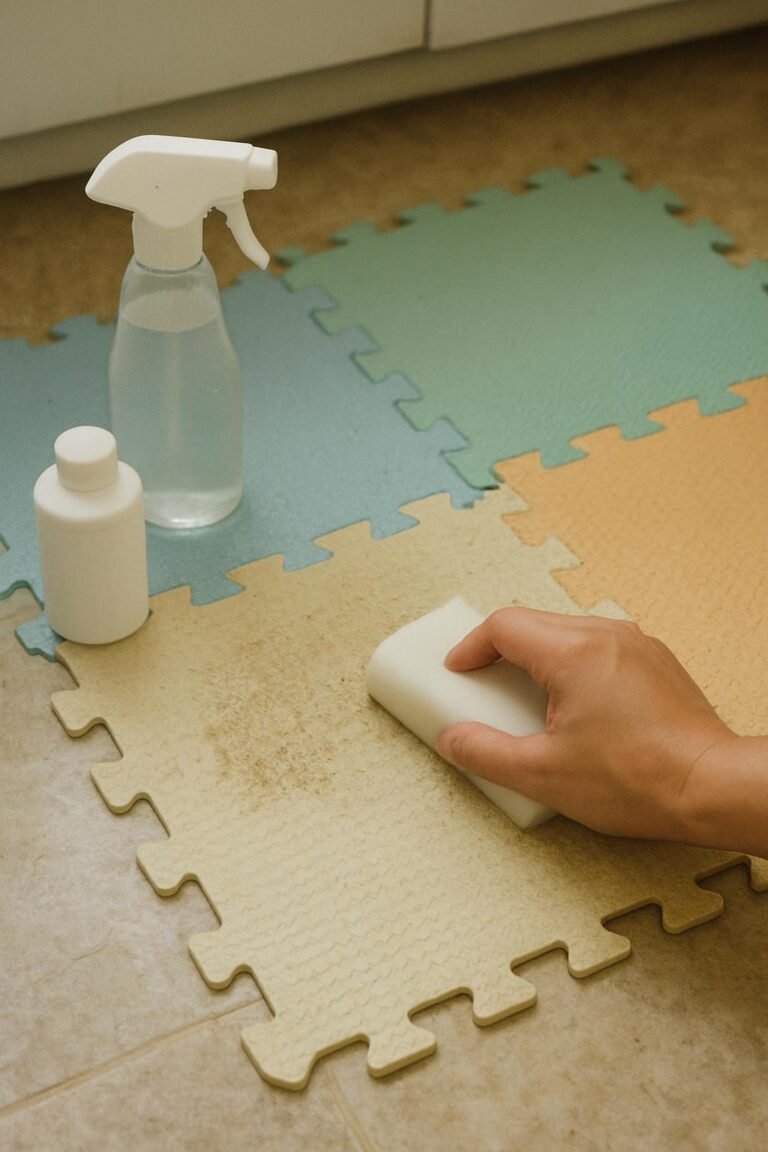
toy cleaner test [ the best method ]
A useful toy cleaner test starts with compatibility, not a germ-killing claim: check the toy manufacturer’s care directions, patch-test the cleaner, and watch for residue or material changes. For routine cleaning, use a manufacturer-approved mild soap or dedicated cleaner. Avoid antibacterial soap unless both the toy and soap labels support that use.
This matters most with intimate toys because silicone, soft elastomers, hard plastic, metal, coatings, glued parts, and electronic components don’t tolerate the same products or amount of water.
⚡ The TidyFormula™ Quick Decision
Best approach: Follow the toy manufacturer’s cleaning directions, then patch-test an approved cleaner before treating the entire surface.
Use caution with: Porous materials, soft-touch coatings, glued seams, printed details, motors, charging ports, and anything not specifically labeled waterproof.
Replace instead of cleaning if: The toy is cracked, peeling, permanently sticky, swollen, badly discolored, difficult to dry internally, or retaining residue or odor after careful cleaning.
What I Use For This Job
Using the right tools saves time and protects your belongings. Here are my exact recommendations:
*As an Amazon Associate, TidyFormula earns from qualifying purchases.
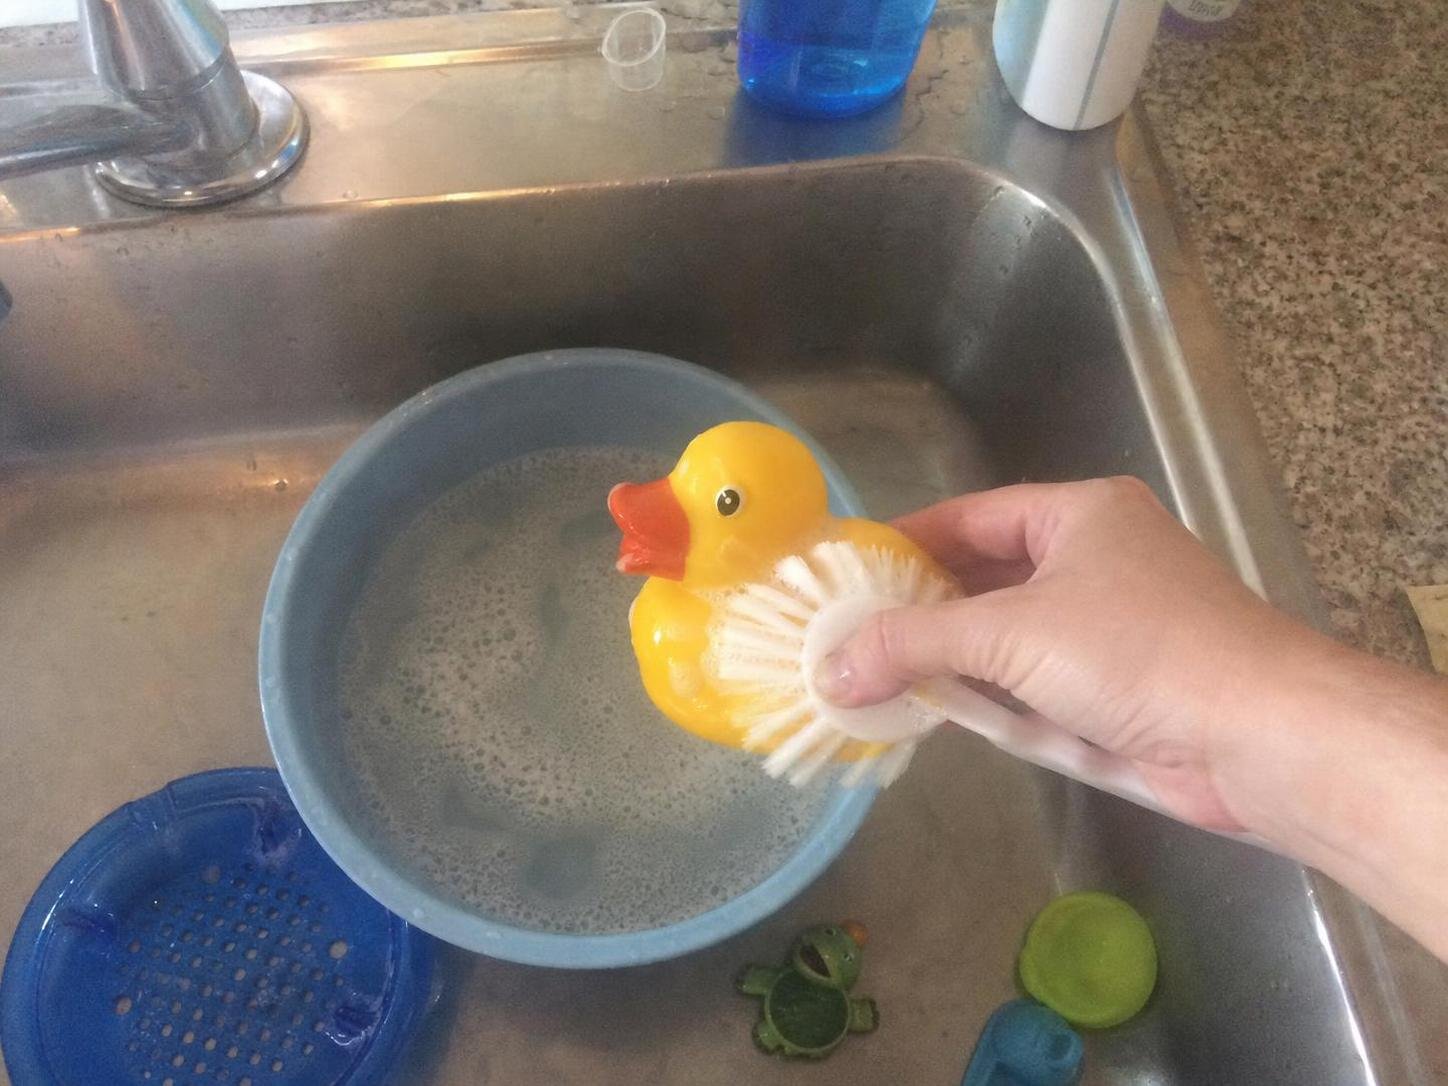
Check the material before choosing a cleaner
The toy’s material and construction matter more than whether a bottle says “toy cleaner” or “antibacterial.” Check the current care instructions and any waterproof or submersible rating before applying water.
- Silicone: Often tolerates washing with mild soap and water, but coatings, color details, motors, and unknown material blends can change the recommendation. Follow the manufacturer’s directions.
- ABS plastic, glass, or stainless steel: Smooth versions are generally easier to clean, but glued parts, decorative finishes, seams, and electronics still require caution.
- TPE, TPR, rubber, jelly-like materials, or unknown soft materials: These can be porous or sensitive to certain cleaners. Avoid experimenting with strong products, oils, solvents, or heat.
- Battery-powered or rechargeable toys: Treat them as wipe-clean only unless the manufacturer specifically identifies them as waterproof and explains how they may be washed.
- Fabric, leather, or mixed-material toys: Use the material-specific care instructions. Saturation can affect padding, adhesive, stitching, dyes, and internal components.
Inspect the toy before cleaning. Cracks, peeling surfaces, open seams, exposed wiring, corrosion, or a permanently tacky texture can make continued cleaning impractical.
What you need
Keep the setup simple. Using extra products doesn’t make the cleaning process more effective and can leave more residue.
- The manufacturer-approved toy cleaner or mild soap
- Lukewarm water, if the toy may be rinsed
- A clean, soft, lint-free cloth
- A soft brush for accessible textured areas, if permitted
- A clean towel for blotting
Don’t combine toy cleaner, antibacterial soap, bleach, alcohol, peroxide, or other cleaning products. Use one approved product according to its current label.
How to test the cleaner and wash the toy
This method checks for visible compatibility problems while completing a routine cleaning. A patch test cannot prove that a product disinfects the toy or is suitable for every type of body contact.
- Read both sets of directions. Confirm that the toy manufacturer allows the proposed cleaner and cleaning method. Then read the cleaner label for application, rinsing, handling, and ventilation instructions.
- Disconnect removable components. Unplug charging cables, remove detachable accessories, and take out removable batteries when the manufacturer’s instructions allow it. Keep battery compartments and charging ports dry.
- Patch-test the cleaner. Apply a small amount to an inconspicuous area using the same method you plan to use on the rest of the toy. Follow the cleaner’s label, rinse if directed, and let the area dry before checking it.
- Stop if the surface changes. Don’t continue if the patch becomes sticky, cloudy, faded, rough, swollen, softened, or discolored. Also stop if printing or coating begins to transfer to the cloth.
- Remove visible residue. Rinse a fully washable toy with lukewarm water or wipe a non-submersible toy with a damp cloth. Avoid forcing water into seams, buttons, ports, or openings.
- Apply the approved cleaner. Use gentle pressure and clean all accessible surfaces, including textured areas and the edges of buttons. Don’t spray cleaner directly toward electrical openings.
- Rinse or wipe as directed. Soap and cleaners that require rinsing should be removed thoroughly. For a product labeled as no-rinse, follow its current directions rather than improvising an extra step.
- Inspect the clean surface. Look for a slippery film, white residue, trapped moisture, loosened adhesive, or material changes. Repeat the approved rinsing or wiping step if removable residue remains.
- Blot and air-dry. Use a clean towel without aggressive rubbing, then leave the toy disassembled in a ventilated place until the surface, seams, and accessible openings are dry.
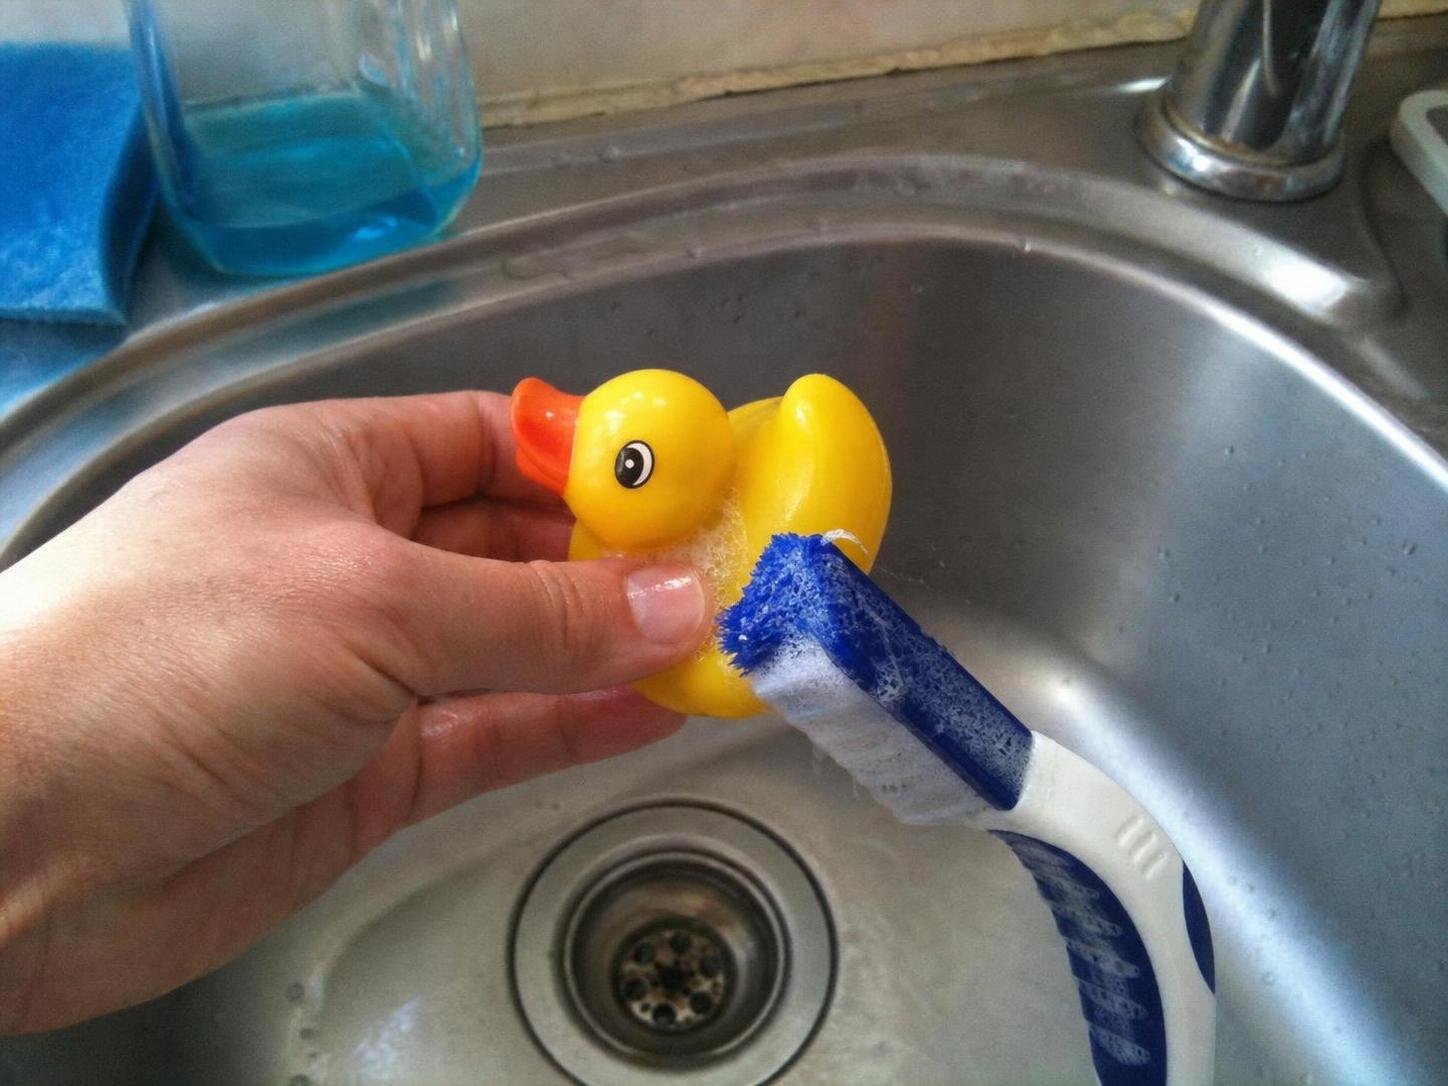
🧪 Why This Works
Gentle wiping or washing loosens visible soil, while rinsing removes soap and suspended residue. The patch test gives you an early warning that the cleaner may affect a coating, color, or soft material. It’s a compatibility check, not a sanitation or disinfection test.
Toy cleaner vs. antibacterial soap
A dedicated cleaner isn’t automatically better, and antibacterial soap isn’t automatically more appropriate. The safest choice is the product that both labels support for the specific toy material and cleaning method.
| Option | Best use | Main limitation |
|---|---|---|
| Dedicated toy cleaner | Use when its label lists a suitable application and the toy manufacturer permits it. | Formulas and rinse directions vary. The product name alone doesn’t establish compatibility or disinfection. |
| Mild soap | Use for routine washing when the manufacturer recommends mild soap and the toy can be rinsed. | Soap residue must be removed. Fragrances, moisturizers, dyes, and stronger formulas may be unsuitable. |
| Antibacterial soap | Use only if the toy manufacturer allows it and the soap label supports the intended use. | An antibacterial label doesn’t prove toy compatibility or mean the item has been disinfected. Some formulas can leave fragrance or conditioning residue. |
For most routine cleaning, plain mild soap is the practical default when the manufacturer approves it. A dedicated toy cleaner can be convenient, particularly when its directions match the toy’s care requirements. Antibacterial soap offers no useful advantage if it isn’t approved for the material or can’t be rinsed away properly.
Methods that can damage a toy
Avoid high heat, soaking, and strong household chemicals unless the manufacturer explicitly permits them. Material names alone aren’t enough to confirm that a complete toy can tolerate those methods.
- Boiling: Heat may distort soft materials, loosen adhesive, damage coatings, or ruin internal electronics.
- Dishwasher cleaning: Heat, forceful water, and dishwasher detergent can affect finishes, glued joints, and motors. Use this method only with explicit manufacturer approval.
- Alcohol, bleach, peroxide, or household disinfectants: Don’t use these by assumption. They can affect certain plastics, elastomers, finishes, and adhesives, and their labels may not support this application.
- Long soaking: Water can enter seams, controls, battery compartments, or hollow areas even when the outer surface looks intact.
- Abrasive scrubbing: Scouring pads and stiff brushes can scratch smooth surfaces or remove coatings and printed markings.
- Direct heat for drying: Hair dryers, heaters, and hot surfaces can warp materials or damage electronics.
What to do if the first cleaning leaves a problem
Most cleaning failures involve leftover product, excess water, or an incompatible cleaner. Stop using the toy until you identify the problem and the item is fully dry.
The surface feels slippery or has a white film
This usually points to cleaner residue. If the toy is rinse-safe, rinse it again with lukewarm water. Otherwise, wipe it with a clean damp cloth as permitted by the care instructions. Don’t add another cleaner to counteract the first one.
The material becomes sticky or swollen
Stop cleaning and don’t apply powders, oils, or solvents to conceal the change. Rinse away the cleaner if the manufacturer permits, dry the toy, and check its support instructions. Replace the toy if tackiness, swelling, peeling, or softness remains.
Color or coating transfers to the cloth
Stop wiping immediately. Transferred color can indicate an unstable dye, worn finish, or cleaner incompatibility. Continued scrubbing is likely to remove more of the surface.
Water entered a charging port or battery compartment
Don’t charge, switch on, or reassemble the toy while moisture may remain. Remove accessible batteries if this can be done safely, leave the compartment open, and follow the manufacturer’s instructions. Replace the item if corrosion, malfunction, heat, or visible electrical damage appears.
An odor remains after cleaning
Repeat the manufacturer-approved cleaning method and allow more drying time. A persistent odor in a porous, cracked, or internally wet toy can indicate that cleaning isn’t practical. Replacement is the safer household decision when the source can’t be reached or dried.
Drying and storage matter
A toy shouldn’t be reassembled or stored until its surface, seams, crevices, and battery area are dry. Drying time varies with material thickness, internal openings, airflow, humidity, and whether the toy contains padding or hollow sections.
- Blot with a clean, lint-free towel instead of rubbing soft finishes.
- Leave removable parts separated while they air-dry.
- Position accessible openings so trapped water can drain without entering electrical sections.
- Avoid sealed containers while any moisture remains.
- Store the toy in a clean, dry container or storage pouch recommended by the manufacturer.
- Keep different soft materials separated if the manufacturer warns that direct contact may affect their surfaces.
- Reinstall batteries or reconnect components only after checking that contacts and ports are dry and undamaged.
Frequently Asked Questions
Does a no-rinse toy cleaner need to be wiped off?
Follow the cleaner’s current label. “No-rinse” directions vary, and adding an unapproved wiping or rinsing step may not suit every material or electronic toy.
Can a toy cleaner test confirm that the product disinfects?
No. A household patch test can reveal visible residue, discoloration, tackiness, or other compatibility problems. It can’t verify sanitation, disinfection, or complete removal of microorganisms. Rely only on specific label claims and manufacturer directions.
Can waterproof and water-resistant toys be cleaned the same way?
Not necessarily. Water-resistant usually indicates more limited moisture protection than waterproof, but the manufacturer’s exact rating and washing instructions control. If the rating is missing or unclear, reduce moisture and keep ports, controls, and seams dry.
Is an unscented cleaner always safe?
No. Lack of fragrance doesn’t establish compatibility with silicone, TPE, rubber, plastic, coatings, adhesive, or electronics. Check the labels and patch-test it first.
Use the toy manufacturer’s approved cleaning method as your starting point, with mild soap or a compatible dedicated cleaner as directed. Keep antibacterial soap, strong chemicals, heat, and excess water out of the process unless specifically approved, and don’t store or reassemble the toy until every accessible part is dry.
Everything Mentioned Above
Before you leave, grab the tools you need to get the job done right the first time:
*As an Amazon Associate, TidyFormula earns from qualifying purchases.