
How to Clean a Top Load Washing Machine Agitator
To clean a top-load washing machine agitator without damage, wipe and scrub it with a soft cloth or nylon brush, warm water, and a small amount of mild dish soap. Avoid abrasive pads, harsh cleaners, and prying the agitator apart unless your washer manual specifically says the part is removable.
Residue often collects in the agitator’s grooves, under its fabric-softener dispenser, and around the base where the agitator meets the wash basket. A little routine attention is usually enough; stubborn buildup may require a second gentle pass rather than stronger chemicals.
⚡ The TidyFormula™ Quick Decision
Best approach: Clean the agitator with a damp, soapy cloth and a soft nylon brush, then wipe away all loosened residue with a separate clean cloth.
Use caution with: Do not use steel wool, scouring powder, abrasive scrubbers, or undiluted household cleaners that may scratch plastic, dull printed markings, or leave residue behind.
Replace instead of cleaning if: The agitator is cracked, loose, badly warped, or has damaged fins that catch or snag laundry.
What I Use For This Job
Using the right tools saves time and protects your belongings. Here are my exact recommendations:
*As an Amazon Associate, TidyFormula earns from qualifying purchases.
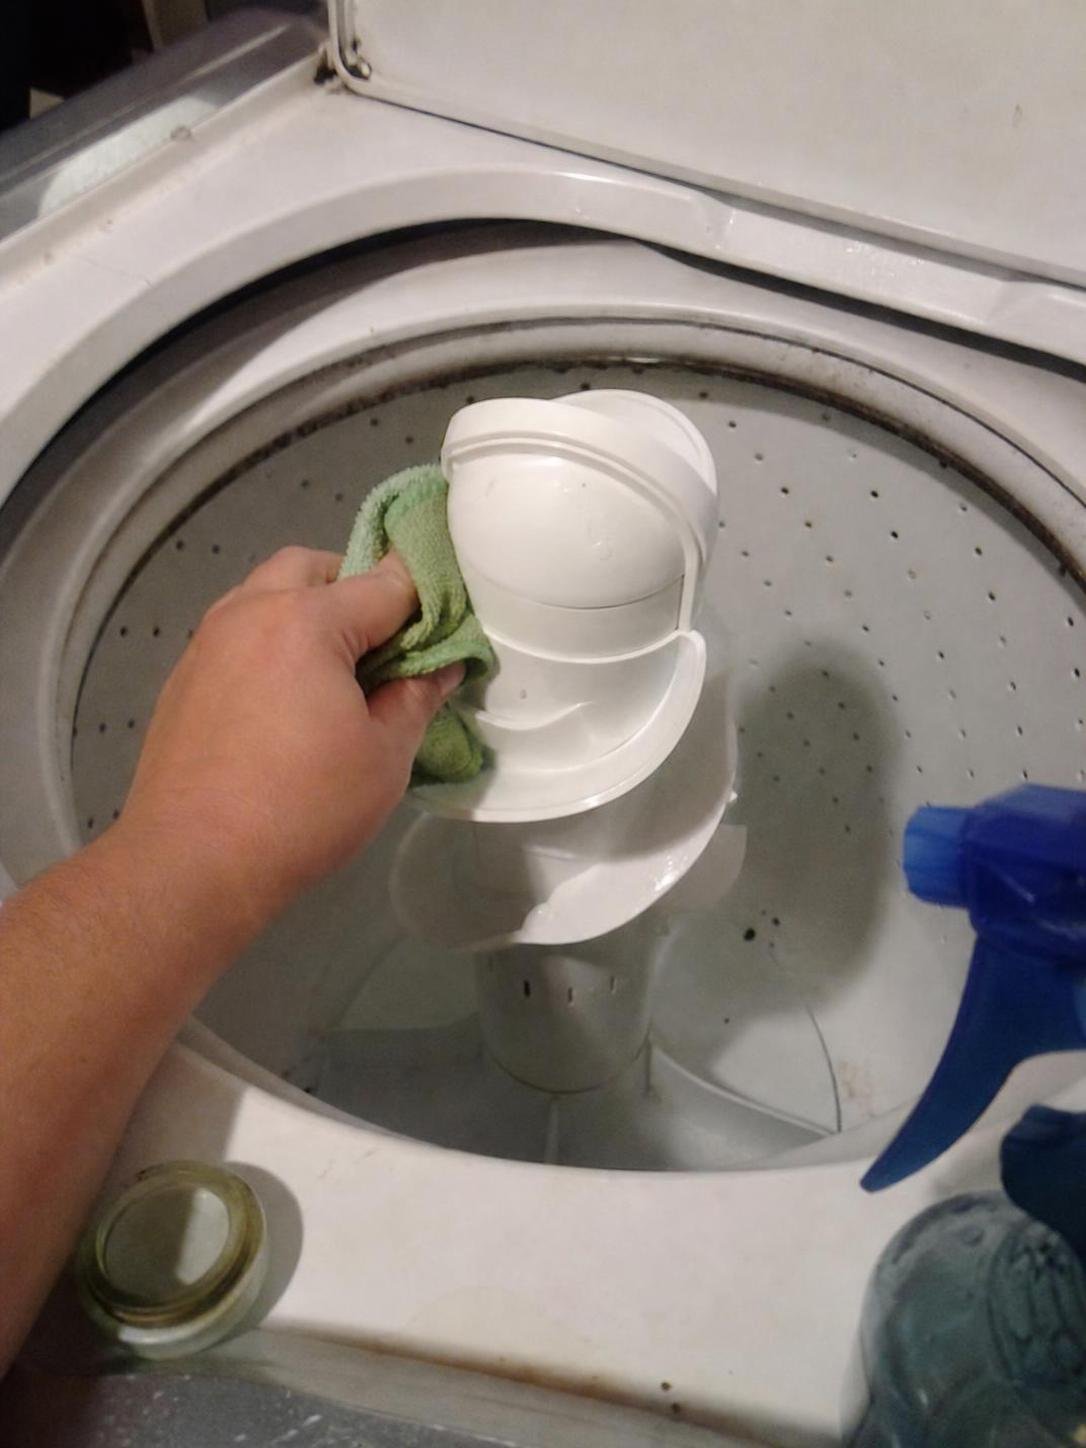
Check the agitator before you start
Most top-load agitators are molded plastic, but the dispenser cap, fabric-softener cup, and center post design vary by washer. Look over the part before cleaning so you do not pull on a piece that is meant to stay in place.
- Remove loose lint, hair, coins, or debris by hand before using water.
- Check whether the fabric-softener dispenser lifts off easily. If it resists, consult your washer’s current manual instead of forcing it.
- Look for cracks, sharp edges, loose plastic, or a wobbly agitator. Cleaning will not correct a mechanical problem.
- If the agitator has printed instructions or decorative markings, use only a soft cloth and light pressure over those areas.
Do not remove the entire agitator unless the appliance manufacturer provides removal instructions for your model. Some agitators are secured with internal fasteners, and incorrect removal can create a reassembly problem or damage the part.
What you need
The best way to clean a top-load washing machine agitator is simple: use enough moisture to lift residue, but not so much that dirty water runs into openings around removable dispenser parts.
- Warm water
- Mild liquid dish soap
- Two soft microfiber cloths or other non-abrasive cloths
- A soft nylon cleaning brush or an old soft toothbrush
- A small bowl or cup for soapy water
- A dry towel
Avoid powdered cleansers, melamine sponges, stiff grout brushes, and metal scrubbers. These can leave fine scratches in plastic, and those scratched areas can become harder to wipe clean later.
Clean the agitator step by step
Use a gentle surface-cleaning method first. It is usually the safest option for ordinary detergent film, fabric-softener residue, lint, and grime around the agitator base.
- Turn off the washer and leave the lid open. Make sure the tub is empty. You do not need to unplug the washer for ordinary surface cleaning, but keep water away from controls and electrical components.
- Remove any lift-off dispenser cup or cap. Set it aside on a towel. If your dispenser does not lift out easily, leave it in place and clean around it with a damp cloth.
- Mix warm water with a small amount of mild dish soap. The cloth should be damp, not dripping. Excess water is not helpful for cleaning the agitator and can carry loosened residue into seams and openings.
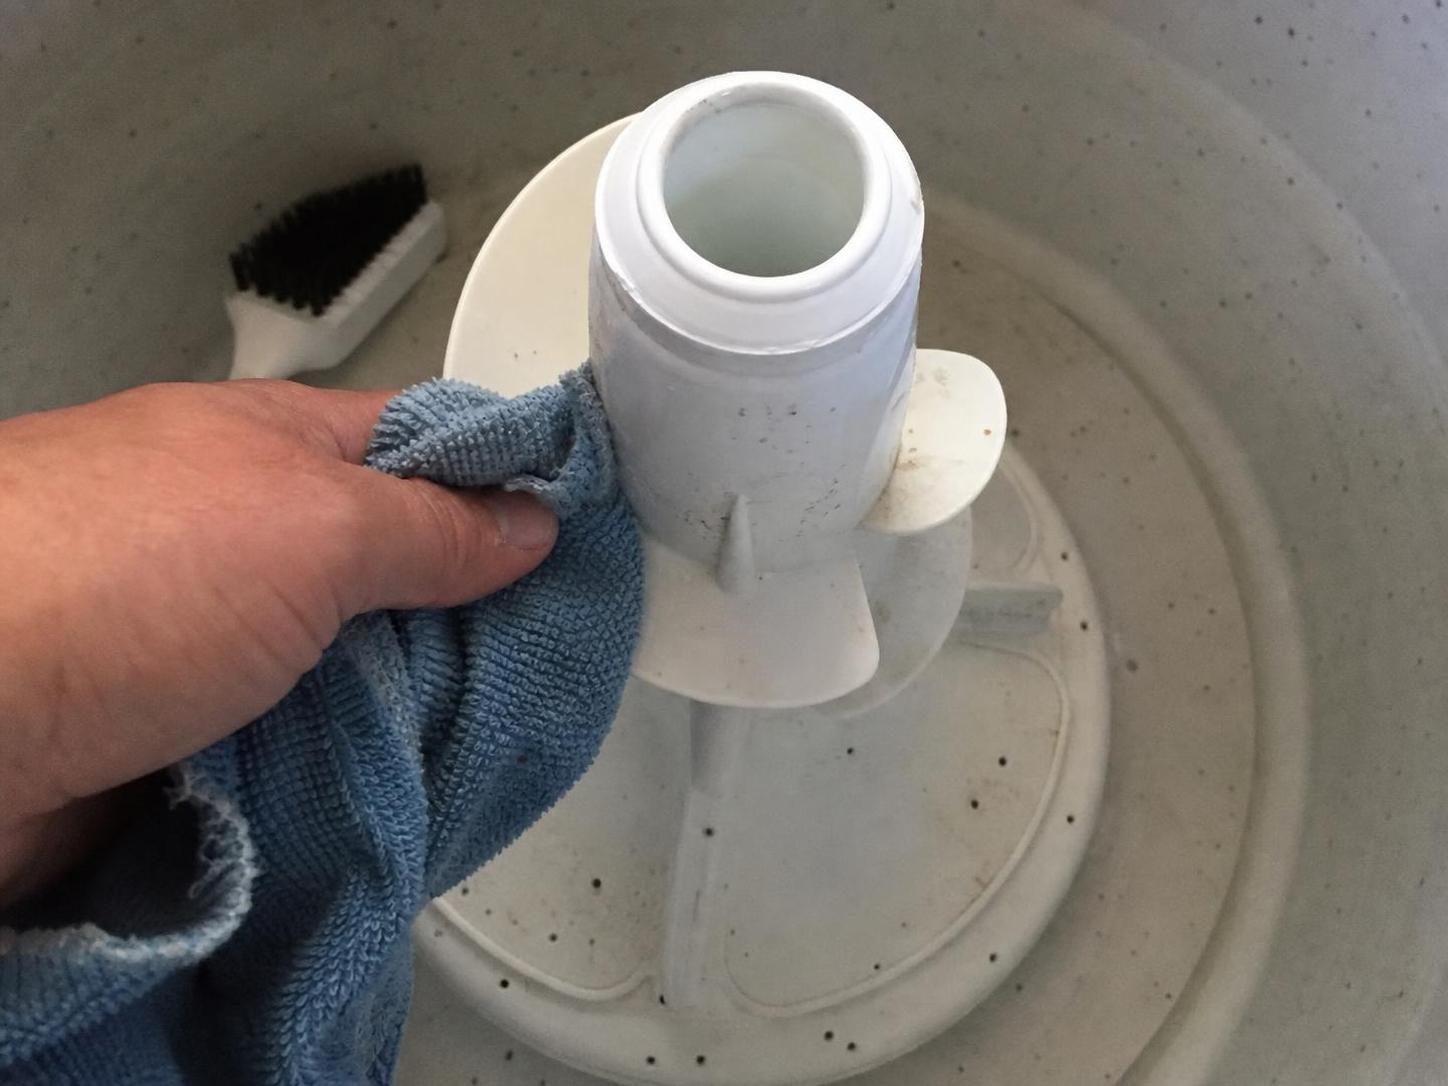
- Wipe the full agitator from top to bottom. Pay attention to the spiral fins, narrow grooves, and the lower area where the agitator meets the wash basket.
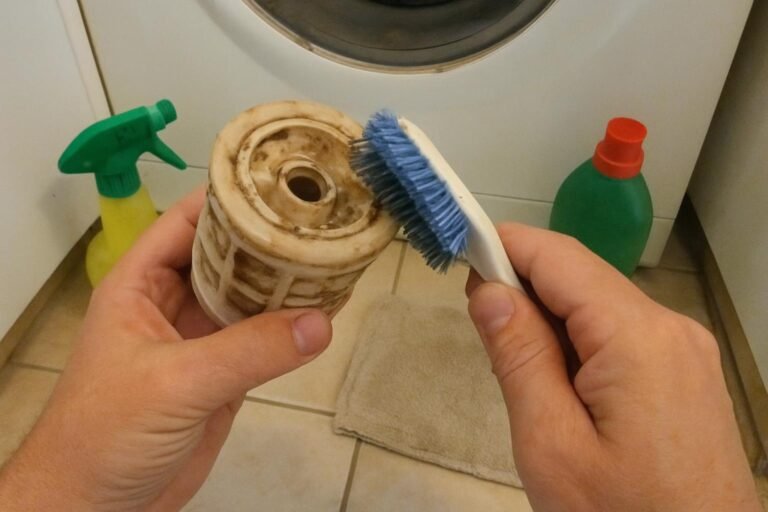
- Use a soft nylon brush for dried-on residue. Work with light pressure in short strokes. If buildup does not loosen, re-dampen the area and let the moisture soften it briefly before brushing again.
- Clean the dispenser cup or cap separately with the same mild soapy water. Brush its underside and any channels where product residue has collected. Rinse it with a clean damp cloth rather than leaving soap behind.
- Wipe the agitator again with a separate cloth dampened only with clean water. This removes soap film and loosened residue.
- Dry the agitator, dispenser, and nearby wash basket with a towel. Reinstall a removable dispenser only after it is clean and dry, and make sure it sits level and secure.
🧪 Why This Works
Mild soap helps loosen detergent and fabric-softener film while a soft cloth lifts it away without aggressively wearing down the plastic. A soft brush reaches the grooves and fins that a flat cloth cannot. The final clean-water wipe matters because leftover soap can leave its own dull-looking film.
For heavier buildup around the dispenser and base
If the agitator still feels sticky or looks cloudy after the first pass, repeat the gentle cleaning process instead of reaching for a stronger product. Persistent residue is often layered detergent or fabric-softener buildup, especially in areas that are difficult to rinse during regular loads.
Use the damp brush to work one small section at a time, then wipe it immediately with the clean-water cloth. This approach keeps loosened residue from drying back onto the plastic. If the buildup is inside a dispenser channel that cannot be reached without disassembly, check your washer manufacturer’s instructions before attempting to take it apart.
After manual cleaning, run the washer’s manufacturer-recommended cleaning cycle if your model has one. Follow the current washer manual and the label directions for any washer-cleaning product you choose. Do not combine cleaning products, and do not add vinegar, bleach, ammonia, or other cleaners together.
Cleaning mistakes that can damage an agitator
Most agitator damage comes from excessive force, abrasive tools, or unnecessary disassembly. These are the problems worth avoiding.
Scrubbing with an abrasive pad
A rough scrubber can create cloudy patches or fine scratches in the plastic. If you notice dulling or scratch marks while cleaning, stop and switch to a microfiber cloth or soft nylon brush. Scratches cannot always be polished out and may make future residue more noticeable.
Pouring cleaner directly into seams or openings
Liquid cleaner can pool under a dispenser cap or around the center post. Use a damp cloth instead of pouring product directly onto the agitator. If you accidentally leave excess liquid in an opening, blot it with a dry cloth and leave the washer lid open for ventilation.
Forcing off a dispenser or cap
Some dispenser parts lift out, while others are designed to remain attached. A part that twists, catches, or feels firmly fixed should not be pried off with a tool. Check the model-specific instructions before trying again.
Ignoring a loose or cracked agitator
A clean agitator should still feel secure. Stop using the washer and arrange service if the agitator rocks unusually, has a visible crack, exposes sharp plastic, or catches clothing. Cleaning may improve its appearance, but it will not restore a damaged part.
If residue, odor, or film returns quickly
Rapid buildup usually points to product residue rather than a missed spot on the agitator. Reduce the amount of detergent or fabric softener to the amount recommended on the product label and for your load size and water conditions. More product does not necessarily rinse away more effectively.
- Wipe spills from the dispenser area before they dry.
- Leave the washer lid open after a load when practical so the tub and agitator can air out.
- Remove washed items promptly instead of leaving damp laundry in the tub.
- Use the washer’s recommended cleaning cycle when buildup becomes visible or according to the appliance manufacturer’s maintenance guidance.
If you are maintaining the washer after washing bulky bedding, check the item’s care instructions before washing it again. Memory foam, for example, may not be suitable for a standard washer cycle; see whether a memory foam pillow can go in the washing machine before putting one in a top-loader.
How often should you clean the agitator?
Wipe the agitator whenever you notice visible residue, lint, a sticky dispenser, or dull film around the base. For routine upkeep, inspect it when you clean the washer tub or when you notice laundry product buildup. Homes that use fabric softener frequently or run many loads may need attention more often than lightly used machines.
Keep the process simple: use a damp cloth, mild soap, and a soft brush only where residue remains. Avoid forcing removable parts or using harsh cleaners, dry the dispenser before reinstalling it, and leave the lid open afterward when practical so moisture does not linger in the tub.
Everything Mentioned Above
Before you leave, grab the tools you need to get the job done right the first time:
*As an Amazon Associate, TidyFormula earns from qualifying purchases.
One Comment