How to Clean Washing Machine Detergent Drawer
The best way to clean a washing machine detergent drawer is to remove it completely, soak it in warm water with dish soap or diluted white vinegar, scrub the crevices with an old toothbrush, and wipe out the housing cavity before drying everything fully and sliding the drawer back in.
If your drawer smells musty or has that grayish-pink slime creeping into the corners, you’re not imagining it. Detergent, fabric softener, and standing water combine in that little tray to create a buildup that regular laundry cycles never touch.
⚡ The TidyFormula™ Quick Decision
Best approach: Remove the drawer, soak it in warm water with dish soap or diluted white vinegar, scrub with a soft brush, and dry it fully before reinstalling.
Use caution with: Undiluted bleach, abrasive scouring pads, and metal tools, all of which can scratch plastic or degrade rubber seals inside the housing.
Replace instead of cleaning if: The drawer is cracked, warped, or has discoloration and odor that persist even after a thorough soak and scrub.
What I Use For This Job
Using the right tools saves time and protects your belongings. Here are my exact recommendations:
*As an Amazon Associate, TidyFormula earns from qualifying purchases.
How Often Should You Clean the Detergent Drawer?
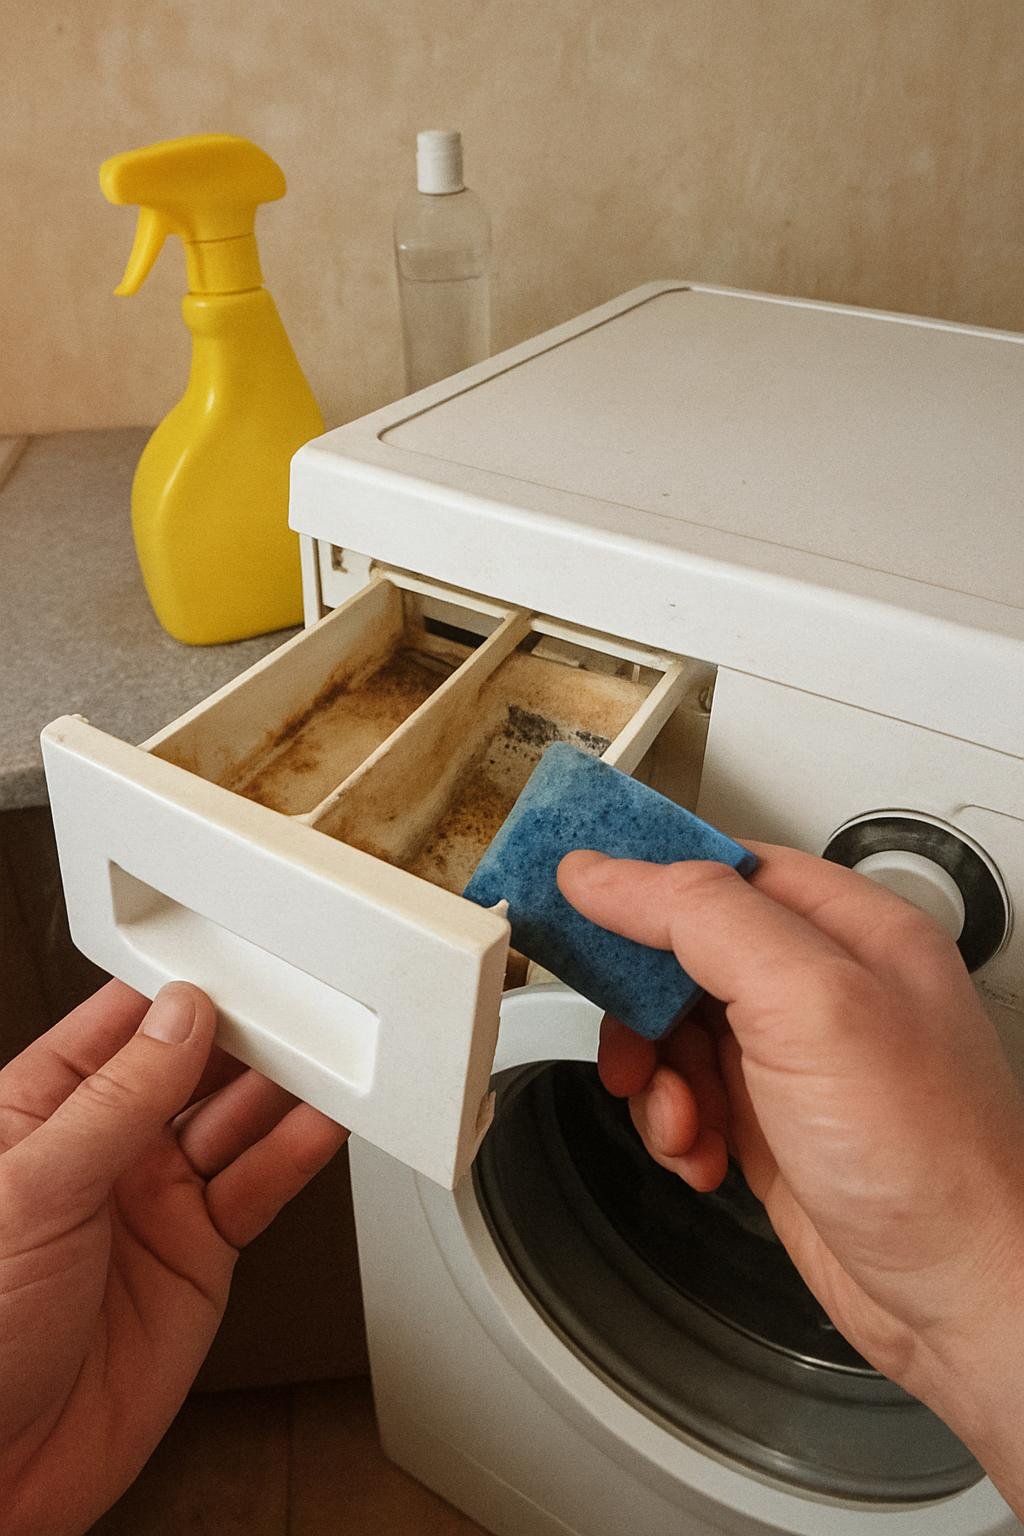
Plan on cleaning your detergent drawer about once a month for average household use. If you use liquid detergent or fabric softener regularly, or you’ve noticed a sour smell in your laundry, bump that up to every two weeks. Signs you’ve waited too long include a slimy film on the drawer walls, a musty odor that lingers on clean clothes, or visible spots of mold-like discoloration in the corners.
What You’ll Need for a Safe Clean
You don’t need anything fancy here, and that’s actually the point. A safe cleaner for a washing machine detergent drawer is usually just warm water and mild dish soap, or a diluted mix of white vinegar and water for tougher residue. An old toothbrush works well for scrubbing narrow channels and springs. A microfiber cloth handles the housing cavity. Skip bleach unless your machine’s manual specifically calls for it, and never combine bleach with other cleaning products. If you want a general reference on safe cleanup practices around household mold and moisture, the EPA’s mold cleanup guidance is a solid, conservative starting point.
Step-by-Step: How to Clean the Detergent Drawer
Step 1: Remove the drawer. Most drawers pull straight out once you press a small release tab, usually located underneath or to the side. If it resists, don’t force it. Check your owner’s manual, since some models require a slight lift before the pull.
Step 2: Soak it. Fill a sink or basin with warm water and a squirt of dish soap, or a solution of one part white vinegar to two parts water. Let the drawer sit for 15 to 20 minutes to loosen dried-on residue.
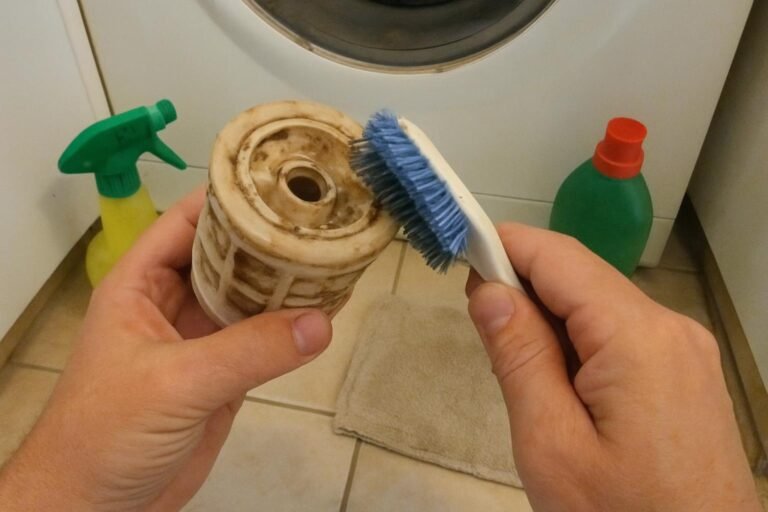
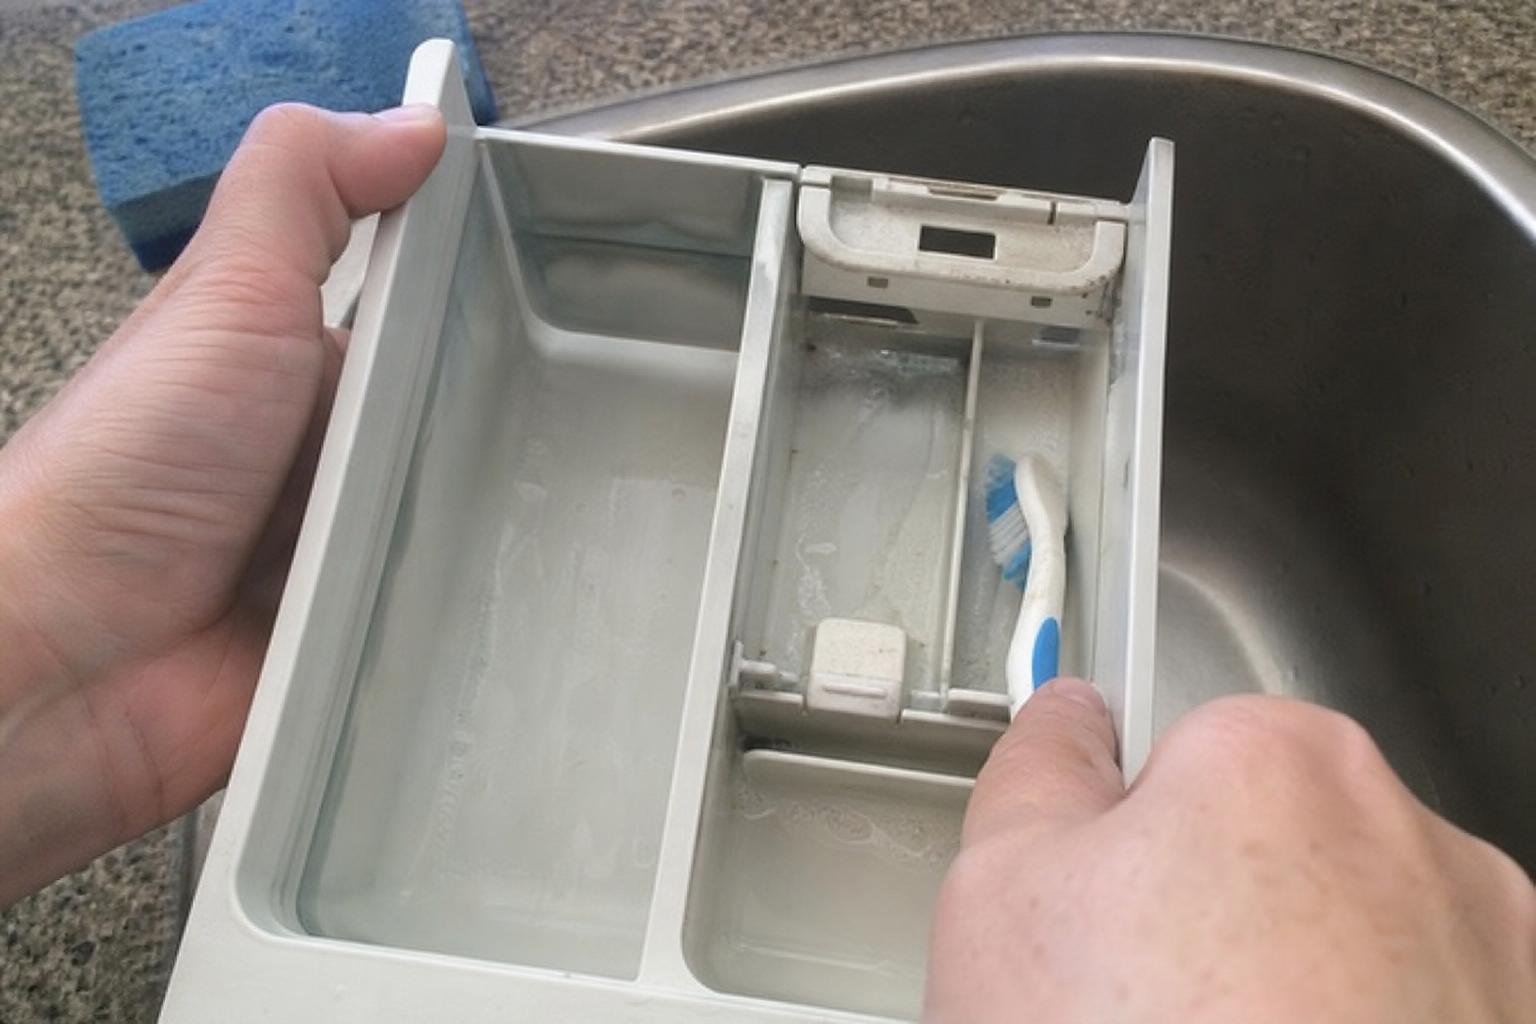
Step 3: Scrub the details. Use your toothbrush on compartment corners, dividers, and any small springs or valves. These tight spots are where buildup hides longest.
Step 4: Don’t skip the housing cavity. This is the step most people miss entirely. The slot the drawer slides into often collects the same slimy residue, sometimes called biofilm, and it keeps re-contaminating a freshly cleaned drawer if you leave it alone. Wrap a damp cloth around a butter knife or use a long-handled brush to reach the back of the cavity.
Step 5: Dry everything completely. Moisture left behind is exactly what invites mold to come back. Air-dry the drawer fully before sliding it back into place.
Washing Machine Detergent Drawer Cleaning Mistakes to Avoid
A few habits do more harm than good, even when the intention is a cleaner machine. Scrubbing with steel wool or a metal scraper can scratch plastic surfaces, giving future grime even more texture to grip onto. Forcing a stuck drawer instead of checking for a release tab can snap the plastic guides. Skipping the housing cavity leaves a hidden source of odor untouched. And reinserting a drawer while it’s still damp is one of the fastest ways to reintroduce the exact moisture problem you just solved.
When to Replace the Drawer Instead of Cleaning It
Cleaning solves most detergent drawer problems, but not all of them. If the plastic is cracked, warped, or the compartments no longer hold their shape, replacing the part is safer than continuing to clean around damage. Persistent odor or staining that survives a full soak and scrub, especially after you’ve also cleaned the housing cavity, usually points to a drawer that’s absorbed residue into the plastic itself. Most manufacturers sell replacement drawers individually, and swapping one out is a low-cost fix compared to dealing with recurring smell or mold issues.
Preventing Buildup Between Cleanings
A little routine maintenance keeps this chore from feeling like a monthly deep clean. Leave the drawer slightly open after each wash so it can air out instead of trapping moisture. Use the detergent amount recommended on the label rather than eyeballing extra, since overuse is one of the biggest contributors to residue buildup. Running an empty hot-water maintenance wash once a month, with the drawer removed, helps flush out anything building up in the dispenser lines you can’t reach by hand.
If you’re already in deep-clean mode for your laundry routine, it’s worth double-checking what else should or shouldn’t go through the machine. Bulky bedding items are a common source of confusion, and guides like washing memory foam pillows the right way or cleaning pillows without a washing machine can save you from a costly mistake.
Backpacks and bags are another category people assume are machine-safe when they often aren’t. If you’re curious whether a favorite bag can handle a wash cycle, this breakdown of washing a Herschel backpack walks through what actually happens when you try. And if memory foam is still a question mark for you, this deeper look at washing memory foam pillows safely covers the material limitations in more detail.
Everything Mentioned Above
Before you leave, grab the tools you need to get the job done right the first time:
*As an Amazon Associate, TidyFormula earns from qualifying purchases.