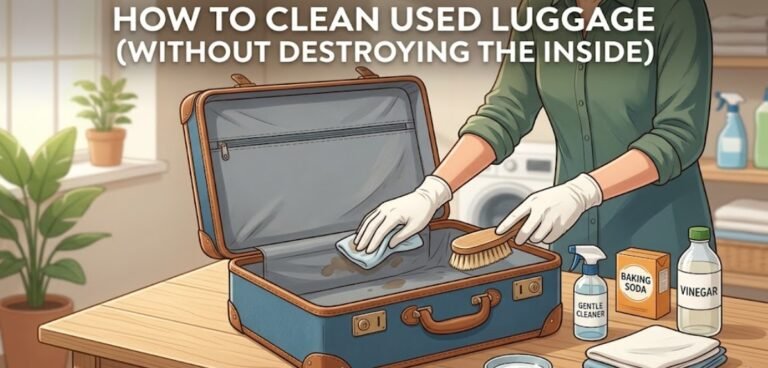
How to Clean Vintage American Tourister Luggage Without Damaging It
I avoided this suitcase for three weeks. It sat near the closet with grey fuzz in the corners, black streaks on the shell, and that old storage smell that feels like damp cardboard and dusty attic air. Not terrible. Just tired.
When people ask me how to clean vintage American Tourister luggage, my answer is not “scrub harder.” Please don’t. Older luggage can look tough, but the lining, glue, stitching, plastic trim, and metal latches are often more fragile than they seem. At TidyFormula, we learned this the annoying way after one over-wet interior took two full days to dry and still smelled like wet fabric.
⚡ The TidyFormula™ Quick Answer
The Recommendation: Clean vintage American Tourister luggage with low moisture, mild soap, soft brushing, and slow drying; aim for clean and safe, not factory-new.
- The Mix: Warm water, 2 drops mild dish soap, microfiber cloths, soft toothbrush, baking soda, and diluted white vinegar for odor
- Time: 35–60 minutes active cleaning, plus overnight drying if the inside smells musty
- Effectiveness: High for dust, grime, sticky film, mild odor, and surface scuffs; Medium for yellowing, deep scratches, rust, and old stains
First, Check What Kind of Vintage American Tourister Luggage You Have
Before water touches the bag, slow down and look at it. Vintage American Tourister cases can have hard plastic shells, vinyl-covered sides, fabric panels, metal latches, rubber trim, plastic handles, and fabric interiors. They do not all react the same way.
Run your fingers over the shell. Is it slick plastic? Slightly pebbled vinyl? Gritty fabric? Does the lining feel crisp, soft, or oddly powdery? That texture tells you how careful you need to be. A shiny hard shell can usually handle a damp wipe. A soft old lining that sheds dust when touched needs a lighter hand.
What I Use For This Job
Using the right tools saves time and protects your belongings. Here are my exact recommendations:
*As an Amazon Associate, TidyFormula earns from qualifying purchases.
The smell matters too. Clean dust smells dry. Mildew smells damp and sour, like wet towels left in a trunk. If it smells musty, do not close the suitcase right after cleaning. That traps moisture and makes the problem worse.
For general manufacturer care, American Tourister advises testing a small hidden area first, using a damp cloth with mild soap or mild liquid cleaner, then wiping away soap residue with a moist cloth. That matches what we have found in real cleaning: gentle wins.
External care reference: American Tourister product care and cleaning guidance
Tools I Actually Use for This Job
Nothing fancy. I like boring supplies here because vintage luggage punishes overconfidence.
- Microfiber cloths
- Soft toothbrush
- Vacuum with brush attachment
- Small bowl of warm water
- 2 drops mild dish soap
- White vinegar
- Baking soda
- Cotton swabs
- Dry towel
- Fan for drying
The toothbrush is the hero, honestly. It gets into the latch edges, the rubber feet, and the little seams where black grit hides. I hate hidden grime in seams. It looks fine from two feet away, then you brush it and suddenly there is cloudy brown runoff on the cloth.
Step 1: Vacuum the Inside Before You Wet Anything
Open the suitcase fully and let it breathe for a few minutes. That first puff of old air can be rough. Dusty fabric, stale closet smell, sometimes a faint metallic odor from the latches.
Use the brush attachment on the vacuum and go slowly around the corners, seams, pockets, and under the straps. The vacuum whine is annoying in a quiet room, but it pulls out the dry grit before it turns into muddy streaks.
Do not skip this. Wet dirt becomes paste. Paste gets pushed into fabric. Then you are no longer cleaning; you are smearing history around.
Step 2: Wipe the Hard Shell or Vinyl Exterior With Almost No Water
Mix warm water with 2 drops of mild dish soap. Not a spoonful. Not a bubbly sink. Two drops. You want a slick, light cleaning solution, not a foam party.
Dip a microfiber cloth in the mix, wring it out hard, and wipe a small hidden spot first. Wait a minute. If the color looks fine and the finish does not turn cloudy, continue.
Wipe the shell in sections. The cloth will pick up grey dust, brownish grime, and sometimes a sticky film from old storage. On textured American Tourister cases, use the toothbrush gently. You should hear a soft scratchy brushing sound, not aggressive scraping.
After each section, wipe with a second cloth dampened with plain water. Then dry it with a towel. Soap residue can leave a dull haze, especially on older plastic.
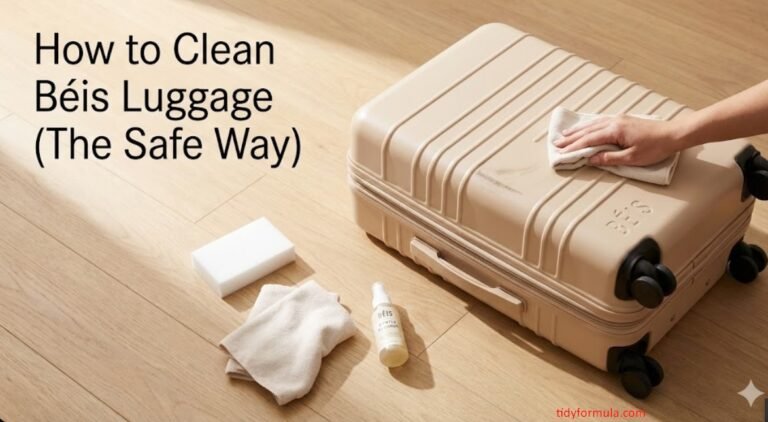
If you are also researching how to clean American Tourister luggage that is newer, the same basic rule applies: mild soap, damp cloth, rinse-wipe, dry. Newer cases may tolerate cleaning better, but soaking is still a bad habit.
Step 3: Work on Scuffs, But Don’t Chase Every Mark
Scuffs are where people get impatient. I get it. Black streaks on a cream or tan suitcase look ugly. But vintage luggage is not a white sneaker. Some marks are part of the plastic now.
Start with the same mild soap cloth. If a scuff does not move, use a small pinch of baking soda on the damp cloth and rub lightly. It feels gritty, like very fine sand. That grit can help lift surface marks, but it can also dull glossy finishes if you go wild.
Our rule: ten gentle passes, then stop and check. If it improved 70–80%, that may be enough. I know that sounds unsatisfying, but 90% clean with the finish intact is better than 100% scrubbed and permanently cloudy.
For deeper scuff work, this related TidyFormula guide may help: how to clean scuff marks off luggage.
Step 4: Clean the Interior Lining Without Soaking It
The inside is where vintage suitcases get risky. Old lining can separate from the shell, old glue can soften, and old cardboard panels can warp. So use less moisture than feels satisfying.
Use a barely damp cloth with mild soap and blot the fabric. Do not scrub like carpet. If the lining has a brown water stain, clean around it gently and accept that some shadow may remain.
For smells, mix 1 part white vinegar with 5 parts water. Dampen a cloth with that mix and wipe the interior lightly. It will smell sharp for a few minutes, like salad dressing in a closet. That fades as it dries.
Then leave the suitcase open with a fan nearby. The sound of the fan is boring, but it is your friend. Moving air prevents that damp-fabric smell from coming back.
Step 5: Deodorize With Baking Soda Overnight
Once the inside is dry, place a small open bowl of baking soda inside the suitcase. Close it overnight. If the smell is heavy, give it 24–48 hours.
Baking soda will not perform miracles. If the suitcase lived in a damp basement for twenty years, one night may not erase everything. But it usually knocks down that stale, dusty smell enough that packing clothes no longer feels disgusting.
If you see mold spots or smell strong mildew, use the safer mold-specific guide here: how to clean mold off luggage.
Step 6: Clean the Handles, Latches, Wheels, and Feet
This is the fiddly part. I hate hidden screws and tiny latch grooves. They collect black gunk that looks like pencil dust mixed with hand oil.
Use cotton swabs dipped in the mild soap solution for latch edges and handle seams. For wheels and feet, use the toothbrush. The runoff can look cloudy grey, sometimes almost black. Wipe it away quickly and dry metal parts right after.
If a latch has rust, do not flood it with cleaner. Rust plus water can turn into orange streaks on the shell. Use a dry brush first. If needed, use a tiny amount of metal cleaner on a cotton swab, away from fabric and painted logos.
For used luggage with unknown storage history, this cleaning guide is useful too: how to clean used luggage.
🧪 The Science: Why It Works
Mild dish soap helps loosen oily hand film, road grime, and dusty residue because soap molecules grab onto grease on one side and water on the other. Think of it like a tiny bridge between the sticky dirt and your damp cloth. Vinegar helps with some odor because it changes the surface environment that musty smells like to cling to, and baking soda absorbs lingering odor in a slow, boring, useful way. Plain English: soap lifts grime, vinegar helps with stale smell, and baking soda buys you extra freshness time.
The Perfect Method vs. the Method I’d Actually Use
The perfect method would mean testing every material, cleaning with separate products for vinyl, plastic, fabric, metal, rubber, and lining, then drying for two days in a controlled room. Nice idea. A bit much for most people.
The practical method is what I described above: vacuum, damp wipe, soft brush, odor treatment, slow dry. It gives you a suitcase that looks cared for, smells cleaner, and feels safe to use.
The trade-off is simple. More water can make cleaning look faster, but it raises the risk of warping, mildew, and loose lining. Less water takes patience, but it protects the suitcase.
This method does not work well for cracked plastic, heavy rust, peeling lining, smoke damage, deep yellowing, or luggage with active mold growth. In those cases, clean lightly and consider repair or restoration instead of forcing a full clean.
How to Clean Swiss Gear Luggage Compared With Vintage American Tourister
People also ask how to clean Swiss Gear luggage, and the process is close but not identical. Swiss Gear pieces are often fabric-heavy, with mesh pockets, padded sections, molded handles, and zipper-heavy layouts. They hold onto crumbs and lint differently.
For Swiss Gear luggage, vacuum first, then spot-clean with mild soap foam instead of soaking the fabric. The surface may feel woven and slightly rough under the cloth. If you use too much water, the padding can stay damp and smell sour the next day. Not fun.
For wheeled Swiss Gear luggage, scrub wheels and bottom corners separately. Those areas usually have gritty sludge from sidewalks and airport floors. You will hear the brush scrape against tiny stones sometimes. That sound is gross but satisfying.
If the bag is fabric luggage, this TidyFormula guide is a helpful match: how to clean dirty fabric luggage.
How to Clean American Tourister Luggage If It Is Not Vintage
For modern American Tourister luggage, you can be slightly less nervous, but the core process stays the same. Hard shell pieces usually need mild soap, warm water, and a microfiber cloth. Softside pieces need vacuuming and spot cleaning.
Do not put wheeled luggage in a washing machine. The frame, handle rails, wheel housing, and interior panels are not made for that kind of abuse. The machine may sound like it is fighting a brick, and honestly, it kind of is.
If the luggage has a plastic cover, clean that separately with light soap and a soft cloth. For more detail, see how to clean a plastic luggage cover.
My Small Pro Tip: Clean the Bottom First Next Time
Here is the habit we use now: after every trip, wipe the wheels, bottom feet, and handles before storing the suitcase. Those are the dirtiest touchpoints. If you ignore them, the whole closet starts getting that airport-floor smell. Dusty rubber, stale fabric, and old road grime. Lovely.
It takes five minutes. Future you will be less annoyed.
FAQ
Can I use vinegar inside vintage American Tourister luggage?
Yes, but dilute it. I use 1 part white vinegar to 5 parts water on a cloth, not sprayed directly into the suitcase. Direct spraying can leave the lining too wet.
How do I remove the old musty smell from vintage luggage?
Vacuum first, wipe lightly with diluted vinegar if the lining can handle moisture, dry fully, then leave baking soda or activated charcoal inside overnight. Strong odors may need a few rounds.
Can I use a magic eraser on American Tourister luggage?
Maybe, but test first. Magic erasers are lightly abrasive. On a glossy vintage shell, they can remove scuffs and also dull the finish. I only use them as a last step, and very gently.
What is the safest way to clean Swiss Gear luggage?
Vacuum it, use mild soap foam on fabric spots, wipe with a barely damp cloth, then air dry with every pocket open. Avoid soaking padded areas because they can hold moisture and smell sour later.
Can vintage American Tourister luggage look new again?
Sometimes it can look much better, but not always new. Yellowing, deep scratches, old stains, and faded trim may remain. Clean and usable is the better target. Perfect is where people start damaging things.
Everything Mentioned Above
Before you leave, grab the tools you need to get the job done right the first time:
*As an Amazon Associate, TidyFormula earns from qualifying purchases.