How to Clean Air Fryer Heating Element Safely (Stop the Smoke!)
To clean an air fryer heating element safely, unplug the appliance, let it cool completely, remove loose debris with a soft brush, and wipe the element with a well-wrung damp cloth. For stubborn grease, use a small amount of baking soda paste only if the manufacturer allows it. Never spray cleaner or pour water inside the unit.
How to Clean Air Fryer Heating Element (Stop the Smoking)
⚠️ Safety First
Always unplug your air fryer and let it cool completely before cleaning the heating element.
Never work on a hot or plugged-in appliance.
Check the care instructions for your model before starting. Some manufacturers recommend cleaning an exposed metal element only with a soft brush or damp cloth and may not approve baking soda or other cleaners.
Do not remove screws, guards, fan covers, or other fixed parts to reach the element. If you cannot access an area without disassembling the appliance, leave it alone.
Why Your Air Fryer Is Smoking
Most smoking comes from:
What I Use For This Job
Using the right tools saves time and protects your belongings. Here are my exact recommendations:
*As an Amazon Associate, TidyFormula earns from qualifying purchases.
- Grease splatter baked onto the heating element
- Food bits stuck near the coil
- Excess oil or fat from previous cooks burning again
- Lightweight parchment paper or foil lifting into the element
- Food piled high enough to touch or splatter directly onto the heater
Cleaning the heating element safely can dramatically reduce or stop smoke caused by old food and grease. However, cleaning will not correct an electrical or mechanical fault.
When to Stop Using the Air Fryer
Unplug the appliance and do not continue testing it if you notice:
- Sparks, arcing, or a glowing connection outside the normal heating element
- A strong burning-plastic or electrical odor
- A cracked, warped, loose, or visibly damaged heating element
- A damaged power cord or plug
- Heavy smoke that continues after visible food and grease have been removed
Contact the manufacturer or a qualified appliance repair service rather than opening the housing yourself.
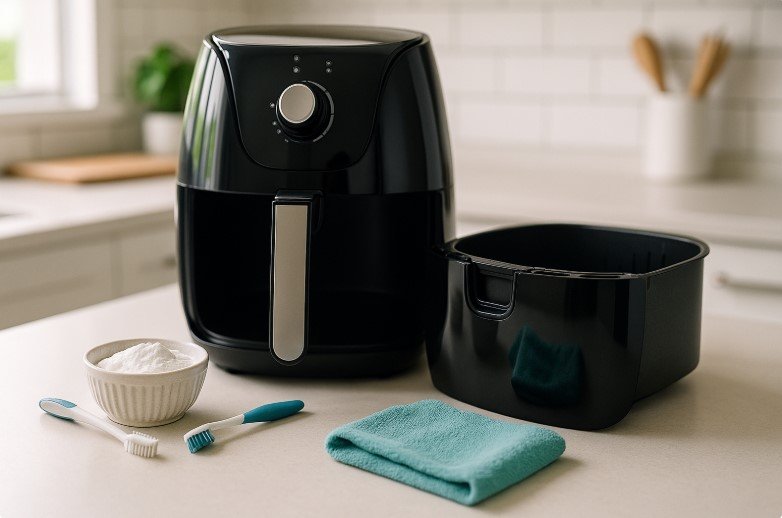
What You’ll Need
✅ Gentle, Non-Toxic Supplies
- Baking soda
- Water (to make a paste)
- Small bowl (for mixing)
- Old soft toothbrush (or soft nylon brush)
- Damp microfiber cloth or soft cloth
- Dry cloth or paper towels
- Soft towel to protect the counter and appliance
- Flashlight for checking behind the element and around the fan guard
Avoid: harsh chemicals, oven cleaner, bleach, steel wool, or abrasive scouring pads on the heating element.
Do not spray cleaning products directly into the cooking chamber. Aerosol and liquid cleaners can enter the fan, motor, wiring, or ventilation openings.
Check the Heating Element Type Before Cleaning
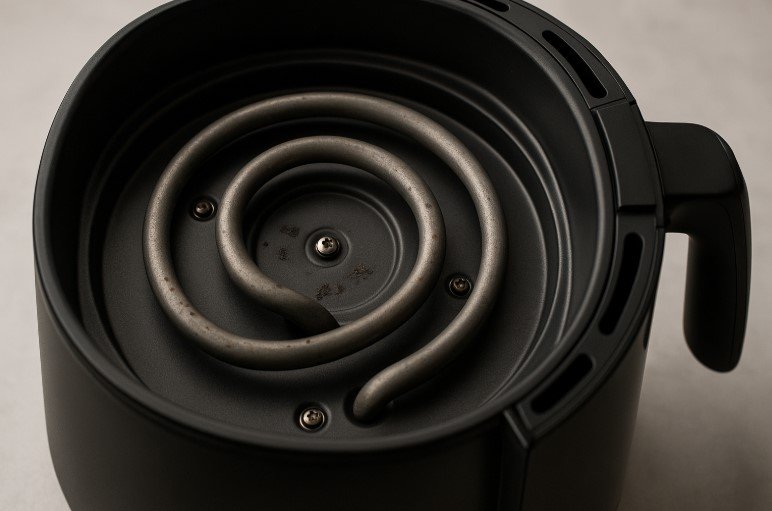
Exposed Metal Coil
Use a soft brush and very light pressure. Do not pull, bend, twist, or scrape the coil. Apply as little moisture as possible.
Element Behind a Guard
Clean only the surfaces you can reach without removing the guard. Use a soft brush to loosen crumbs through accessible openings, taking care not to push debris farther into the appliance.
Glass, Quartz, or Halogen Heating Tube
Do not use baking soda paste or scrub the tube unless the manufacturer specifically permits it. These elements can be more fragile than metal coils. Follow the model’s instructions and use a soft, barely damp cloth only when approved.
Nonstick Interior Surfaces
Avoid abrasive scrubbing around a coated cooking chamber. Use a soft cloth and light pressure so you do not scratch or wear through the coating.
Step-by-Step: Cleaning the Heating Element
1. Unplug & Cool Down
- Turn the air fryer off and unplug it.
- Let it sit until it’s completely cool to the touch—including the inside and heating element.
- Move it to a dry, well-lit work surface away from the sink.
2. Empty and Prep the Unit
- Remove the basket, tray, and pan from the air fryer.
- Wash those removable parts separately according to the manufacturer’s instructions. Dry them before reassembly.
- Turn the unit so you can access the heating element:
- Most air fryers have the heating element in the top interior.
- If the manual permits it, carefully flip the air fryer upside down on a soft towel so the heating element faces up.
- Do not invert a model if doing so could damage its controls, hinges, lid, water reservoir, or other components. Tilt it only as directed by the manufacturer.
- Use a dry cloth, soft brush, or paper towel to gently wipe away loose crumbs or flakes.
Work from the opening outward so loosened crumbs fall out of the appliance rather than into the fan area.
3. Try a Damp Cloth Before Using Paste
- Wring out a soft cloth until it is barely damp.
- Wipe accessible grease from the cool element and surrounding interior.
- If the residue comes off, skip the baking soda paste and continue to the drying step.
Using the least aggressive method helps protect the element and reduces the chance of leaving cleaner behind.
4. Make a Baking Soda Cleaning Paste
If stubborn residue remains and your appliance instructions allow baking soda:
- In a small bowl, mix:
- 2 parts baking soda
- 1 part water
- Stir until you get a thick paste (like toothpaste).
- Too runny? Add a bit more baking soda.
- Too thick? Add a drop of water at a time.
5. Apply Paste to the Heating Element
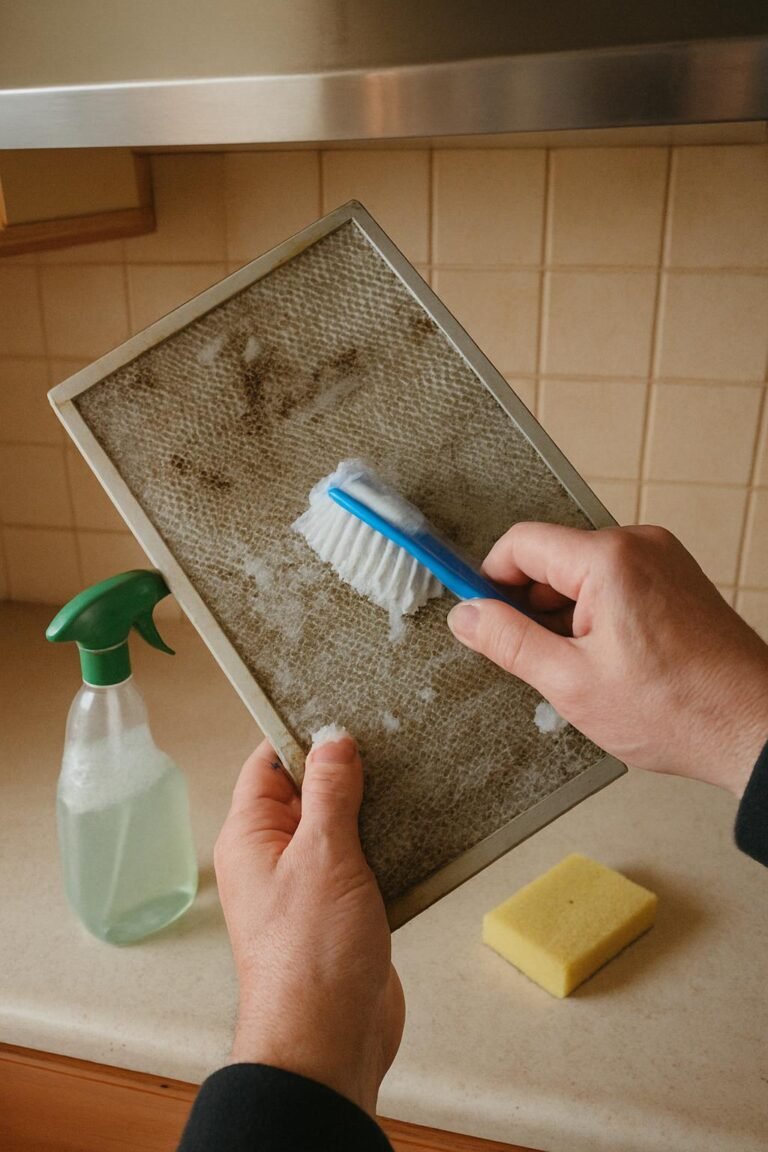
- Dip the old toothbrush into the baking soda paste, then tap off the excess.
- Gently spread a thin layer of paste onto the dirty areas of an approved metal heating element and around it, avoiding vents or openings that lead to the motor.
- Do not glob on large amounts—less is better to avoid drips.
- Do not coat electrical contacts, sensors, fan openings, glass heating tubes, or areas you cannot wipe clean afterward.
Tip: Focus on dark, burnt-on spots and greasy buildup. Do not attempt to polish the element or remove normal heat discoloration.
6. Let It Sit (Short Time)
- Allow the paste to sit on the approved area for about 5–10 minutes to soften greasy residue.
- Do not let the paste run into openings or dry into a hard crust.
7. Gently Scrub the Coil
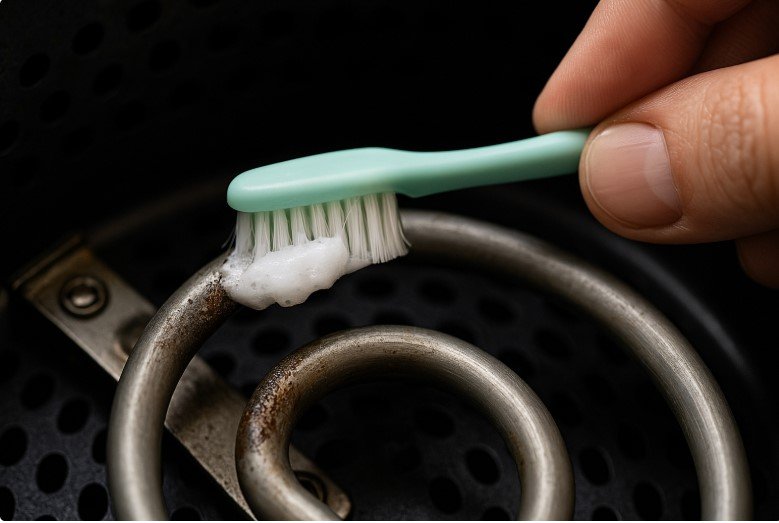
- Using the toothbrush, gently scrub along the heating element:
- Use light, controlled pressure.
- Follow the shape of the coil/element.
- Avoid bending or pushing hard on the element—treat it like a delicate part.
- Stop if the element moves, flexes noticeably, flakes, or appears damaged.
- Do not use a knife, metal pick, razor blade, or other hard tool to chip away residue.
8. Wipe Away the Paste (Without Soaking)
- Lightly dampen a microfiber cloth with clean water.
- It should be damp, not dripping. Wring it out well.
- Gently wipe the heating element and surrounding area to remove:
- Baking soda paste
- Loosened grease and residue
- Rinse the cloth away from the appliance, wring it out thoroughly, and wipe again as needed until the paste is gone.
- Inspect the element with a flashlight. White powder left behind can create an odor or smoke during the next heating cycle.
If needed, use a barely damp corner of the cloth or a slightly moistened paper towel to get into tighter spots—still avoiding any openings to the motor.
9. Dry Thoroughly
- Use a dry cloth or paper towel to carefully dry the heating element and nearby surfaces.
- Return the unit to its normal upright position unless its manual instructs otherwise.
- Leave the basket out and allow the cooking chamber to air dry for at least 30–60 minutes. Wait longer if more than a barely damp cloth was used.
Only plug in and use the air fryer again when you’re sure everything inside is completely dry.
How to Avoid Getting Water in the Motor
Keeping moisture out of the motor and fan area is crucial. Here’s how:
1. Control the Moisture
- Use a well-wrung, damp cloth, never a dripping one.
- Don’t pour water, spray directly, or rinse the inside under a tap—ever.
- Rinse and wring the cloth away from the air fryer.
2. Mind the Vents and Openings
- Avoid wiping into vents, fan openings, or any slits in the top area.
- If you see the fan above the element, clean around it with a barely damp cloth, not through it.
- Do not insert cotton swabs or tools deep into openings where they could catch on the fan or leave fibers behind.
3. Use Gravity to Your Advantage
- If the manufacturer allows the air fryer to be positioned upside down while cleaning:
- It can help prevent moisture from running deeper into the unit.
- Any tiny amount of moisture stays near the surface where you can wipe it away.
- Protect displays, handles, lids, and controls with a soft towel, and make sure the appliance is stable before cleaning.
4. Dry Time Is Safety Time
- After cleaning, leave the air fryer:
- Open with all removable parts out so moisture can evaporate.
- Undisturbed until you are confident it is fully dry inside.
If you accidentally get the area too wet, do not plug the appliance in to test it. Allow substantially more drying time. If water was poured or sprayed into the fan, vents, controls, or housing, contact the manufacturer before using the appliance again.
Reassembly and the First Use After Cleaning
- Check that no cloth fibers, brush bristles, crumbs, or baking soda residue remain.
- Make sure the basket, tray, pan, and cooking chamber are completely dry.
- Return every removable part to its correct position. Do not operate the air fryer with a required drip pan or tray missing.
- Place the appliance upright on a dry, heat-resistant surface with its vents unobstructed.
Do a “Burn-Off” After Cleaning
- Once dry and reassembled, and only if your manual permits running the appliance empty:
- Plug the air fryer back in.
- Provide normal kitchen ventilation.
- Run it empty at a medium temperature (e.g., 180–190°C / 350–375°F) for 5–10 minutes.
- This can reveal whether any loose residue remains and whether the smoking has stopped or reduced.
A faint odor from a trace of missed food residue may clear quickly. Turn the appliance off and unplug it immediately if there is heavy smoke, an electrical odor, sparking, or unusual noise.
What to Do If the Air Fryer Still Smokes
Check the Basket and Drip Pan
Grease beneath the basket may be the actual source. Clean the basket, crisper plate, pan, corners, and any removable drip tray before testing again.
Look for Hidden Food Debris
With the appliance unplugged and cool, use a flashlight to check behind the accessible side of the element and around the fan guard. Remove only debris you can reach safely with a soft brush. Do not disassemble the housing.
Adjust How You Cook Fatty Food
Bacon, sausages, burgers, skin-on poultry, and other fatty foods can release enough grease to smoke even in a clean appliance. Cook smaller batches, reduce unnecessary added oil, and empty accumulated grease between batches once the pan is safe to handle.
Secure Liners Properly
Never preheat with loose parchment paper inside. Food must weigh an approved liner down, and the liner must not cover required airflow openings or extend close to the element. Use foil only when the appliance manual allows it.
Stop If the Cause Is Not Food or Grease
If a clean, dry air fryer smokes while empty or produces a burning-plastic or electrical smell, unplug it and arrange manufacturer support or qualified repair.
Extra Tips to Prevent Future Smoking
Clean Regularly
- Wipe the basket, tray, and pan after each use.
- Do a light wipe of the heating element area every few uses once it’s cool and unplugged.
- Remove fresh splatter before it goes through repeated heating cycles and becomes harder to clean.
Watch the Oil & Fat
- Avoid using too much oil—a light coating is usually enough.
- Very fatty foods (like bacon or sausages) can splatter:
- Consider using a drip tray or lining the bottom pan with a small piece of foil if the manual allows, leaving space for airflow.
- Drain collected grease safely between batches rather than allowing it to overheat.
Avoid Blocking the Element
- Don’t let parchment paper or foil fly up and touch the heating element.
- Never overfill the basket so high that food can hit the element.
- Keep intake and exhaust vents clear while the appliance is operating.
Store the Air Fryer Clean and Dry
- Allow the appliance and removable parts to cool and dry before storage.
- Do not store it with greasy crumbs in the pan, where they can create odors and smoke during the next use.
- Avoid wrapping the power cord tightly around a warm appliance.
Frequently Asked Questions
Can I use dish soap on an air fryer heating element?
Avoid applying dish soap directly to the element unless the manufacturer specifically allows it. Soap can be difficult to rinse away without using too much water. For most routine cleaning, begin with a dry soft brush followed by a well-wrung damp cloth.
Can I spray vinegar or degreaser inside the air fryer?
No cleaner should be sprayed directly into the cooking chamber, heating element, fan, or vents. Fine droplets can reach electrical components. Use only a small amount of an approved cleaner on a cloth, if your model’s instructions permit it.
How often should I clean the heating element?
Inspect it after cooking greasy or splatter-prone foods and clean visible residue once the appliance is unplugged and cool. A light wipe every few uses is easier and safer than waiting for a thick layer of burnt-on grease to form.
Why does my clean air fryer smoke only when cooking fatty food?
Rendered fat may be dripping into a hot pan or splattering onto the element. Use smaller batches, reduce added oil, clean the drip area between batches, and follow the manufacturer’s recommendations for cooking high-fat foods.
Everything Mentioned Above
Before you leave, grab the tools you need to get the job done right the first time:
*As an Amazon Associate, TidyFormula earns from qualifying purchases.