
How to Clean Hardwood Floors without Streaks
To clean hardwood floors without streaks, remove loose grit first, then use a manufacturer-approved hardwood floor cleaner with a clean, barely damp microfiber pad. Work in small sections, use minimal product, and dry or buff each section promptly. Avoid excess water, steam, and unapproved cleaners that may damage the finish.
Most streaks come from too much cleaner, a dirty mop pad, leftover residue, or moisture drying unevenly. The floor’s finish matters too: a method suitable for sealed polyurethane may be wrong for waxed, oiled, unfinished, or damaged wood.
⚡ The TidyFormula™ Quick Decision
Best approach: Dust thoroughly, clean with a lightly damp microfiber pad and an approved hardwood cleaner, then buff away remaining moisture and residue.
Use caution with: Waxed, oiled, unfinished, worn, or previously refinished flooring; follow the floor manufacturer’s current care instructions.
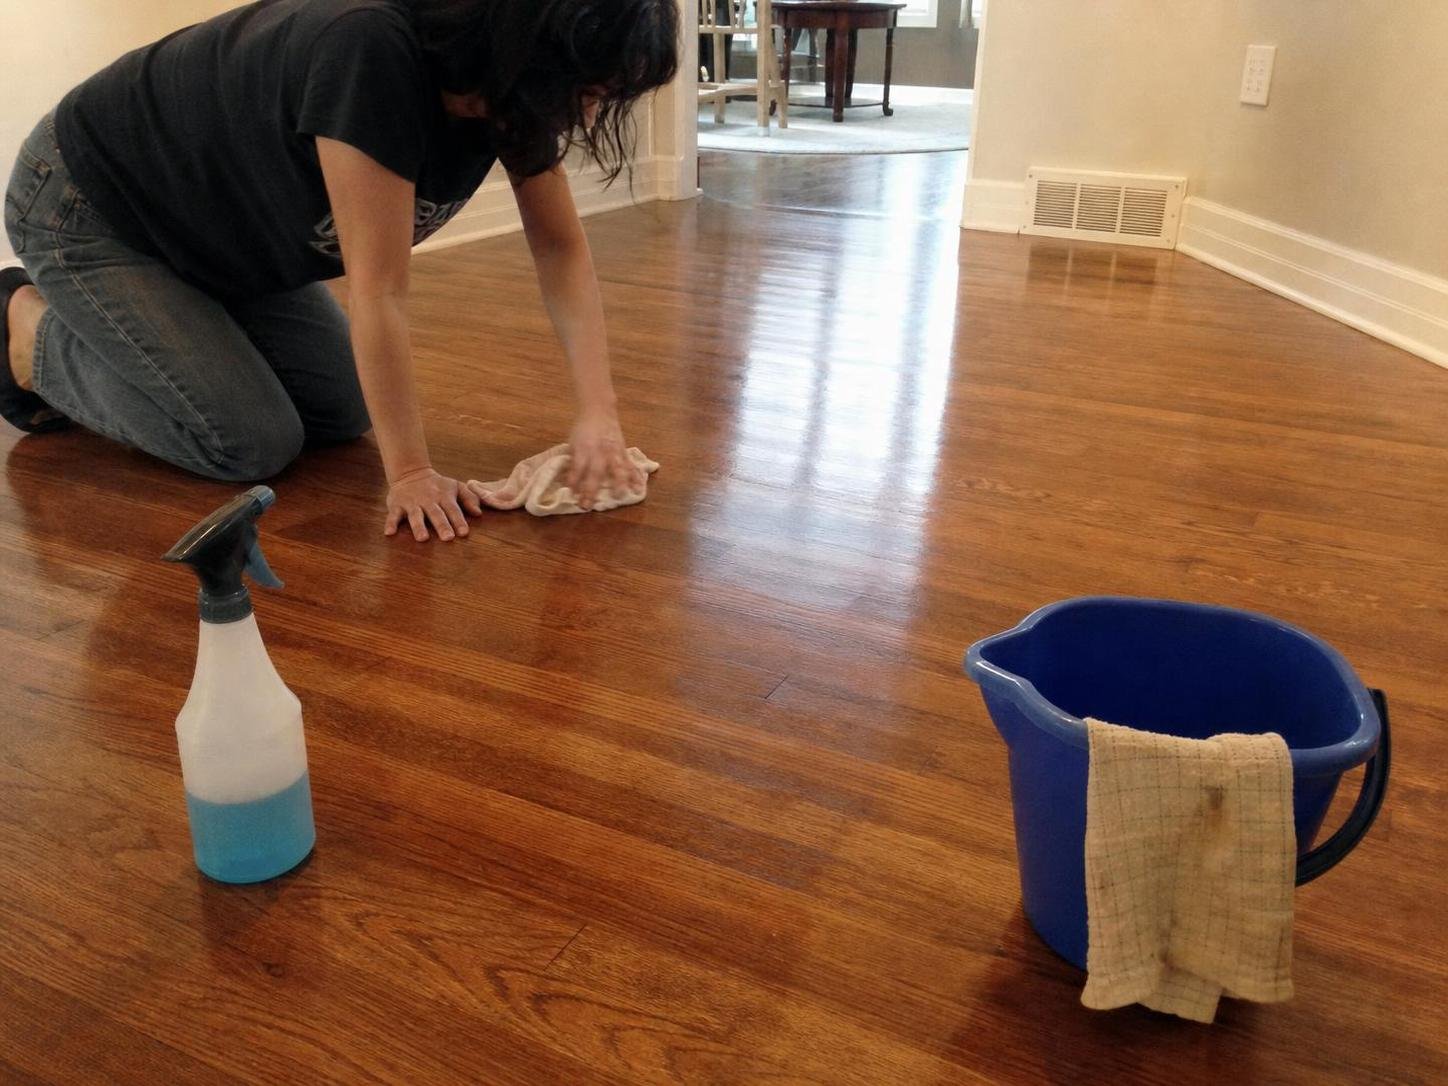
Check the Floor Finish Before You Mop
The safest cleaner depends on the finish protecting your wood. If you don’t know the finish type, use as little moisture as possible and check the flooring manufacturer’s instructions before applying a liquid product.
What I Use For This Job
Using the right tools saves time and protects your belongings. Here are my exact recommendations:
*As an Amazon Associate, TidyFormula earns from qualifying purchases.
- Sealed wood: Factory-finished or polyurethane-coated flooring usually tolerates careful damp cleaning with a compatible hardwood floor cleaner.
- Waxed wood: Water-based cleaning may cloud or disturb the wax. Use the maintenance method recommended for that particular finish.
- Oiled wood: Choose a cleaner approved for oil-finished floors. General-purpose cleaners may change the sheen or leave a visible film.
- Unfinished or worn wood: Liquid can soak into exposed grain. Stick to dry cleaning until you receive appropriate care or refinishing guidance.
- Laminate or wood-look flooring: It isn’t necessarily maintained like hardwood. Follow the instructions for the actual material.
Test a new product on a hidden area first. Stop if the surface becomes cloudy, tacky, discolored, unusually dull, or lighter than the surrounding floor.
What You’ll Need
A simple setup works better than a collection of cleaners. Clean tools and controlled moisture are more important than applying a large amount of product.
- A vacuum with a hard-floor setting or a soft-bristle broom
- A flat microfiber mop
- At least two clean microfiber pads
- A cleaner labeled for your hardwood floor and finish
- A clean, dry microfiber cloth for edges, spills, and spot buffing
Avoid abrasive pads, stiff brushes, furniture polish, and oily products unless the floor manufacturer specifically calls for them. Don’t use a vacuum beater bar that can scatter grit or scratch the finish.
The Best Streak-Free Cleaning Method
The key is to remove grit before introducing moisture, apply less cleaner than you think you need, and prevent dirty solution from being spread across the room. Work toward an exit so you don’t walk over damp sections.
- Clear and inspect the floor. Move lightweight furniture and look for grit, sticky spots, standing liquid, raised board edges, worn finish, or open seams. Blot spills promptly rather than spreading them with the mop.
- Vacuum or sweep thoroughly. Pay attention to baseboards, corners, and the spaces around furniture legs. Fine dust turns into muddy residue when it meets cleaner, which is a common source of streaks.
- Spot-clean sticky marks. Put a small amount of approved cleaner on a microfiber cloth rather than pouring it onto the floor. Wipe gently, then remove loosened residue with a separate, barely damp cloth. Don’t scrape with a blade or abrasive pad.
- Prepare a barely damp mop. Follow the cleaner’s current label directions. If the product is intended to be sprayed, apply a light mist to a small floor section or as directed on the label. If using a dampened pad, wring it until it isn’t dripping.
- Mop in small sections. Glide the flat microfiber pad with the direction of the boards, using overlapping passes and light pressure. Don’t repeatedly scrub a large area with the same dirty pad.
- Change the pad when it looks soiled. A gray, saturated, or sticky pad redistributes grime and cleaner. Replace it with a clean pad rather than trying to finish the entire room with one side.
- Buff visible film promptly. If a section looks hazy or shows mop lines, pass over it with a clean, dry microfiber pad. Use light strokes with the grain until the appearance is even.
- Let the floor dry before normal traffic. Keep people and pets off damp areas. Allow more drying time when airflow is limited or humidity is high, but don’t aim direct high heat at the wood.
🧪 Why This Works
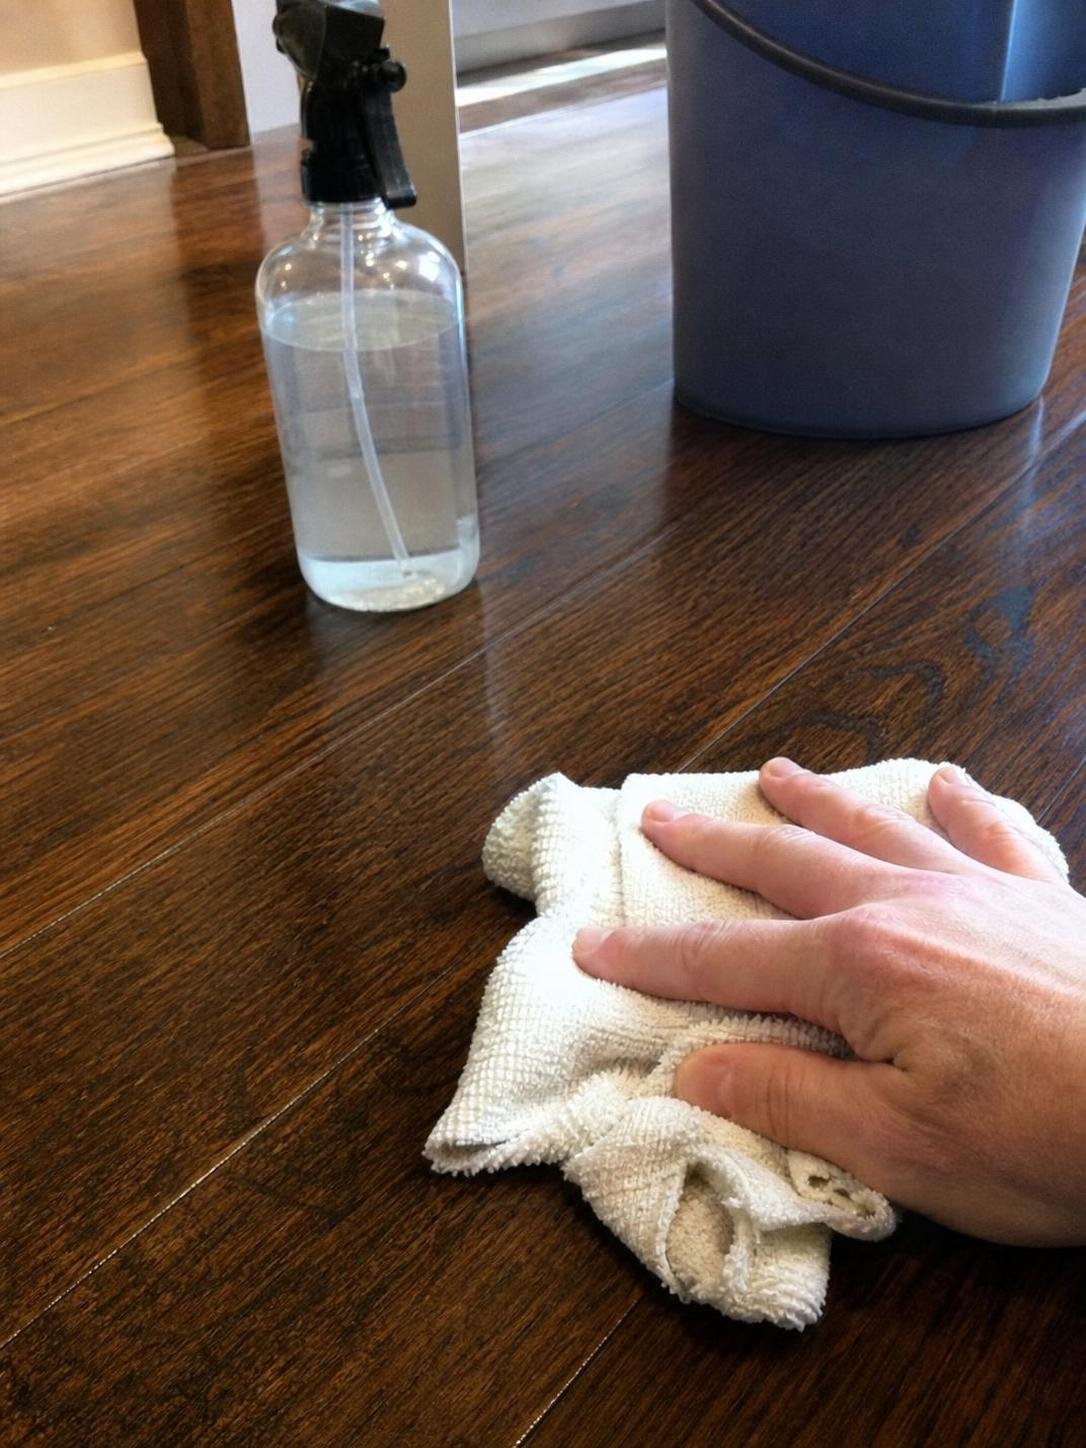
Dry cleaning removes the grit and dust that would otherwise mix with liquid and create dirty film. A lightly damp microfiber pad lifts remaining soil without flooding board seams, while prompt buffing picks up excess cleaner before it dries into visible lines.
Why Your Hardwood Floor Still Looks Streaky
If streaks remain, adding more cleaner usually makes the problem worse. Identify whether you’re seeing product residue, redistributed dirt, uneven drying, or actual finish damage before cleaning again.
There’s too much cleaner on the floor
Overapplication can leave shiny lines, dull patches, or footprints. Use a fresh microfiber pad that is barely dampened according to the product directions, and make one light pass to collect the residue. Follow with a dry pad. Don’t add another cleaning product to counteract the first one.
The mop pad is dirty or was washed with fabric softener
A soiled pad spreads grime, while fabric softener or dryer-sheet residue can transfer a film to the floor. Wash microfiber separately according to its care instructions and skip laundry additives that coat the fibers. Replace pads that remain oily or water-repellent after washing.
The floor was mopped before it was dusted
Fine debris mixed with cleaner can create gray smears, especially near entrances and under dining tables. Let the floor dry, vacuum thoroughly, and repeat the damp-cleaning process with a clean pad and less product.
Cleaner dried before it was buffed
This often produces overlapping arcs or obvious start-and-stop marks. Clean smaller sections, reduce the amount of liquid, and keep a dry pad nearby for immediate buffing. Similar residue control also matters on glass; the same principle is explained in this guide to cleaning windows without streaks.
The haze may be finish damage
Cloudiness that doesn’t move when gently buffed may not be removable residue. Whitening, flaking, softened finish, raised grain, swollen seams, or dark moisture marks can indicate damage rather than dirt. Stop wet cleaning if the boards swell, the finish transfers to your cloth, or the surface changes color. A flooring professional may need to evaluate repair or refinishing options.
Cleaning Methods to Avoid
Hardwood tolerates less moisture and experimentation than tile or vinyl. Avoid a method if the flooring manufacturer doesn’t approve it or if the protective finish is already worn.
- Steam mops: Heat and moisture can enter seams or affect certain finishes. Use another method unless your flooring manufacturer expressly permits steam cleaning.
- Wet string mops: They hold and release more water than a well-wrung flat microfiber pad, making moisture harder to control.
- Pouring cleaner directly onto the floor: Puddles can collect in joints and leave concentrated residue.
- Vinegar or other acidic mixtures: Compatibility varies by finish, and repeated use may affect appearance. Don’t use homemade mixtures unless the flooring manufacturer recommends them.
- Dish soap and general-purpose cleaners: Products not made for the floor may leave film or require more rinsing than hardwood should receive.
- Furniture polish or oil as a shine treatment: These can create a slippery, uneven coating and complicate future floor care.
- Abrasive scrubbers: Scouring pads and gritty powders can scratch or dull the finish.
Never combine cleaners. If you switch products, first remove the previous residue according to its label and the flooring manufacturer’s care guidance.
How Often Should You Clean Hardwood Floors?
Dry removal of dust and grit should happen more often than damp mopping. The right schedule depends on foot traffic, pets, outdoor conditions, and how quickly debris appears.
- Vacuum or sweep high-traffic areas whenever visible grit collects.
- Blot spills as soon as practical using a clean absorbent cloth.
- Use a lightly damp mop only when dry cleaning no longer removes the soil or visible film.
- Clean entry areas and kitchen paths more frequently than low-traffic rooms if needed.
Daily wet cleaning usually isn’t necessary for an ordinary household floor and increases the opportunity for residue and moisture problems. A clean doormat and a shoes-off routine can reduce both grit and cleaning frequency.
Keep the Finish Even Between Cleanings
Prevention reduces streaks as well as scratches. Put felt protectors under furniture, lift rather than drag heavy pieces, and keep abrasive grit from collecting at entrances.
After cleaning, rinse reusable microfiber pads according to their care labels and let them dry completely before storage. Store the floor cleaner closed and follow its label requirements. A contaminated pad or dusty mop head can leave marks during the next cleaning.
For other reflective household surfaces, adjust the method to the material rather than reusing a hardwood product. A stainless appliance, for example, needs its own approach; see these instructions for a streak-free stainless steel fridge.
Frequently Asked Questions
Can you use plain water on hardwood floors?
Plain water can still enter seams and may leave mineral marks or uneven moisture patterns. If your floor’s instructions allow damp cleaning, use a well-wrung microfiber pad and the least moisture needed. An approved cleaner may handle oily residue better than water alone.
Why does the floor look clean but show footprints?
Footprints commonly appear when cleaner residue remains on the finish or when the floor is walked on before it is fully dry. Buff with a clean, dry microfiber pad. If marks remain, make one light residue-removal pass following the cleaner and flooring instructions.
Should you mop with or against the wood grain?
Cleaning with the direction of the boards makes remaining lines less noticeable and helps you follow each section consistently. Direction alone won’t prevent streaks, though; clean pads, limited product, and prompt drying matter more.
Can you restore shine by applying more cleaner?
No. Cleaner removes soil; it isn’t automatically a polish or finish restorer. Extra product often creates more haze. If a clean floor remains dull, the finish may be worn and could require finish-specific maintenance or professional evaluation.
For consistently clear hardwood floors, vacuum first, use an approved cleaner sparingly with a barely damp microfiber pad, and buff away moisture before it dries into lines. Treat persistent cloudiness as a possible finish issue rather than repeatedly washing the area, and keep grit under control between damp cleanings.
Everything Mentioned Above
Before you leave, grab the tools you need to get the job done right the first time:
*As an Amazon Associate, TidyFormula earns from qualifying purchases.
One Comment