Spring Cleaning Checklist for a Small Apartment
A spring cleaning checklist for a small apartment works best when you clean in a deliberate order: declutter first, remove dust from high areas, then clean floors and frequently used surfaces last. Keep moisture low around wood, laminate, electronics, and poorly ventilated spaces, and avoid trying to deep-clean every item in one day.
Small apartments collect clutter quickly because every shelf, counter, and storage area does several jobs. A focused room-by-room plan keeps the work manageable and helps you notice what needs cleaning, repairing, donating, or replacing.
⚡ The TidyFormula™ Quick Decision
Best approach: Clean one room or zone at a time, working from high surfaces to low surfaces and from dry tasks to damp tasks.
Use caution with: Limit water on laminate, unfinished wood, painted walls, outlets, electronics, and furniture with glued details or delicate finishes.
Replace instead of cleaning if: A porous item is badly damaged, has persistent odor after drying, sheds deteriorating material, or cannot be cleaned and dried thoroughly.
What I Use For This Job
Using the right tools saves time and protects your belongings. Here are my exact recommendations:
*As an Amazon Associate, TidyFormula earns from qualifying purchases.
Gather a small-apartment cleaning kit
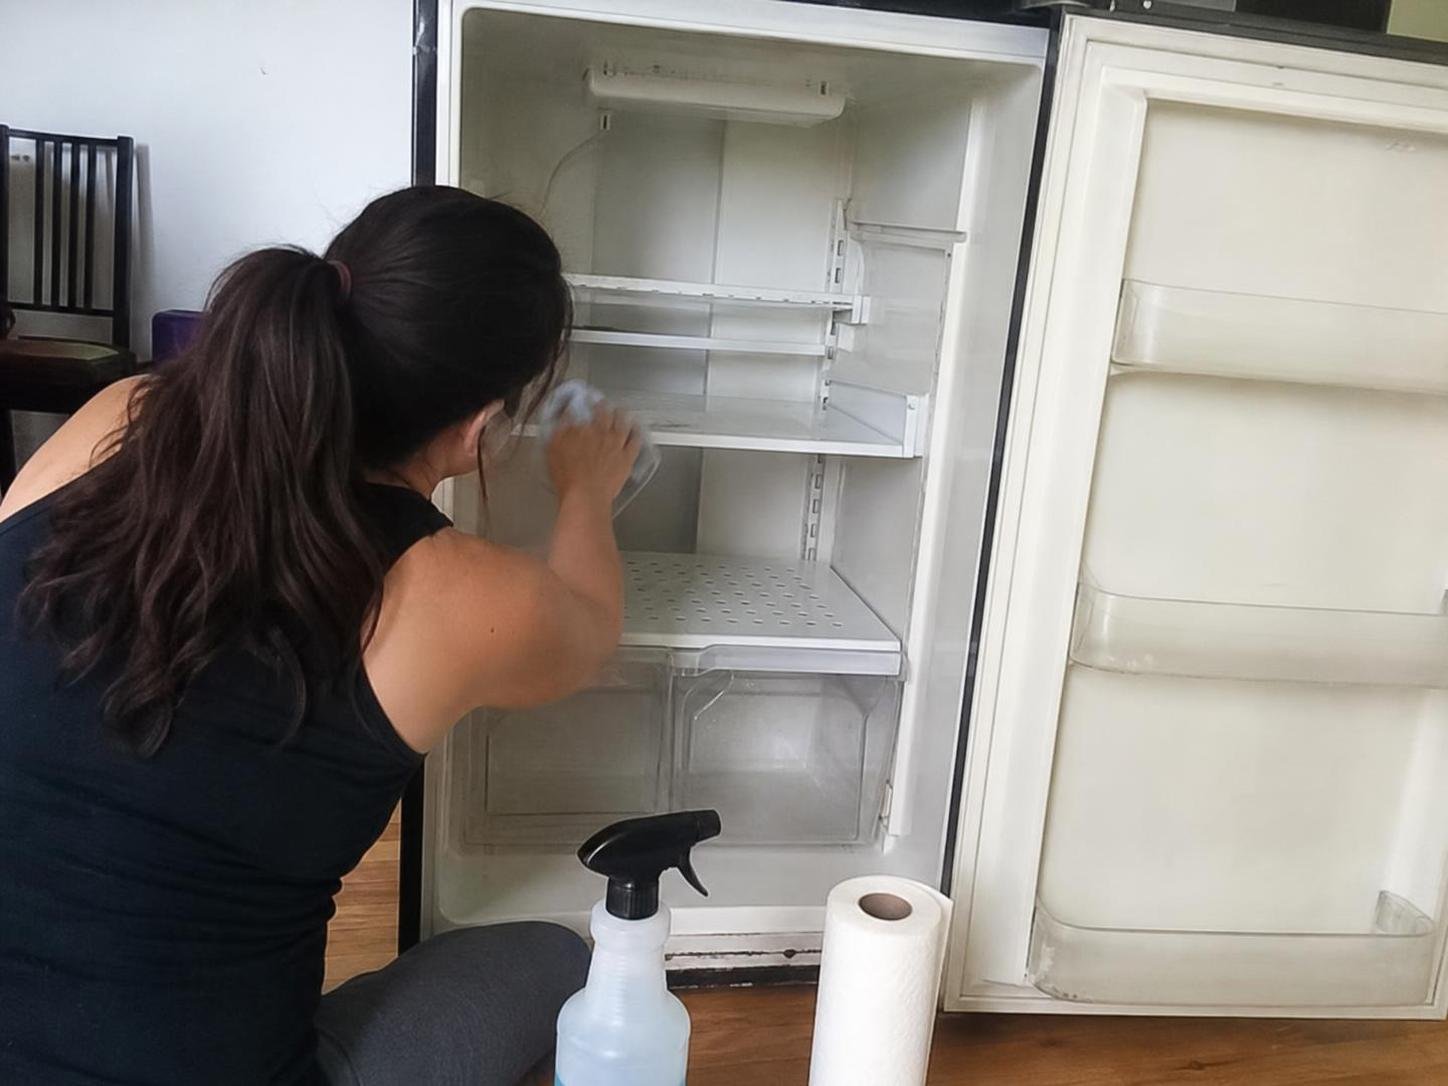
You do not need a large collection of products for an effective apartment reset. Choose a few versatile supplies, follow each product label, and keep separate cloths for kitchen and bathroom work.
- Vacuum with a crevice tool, or a broom and dustpan for hard floors.
- Microfiber cloths for dusting, wiping, and buffing dry surfaces.
- Soft brush or old toothbrush for tracks, corners, grout lines, and hardware.
- All-purpose cleaner suitable for your surfaces, used according to its label.
- Dish soap for washable dishes, greasy kitchen surfaces, and hand-washing small items.
- Glass cleaner or a damp microfiber cloth for mirrors and glass, depending on the manufacturer’s guidance.
- Bucket or basin for rinsing cloths and carrying supplies between rooms.
- Trash bags, recycling bag, and a donation box.
- Rubber gloves if required by the cleaning product label or preferred for bathroom tasks.
Avoid using abrasive scrubbers on glossy appliances, coated fixtures, glass cooktops, painted cabinets, and polished metal unless the manufacturer specifically permits them. Abrasion can leave dull patches or fine scratches that are more noticeable in a small space.
Check surfaces before you start
A quick condition check prevents a cleaning routine from turning into a repair project. Read care labels on removable textiles, identify delicate surfaces, and handle existing damage gently.
- Test an unfamiliar cleaner on a hidden area before using it across a cabinet, wall, upholstery fabric, or painted surface.
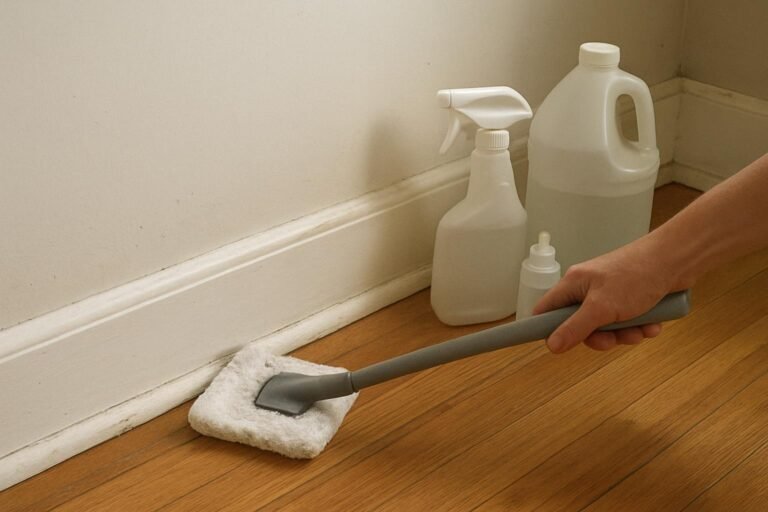
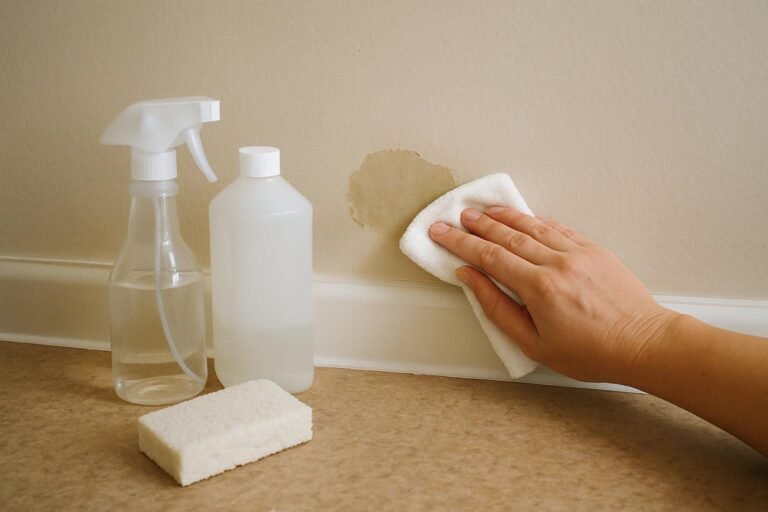
- Use a barely damp cloth, not a wet one, on laminate furniture, wood veneer, painted trim, and baseboards.
- Do not spray cleaner directly into outlets, switches, appliance controls, battery compartments, or electronic ports.
- Check under sinks, behind toilets, and around window frames for leaks, peeling finishes, swollen material, or soft flooring.
- Stop cleaning a surface if color transfers to your cloth, a finish becomes tacky, or a glued edge starts to lift.
Follow this room-by-room spring cleaning order
The most efficient deep cleaning schedule for a small apartment starts with removing clutter and dust, then moves to wiping, washing, and floors. Finish each room before moving on so supplies and loose items do not migrate through the apartment again.
- Clear surfaces and sort what is out. Carry a trash bag, recycling bag, and donation box through the apartment first. Put away items that belong elsewhere, discard obvious trash, and set aside donations. Do not begin wiping around piles; clear access makes every later step faster.
- Start with the entry and main living area. Dust ceiling fan blades, light fixtures you can safely reach, shelves, picture frames, curtain rods, and vents using a dry microfiber cloth or vacuum attachment. Wipe tables, media stands, door handles, and baseboards with the least moisture needed. Vacuum upholstered furniture, including under cushions and along seams. Check furniture legs and felt pads before moving pieces across the floor.
- Refresh windows and high-touch edges. Vacuum window tracks and blinds before wiping them. Use a lightly damp cloth on painted window trim, then dry it promptly. Clean interior glass with a product appropriate for the window surface or with a clean damp microfiber cloth followed by a dry cloth. Avoid soaking wood trim, blinds, or fabric shades.
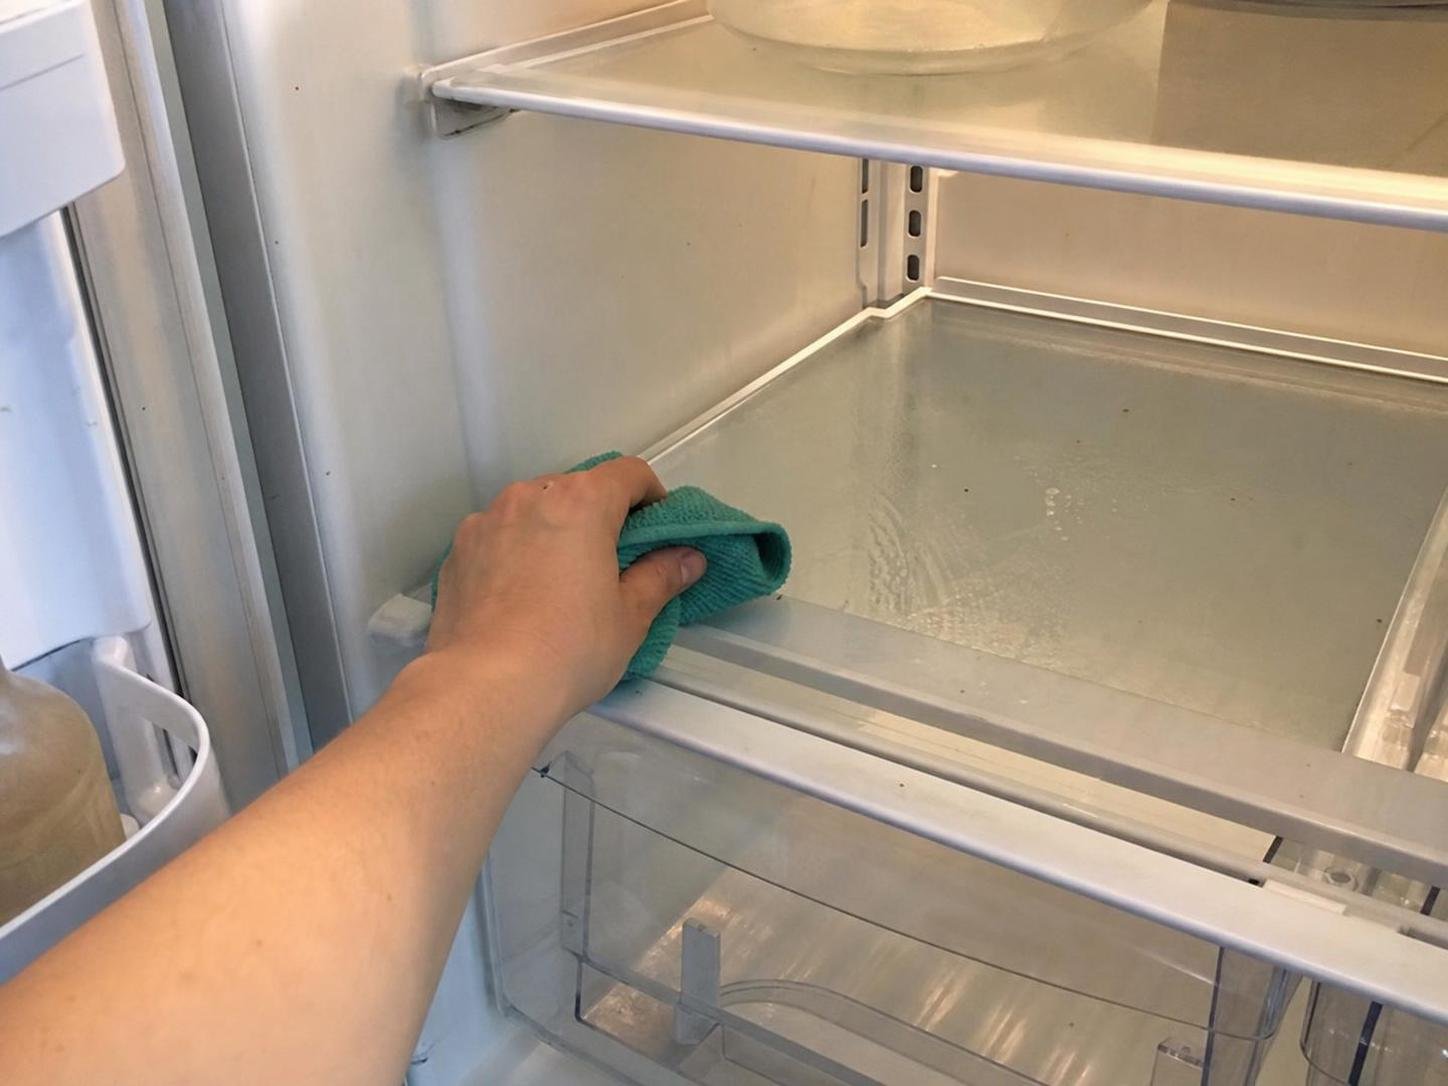
- Deep-clean the kitchen from upper cabinets down. Remove expired or unwanted pantry items, then wipe shelves before returning food. Clean cabinet fronts, handles, backsplash, counters, appliance exteriors, and the sink. Use a cleaner suitable for the counter material, especially if you have natural stone, wood, or a specialty finish. Pull out only appliances you can move safely, then vacuum crumbs and wipe the exposed floor. Check the refrigerator door seal for crumbs and sticky residue; wipe gently and dry it before closing the door.
- Clean the bathroom with separate cloths. Remove empty products and wash removable holders or trays if their material allows it. Dust the exhaust fan cover and upper ledges first. Clean the mirror, sink, counter, faucet, toilet exterior, tub or shower surfaces, and floor in that order. Follow product-label directions, ventilate the room, and never mix cleaners. Use a soft brush in corners and around fixtures rather than aggressive scraping.
- Reset the bedroom and closet. Strip the bed and wash bedding according to its care label. Dust nightstands, headboards, lamps, and open shelving. Vacuum under the bed if accessible. Sort clothing by what you wear, what needs repair, and what can be donated. Avoid overpacking drawers or closet shelves; crowded storage makes it harder to keep dust and lint under control.
- Finish with floors and exit areas. Vacuum or sweep every room after the upper surfaces are clean. Use the floor-care method recommended for your flooring type. For hard floors, use minimal liquid and avoid leaving puddles near baseboards, seams, or floor transitions. Finish at the doorway so you do not walk across a freshly cleaned floor.
🧪 Why This Works
Clearing clutter first exposes the surfaces that need attention. Dusting before damp wiping keeps dry debris from turning into residue, while cleaning floors last captures crumbs, dust, and hair that fall during the rest of the apartment reset.
Use a realistic deep-cleaning schedule
For most small apartments, one focused session is enough for the visible reset, while closets, storage areas, and appliances can be handled in shorter follow-up sessions. Choose a schedule that leaves time for laundry, ventilation, and putting items back neatly.
| Time available | Best focus | Save for another session |
|---|---|---|
| One to two hours | Decluttering, dusting, kitchen counters, bathroom surfaces, and floors | Closets, drawers, under-furniture cleaning, and appliance interiors |
| Half day | Full room-by-room reset, bedding, windows, and accessible storage | Large seasonal clothing sort or detailed cabinet organization |
| Several short sessions | One room or category at a time, such as kitchen cabinets or the closet | Nothing; this is often the easiest approach for a crowded apartment |
If you want a broader list of recurring tasks after the seasonal reset, use this household cleaning checklist to separate regular upkeep from occasional deep-cleaning jobs.
Common small-apartment cleaning problems
Dust returns quickly after cleaning
Dust often lingers in overlooked places: vent covers, blinds, ceiling fan blades, fabric furniture, entry mats, and under the bed. Vacuum or dust these areas before wiping tabletops. If you wiped dusty surfaces with a damp cloth and left streaks, rinse the cloth thoroughly, wring it well, and wipe again with clean water before drying the surface.
Cabinet fronts or floors feel sticky
Sticky residue usually means too much cleaner was used, the product was not removed as directed, or grease remained beneath the first wipe. Reclean the area with a clean cloth that is only lightly damp, changing to a fresh section of cloth as it picks up residue. Dry the surface afterward. Check the manufacturer’s instructions before using a stronger product on painted cabinets, laminate, stone, or wood.
The apartment still feels crowded after decluttering
Cleaning cannot solve storage overload by itself. Focus on items that take up visual space: open counters, chair backs, bedside tables, the top of the refrigerator, and the floor near the entry. Give frequently used items one accessible home, then reduce duplicates and rarely used items that do not fit your available storage.
There is a musty smell in a closet or under furniture
First remove stored textiles, boxes, or other items so air can circulate. Vacuum dust and lint, wipe hard surfaces with the least moisture needed, and leave the area open until it is fully dry. If you find wet materials, ongoing leaks, visible growth, or a damaged porous item that cannot dry thoroughly, pause the cleaning project and address the moisture source before storing belongings there again.
Finish with drying and a simple maintenance plan
Leave bathroom doors, shower curtains, cabinet doors, and cleaned storage bins open as needed for airflow until surfaces are dry. Return items only after shelves, counters, and containers no longer feel damp. Put clean bedding back on a dry mattress, and avoid sealing damp cloths inside a hamper, bucket, or cabinet.
A weekly maintenance checklist keeps spring cleaning from becoming an all-day project again. Focus on dishes, food crumbs, bathroom surfaces, laundry, trash, floors, and the entry area. A rotating list of smaller jobs can make the routine easier; this cleaning chores checklist can help you assign regular tasks without repeating the whole deep-cleaning process every week.
For a small apartment, the best spring cleaning routine is not the longest one. Clear clutter, clean from high surfaces to floors, use the gentlest suitable product, and allow damp areas to dry before putting everything back. That combination protects finishes, reduces rework, and keeps your space easier to maintain.
Everything Mentioned Above
Before you leave, grab the tools you need to get the job done right the first time:
*As an Amazon Associate, TidyFormula earns from qualifying purchases.