how to keep baby toys clean
To keep baby toys clean, use warm water, a small amount of mild dish soap, and thorough rinsing for washable toys. Follow each toy’s care instructions, use minimal moisture around stuffing or glue, and never submerge battery-powered toys. Let every toy dry completely before returning it to your baby.
The main challenge is that a single toy may combine plastic, fabric, paint, adhesive, and electronics. Sorting toys by material before cleaning helps you avoid trapped water, loosened parts, faded details, and damaged battery compartments.
⚡ The TidyFormula™ Quick Decision
Best approach: Wash water-safe toys with mild dish soap and warm water, rinse away all residue, and air-dry completely.
Use caution with: Stuffed, wooden, painted, glued, electronic, and battery-powered toys need reduced moisture and care-label guidance.
Replace instead of cleaning if: A toy has exposed stuffing or wiring, sharp cracks, peeling pieces, inaccessible trapped moisture, or persistent contamination that can’t be removed.
What I Use For This Job
Using the right tools saves time and protects your belongings. Here are my exact recommendations:
*As an Amazon Associate, TidyFormula earns from qualifying purchases.
Sort the Toys Before You Start
Choose the cleaning method by material and construction, not simply by the toy’s size or age recommendation. Check the care label, molded cleaning symbols, packaging, or current manufacturer instructions whenever they’re available.
| Toy type | Preferred approach | Main limitation |
|---|---|---|
| Solid plastic, rubber, or silicone | Hand-wash with warm water and mild dish soap | Avoid soaking toys with holes, glued decorations, or internal parts |
| Machine-washable fabric toy | Follow the care label for washing and drying | Remove batteries, sound boxes, or other detachable components first |
| Non-machine-washable plush toy | Surface-clean with a lightly damp cloth | Don’t saturate the stuffing or glued seams |
| Wooden or painted toy | Wipe with a barely damp, soapy cloth, then wipe again with clean water | Soaking may swell wood or damage paint and finishes |
| Electronic or battery-powered toy | Wipe the exterior with a well-wrung cloth | Keep liquid away from openings, controls, speakers, and battery compartments |
| Bath toy with an opening | Clean inside and outside only if the interior can drain and dry fully | Replace it if residue or moisture remains trapped inside |
Inspect each toy for cracks, loose buttons, peeling decals, open seams, rust, leaking batteries, and trapped liquid. Set damaged toys aside rather than trying to clean around a defect that may worsen.
A Practical Cleaning Routine for Baby Toys
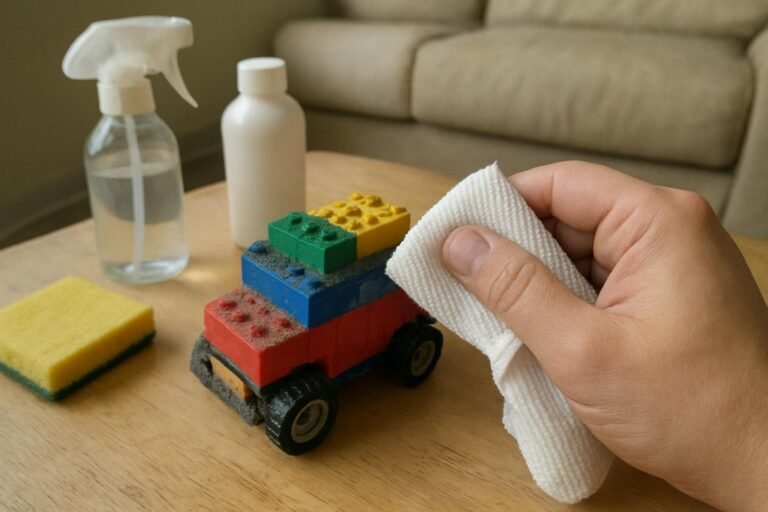
For routine cleaning, start with the least moisture and mildest cleaning agent likely to work. You’ll need clean cloths, a soft brush, mild dish soap, warm water, and a drying rack or clean towel.
- Remove detachable parts and batteries. Take out washable accessories, battery packs, sound boxes, and removable fabric pieces according to the manufacturer’s directions. Keep track of small parts and don’t force apart components designed to remain assembled.
- Remove loose debris first. Brush away crumbs, lint, hair, and dirt with a dry cloth or soft brush. This prevents loose debris from turning into a film once water is added.
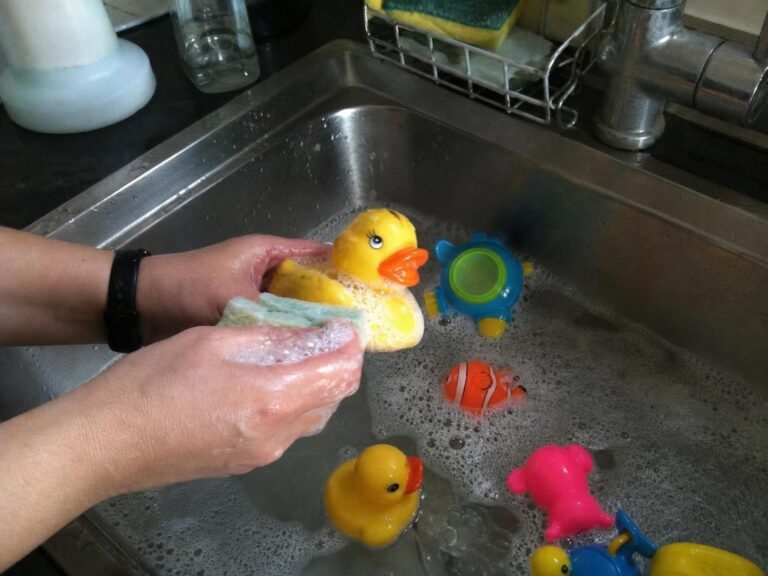
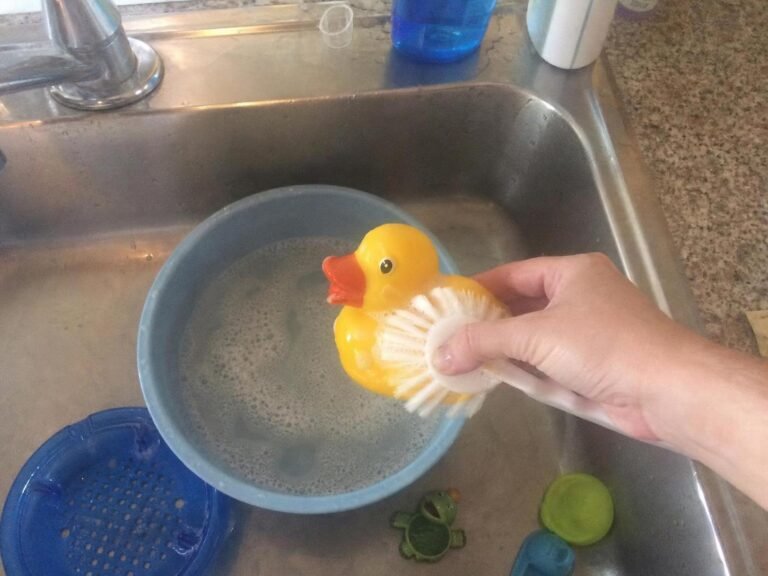
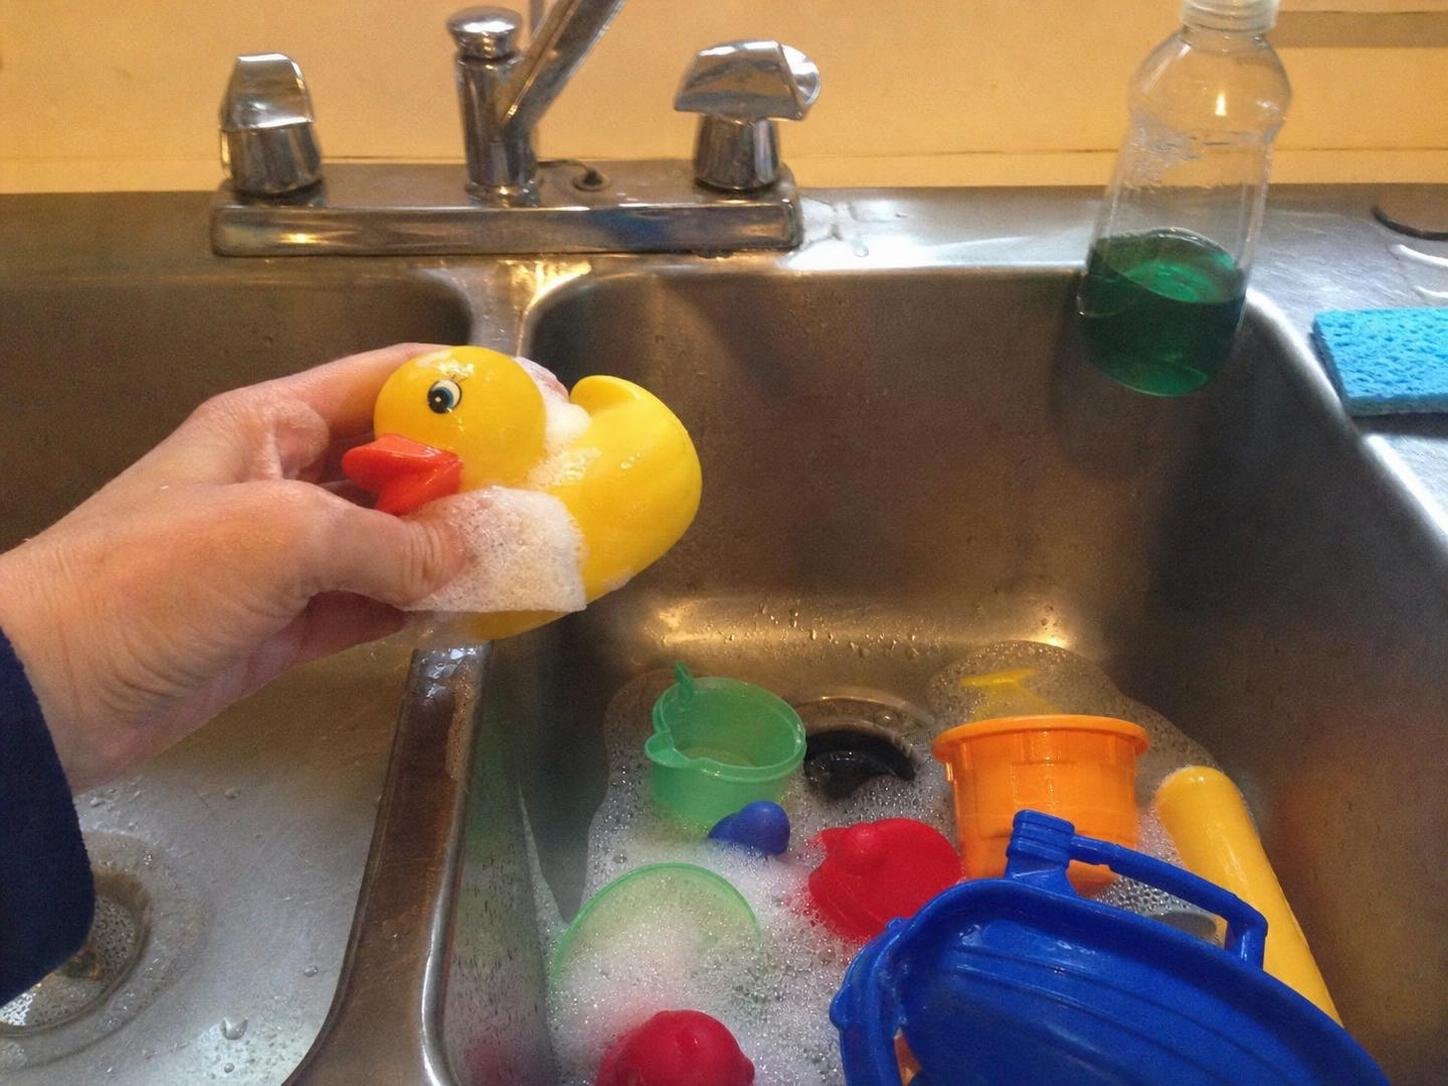
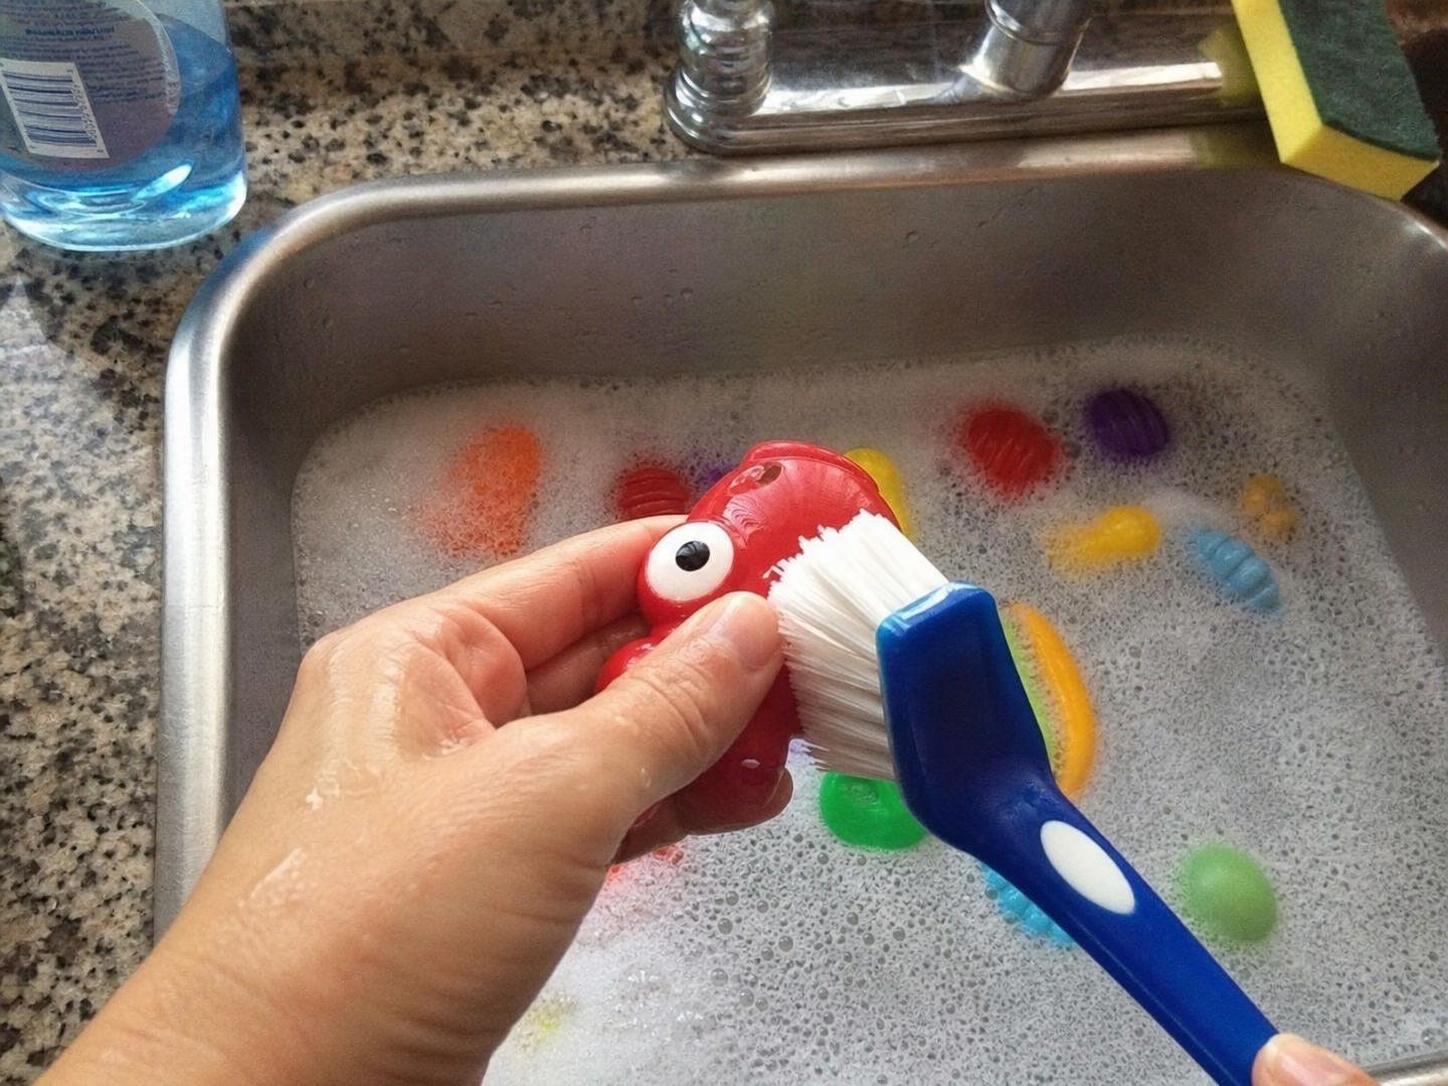
- Wash solid, water-safe toys. Use a clean cloth or soft brush with warm water and a small amount of mild dish soap. Clean seams, textured grips, wheels, and crevices without forcing water through holes. Soak a toy only if its manufacturer specifically permits immersion.
- Use less moisture on wood, paint, and glued details. Wring the cloth thoroughly before wiping. Test an inconspicuous area first if you’re concerned about color transfer or finish damage. Stop if paint becomes tacky, color appears on the cloth, wood begins to swell, or an edge starts lifting.
- Surface-clean electronics and delicate toys. With the toy switched off and its batteries removed when possible, wipe the exterior using a lightly damp cloth. Don’t spray cleaner directly onto the toy or allow moisture into switches, speakers, charging ports, or the battery compartment.
- Follow the care label for fabric toys. Machine-wash only when the label allows it. For non-washable plush toys, blot and wipe the surface rather than saturating the filling. For more detail, use this method for cleaning plush toys without a washing machine.
- Remove soap residue. Rinse water-safe toys under clean water or wipe moisture-sensitive toys several times with a separate cloth dampened only with water. A slick feel, visible bubbles, or a dull film means more residue removal is needed.
- Dry every surface and opening. Shake out accessible water, blot with a clean towel, and place the toy where air can circulate around it. Keep batteries out until the toy and battery compartment are completely dry.
🧪 Why This Works
Soap and gentle wiping loosen ordinary dirt, food residue, saliva film, and sticky buildup from washable surfaces. Rinsing carries away the loosened material, while complete drying reduces the chance of moisture remaining in seams, stuffing, or enclosed spaces.
Cleaning Toys for a Newborn
Clean newborn toys before first use according to the care label, especially teethers, rattles, fabric comfort items, and anything that may reach the baby’s mouth. Use a clean washing area, rinse thoroughly, and let the item dry completely.
A product described as a disinfectant should be used only when its current label permits use on that toy material and gives appropriate directions. Don’t improvise a chemical mixture or assume that a product suitable for a countertop is suitable for a mouth-contact toy. If specific health guidance applies to your household, follow the relevant product, manufacturer, or public-health directions.
Quick Cleaning Versus a More Thorough Wash
Use quick cleaning for fresh, localized messes and a fuller wash for widespread grime or residue in crevices. You don’t need to fully wash every toy after every ordinary use.
Choose a quick wipe when:
- The toy has a small patch of fresh food or saliva residue.
- The material is moisture-sensitive.
- The toy contains electronics or nonremovable stuffing.
- The rest of the toy remains visibly clean.
Choose a more thorough cleaning when:
- The toy feels sticky or has a visible film.
- Dirt has collected around seams, wheels, buttons, or textured areas.
- The toy has fallen onto a heavily soiled surface.
- A washable toy has been stored for a long period.
- The toy will be passed to another child or brought out for a newborn.
Special Care for Bath Toys
Bath toys need more than an exterior wipe because water can become trapped through small openings. Squeeze out accessible water after use, position toys so they drain, and store them where air can circulate rather than in a closed, damp container.
For toys with internal buildup, follow the detailed steps for cleaning inside bath toys. If you can’t reach, inspect, rinse, and dry the interior, replacement is usually the more practical choice.
Solid water-safe toys can sometimes be cleaned together in a tub or basin, provided they don’t contain electronics, absorbent filling, or water-sensitive finishes. The instructions for washing toys in a bathtub explain how to manage a larger batch without treating every toy as soak-safe.
Common Problems and How to Correct Them
Most failed cleaning attempts involve too much soap, excess water, or incomplete drying. Correct the problem promptly rather than applying a stronger product without checking compatibility.
The toy feels slippery or has a cloudy film
This usually indicates soap residue. Rinse the toy again if it’s water-safe, or wipe it repeatedly with a clean cloth dampened only with water. Use less soap during the next cleaning.
A plush toy feels stiff after surface cleaning
Cleaner may have dried in the fibers, or the fibers may have dried in a flattened position. Blot the area with a clean, lightly damp cloth to remove residue, then gently reshape and brush the fibers once dry if the material allows it.
The toy still smells damp
Moisture may remain in stuffing, seams, or an enclosed cavity. Move the toy to a well-ventilated area and allow more drying time. Replace the toy if the odor persists, moisture remains trapped, or the interior can’t be inspected and dried.
Paint or printed details start coming off
Stop cleaning immediately. Blot away moisture without rubbing, and check the manufacturer’s care instructions. Don’t continue using a method that transfers color to the cloth or loosens decorative pieces.
Water entered the battery compartment
Remove the batteries if it’s safe to do so, leave the compartment open, and don’t switch the toy on. Follow the manufacturer’s directions for moisture exposure, corrosion, or battery leakage. Replace the toy if wiring is exposed or the compartment remains damaged.
Drying and Storage Matter
A toy isn’t ready to put away until its surface, seams, openings, and removable components are dry. Drying time varies with the material, thickness, stuffing, humidity, airflow, and the amount of moisture used.
- Blot washable surfaces with a clean towel before air-drying.
- Reshape plush toys while damp so filling doesn’t dry in hard lumps.
- Turn toys as needed so the underside and crevices receive airflow.
- Avoid direct high heat unless the care label specifically permits it.
- Reinstall batteries only after the compartment is completely dry and shows no damage.
- Store toys in a dry, ventilated location rather than sealing damp items in a bin.
- Keep cleaned toys separate from visibly dirty toys when practical.
Use mild soap, controlled moisture, thorough residue removal, and complete air-drying as your standard routine. The care label should override a general method, especially for plush, wood, painted details, glued parts, and electronics. Regularly inspecting toys while you clean also makes it easier to catch damage before the toy returns to use.
Everything Mentioned Above
Before you leave, grab the tools you need to get the job done right the first time:
*As an Amazon Associate, TidyFormula earns from qualifying purchases.