
How to Prevent Mold in a Bathroom without a Window
To prevent mold in a bathroom without a window, remove humid air mechanically, dry wet surfaces after each shower, and correct leaks promptly. A properly working exhaust fan vented outdoors is the best approach. Without one, use controlled doorway airflow and a dehumidifier only where its manufacturer permits, keeping electrical equipment safely away from water.
The challenge is trapped moisture. Shower steam settles on ceilings, grout, caulk, painted walls, and cabinets, while damp towels and bath mats keep releasing moisture after you leave.
⚡ The TidyFormula™ Quick Decision
Best approach: Run an exhaust fan that vents outdoors, then squeegee wet surfaces and keep air moving until condensation clears.
Use caution with: Portable fans and dehumidifiers must be positioned and operated according to their manufacturer’s instructions, away from showers, tubs, sinks, and other water sources.
Replace instead of cleaning if: Drywall, caulk, cabinetry, or another porous material is crumbling, swollen, deeply stained, or repeatedly damp because of hidden moisture.
What I Use For This Job
Using the right tools saves time and protects your belongings. Here are my exact recommendations:
*As an Amazon Associate, TidyFormula earns from qualifying purchases.
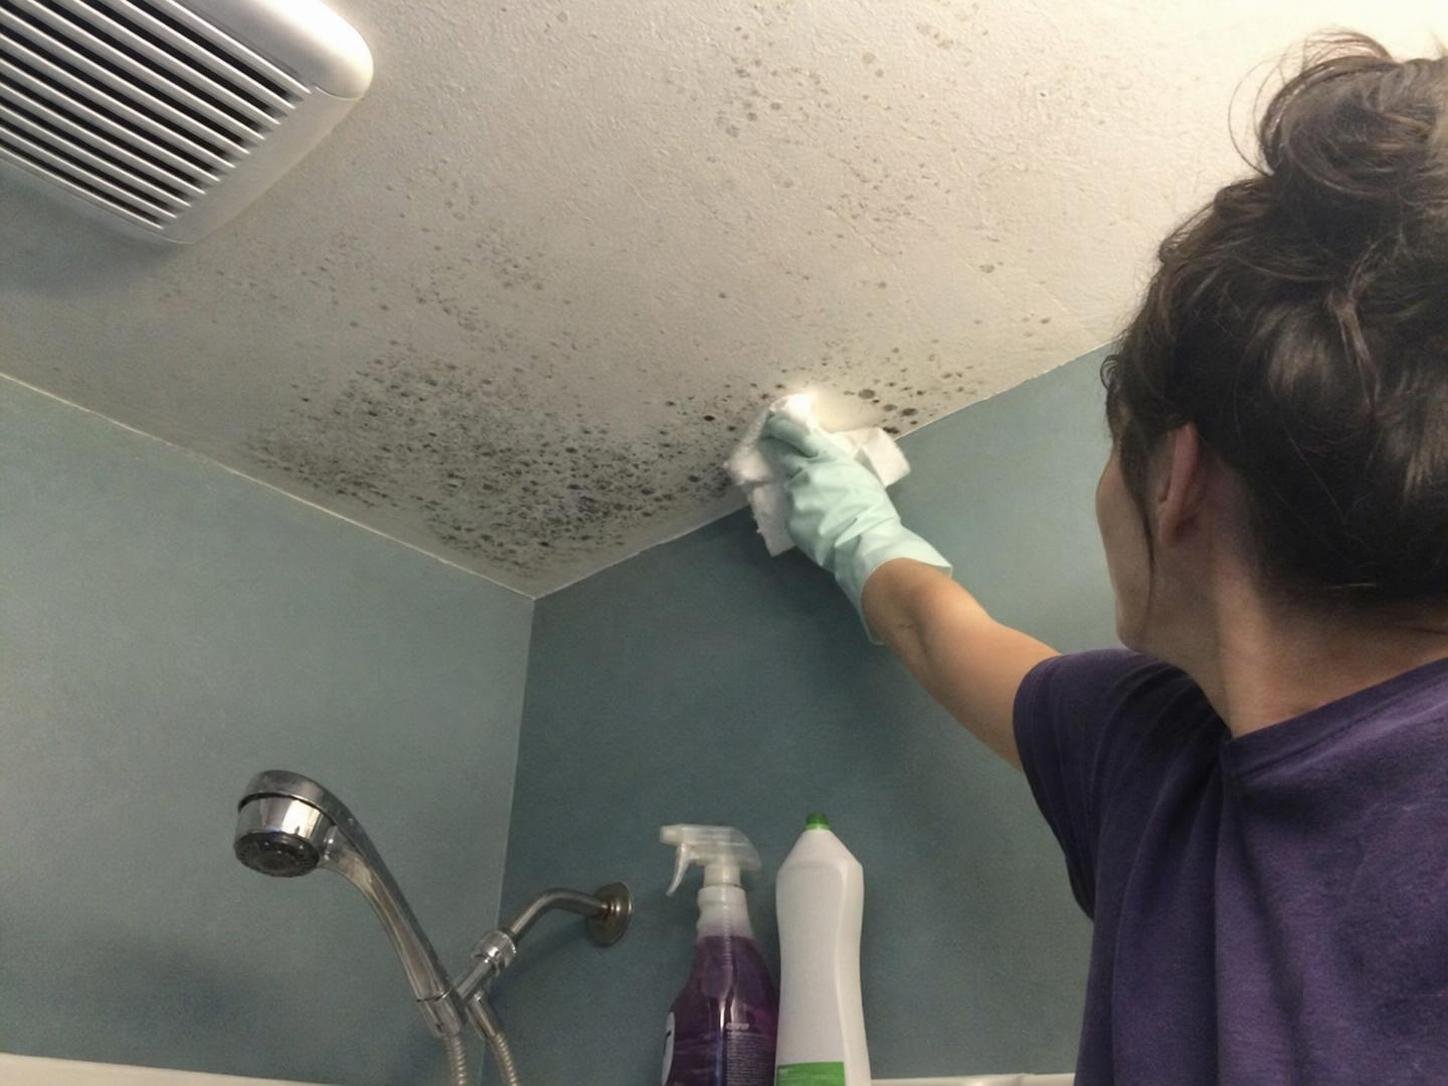
Find Out Where the Moisture Is Staying
Before changing your routine, inspect the bathroom immediately after a shower and again later. The surfaces that remain wet longest usually reveal what needs attention.
- Ceiling and upper walls: Persistent condensation can indicate inadequate exhaust or a fan that isn’t moving enough air.
- Grout and caulk: Water may be sitting in corners, behind bottles, or along failed seals.
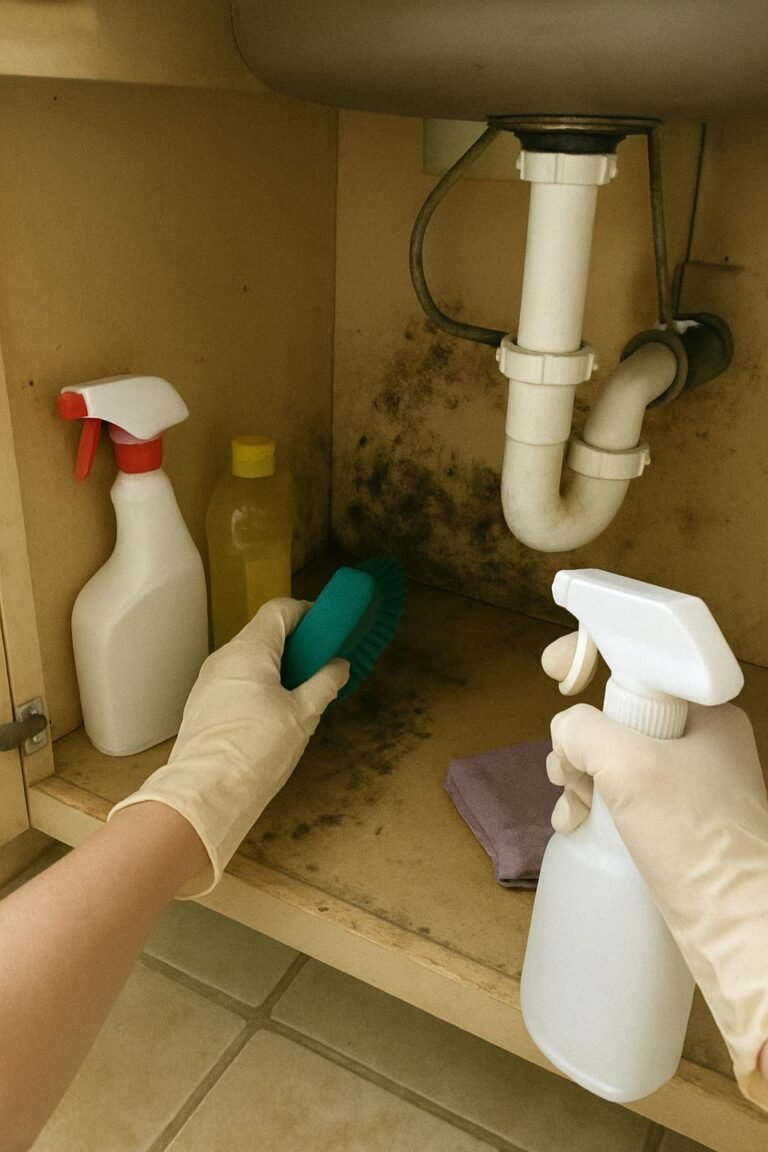
- Vanity and cabinet: Check supply lines, drain connections, and the floor beneath stored products for drips or swelling.
- Toilet area: Look around the tank, supply valve, base, and nearby wall for recurring moisture.
- Bath mats and towels: Thick textiles can remain damp long after hard surfaces appear dry.
Peeling paint, soft drywall, loose tiles, swollen trim, or a persistent musty odor may point to moisture behind the visible surface. Surface wiping won’t correct a plumbing leak, failed seal, or hidden condensation problem.
A Practical Step-by-Step Prevention Routine
The most reliable routine combines exhaust, surface drying, textile management, and leak control. No spray or coating can compensate for a bathroom that stays damp.
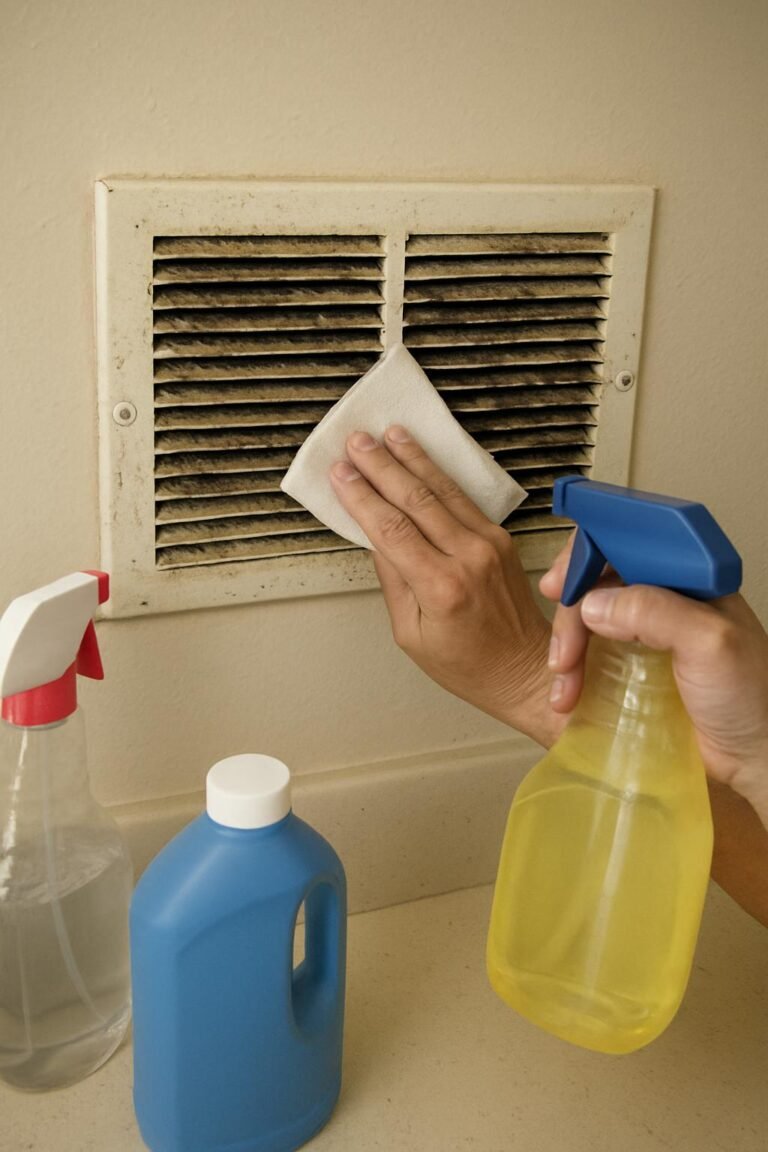
- Confirm that the exhaust fan works. Turn it on and hold a lightweight piece of tissue near the grille without pushing anything into the opening. The tissue should be drawn toward the grille. If airflow seems weak, turn the fan off and clean the accessible cover according to the manufacturer’s instructions. Have blocked ductwork, wiring problems, unusual noise, or a fan that vents into an attic evaluated by a qualified professional.
- Start ventilation before moisture builds up. Run the exhaust fan during the shower. Leave it running afterward until the mirror and other condensation-prone surfaces have cleared. Drying time varies with shower temperature, room size, airflow, and household humidity.
- Reduce unnecessary steam. Close the shower curtain or enclosure while bathing so water stays in the wet area, but avoid using hotter water or a longer shower than needed. Less steam gives the fan less moisture to remove.
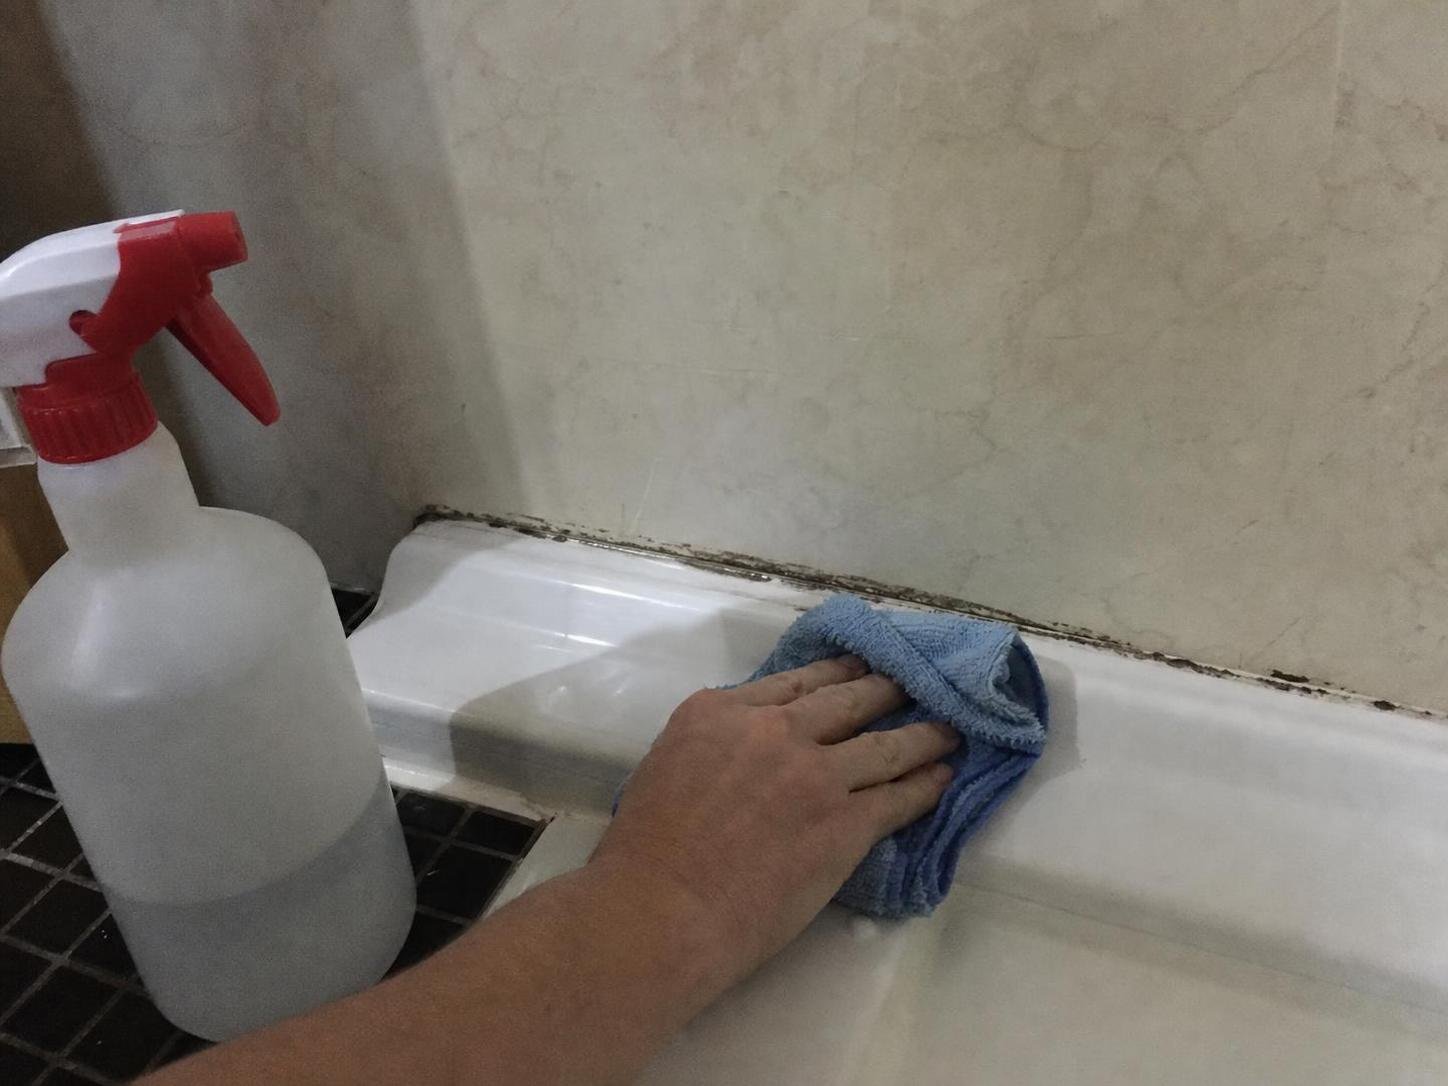
- Remove standing water. Use a squeegee on shower walls, glass, and the tub surround. Wipe puddles from ledges, grout joints, caulk lines, and the floor with an absorbent cloth. Don’t saturate painted drywall or wood trim while wiping.
- Spread out damp textiles. Hang towels fully open rather than folding them over a hook. Let bath mats dry in a well-ventilated location, especially if the underside stays wet. Wash towels, mats, and shower curtains according to their care labels.
- Open the bathroom door after use. Once privacy is no longer needed, an open door helps the bathroom exchange air with the rest of the home. If nearby indoor air is also humid, mechanical exhaust or appropriate dehumidification is more useful than simply moving damp air around.
- Use a dehumidifier cautiously if needed. Follow the appliance manufacturer’s placement and electrical instructions. A unit positioned outside the bathroom may help with the door open, but suitability depends on its design and room layout. Never place an appliance where it could be splashed, and don’t use an extension cord unless the manufacturer expressly permits it.
- Correct leaks and failed seals. Repair dripping plumbing, deteriorated caulk, loose fixtures, and water that escapes the shower enclosure. Renters should document and report recurring leaks, soft walls, or ceiling damage to the property owner or manager.
🧪 Why This Works
Mold prevention is largely moisture management. Exhaust carries humid air out of the room, a squeegee removes water before it can linger in joints and corners, and open drying prevents towels and mats from acting as moisture reservoirs. Fixing leaks addresses water that ventilation alone cannot remove.
Adjust the Routine for Bathroom Materials
Tile, drywall, wood, caulk, and textiles don’t tolerate moisture or cleaning products in the same way. Use the least-wet method appropriate for each material.
Tile and sealed grout
Squeegee smooth tile and wipe corners where water collects. Clean soap residue with a product suitable for the tile and grout, following its label. Natural stone may require a stone-specific cleaner, so don’t assume an acidic bathroom product is compatible.
Painted walls and ceilings
Blot condensation rather than scrubbing aggressively. Stop if paint becomes tacky, transfers to the cloth, blisters, or flakes. Repainting may improve the finish only after the moisture source is corrected and the surface is sound and dry.
Silicone or acrylic caulk
Keep caulk lines free of pooled water and bottles that block airflow. Caulk that has separated, cracked, softened, or developed staining beneath its surface may need removal and replacement rather than repeated surface cleaning. Follow the sealant manufacturer’s preparation and curing instructions.
Wood and composite cabinetry
Wipe water promptly with a barely damp cloth, then dry the surface. Avoid soaking seams, unfinished edges, and areas around hardware. Swelling, lifting laminate, or a soft cabinet base indicates water has entered the material.
Shower curtains and bath mats
Stretch the shower curtain across the rod after use instead of leaving it bunched at one end. Check its care label before machine washing or drying. Mats with rubber or glued backings may require lower heat or air drying, depending on the manufacturer’s directions.
What to Do If There Is Already Visible Mold
Prevention steps won’t remove existing growth or repair damaged material. First correct the moisture source, then clean only if the affected surface is intact and the task is appropriate for routine household care.
For a small area on a washable, nonporous surface, use a cleaner labeled for that material and follow its current directions, including ventilation and any protective equipment listed. Test an inconspicuous spot first. Never mix bleach with vinegar, ammonia, alcohol, acids, or any other cleaner.
Porous drywall, ceiling tile, particleboard, insulation, and deeply affected caulk can be difficult or impractical to clean completely. Replacement or professional assessment is more appropriate when material is soft, deteriorated, repeatedly affected, inaccessible, or impossible to dry.
Seek qualified help for widespread growth, suspected moisture inside walls or ceilings, sewage involvement, or recurring mold that returns despite correcting ordinary bathroom humidity. If someone in the household has a health concern related to mold exposure, follow guidance from an appropriate healthcare or public-health authority rather than relying on a household cleaning routine.
Common Mistakes That Keep the Bathroom Damp
Turning the fan off as soon as the shower ends
The room can remain humid after the water stops. Continue ventilation until visible condensation has cleared. If that takes unusually long, check the fan grille and consider having the exhaust system evaluated.
Assuming fan noise means strong airflow
A noisy fan may still have weak airflow because of dust, a stuck damper, blocked ducting, poor installation, or inadequate replacement air entering beneath the door. Don’t open electrical components or ductwork unless the manufacturer’s instructions allow homeowner service.
Leaving bottles and accessories against wet surfaces
Bottles, caddies, toys, and nonslip mats can trap water underneath. Rinse away residue as appropriate, wipe the contact areas, and store items where air can circulate around them.
Using routine cleaner as a substitute for drying
Repeated spraying adds moisture and may leave residue or damage metal, stone, grout, paint, or sealant if the product isn’t compatible. Clean as needed, but rely on exhaust, squeegeeing, and leak repair for everyday prevention.
Painting over recurring spots
Paint can hide discoloration temporarily without addressing the cause. Stop and investigate if the same area returns, the paint blisters, or the wall feels soft. A roof, plumbing, duct, or insulation problem may be involved.
Troubleshooting Persistent Humidity and Odor
If the bathroom still smells musty or stays wet, use the pattern of moisture to narrow down the cause.
- The mirror clears, but grout stays wet: Remove water directly with a squeegee or cloth, move bottles away from corners, and inspect the caulk.
- The whole room remains steamy: The exhaust fan may have weak airflow, an obstructed grille, inadequate ducting, or insufficient capacity for the room. Ask a qualified contractor to evaluate the installation.
- The odor is strongest inside the vanity: Empty the cabinet and inspect plumbing connections, the cabinet base, and the wall for dampness or swelling.
- Ceiling marks worsen after rain: Treat this as a possible building leak rather than ordinary shower condensation.
- Odor remains with no visible source: Check behind removable items and around access panels without cutting into walls. Persistent hidden odor may justify a moisture inspection.
- A dehumidifier fills quickly: Empty and maintain it according to its manual, but also look for a leak or unusually humid air entering from elsewhere. An appliance shouldn’t become a substitute for repairing water intrusion.
A Simple Maintenance Schedule
Small, repeatable actions are more effective than waiting for staining or odor to appear.
- After each shower: Run the exhaust fan, squeegee the wet area, wipe pooled water, spread out the curtain, and hang towels open.
- Regularly: Clean residue from tile, grout, caulk, curtain edges, bottle bottoms, and bath accessories using material-compatible products.
- Periodically: Inspect under the sink, around the toilet, along shower seals, and at ceiling corners. Clean the fan grille according to its manufacturer’s instructions.
- After a leak or overflow: Remove standing water promptly, increase safe ventilation, and inspect porous materials for swelling, softness, or trapped moisture.
Frequently Asked Questions
Can you prevent bathroom mold without an exhaust fan?
You can reduce the risk by squeegeeing surfaces, drying textiles elsewhere, opening the door after bathing, shortening steamy showers, and using manufacturer-approved dehumidification. However, these measures may not control humidity as reliably as a correctly installed exhaust fan vented outdoors.
Should you leave the bathroom door open during a shower?
That depends on privacy, room layout, and whether opening the door spreads steam into the home. The better default is to use the exhaust fan during the shower, then open the door afterward to improve air exchange.
Do moisture-absorbing containers replace a fan or dehumidifier?
No. Passive moisture absorbers have limited capacity and won’t remove shower steam as quickly as mechanical exhaust. If you use one, follow its label and place it where children and pets cannot spill or access the contents.
Is it worth installing an exhaust fan in a windowless bathroom?
Usually, yes, if the building allows it and the fan can be properly ducted outdoors. Installation may involve electrical work, wall or ceiling openings, and code requirements, so use an appropriately qualified professional and obtain landlord approval if you rent.
The best method for preventing mold in a windowless bathroom is dependable outdoor exhaust backed by immediate surface drying, open textile storage, and prompt leak repair. If moisture keeps returning despite that routine, stop treating it as a housekeeping problem and have the ventilation, plumbing, or hidden building materials evaluated.
Everything Mentioned Above
Before you leave, grab the tools you need to get the job done right the first time:
*As an Amazon Associate, TidyFormula earns from qualifying purchases.
One Comment