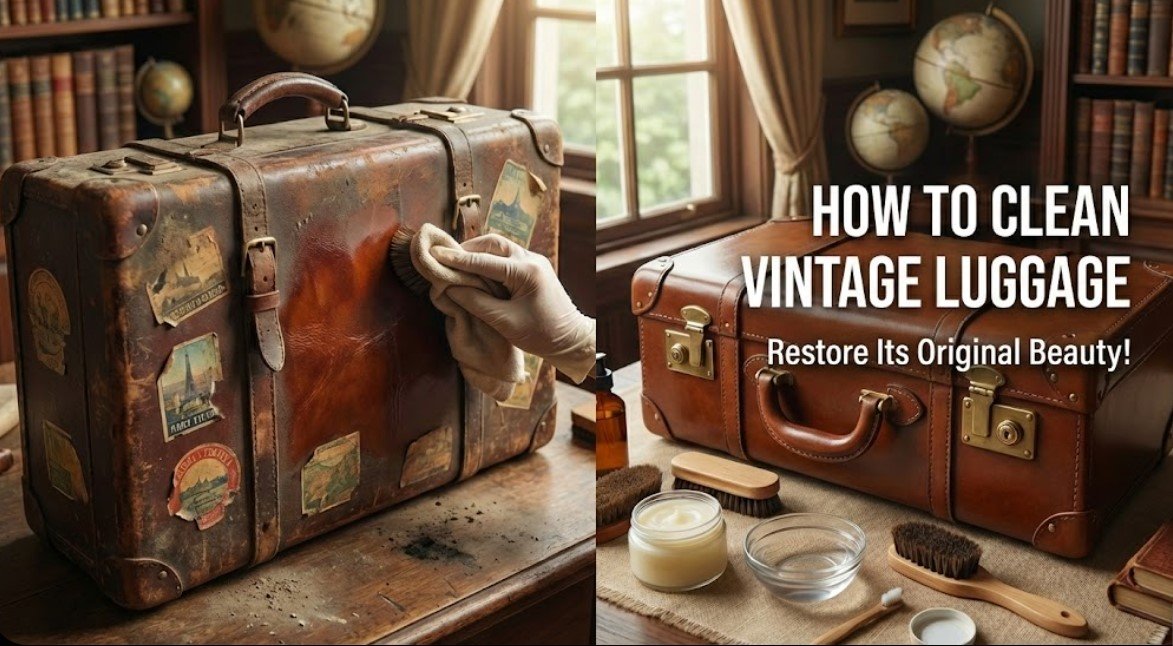
How to Clean Vintage Luggage (The “No-Soak” Restoration Guide)
To clean vintage luggage safely, vacuum it first, identify the exterior material, and spot-test every cleaner. Use low-moisture soap foam on stable fabric, a barely damp cloth on hard shells, and minimal moisture on leather. Never soak the case because many vintage suitcases contain cardboard, fiberboard, old adhesives, and hardware that can warp or corrode.
There is a very fine line between “vintage treasure” and “old trash,” and I cross it constantly. I found a blue 1960s suitcase at a garage sale for five bucks. It was beautiful. But then I unzipped it. The smell hit me instantly—a mix of ancient perfume, damp basement, and pure sadness. It was gross.
Most people would tell you to buy expensive specialty products, but I refuse. I’m not spending money I don’t have. Instead, I figured out exactly how to clean vintage luggage using basic chemistry and stuff I already had under my kitchen sink.
But a fair warning before you start: If you soak these things, you can destroy them. The “bones” of old luggage are often cardboard or fiberboard, and too much moisture can cause warping, separated lining, stains, and mold. I learned this the hard way with a hatbox I turned into a soggy pile of mush years ago. Here is how to do it right.
⚡ The TidyFormula™ Quick Answer
The Verdict: Never soak vintage luggage. Vacuum first, use low-moisture soap foam for stable fabric linings, and use a barely damp cloth with mild dish soap on washable hard shells.
What I Use For This Job
Using the right tools saves time and protects your belongings. Here are my exact recommendations:
*As an Amazon Associate, TidyFormula earns from qualifying purchases.
- The Mix: A few drops of mild dish soap whipped into foam. Use baking soda or activated charcoal only after the case is completely dry.
- Time: About 45 minutes of active cleaning, plus 24 to 72 hours for drying and deodorizing.
- Most Important Step: Test a hidden area and stop if color transfers, the surface becomes tacky, or the lining starts to lift.
Inspect and Identify the Luggage Before Cleaning
Before reaching for soap, open the suitcase in a well-lit area and determine what you are dealing with. Vintage cases often combine several materials, and one cleaning method will not be safe for all of them.
- Fabric lining: Usually glued to cardboard or fiberboard. It needs very little moisture.
- Vinyl or coated fabric: Generally washable with diluted dish soap, but old coatings may become sticky, brittle, or discolored.
- Molded hard shell: Often easier to wipe clean, although printed, textured, or glossy finishes can scratch.
- Leather: Vulnerable to darkening, cracking, dye loss, and water marks. Clean it more conservatively than vinyl.
- Metal hardware: May be plated rather than solid metal. Abrasives and acids can remove the finish.
- Paper labels and travel stickers: Keep them dry. Clean around them with a cotton swab rather than wiping across them.
Check for reasons to stop
Do not begin indoor cleaning if you find live insects, insect eggs, fresh droppings, fuzzy growth, damp padding, or a strong odor that irritates your eyes or throat. Isolate the suitcase from clothing and upholstered furniture until you know what is causing the problem.
Also check the lining for tears and loose areas. A vacuum nozzle or damp cloth can pull deteriorated fabric away from its backing.
Spot-test every surface
Test your cleaner on the underside, back edge, or another inconspicuous area. Let the test spot dry before judging it. Stop if:
- Color appears on the white rag.
- The finish becomes dull, sticky, rough, or lighter.
- Leather darkens and does not begin returning to its original color.
- The lining puckers, forms a water ring, or separates from the case.
The “No-Spend” Tool Kit
You don’t need fancy products. You just need to be careful.
- Vacuum with hose attachment: Essential. Use low suction when the lining is fragile.
- Dish Soap: A mild, dye-free formula is safest. The basic blue kind is fine after a successful spot test.
- Two Bowls: One for making foam and one for rinsing cloths.
- White Rags: Cut up an old t-shirt. Do not use colored rags; dye transfer is a nightmare.
- Baking Soda: A fresh box for stable, colorfast fabric linings.
- Old Toothbrush: Soft bristles.
- Vinegar: Optional and only for spot-treating suitable uncoated metal after testing.
- Cotton Swabs: Useful around seams, labels, locks, and hardware.
- Dry Towels and a Fan: For prompt, controlled drying.
Remove detachable straps, trays, keys, and loose inserts before cleaning. Photograph the interior first if you may need help remembering where everything belongs.
Phase 1: The Dry Clean (Do Not Skip This)
Before you introduce any liquid, you have to get the dry dirt out. If you add water to sixty-year-old dust, you just make mud. Mud is harder to remove.
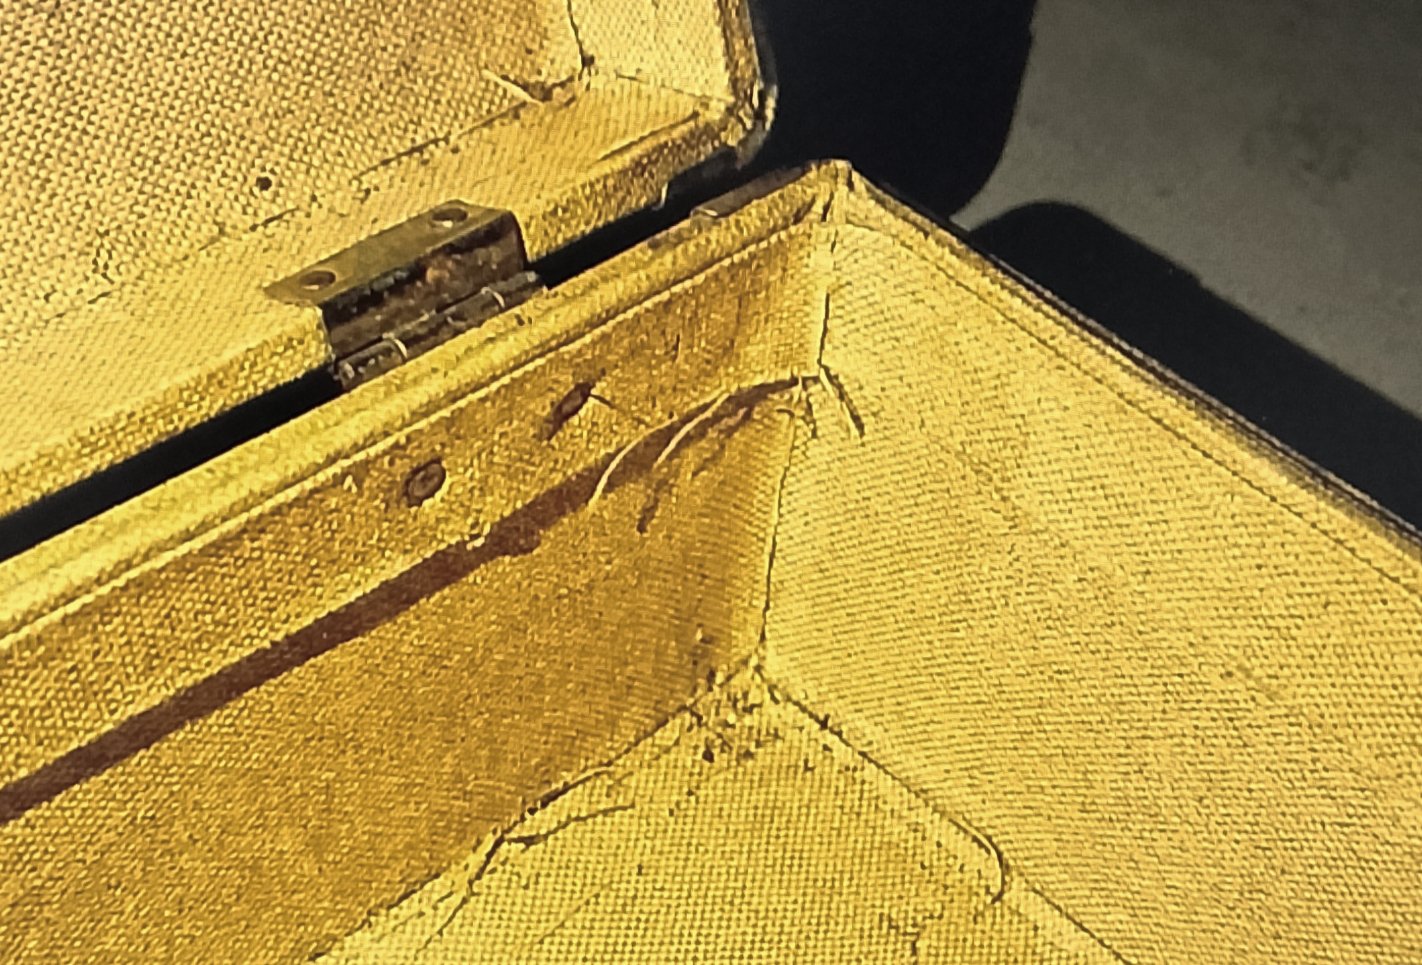
Open the case and take it outdoors or to a well-ventilated work area. Turn it upside down and gently shake out loose debris. Vacuum the interior, seams, hinge area, pockets, and piping. Jam the nozzle into the gathered fabric pockets. Listen for the sound of crumbs rattling up the hose (it’s weirdly satisfying). Be thorough with the vacuum, but gentle with the fabric.
If the lining is weak, place a clean piece of window screen or mesh over it and vacuum through the screen on low suction. Do not drag the nozzle across torn fabric.
Phase 2: The “Dry Suds” Method for Interiors
This low-moisture method can clean a stable fabric lining without saturating the cardboard layer underneath. It can also be used cautiously on some finished leather, but leather must be spot-tested first.
- Pour warm water and a small squirt of mild dish soap into a bowl.
- Whisk it until a cap of dense foam forms.
- Scoop only the foam onto a white cloth or sponge. Do not dip the cloth into the water below.
- Test a hidden section and let it dry. Continue only if there is no dye transfer, water ring, puckering, or adhesive failure.
- Work on one small section at a time. Blot or wipe gently instead of scrubbing.
- Immediately blot the area with a clean, dry rag.
- Leave the suitcase open and position a fan nearby until the lining is completely dry.
Clean stains from the outside edge toward the center to reduce spreading. If a mark remains after one or two careful passes, stop rather than repeatedly wetting the same area. Old stains may be permanent, and preserving the structure is more important than removing every discoloration.
🧪 Why Foam Helps
Dish soap helps loosen oily surface soil so it can transfer to the cloth. Using the foam rather than pouring or spraying the solution limits the amount of water reaching the lining, adhesive, and paperboard underneath. It is still a moisture-based method, so spot-testing and prompt drying remain essential.
Phase 3: The Exterior (Hard Shell & Vinyl)
If you are looking up how to clean vintage Samsonite luggage, many molded hard-shell models are relatively easy to wipe clean. However, age, sun exposure, and previous cleaning can make any finish fragile.
- Remove loose dust with a dry microfiber cloth or soft brush.
- Add a few drops of mild dish soap to warm water.
- Dip a white cloth into the solution and wring it out thoroughly. The cloth should be damp, not dripping.
- Wipe one small section at a time, keeping liquid away from seams, trim, locks, and paper labels.
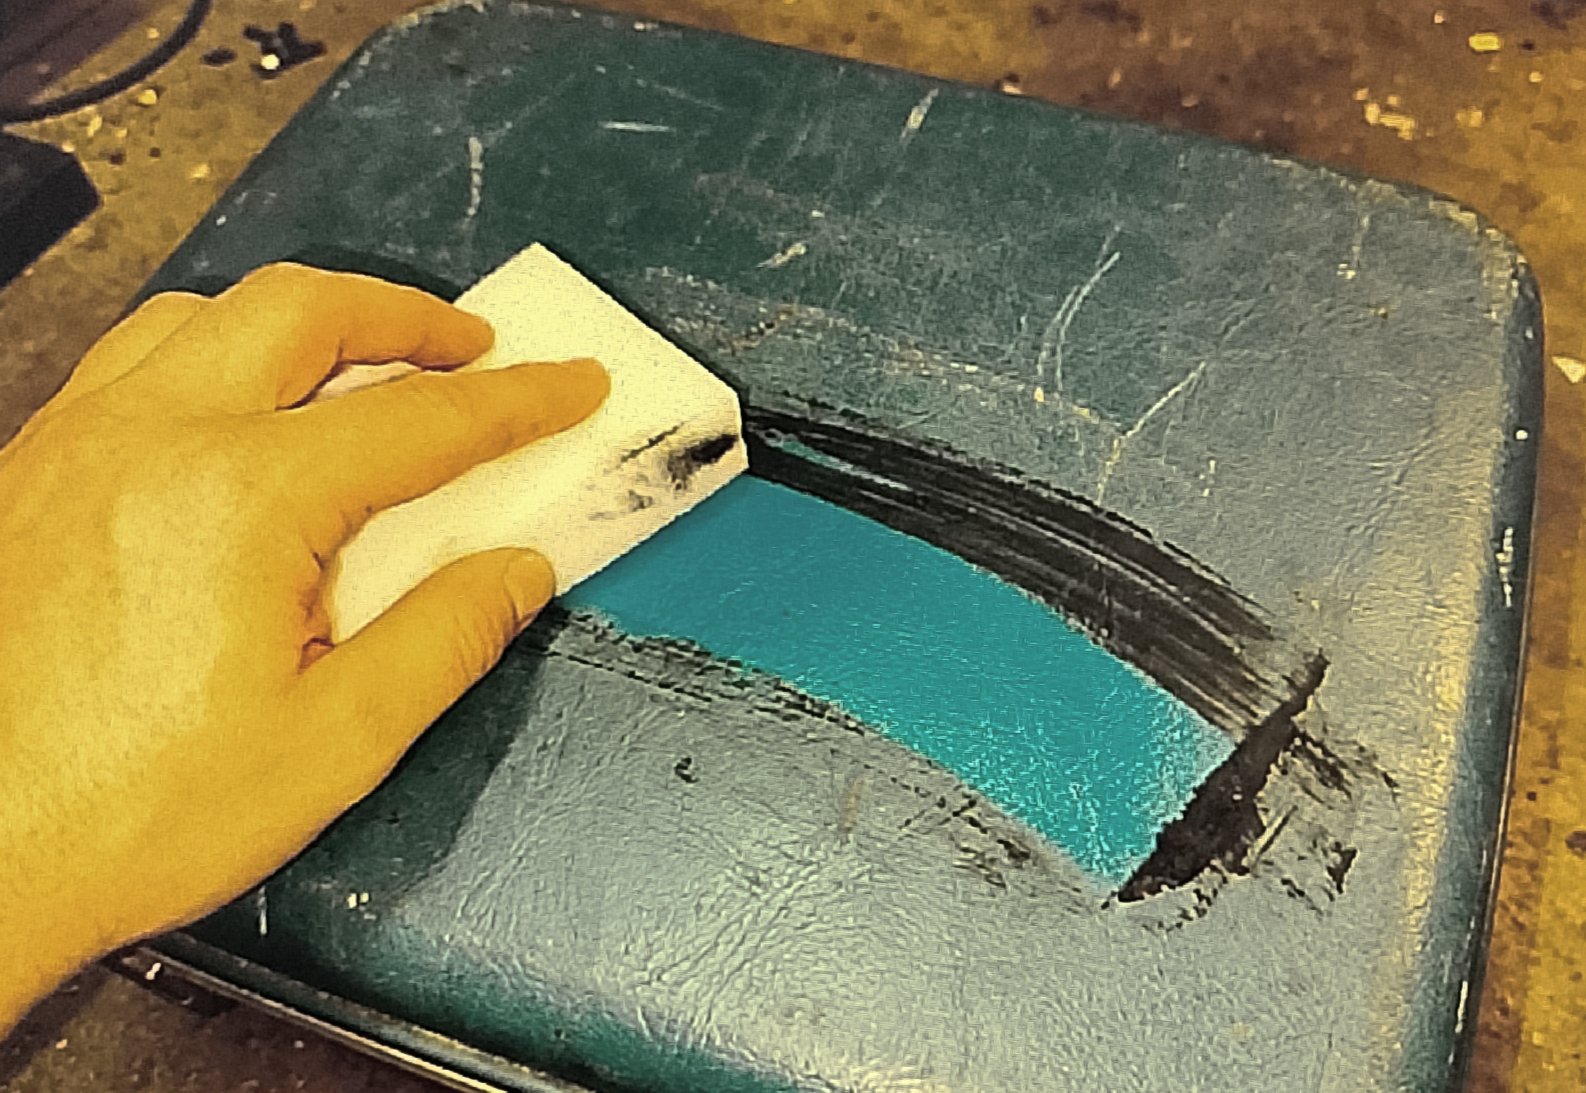
- For scuffs on how to clean vintage vinyl luggage, a melamine sponge may help, but test it first and use almost no pressure. Do not use it on printed designs, glossy coatings, painted trim, leather, or metallic finishes. Think of it as very fine sandpaper.
- Wipe away soap residue with a second barely damp cloth.
- Dry the surface immediately to prevent water spots and moisture from entering the seams.
For adhesive residue, begin with gentle rubbing using your thumb or a soft cloth. Do not automatically reach for acetone, nail-polish remover, citrus solvent, or concentrated alcohol; these can soften plastic, remove paint, or permanently dull an old finish.
Phase 4: Dealing with Leather
Leather is especially sensitive when it is old. When people ask how to clean old leather luggage, they usually want it to look brand new. It won’t, and aggressive cleaning can remove the original finish or make cracking worse.
First, dust the leather with a soft, dry cloth. If more cleaning is necessary, test the “Dry Suds” method from Phase 2 in an inconspicuous area. Use a minimal amount of foam, wipe gently, and immediately remove residue with a dry cloth.
Do not scrub leather with a toothbrush, melamine sponge, baking soda, vinegar, alcohol, household polish, or disinfecting wipes. Avoid soaking dry or cracked leather with oil. Some oils can darken the surface, soften adhesives, attract dust, or leave a sticky residue.
When leather needs specialist care
Stop and consult a leather conservator or experienced restoration professional if the leather is flaking, powdery, splitting at the handle attachments, painted, embossed, or historically valuable. A damaged handle is also a structural problem: do not carry a loaded suitcase by it merely because the surface looks cleaner.
Phase 5: The Smell (The Real Enemy)
This is often the hardest part. You’ve cleaned the visible dirt, but it still smells like a museum basement. Odor removal should begin only after the case is completely dry.
- For a sturdy, colorfast fabric lining, sprinkle a light, even layer of baking soda inside. Do not put it directly on leather, velvet, loose-weave fabric, or a crumbling lining.
- For delicate interiors, place baking soda in a shallow open container instead, or use an activated-charcoal odor absorber that cannot spill.
- Close the suitcase and leave it in a dry location for 24 to 72 hours.
- Remove the container or vacuum out the baking soda using low suction.
- Open the suitcase and let it air in a dry, shaded, well-ventilated location.
If it still stinks, repeat the dry deodorizing treatment rather than spraying perfume or repeatedly wetting the lining. Brief outdoor airing can help, but avoid prolonged direct sunlight because it may fade fabric, dry leather, soften adhesives, or heat the case unevenly. Never store the suitcase while any section feels cool or damp.
Phase 6: The Hardware
Start with the least aggressive method. Brush dust from latches, hinges, rivets, and lock openings with a dry toothbrush. Then wipe them with a cloth or cotton swab barely dampened with diluted dish-soap solution. Keep liquid from running behind the hardware and dry it immediately.
For a small patch of light rust on uncoated steel, test vinegar on a cotton swab and touch only the rusted area. Do not leave it sitting on the metal. Wipe the area with a separate damp cloth and dry it thoroughly. Skip vinegar on plated, painted, brass-colored, blackened, or unknown hardware because acid can damage the finish.
Do not force a frozen lock or hinge, and do not spray lubricant inside the suitcase where it could stain the lining. A repair professional is the safer choice for jammed or structurally loose hardware.
Phase 7: Drying, Reassembly, and Storage
Leave the cleaned suitcase fully open in a climate-controlled room. Stand removable trays and straps separately so air can reach both sides. A fan can circulate room-temperature air, but do not aim a hair dryer, heater, or heat gun at the case.
Drying may take 24 hours or longer. Before closing the suitcase, press a dry paper towel against seams, corners, and cleaned areas. If the towel picks up moisture or the interior feels cool and clammy, continue drying.
Once dry:
- Reinstall only completely dry straps, trays, and inserts.
- Support the case so heavy items do not crush it.
- Store it in a dry, temperature-stable room rather than a basement, attic, garage, or plastic bag.
- Use acid-free tissue or clean cotton fabric to help an empty case retain its shape.
- Leave the lid slightly open when practical, or air the case periodically to prevent trapped odors.
- Do not store vintage leather touching newspaper, colored tissue, or adhesive shelf liner.
Reality Check: When to Give Up
This method works for ordinary surface grime. But sometimes, how to clean old luggage is the wrong question. Sometimes the question is whether it can be cleaned safely.
If you see fuzzy or spreading black, green, or white growth, isolate the suitcase and avoid disturbing it indoors. Active mold can extend into the lining, padding, paperboard, and adhesives where surface wiping will not reach it. A low-value, heavily affected suitcase may not be worth keeping. A historically or personally valuable case should be assessed by a qualified conservator rather than treated with household chemicals.
Other reasons to stop include a soft or swollen shell, a lining that disintegrates when touched, extensive insect activity, strong chemical odors, failing handle mounts, or a finish that remains sticky after gentle cleaning.
FAQ: The Skeptic’s Corner
Can I just hose it down in the driveway?
No. Water can soak into cardboard stiffeners, padding, seams, and old adhesive even when the outside appears waterproof. The case may warp, smell worse, develop water rings, or stop closing properly.
How to clean old Samsonite luggage that is sticky?
Start with a white cloth barely dampened with diluted dish soap, then dry the area. Stickiness can come from residue, degraded coatings, adhesive, or plasticizer migration. If soap does not help, test 70% rubbing alcohol on a tiny hidden section of hard, unpainted plastic only. Stop if the finish softens, dulls, or transfers to the cloth. Do not use alcohol on leather, printed graphics, painted trim, or coated vinyl.
Can I use bleach on the lining?
No. Bleach can weaken aged fibers, remove color, damage adhesives, and leave permanent spots. It also does not solve moisture or growth hidden in the suitcase structure.
Does Febreze work?
A fragrance spray may temporarily cover an odor, but it adds moisture and scent without removing the source. You can end up with “Floral Mildew.” Dry the case completely, remove loose contamination, and use baking soda or activated charcoal instead.
How to clean old leather luggage handles that are black with oil?
Darkening from decades of body oil may extend deep into the leather and can be permanent. Remove only loose surface grime with a dry cloth or a successfully spot-tested amount of soap foam. Stop if color transfers or the handle feels brittle. Do not carry the case by a cracked, stretched, or loose handle.
For more detailed advice on conserving historical materials, see the Smithsonian’s guidelines on leather care.
Everything Mentioned Above
Before you leave, grab the tools you need to get the job done right the first time:
*As an Amazon Associate, TidyFormula earns from qualifying purchases.