Move out Cleaning Checklist by Room
A move-out cleaning checklist works best when you clean from high to low, finish one room at a time, and save floors for last. Remove belongings before deep cleaning, use products suited to each surface, and check your lease or move-out instructions because required tasks and acceptable conditions can differ.
The main challenge is timing: cleaning too early allows dust and footprints to return, while leaving everything for moving day can lead to rushed work, missed cabinets, and damp surfaces.
⚡ The TidyFormula™ Quick Decision
Best approach: Empty each room, clean from the ceiling area downward, and complete floors only after all other work is finished.
Use caution with: Painted walls, natural stone, unfinished wood, appliance finishes, and any surface with uncertain care requirements; test products in a hidden area and follow current labels.

Prepare the Home Before You Start
Cleaning is faster and more thorough after furniture, boxes, food, and loose household items are out of the way. If everything can’t be removed at once, designate one staging area and clean that space last.
What I Use For This Job
Using the right tools saves time and protects your belongings. Here are my exact recommendations:
*As an Amazon Associate, TidyFormula earns from qualifying purchases.
- Review the move-out requirements. Check your lease, property manager’s instructions, or sale agreement for requested tasks. Note whether you’re expected to clean inside appliances, patch small holes, remove shelf liners, or arrange professional carpet cleaning.
- Separate cleaning from repairs. Loose handles, damaged blinds, peeling paint, cracked glass, and broken fixtures generally aren’t cleaning problems. Document existing damage and handle repairs according to your agreement rather than trying to hide them with aggressive cleaning.
- Remove trash and personal property. Check closets, cabinets, drawers, the attic, garage, porch, and outdoor storage. Don’t leave unwanted furniture or cleaning products unless the recipient has agreed to keep them.
- Turn on lights and improve airflow. Good lighting helps reveal dust and residue. Open windows when conditions allow, and provide ventilation when a product label calls for it.
- Photograph rooms before and after cleaning. Include appliances, floors, cabinets, bathrooms, and any preexisting damage. Photos don’t replace an inspection, but they can provide a useful condition record.
If you need a reusable plan for routine upkeep before moving week, a household cleaning checklist can help prevent the final cleaning session from becoming unnecessarily large.
Move-Out Cleaning Supplies
You don’t need a separate specialty product for every room. A compact cleaning supplies checklist should cover dust removal, washing, residue removal, and floors without encouraging incompatible products.
- Vacuum with a crevice attachment
- Broom, dustpan, and mop suitable for your flooring
- Microfiber cloths and nonabrasive sponges
- Bucket and warm water
- Mild dish soap or a general cleaner approved for the surface
- Glass cleaner or another product labeled for glass
- Bathroom cleaner appropriate for the fixtures and finishes
- Degreasing cleaner labeled for the kitchen surfaces involved
- Small soft-bristled brush for tracks, corners, and hardware
- Trash bags and a container for items that belong elsewhere
- Gloves or other protection required by product labels
- Step stool used on a stable, level surface
Never mix cleaning products. More product also isn’t necessarily better; excess cleaner can leave sticky residue that attracts dirt. Follow each product’s current directions, including ventilation, surface compatibility, application method, and rinsing instructions.
The Room-by-Room Cleaning Order
Start with dry dust removal, follow with damp cleaning, and finish with the floor. This order prevents debris and drips from landing on an area you already completed.
- Entryways and hallways
- Remove cobwebs and dust ceiling corners, light fixtures, vents, ledges, and the tops of door frames.
- Wipe doors, knobs, switch plates, baseboards, handrails, and closet shelves.
- Clean interior glass and mirrors with a product intended for that surface.
- Vacuum edges and corners, then mop or clean the floor according to its care instructions.
- Inspect the front door area for tape, labels, and personal decorations. Don’t scrape painted or coated surfaces with a metal blade.
- Living room and dining areas
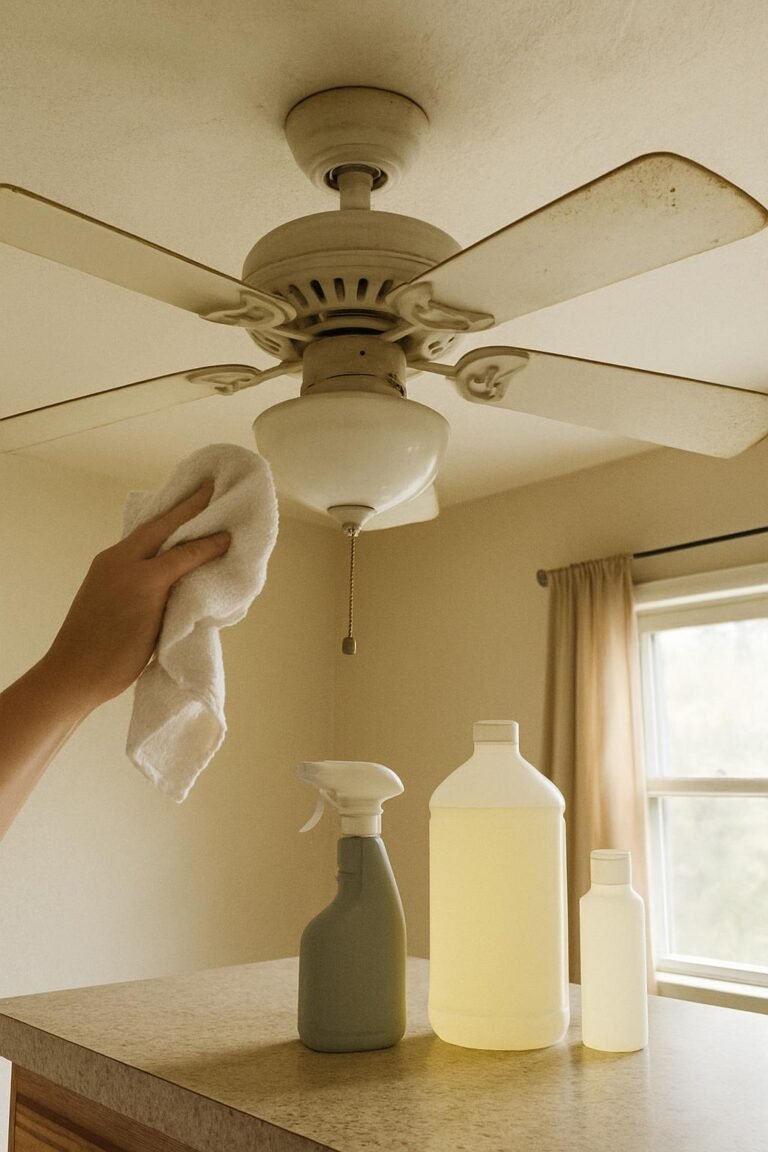
- Dust ceiling fans, fixtures, vents, curtain rods, window trim, and built-in shelving from top to bottom.
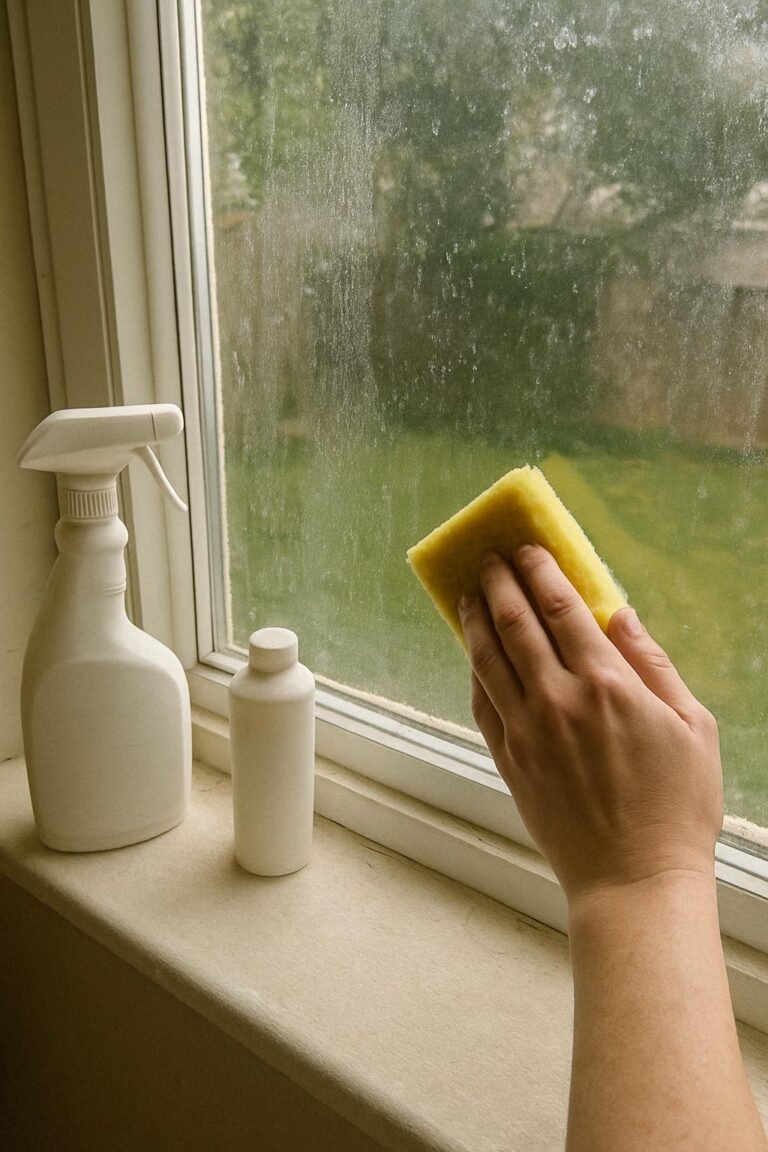
- Vacuum window tracks with a crevice tool before wiping them with a lightly damp cloth.
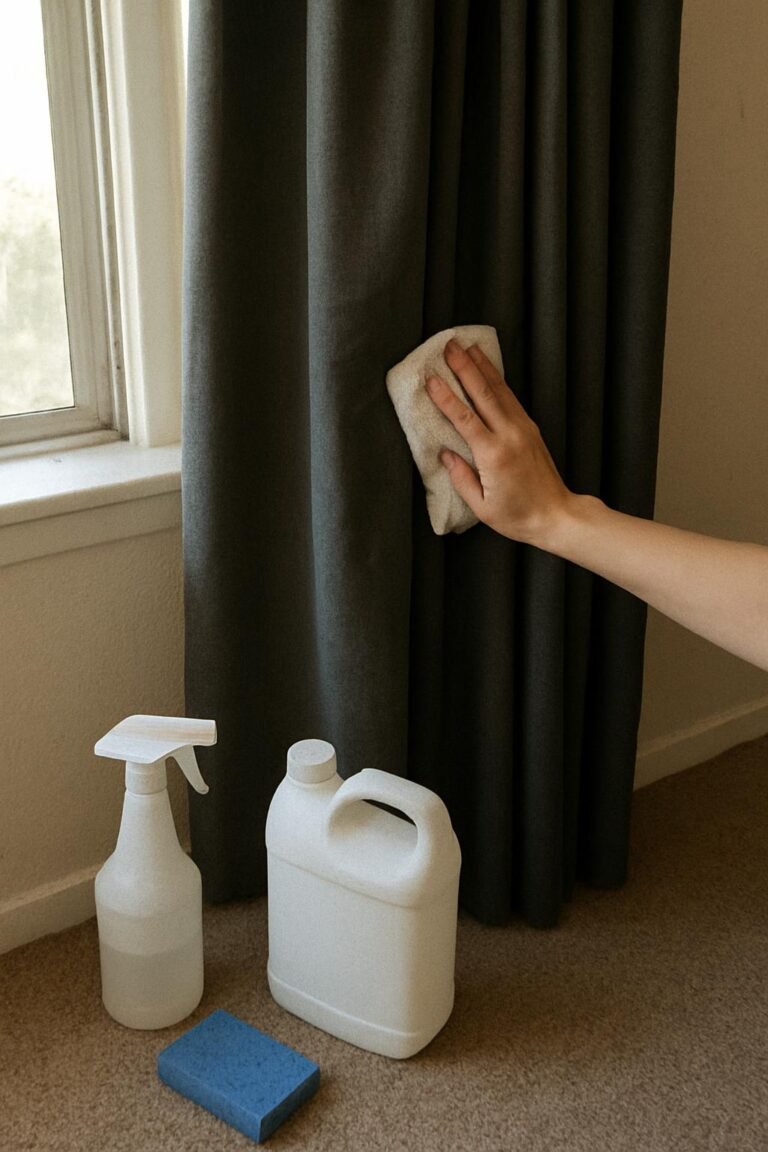
- Remove dust from blinds using a method appropriate for their material. Avoid soaking wood, paper, fabric, or glued components.
- Wipe baseboards, doors, trim, switch plates, outlet covers, and permanent fixtures without allowing liquid into electrical openings.
- Spot-clean walls only after checking the paint finish. Use minimal moisture and light pressure; stop if color transfers to the cloth or the finish becomes shiny.
- Vacuum carpet slowly, including the perimeter. For hard floors, remove loose debris and use only a cleaner approved for the finish.
- Bedrooms and closets
- Empty shelves, drawers, and hanging rods, then vacuum loose dust before wiping surfaces.
- Check behind doors and along closet corners for forgotten hooks, hangers, adhesive strips, and personal items.
- Dust fan blades, vents, window trim, baseboards, and permanent lighting.
- Clean mirrors and interior window glass if included in your move-out responsibilities.
- Vacuum carpet or clean hard flooring last, including the areas formerly covered by furniture.
- Kitchen
- Empty cabinets, drawers, and pantry shelves. Vacuum crumbs first, then wipe with a cloth that is damp rather than dripping.
- Clean cabinet fronts, pulls, backsplash, countertops, and sink. Check care instructions before using acidic or abrasive products on natural stone, grout, metals, or delicate coatings.
- Remove grease from the range hood exterior and clean a removable filter only as directed by its manufacturer.
- Clean the stovetop after it is cool. Avoid abrasive pads on glass, enamel, stainless steel, and printed control markings unless the manufacturer permits them.
- Clean the oven according to its manual and the cleaner label. Don’t apply oven cleaner to heating elements, seals, aluminum parts, or self-cleaning surfaces unless specifically allowed.
- Empty and wipe the refrigerator and freezer after disconnecting power only if it is safe and appropriate to do so. Keep electrical components and openings dry.
- Clean the dishwasher filter and interior only according to the appliance instructions. Wipe the gasket gently rather than pulling or scrubbing it aggressively.
- Wipe the exterior and accessible sides of appliances. Move heavy appliances only if you can do so safely without damaging flooring, water lines, gas connections, or power cords.
- Remove trash, wipe the bin area, and clean the floor last.
- Bathrooms
- Remove personal products, liners, and trash. Vacuum or sweep dry debris before introducing water.
- Clean mirrors, vanity surfaces, cabinet interiors, sink fixtures, and hardware with products compatible with their finishes.
- Clean the shower or tub from the upper walls downward. Give the product only the waiting time stated on its label, then rinse or wipe as directed.
- Use a soft brush on accessible grout and textured areas. Stop if grout crumbles, caulk lifts, or a coated fixture begins to discolor.
- Clean the toilet exterior from the upper surfaces downward, then clean the bowl with a product labeled for that use. Don’t combine toilet cleaner with any other product.
- Wipe exhaust-fan covers after turning the fan off. Don’t push wet tools into the fan housing.
- Clean baseboards and mop the floor, working toward the doorway.
- Laundry area
- Remove lint and dust from shelves, walls, and the accessible exterior of appliances.
- Clean the washer detergent dispenser, gasket, and filter only as directed by the manufacturer.
- Empty the dryer lint screen and vacuum accessible floor debris around the appliances. Don’t dismantle vents or appliance panels unless the instructions authorize it.
- Wipe utility sinks and cabinets, then clean the floor without saturating seams or appliance connections.
- Garage, basement, balcony, or storage areas
- Remove belongings, trash, loose fasteners, and empty boxes.
- Dust shelves, ledges, and accessible fixtures. Sweep from the farthest corner toward the exit.
- Clean ordinary spots only when the surface and product are compatible. Unknown automotive fluids, chemicals, pest contamination, or extensive mold growth may require specialized guidance rather than routine cleaning.
- Leave floor drains, utility controls, electrical panels, and mechanical equipment unobstructed.
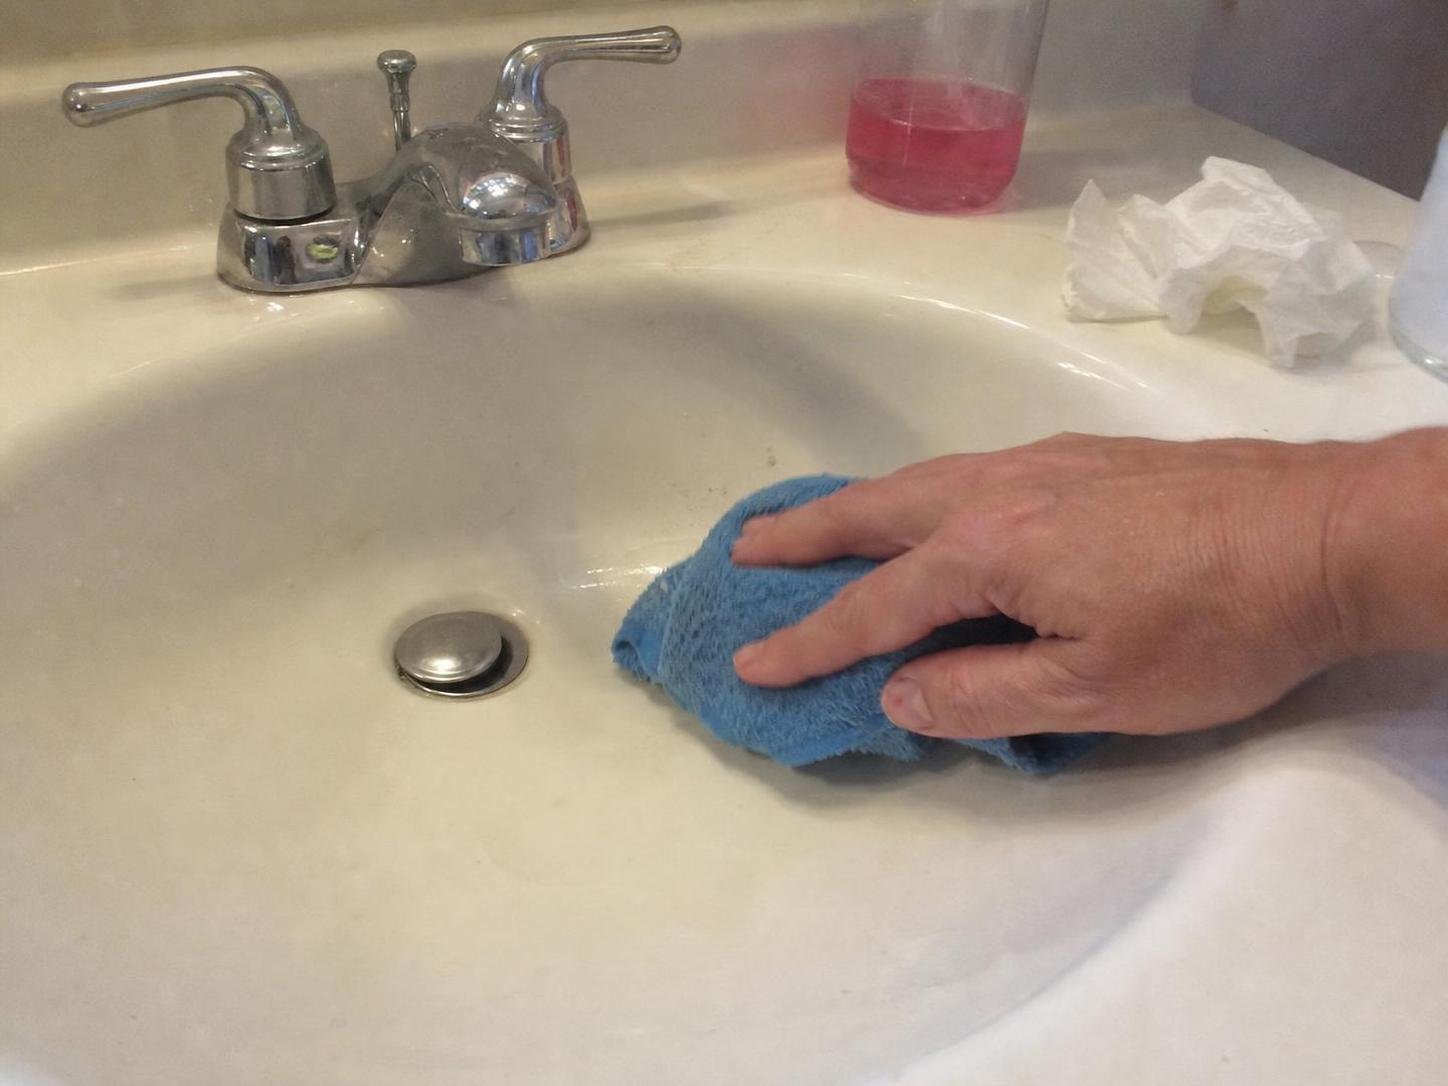
🧪 Why This Works
Dry cleaning first removes dust and crumbs that could otherwise turn into streaky residue. Working high to low directs falling debris toward unfinished surfaces, while completing floors last reduces the need to repeat work as you move through the home.
Adjust the Method for Delicate Surfaces
A single cleaning method isn’t suitable for every material. Use less moisture and pressure when the finish is uncertain, and test your cleaner in a hidden area before treating a visible section.
| Surface | Practical adjustment | Stop if you notice |
|---|---|---|
| Painted walls | Dust first, then spot-clean gently with a barely damp cloth and a compatible mild cleaner. | Paint transfer, a shiny patch, softening, or color change |
| Wood cabinets or floors | Use minimal moisture and a product approved for the specific finish. Wipe drips promptly. | Cloudiness, swelling, raised grain, or darkened seams |
| Natural stone | Use a cleaner identified as suitable for that stone. Avoid guessing whether an acidic or abrasive cleaner is compatible. | Dullness, etching, discoloration, or gritty residue |
| Stainless steel | Use a soft cloth and wipe with the visible grain. Keep cleaner away from printed control labels unless approved. | Scratches, rainbow-like residue, or fading markings |
| Laminate and veneered surfaces | Use a lightly damp cloth and dry the seams and edges promptly. | Edge lifting, bubbling, or swelling |
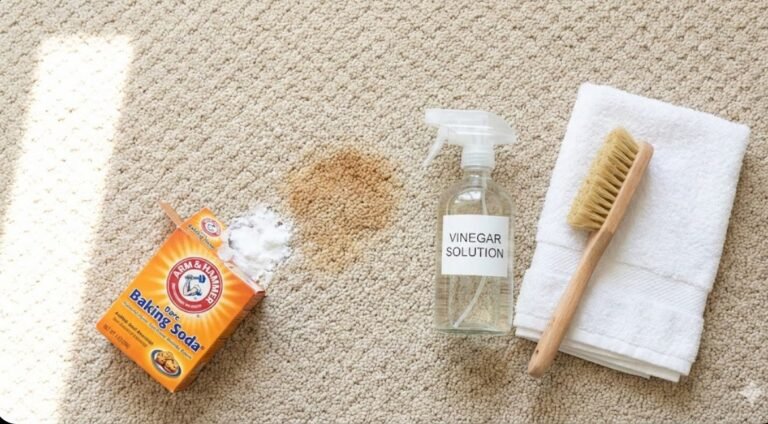
| Carpet | Vacuum first. Use stain products and machines only when approved for the fiber and backing. | Color transfer, rippling, adhesive odor, or persistent dampness |
Fix Common Move-Out Cleaning Problems
Most failed first attempts come from excess product, excess moisture, or cleaning a surface with the wrong tool. Correct the cause before repeating the same process.
Surfaces look streaky or feel sticky
Too much cleaner or incomplete removal often leaves residue. Check whether the product label requires rinsing. If it does, wipe the area with a clean, lightly damp cloth and then dry it. Change cloths when they become loaded with soil or product.
Walls have shiny patches
Repeated rubbing can alter the appearance of flat or matte paint. Stop scrubbing. Let the surface dry fully before judging it; if the sheen remains, cleaning may not correct it, and repainting may be the appropriate repair.
Cabinet edges or floor seams begin to swell
Stop adding moisture and blot the area dry. Improve airflow without directing intense heat at the surface. Swelling, lifting veneer, or separation indicates material damage rather than remaining dirt.
Carpet stays damp or smells musty
Increase ventilation and keep people and boxes off the carpet while it dries. Don’t cover it with plastic or rugs. If moisture remains trapped, the odor persists, or the backing has been heavily contaminated, ask the property owner or a qualified carpet professional how to proceed.
Grease remains after the first kitchen pass
Remove loose debris, then use a degreasing product labeled for that specific surface. Allow only the label-directed waiting period, and avoid harder scrubbing if the finish starts to dull or printed markings begin to fade.
Adhesive residue won’t release
Don’t immediately reach for a razor or strong solvent. Check the surface manufacturer’s guidance and test any adhesive remover in a hidden area. Painted walls, plastics, coated appliances, and finished wood can discolor or lose their finish before the adhesive comes off.
Final Inspection and Handoff
Inspect only after surfaces are dry and the cleaning supplies are packed. Damp counters, wet floors, and freshly cleaned carpets can hide streaks, footprints, or discoloration.
- Walk through the home in daylight and again with room lights on.
- Open every cabinet, drawer, closet, refrigerator compartment, and permitted storage area.
- Check high-touch areas such as handles, switches, railings, and appliance controls for residue.
- Look behind doors and along floor edges for dust, hair, tape, and small belongings.
- Confirm that sinks and tubs drain and that faucets are turned off.
- Allow refrigerators or freezers to dry as directed if they will remain unplugged. Follow property or manufacturer instructions about whether doors should stay open.
- Reinstall only removable parts that are clean, dry, and correctly positioned, including shelves, drawers, filters, burner parts, and lint screens.
- Remove your cleaning products and trash unless you have permission to leave specific items.
- Take final condition photos and return keys according to the agreed process.
A written cleaning chores checklist can also help you divide remaining work among household members without duplicating rooms or overlooking small fixtures.
A Practical Schedule for Moving Week
Spread deeper tasks across several days, but reserve floors and final touch-ups for after the home is empty. Adjust the schedule to your moving date and inspection requirements.
- Several days before moving: Declutter, remove wall decorations, clean low-use cabinets, wipe closet shelves, and address the oven or other time-consuming appliances.
- As rooms empty: Dust fixtures, clean windows and tracks, wipe walls where needed, and complete cabinets and baseboards.
- After the final boxes leave: Clean appliance exteriors, bathrooms, remaining counters, and all floors.
- Before handoff: Check for residue and trapped moisture, reinstall dry removable parts, remove supplies, photograph the condition, and secure the property as instructed.
The most reliable move-out routine is simple: empty the space, work from high to low, use surface-compatible products, and clean floors last. Don’t trade finish damage for a tougher-looking scrub, and leave enough ventilation time for cabinets, appliances, carpet, and other moisture-sensitive areas to dry before the final inspection.
Everything Mentioned Above
Before you leave, grab the tools you need to get the job done right the first time:
*As an Amazon Associate, TidyFormula earns from qualifying purchases.