how to clean toys with bleach
The first time I tried to figure out how to clean toys with bleach, I made the solution too strong and faded a bright plastic stacking cup. The cup was clean, but the cloudy patch never went away. Frustrating—and avoidable.
Bleach can be useful for certain hard, nonporous toys, especially after illness or a particularly unpleasant mess. It is not a universal toy cleaner, though. Plush animals, wooden toys, electronics, painted pieces, and anything with hidden cavities need a different approach.
The safest method is simple: wash away visible grime first, follow the bleach label exactly, keep the toy wet for the stated contact time, rinse when required, and let it dry completely.
⚡ The TidyFormula™ Quick Answer
The Fix: Clean compatible hard plastic toys with soap and water, apply a label-directed bleach solution for the required contact time, rinse thoroughly if instructed, and allow them to dry completely.
What You Need Before You Start
Check the toy’s care instructions before reaching for bleach. The best candidates are sturdy, colorfast, hard nonporous toys without batteries, fabric, exposed metal, peeling paint, foam, or openings that trap liquid.
What I Use For This Job
Using the right tools saves time and protects your belongings. Here are my exact recommendations:
*As an Amazon Associate, TidyFormula earns from qualifying purchases.
- Regular unscented household bleach labeled for disinfecting
- Cool or room-temperature water
- Mild dish soap
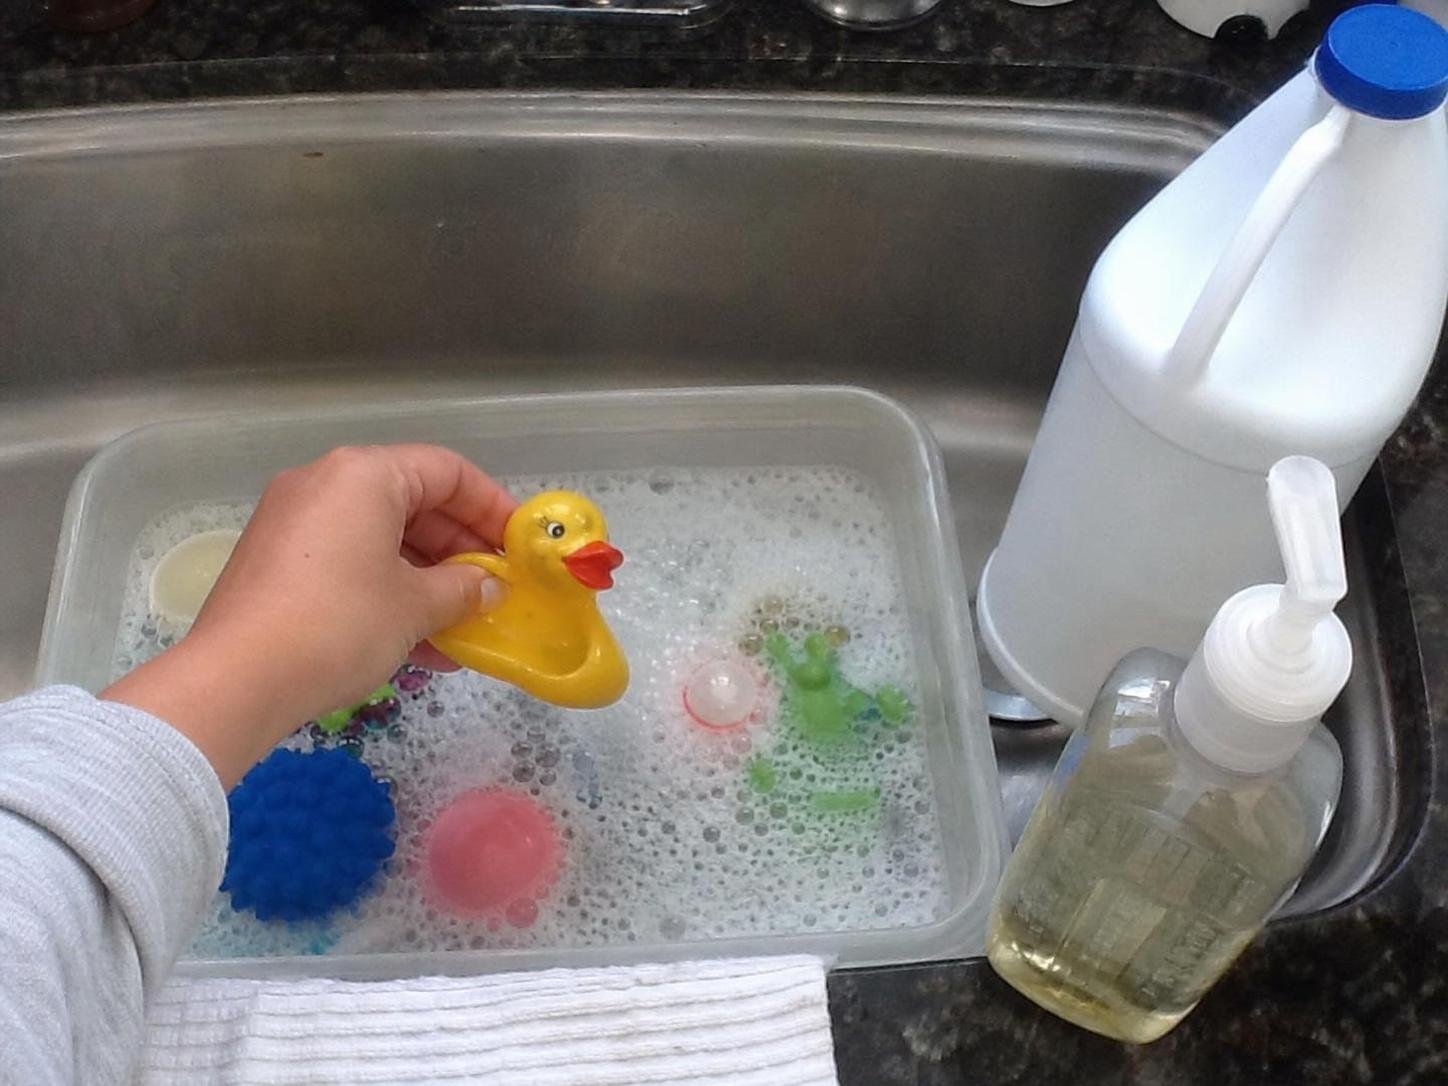
- A clean basin, bucket, or plastic container
- Measuring spoon or cup reserved for household cleaning
- Disposable or reusable household gloves
- A clean cloth or soft-bristled brush
- Paper towels or a clean drying towel
- Access to fresh air or good room ventilation
I prefer a plain plastic wash basin because it keeps the toys contained and makes it easier to measure the water. A sink can work, but clean and rinse the sink first.
Do not use splashless, scented, gel, or unknown-strength bleach unless its label specifically gives directions for the intended surface. Never estimate the amount by pouring straight from the bottle. Bleach concentration varies, so a recipe copied from an old cleaning note may no longer be appropriate.
Most importantly, never mix bleach with vinegar, ammonia, rubbing alcohol, toilet cleaner, or another household cleaner. Use only water with bleach. The CDC guidance for cleaning and disinfecting a home also recommends following product labels and maintaining ventilation.
Choose Toys That Can Handle Bleach
Usually suitable
- Solid, unpainted hard plastic toys
- Colorfast plastic blocks without electronics
- Some silicone toys, if the manufacturer permits bleach
- Hard plastic figures without stickers or delicate finishes
Use another method instead
- Plush or fabric toys
- Wood, cardboard, foam, or leather toys
- Electronic, battery-operated, musical, or light-up toys
- Toys with exposed metal that may corrode
- Hand-painted, vintage, or collectible pieces
- Cracked toys or toys with inaccessible hollow interiors
Fabric absorbs liquid and can be difficult to rinse evenly. For stuffed animals, use a method designed for cleaning plush toys without a washing machine rather than soaking them in bleach.
The Best Way to Clean Toys With Bleach
Work in two stages: cleaning first, disinfecting second. Bleach is not especially good at lifting sticky food, grease, or dried dirt. Those materials can also prevent the disinfectant from contacting the toy evenly.
1. Inspect and sort the toys
- Remove batteries, loose accessories, stickers that may lift, and detachable fabric parts.
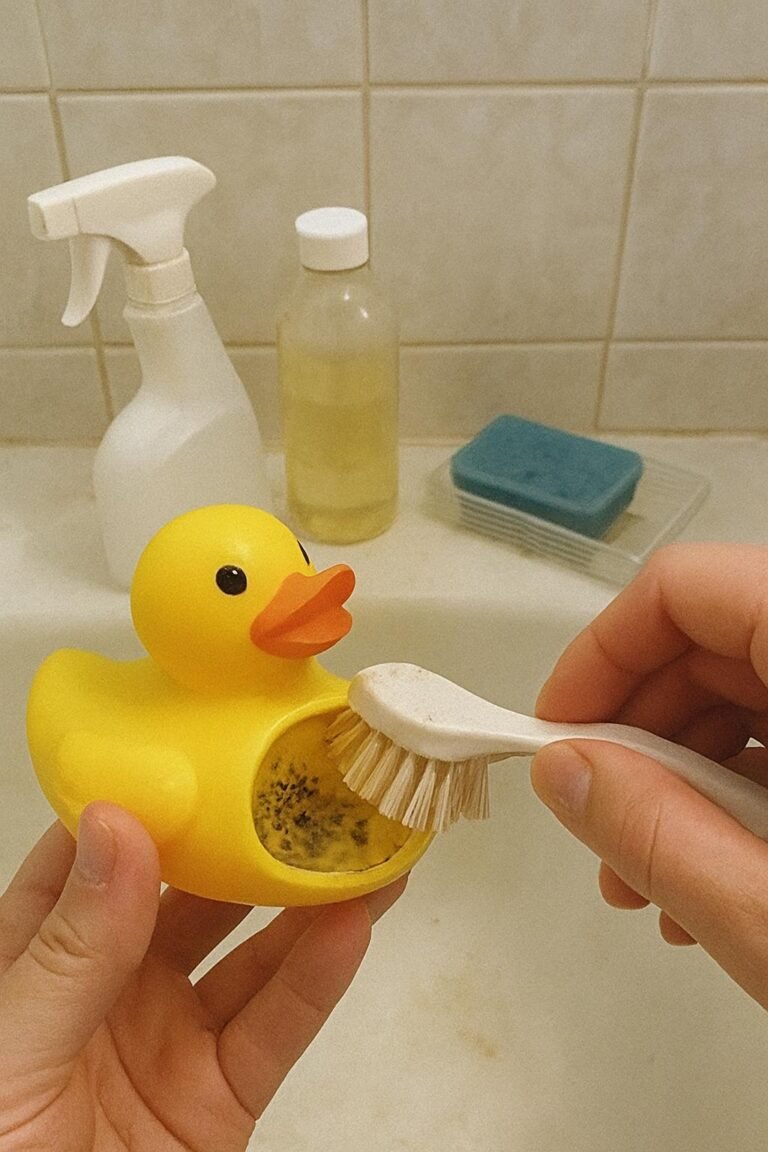
- Check seams, screw holes, cracks, and hollow sections for trapped water or mold.
- Set aside anything damaged, porous, painted, or uncertain.
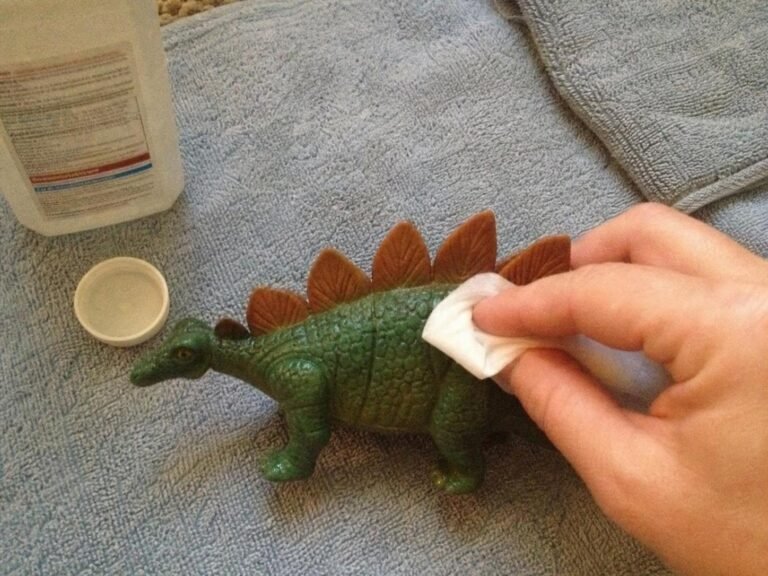
- Test a hidden area if you are concerned about color loss.
Stop if the test spot fades, feels tacky, develops a chalky patch, or loses its finish. Soap and water may be the better choice.
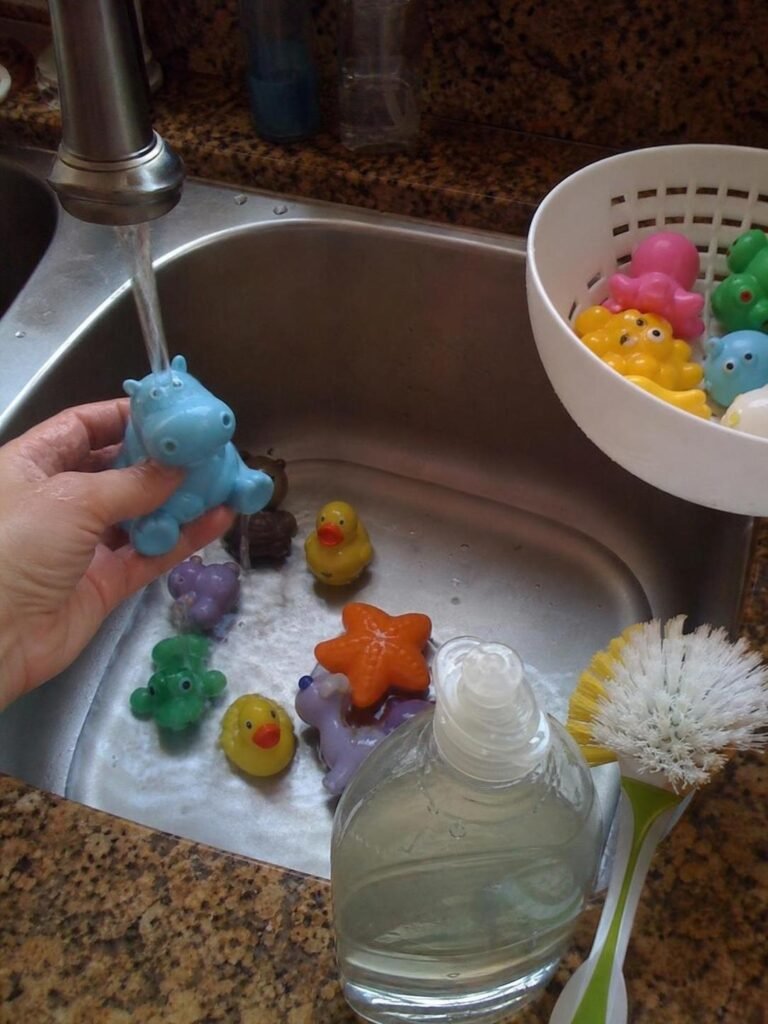
2. Wash off visible grime
- Fill a basin with warm water and a small amount of mild dish soap.
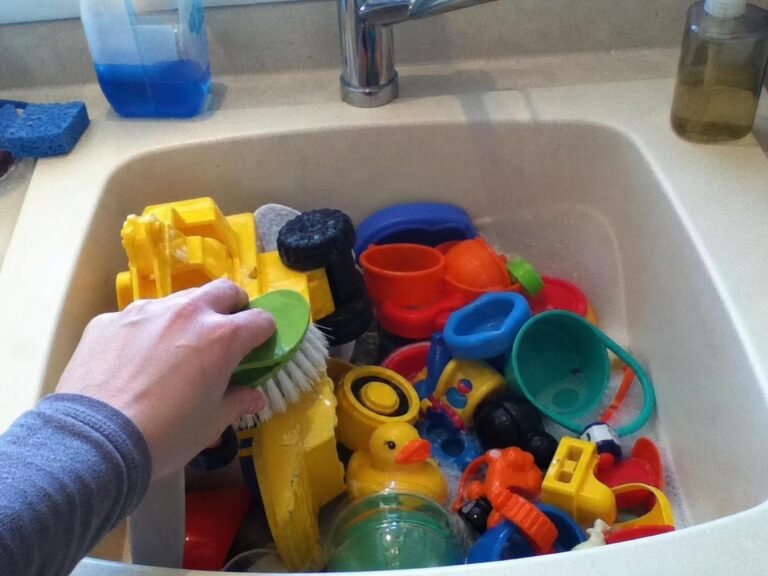
- Scrub fingerprints, food residue, dirt, and sticky patches with a cloth or soft brush.
- Pay attention to wheels, grooves, undersides, and textured areas.
- Rinse away the soap with clean water.
This first wash matters. Think of it as clearing crumbs from a counter before disinfecting it; the disinfectant needs direct contact with the actual surface.
3. Prepare the bleach correctly
- Open a window or increase ventilation.
- Put on household gloves.
- Read the bottle’s active ingredient concentration and directions.
- Prepare a fresh bleach solution using the exact dilution stated on the label for hard, nonporous surfaces.
- Make only the amount you need and use cool or room-temperature water unless the label says otherwise.
Do not rely on smell to judge strength (your nose is not a measuring tool). If the bottle does not provide usable disinfecting directions, choose another properly labeled product rather than guessing.
4. Apply the solution evenly
- Submerge suitable solid toys if the label permits soaking, or wipe the solution over every washable surface.
- Turn floating toys so all sides receive the solution.
- Avoid forcing liquid into sealed toys, sound holes, joints, or areas that cannot be rinsed and dried.
- Keep the surface visibly wet for the label’s full contact time.
If the surface dries early, apply enough solution to keep it wet. Do not extend the soaking time “for extra cleaning.” Longer exposure can fade plastic, weaken finishes, or encourage corrosion around hidden metal fasteners.
5. Rinse when required
- Follow the product label’s rinsing directions.
- For toys that children mouth or that may contact food, use a generous clean water rinse unless the label explicitly directs otherwise.
- Rotate the toy under running water and rinse grooves, seams, and textured sections.
- Smell and feel the surface after rinsing; it should not feel slick or show visible residue.
Bath toys need extra attention because water can remain inside squeakers and hollow bodies. If that is your main issue, our guide to getting bath toys clean explains how to handle trapped water and recurring buildup.
6. Dry completely
- Shake off excess water.
- Place toys in a single layer on a clean towel or drying rack.
- Position openings downward so water can drain.
- Allow complete air drying before returning toys to a bin.
Stop and reassess any toy that stays wet inside, develops a new odor, shows discoloration, or releases liquid when squeezed. A toy that cannot be rinsed and dried properly is not a good candidate for bleach cleaning.
🧪 Why This Works
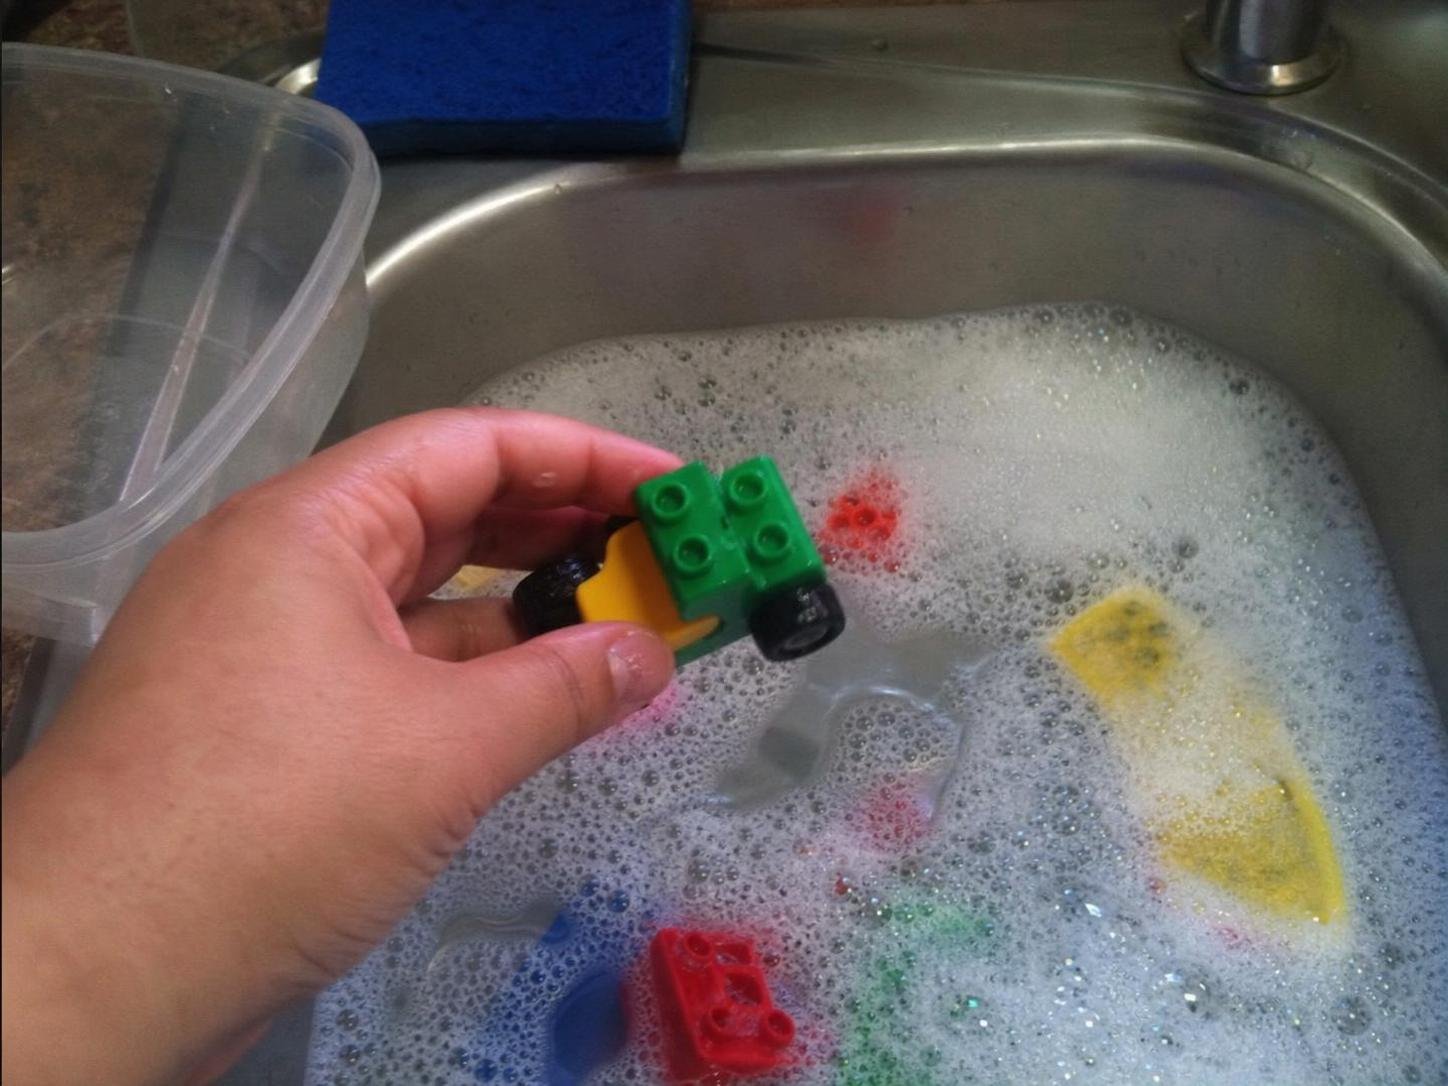
Soap removes the physical mess, while properly diluted bleach disinfects the exposed hard surface. It is similar to sweeping a floor before mopping: if crumbs and sticky residue remain, the wet cleaner cannot reach every part of the floor evenly. Correct dilution and wet time give the product a chance to work without subjecting the toy to an unnecessarily strong or lengthy treatment.
Which Cleaning Method Fits the Toy?
| Method | Best for | Main advantage | Important limitation |
|---|---|---|---|
| Dish soap and water | Routine dirt, food, fingerprints, and most washable toys | Gentle and effective for visible grime | Cleaning alone is not the same as disinfecting |
| Label-directed bleach solution | Compatible hard, nonporous toys that need disinfecting | Disinfects when dilution and wet time are correct | May fade finishes or damage unsuitable materials |
| Damp-cloth cleaning | Electronic toys and items that cannot be submerged | Limits moisture around seams and controls | Requires a product approved for the specific surface |
| Manufacturer-approved washing | Machine-washable fabric toys | Cleans fibers more evenly than surface wiping | Care instructions vary by filling and construction |
Common Bleach-Cleaning Mistakes
Using bleach before washing the toy
Dried cereal, greasy fingerprints, and mud create an uneven barrier. Wash the toy first so the disinfecting solution can reach the surface.
Making the mixture stronger than directed
More bleach is not automatically more effective. An overly strong solution is harder on colors and finishes and may be more difficult to rinse away. This was the mistake that faded my stacking cup.
Mixing bleach with another cleaner
Never add vinegar, ammonia, dish soap, fragranced spray, or another disinfectant to the bleach basin. Even if two products work well separately, that does not make them suitable for mixing.
Soaking every toy in the bin
A mixed toy bin often includes painted parts, metal axles, stickers, foam, and battery compartments. Sort first. Ten careful minutes here can prevent several ruined toys.
Ignoring hollow interiors
A squeeze toy may look clean outside while holding dirty water internally. Bleach does not solve an inaccessible cavity if you cannot rinse and dry it afterward. For washable toys without electronics, a controlled bathtub toy-cleaning setup can make sorting and rinsing easier.
Leaving toys in the solution too long
Do not walk away from a soaking basin. Use a timer and follow the contact time on the label. Extended soaking can affect color and materials without adding a practical benefit.
Drying and Storage After Bleaching
Spread toys out rather than piling them on a towel. Solid plastic pieces may dry within a few hours, while toys with seams and recesses can need overnight drying. Room airflow, toy shape, and humidity all affect the timing.
Turn pieces at least once and check wheel wells, undersides, and connecting holes. Squeeze flexible bath toys over the sink. If water appears, they are not ready for storage.
Do not place damp toys in a lidded tote or crowded basket. Trapped moisture encourages odors and buildup. Store them only when completely dry, preferably in a ventilated container that is easy to wipe out.
Before returning a toy to a child, confirm that it has no visible residue, pooled liquid, bleach odor, loose paint, or newly rough areas. Reassemble batteries and accessories only after every section is dry.
A Practical Pro Tip
Photograph the bleach label’s dilution and contact-time instructions before putting on wet gloves. I keep the photo open on my phone, set a timer, and label the basin with the starting time. It prevents the very common “Did I put this batch in three minutes ago or ten?” problem.
Frequently Asked Questions
Can you clean toys with bleach?
Yes, but only compatible hard, nonporous toys should be treated with bleach. Check the toy instructions and bleach label first, and avoid wood, plush fabric, electronics, foam, painted finishes, and toys that trap liquid.
Is it safe to clean toys with bleach?
It can be safe when the toy is compatible and you follow the product label for dilution, ventilation, contact time, and rinsing. Never mix bleach with another cleaner, and keep children and pets away while you work.
Should I rinse toys after using bleach?
Follow the bleach label. Toys that children put in their mouths or that contact food should generally receive a thorough clean-water rinse unless the product directions specifically state otherwise.
How long should toys sit in a bleach solution?
Use the contact time printed on the bleach label. The surface must usually remain visibly wet for that period, but you should not extend soaking time beyond the directions.
Can I use bleach on bath toys with holes?
Only if the inside can be fully cleaned, rinsed, drained, and dried. If dirty water remains trapped or inaccessible buildup keeps returning, replacing the toy is often more practical than repeated soaking.
The best way to clean toys with bleach is to be selective rather than aggressive: wash away grime, use a freshly prepared label-directed solution, respect the wet time, rinse as directed, and dry every surface. One final reminder—if you cannot identify the toy material or confidently rinse and dry it, choose a gentler cleaning method.
Everything Mentioned Above
Before you leave, grab the tools you need to get the job done right the first time:
*As an Amazon Associate, TidyFormula earns from qualifying purchases.