Non Toxic Cleaning Routine for the Whole House
A non-toxic cleaning routine for the whole house means working through your home with simple, minimally processed products—plain soap, water, baking soda, and diluted vinegar on the surfaces that tolerate it—while skipping harsh solvents, bleach, and heavily fragranced sprays wherever a gentler option works just as well. The right order and the right tool for each surface matter more than any single “miracle” ingredient.
The tricky part usually isn’t the kitchen counter. It’s the mix of surfaces in one house—sealed stone, unsealed wood, electronics, grout, upholstery—that all react differently to the same bottle of vinegar or the same box of baking soda.
⚡ The TidyFormula™ Quick Decision
Best approach: Work room by room with a small set of core ingredients—dish soap or castile soap, baking soda, and diluted white vinegar for nonporous surfaces—paired with microfiber cloths, so you’re not swapping products constantly.
Use caution with: Natural stone, unfinished wood, and electronics screens, which can be damaged by vinegar’s acidity or excess moisture even though those same ingredients are fine on tile, glass, or sealed laminate.
Stop and reassess if: A surface starts to look dull, etched, or discolored after cleaning, or if a care label or manufacturer manual specifically warns against acidic or abrasive cleaners.
What I Use For This Job
Using the right tools saves time and protects your belongings. Here are my exact recommendations:
*As an Amazon Associate, TidyFormula earns from qualifying purchases.
What “Non-Toxic” Really Means for a Whole-House Routine
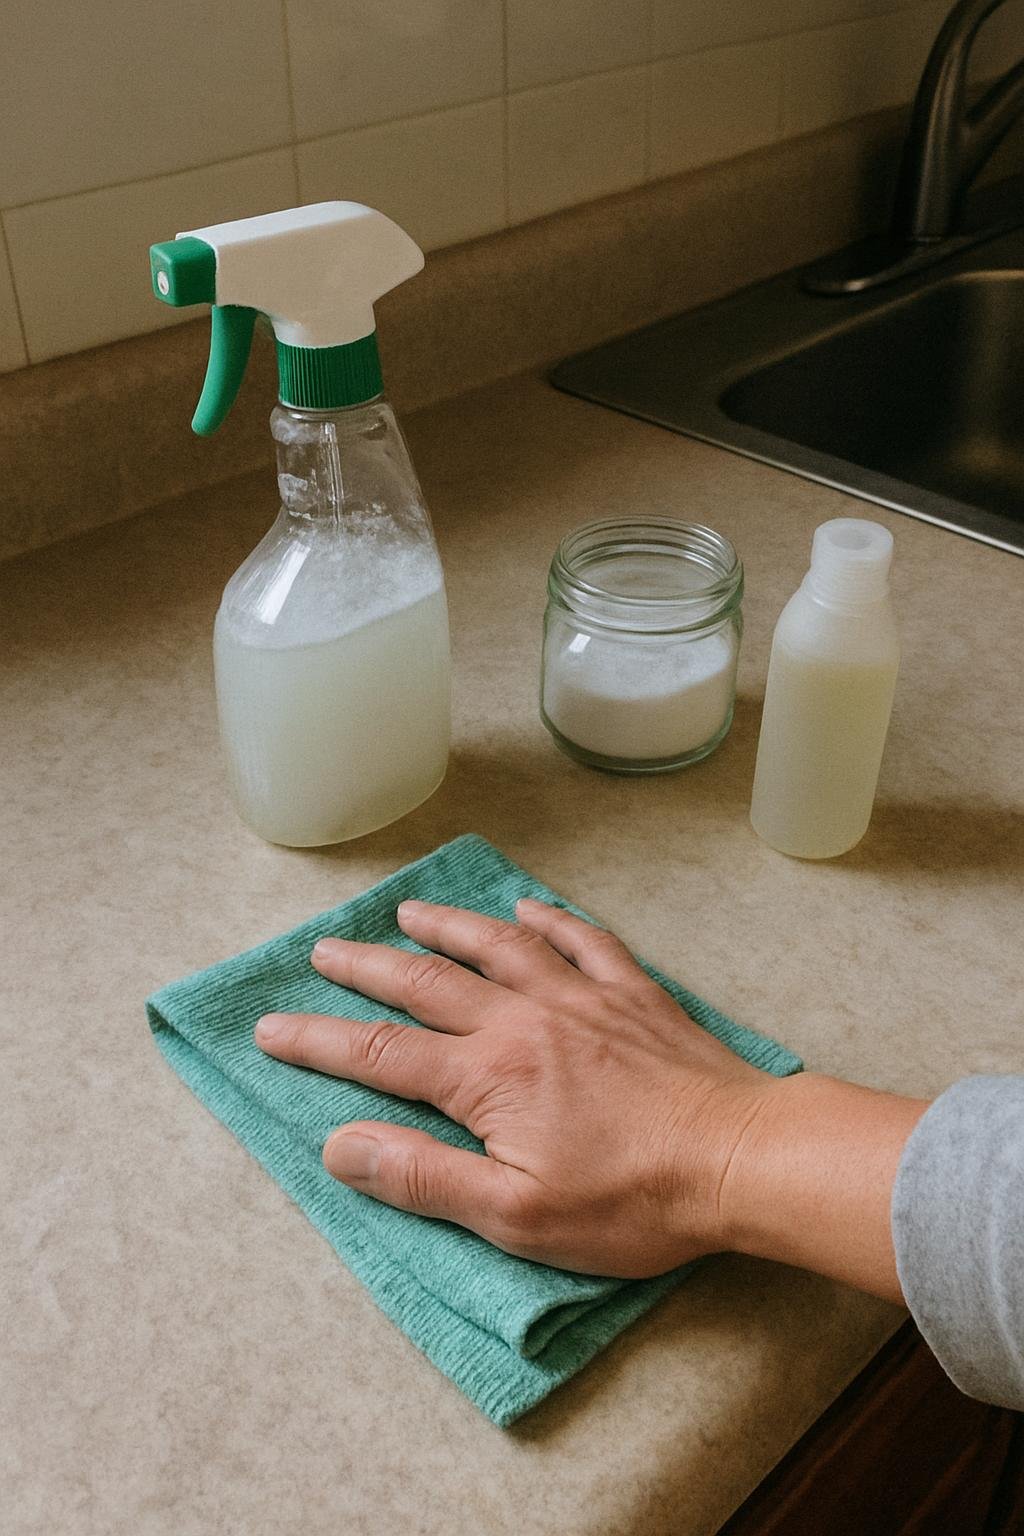
There’s no single certified definition of “non-toxic cleaning,” so it helps to think of it practically: fewer synthetic fragrances, no bleach-based products, no strong solvents, and ingredients you can identify by name. That still leaves plenty of effective options—dish soap, castile soap, baking soda, and vinegar handle most everyday grime without the fumes or residue that come with heavier-duty cleaners.
It doesn’t mean every ingredient is automatically safe for every surface, every pet, or every child in the house. Vinegar is mild compared to bleach, but it’s still acidic enough to etch marble, dull hardwood finishes, and damage some electronics. Always check the care label or manufacturer instructions on furniture, flooring, and appliances before applying anything acidic or abrasive, and keep any cleaning solution away from areas where a pet or small child could get direct contact before it’s wiped up.
Building the Routine, Room by Room
A whole-house routine works best when you clean in a consistent order—top to bottom, back to front—so you’re not re-dirtying a surface you already finished. Here’s a practical sequence that covers most homes without requiring a different product for every task.
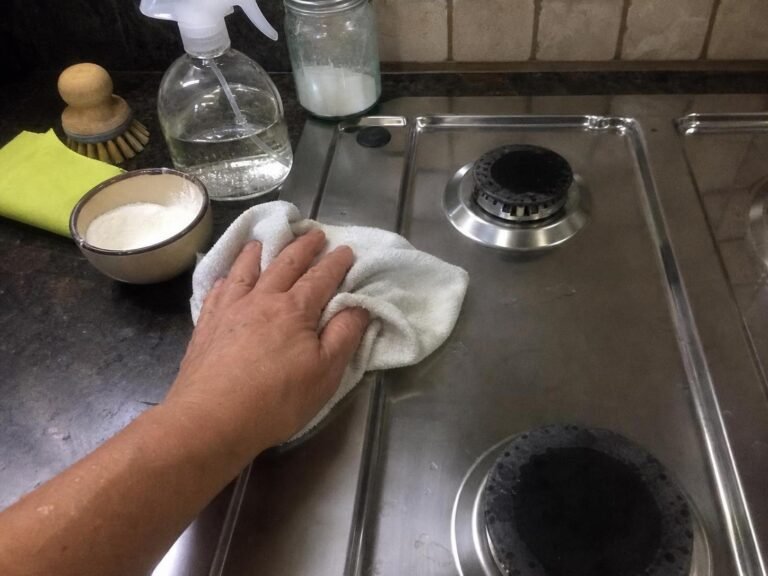
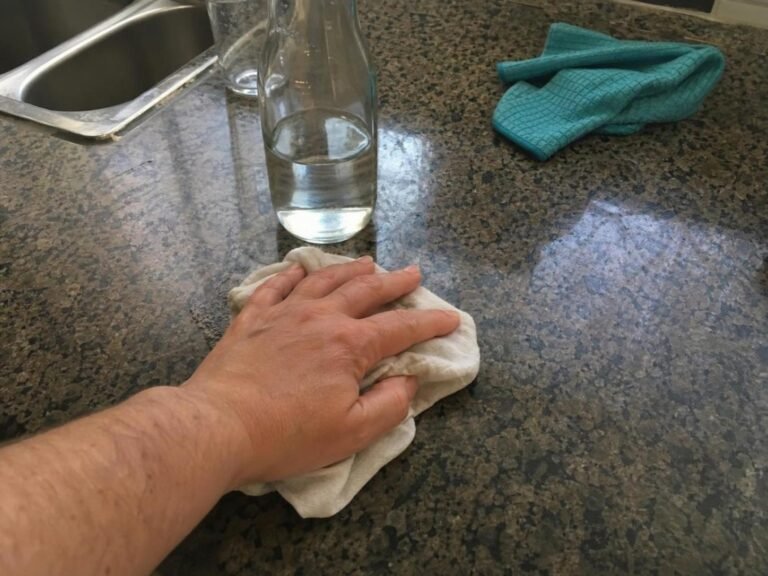
- Kitchen counters and appliance exteriors: Use warm water with a few drops of dish soap on a microfiber cloth for sealed counters, stainless steel, and painted surfaces. For unsealed wood or natural stone, stick to plain warm water and soap, and avoid vinegar entirely—acid can etch stone and dry out wood over time.
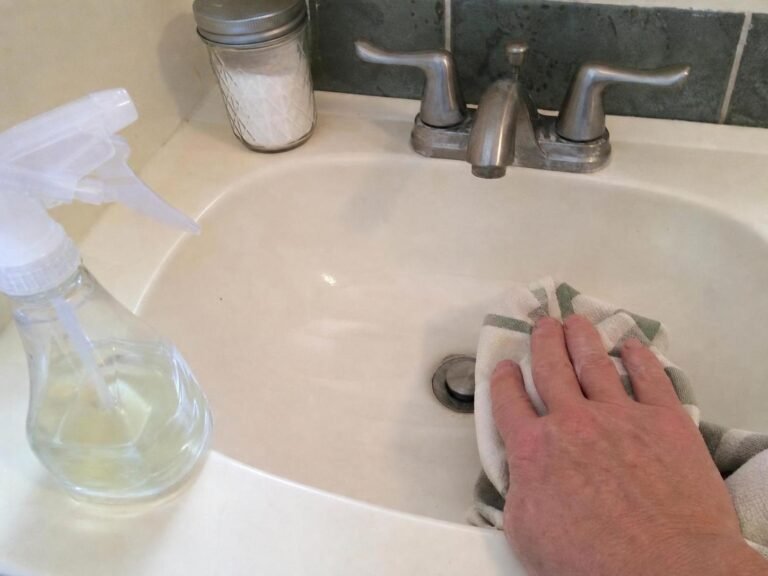
- Sinks and drains: A soft cloth with baking soda handles light buildup on stainless and enamel sinks. If a drain is running slow, a non-chemical approach like the method in this guide to clearing a sink drain without chemicals is worth trying before reaching for a drain cleaner.
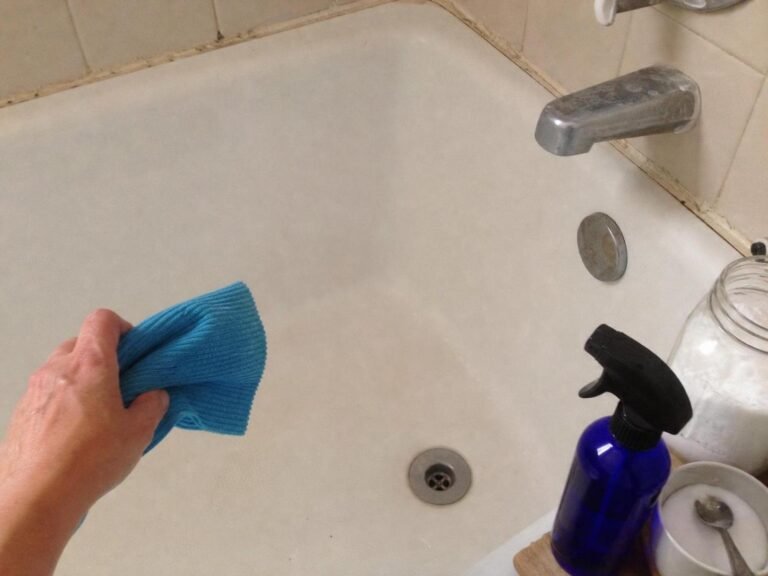
- Bathroom tile and fixtures: Diluted vinegar in a spray bottle cuts soap scum well on tile and glass, but keep it off natural stone tile or grout sealant that the manufacturer says is acid-sensitive. Rinse and dry fixtures afterward so moisture doesn’t sit on metal finishes.
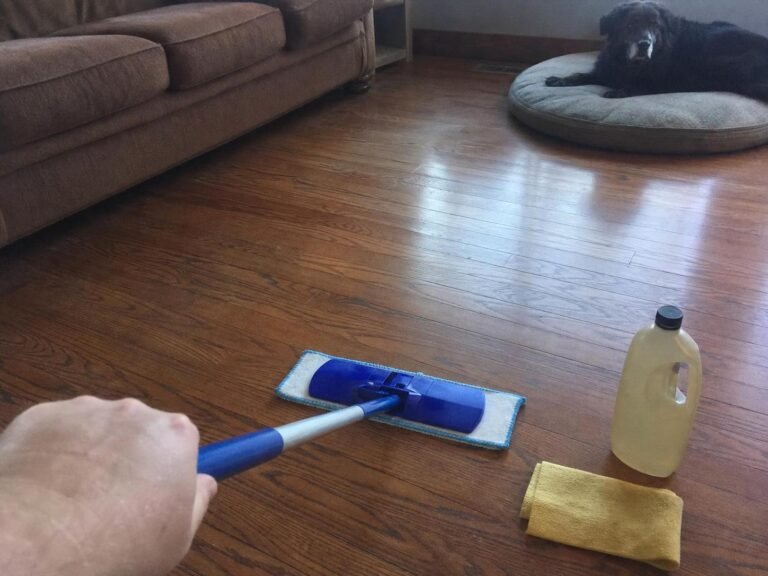
- Floors: Sweep or vacuum first, then damp-mop with a mild soap solution appropriate for the flooring type—sealed hardwood, laminate, tile, and vinyl each have their own manufacturer-recommended cleaning approach, so check the flooring documentation if you have it.
- Dust and soft surfaces: A slightly damp microfiber cloth lifts dust from shelves, blinds, and baseboards better than a dry duster, which just redistributes it. For upholstery, check the fabric care tag; some fabrics only tolerate dry cleaning or a specific water-based code.
Handling the Trickier Spots
Some jobs need a slightly more specific method than “spray and wipe,” especially where buildup, grease, or mineral deposits have had time to settle in.
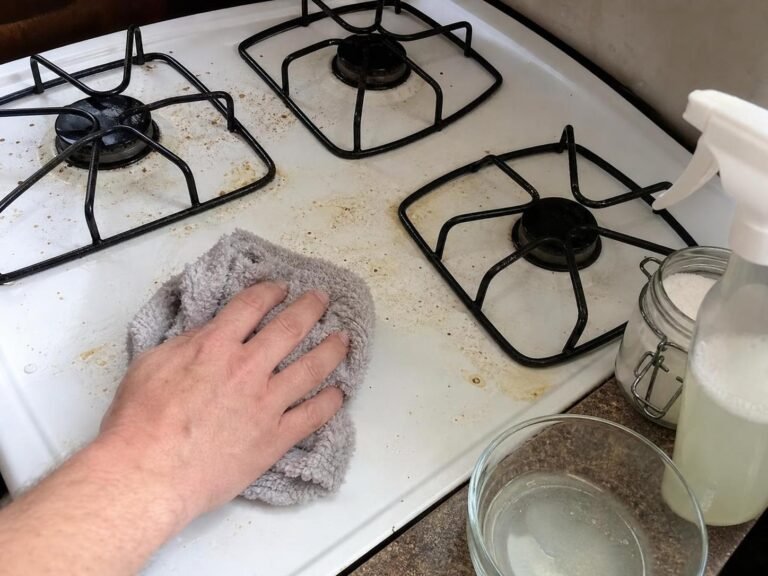
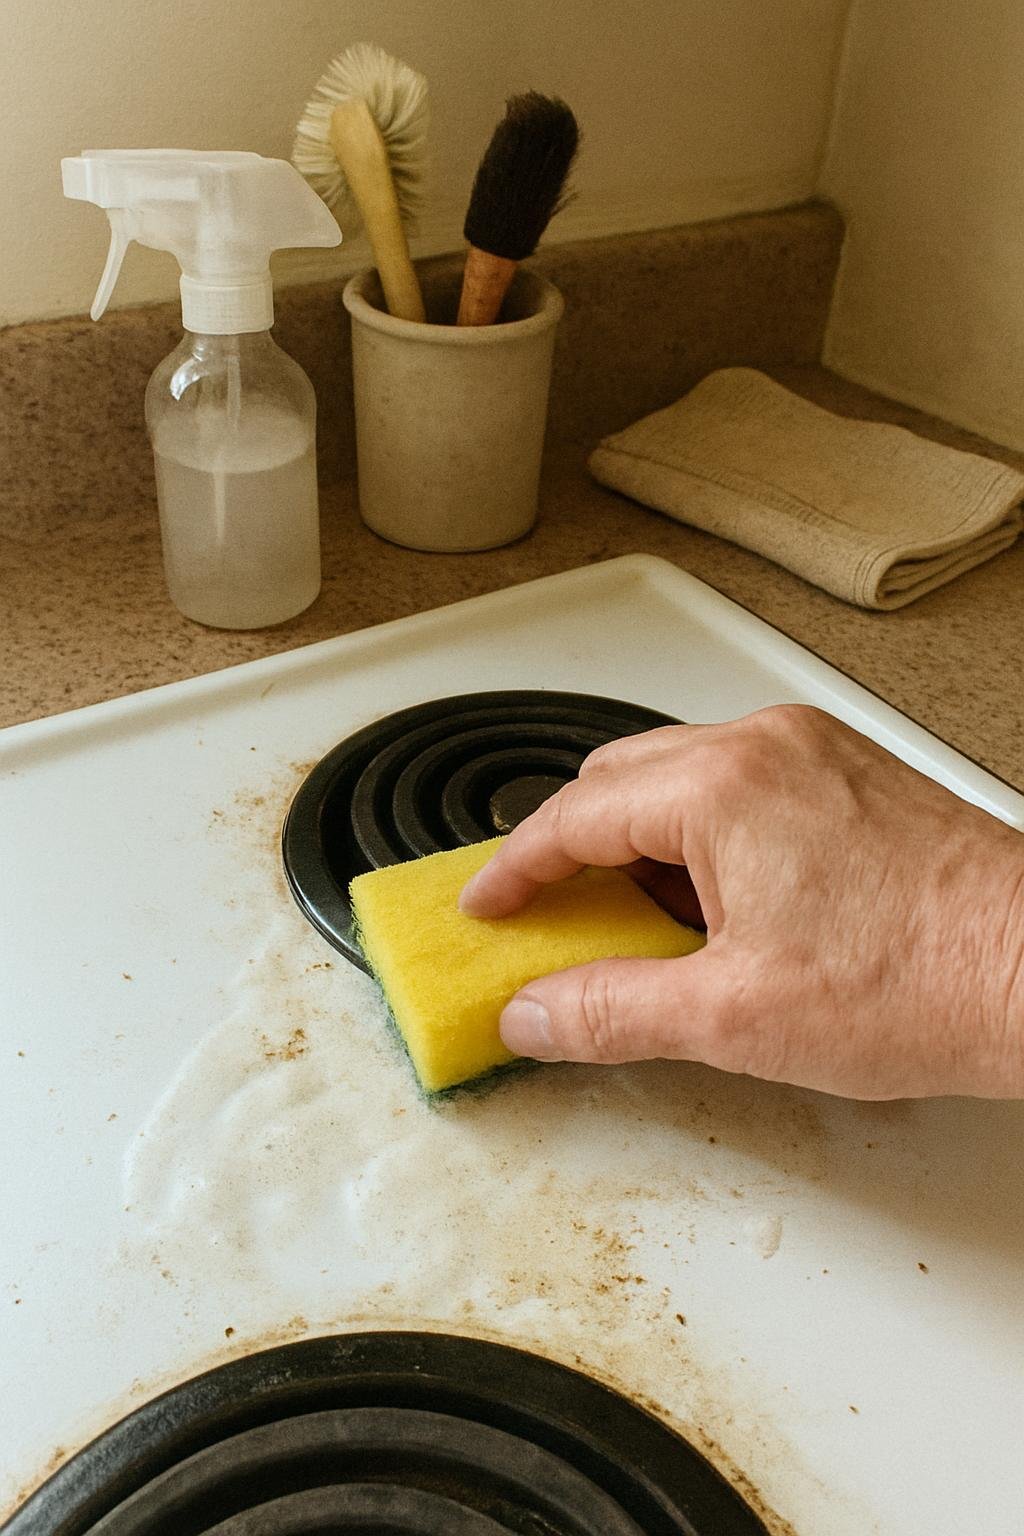
An oven with baked-on grease is one of the better examples. Scraping and heavily perfumed oven cleaners aren’t the only route—this alkaline-hydrolysis method for cleaning an oven without chemicals uses baking soda’s natural alkalinity to loosen grime overnight instead of relying on fumes.
A coffee maker with mineral scale is another spot where people often reach straight for vinegar, even though the smell and taste carryover bothers plenty of households. If you’d rather skip the vinegar cycle altogether, this no-vinegar method for cleaning a coffee maker walks through an alternative that still clears mineral buildup from the reservoir and lines.
Mistakes That Undo a Non-Toxic Routine
The most common misstep isn’t using the “wrong” ingredient—it’s using the right ingredient on the wrong surface, or skipping the rinse step. Vinegar left to sit on grout, stone, or metal trim for too long can do more damage than a quick pass with a mild commercial cleaner would have. Baking soda used as a scrub on soft-finish surfaces like brushed nickel or matte laminate can leave fine scratches if you press too hard.
Another frequent problem is mixing homemade solutions on the fly, hoping to boost cleaning power. Combining different cleaning products—especially anything containing bleach with vinegar, ammonia, or other acids—can create a genuinely hazardous reaction, so keep your ingredients separate and use them one at a time, rinsing between products if you switch.
Finally, skipping ventilation is easy to overlook just because the ingredients smell mild. Baking soda and vinegar are low-odor compared to bleach, but you still want a window cracked or a fan running in small rooms like bathrooms, since any cleaning task generates some airborne particles and moisture.
Keeping the Routine Working Without Damaging Anything
A non-toxic routine holds up best when it’s consistent rather than intense. Light, frequent cleaning with mild ingredients prevents the kind of heavy buildup that tempts people back toward harsher products. Wipe kitchen and bathroom surfaces daily or every other day, do a deeper floor and fixture clean weekly, and reserve baking-soda pastes or vinegar soaks for spots that actually need extra lift rather than using them everywhere by default.
Keep a short list of which surfaces in your home are acid-sensitive—natural stone counters, certain grout sealants, unfinished wood—so you’re not re-deciding every time you clean. When in doubt about a specific material, a quick check of the manufacturer’s care instructions takes less time than repairing an etched countertop or a dulled wood finish.
If a surface keeps looking dingy despite consistent care, or a drain, appliance, or fixture shows signs of a deeper mechanical issue rather than surface buildup, that’s a sign to bring in a professional rather than escalating to stronger chemicals on your own.
Everything Mentioned Above
Before you leave, grab the tools you need to get the job done right the first time:
*As an Amazon Associate, TidyFormula earns from qualifying purchases.